


Welcome to the step-by-step guide for logging in to Metamask! If you are a crypto enthusiast looking to securely manage your digital assets, Metamask is the perfect solution for you. With its user-friendly interface and strong security measures, Metamask allows you to safely store, send, and receive cryptocurrencies directly from your browser. In this guide, we will walk you through the process of creating an account and logging in to Metamask, so you can start exploring the exciting world of decentralized finance.
To begin, make sure you have the Metamask extension installed on your preferred browser. Once the extension is installed, you will see the Metamask icon in your browser toolbar. Click on the icon to launch Metamask. If you haven’t created an account yet, you will be prompted to create one.
When creating an account, be sure to choose a strong password and securely store your seed phrase. The seed phrase is a series of random words that can be used to recover your account if you ever lose access to your device. Write down the seed phrase and keep it in a safe place. Remember, anyone with access to your seed phrase can access your account, so it is important to keep it private.
Once you have created an account, you will be taken to the Metamask login page. Enter your password and click on the “Unlock” button. Congratulations, you are now logged in to Metamask! You will be able to see your account balance, view transaction history, and access various features and settings to customize your Metamask experience.
In conclusion, Metamask is a powerful tool for crypto enthusiasts that provides a secure way to manage your digital assets. By following this step-by-step guide, you can easily create an account and log in to Metamask. Remember to keep your password and seed phrase safe, as they are crucial for protecting your account. Happy exploring!
Why use Metamask for cryptocurrency transactions?
Metamask is a powerful tool that allows users to securely manage their cryptocurrency transactions. Here are some of the reasons why you should consider using Metamask:
Easy to Use
Metamask provides a user-friendly interface that makes it easy for beginners to get started with cryptocurrency transactions. Its intuitive design allows users to send and receive funds with just a few clicks.
Enhanced Security
Metamask offers top-notch security features to keep your digital assets safe. It allows you to create and manage multiple Ethereum accounts, each protected by an encrypted password. Additionally, all transactions require user approval, adding an extra layer of security.
Furthermore, Metamask uses decentralized technology, which means that your private keys are stored locally on your device and not on a central server. This ensures that you have full control over your funds and eliminates the risk of a centralized data breach.
Seamless Integration
Metamask seamlessly integrates with popular decentralized applications (dApps) and cryptocurrency exchanges. This allows you to easily interact with various blockchain-based platforms and perform transactions directly from your Metamask wallet.
Whether you want to lend, borrow, trade, or invest in cryptocurrencies, Metamask provides the necessary infrastructure to connect with a wide range of dApps and exchanges.
In conclusion, Metamask offers a user-friendly experience, enhanced security, and seamless integration with dApps and exchanges. It is an essential tool for anyone looking to securely manage their cryptocurrency transactions.
Creating a Metamask account
Before you can start using Metamask, you need to create a Metamask account. Follow these steps to create your account:
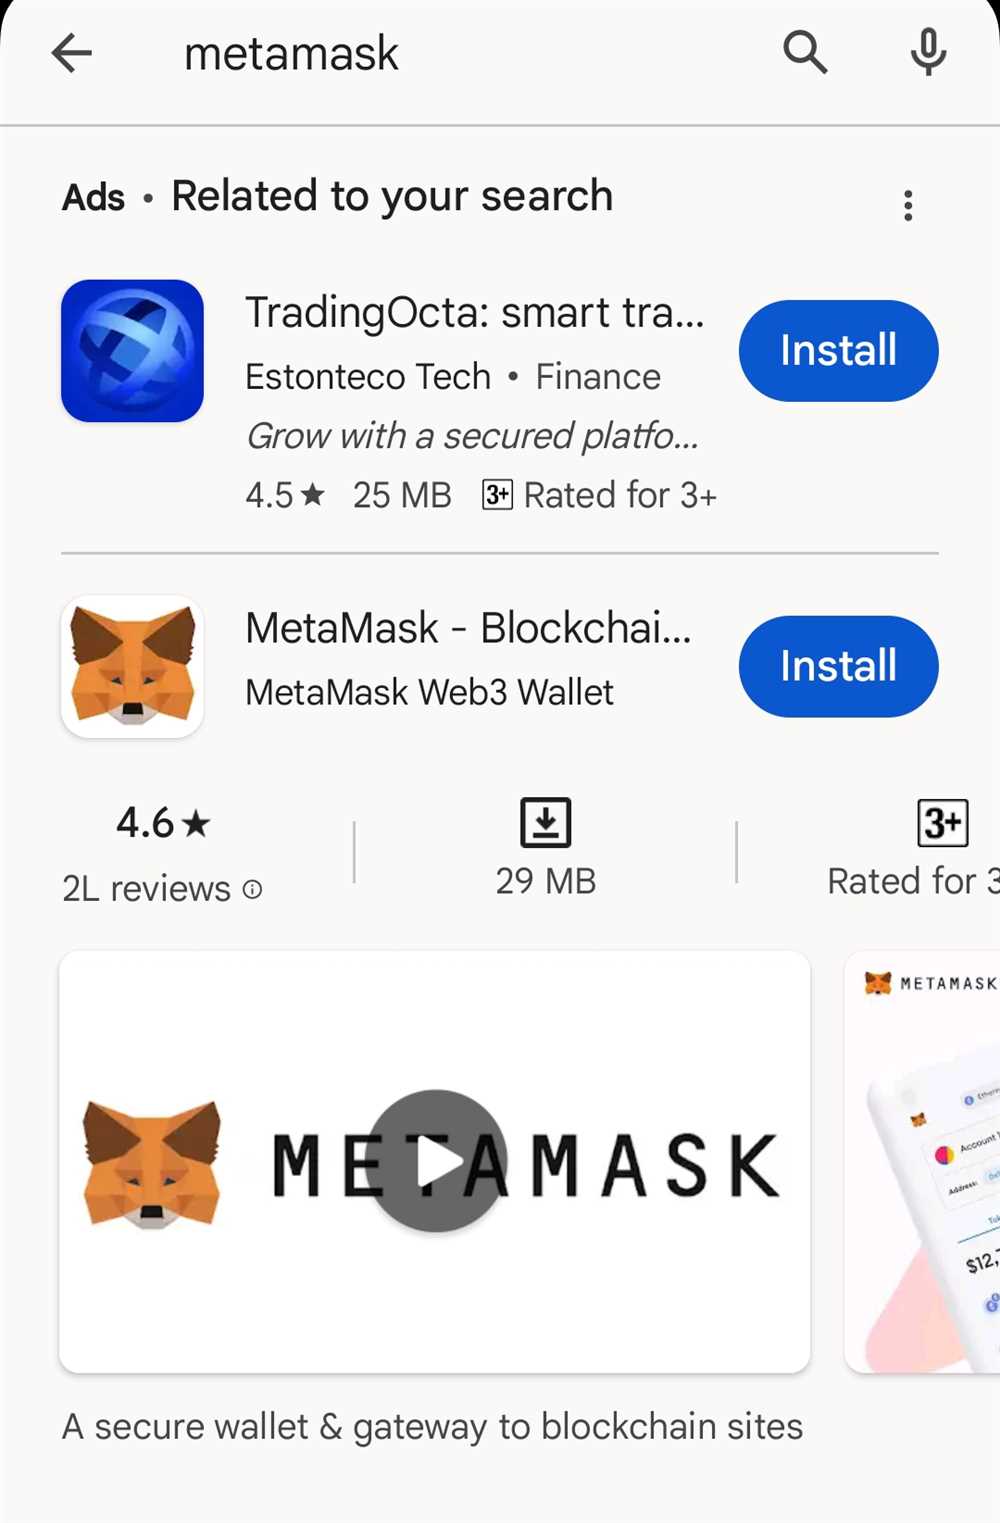
- Open your web browser and go to the Metamask website.
- Click on the “Get Chrome Extension” button to download and install the Metamask extension for Google Chrome.
- Once the extension is installed, click on the Metamask icon that appears at the top right corner of your browser.
- A new tab will open with the Metamask interface. Click on the “Create a Wallet” button to start the account creation process.
- You will be prompted to create a password for your account. Choose a strong password that you can remember, but make sure it is not easily guessable.
- After entering your password, click on the “Create” button.
- Next, you will be presented with a seed phrase. This is a set of 12 random words that can be used to restore your account if you forget your password. Make sure to write down the seed phrase and store it in a safe place.
- Once you have saved the seed phrase, click on the “Next” button.
- In the next step, you will need to confirm your seed phrase by selecting the words in the correct order. This is done to ensure that you have correctly written down the seed phrase.
- After confirming the seed phrase, your Metamask account will be created. You will now have access to your wallet and be able to manage your crypto assets.
It is important to note that you should never share your seed phrase with anyone. Keep it private and secure to protect your funds.
Installing Metamask extension in your browser
To start your crypto journey with Metamask, the first step is to install the Metamask extension in your browser. Follow these steps to get started:
Step 1: Open your browser
Launch your preferred browser on your computer. Metamask supports popular browsers like Google Chrome, Mozilla Firefox, Brave, and Microsoft Edge.
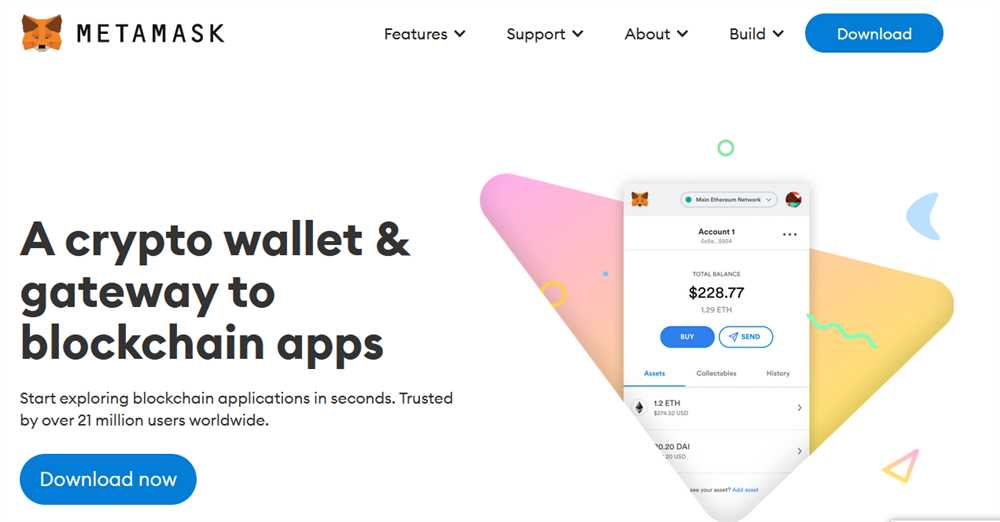
Step 2: Go to the Metamask website
Visit the official website of Metamask by typing https://metamask.io/ in the address bar of your browser.
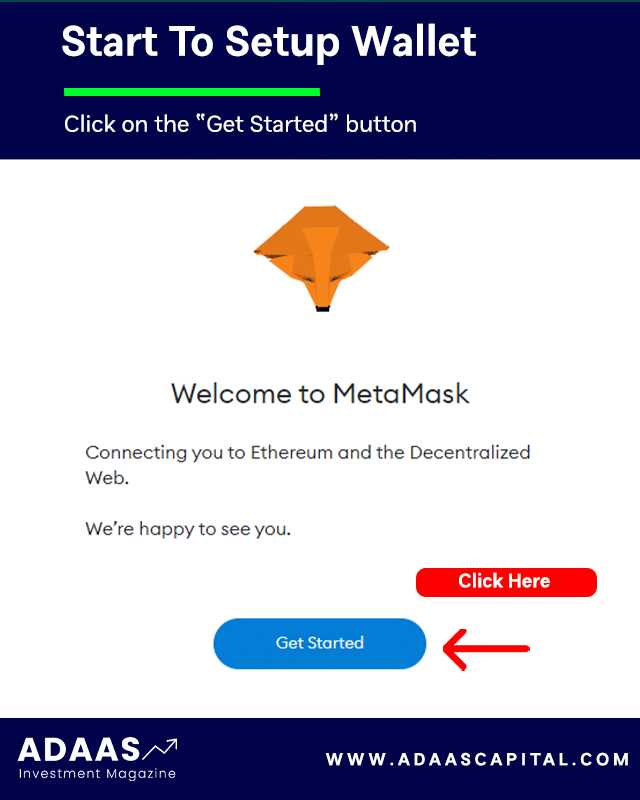
Step 3: Click on “Get Started”
Once you are on the Metamask website, click on the “Get Started” button. This will redirect you to the Metamask extension page in the browser’s extension store.
Step 4: Add Metamask to your browser
On the Metamask extension page, click on the “Add to [browser name]” button. This will initiate the installation process of the Metamask extension in your browser.
Follow the prompts and confirm any additional settings or permissions required by your browser to complete the installation.
Step 5: Set up Metamask
Once the installation is complete, a Metamask icon will appear in the toolbar of your browser. Click on the icon to open the Metamask extension.
Follow the on-screen instructions to set up a new Metamask wallet or import an existing one. Create a strong password and save the secret backup phrase in a secure place.
Congratulations! You have successfully installed the Metamask extension in your browser. Now you can start exploring the world of cryptocurrencies and interacting with decentralized applications.
Logging in to Metamask and getting started
Metamask is a popular cryptocurrency wallet that allows users to securely store and manage their digital assets. If you’re new to Metamask, here’s a step-by-step guide on how to log in and get started.
Step 1: Install the Metamask Extension
The first step is to install the Metamask extension in your web browser. Simply visit the Metamask website, choose your preferred browser, and follow the instructions to install the extension.
Step 2: Create a New Wallet
Once the extension is installed, click on the Metamask icon in your browser toolbar to open the wallet. If you haven’t used Metamask before, click on the “Create a Wallet” button to begin.
Step 3: Set Up a Password
Next, you’ll need to set up a password for your Metamask wallet. Choose a strong password that you can remember, as you’ll need it every time you want to access your wallet.
Step 4: Backup Your Seed Phrase
After setting up your password, Metamask will generate a 12-word seed phrase. This seed phrase is important, as it can be used to restore your wallet in case you lose access to it. Write it down and store it in a safe place.
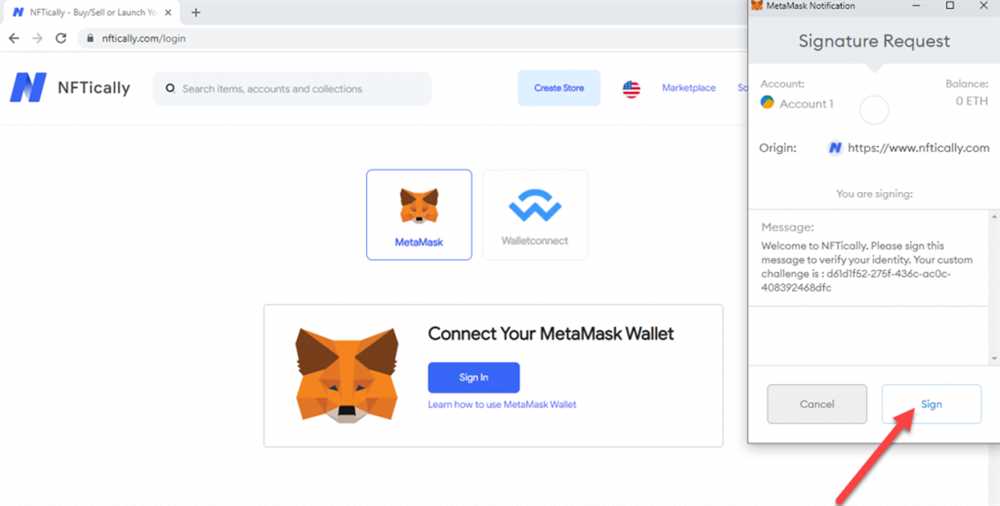
Step 5: Log In to Metamask
Now that your wallet is set up, you can log in to Metamask using your password. Click on the Metamask icon in your browser toolbar, enter your password, and click “Unlock” to access your wallet.
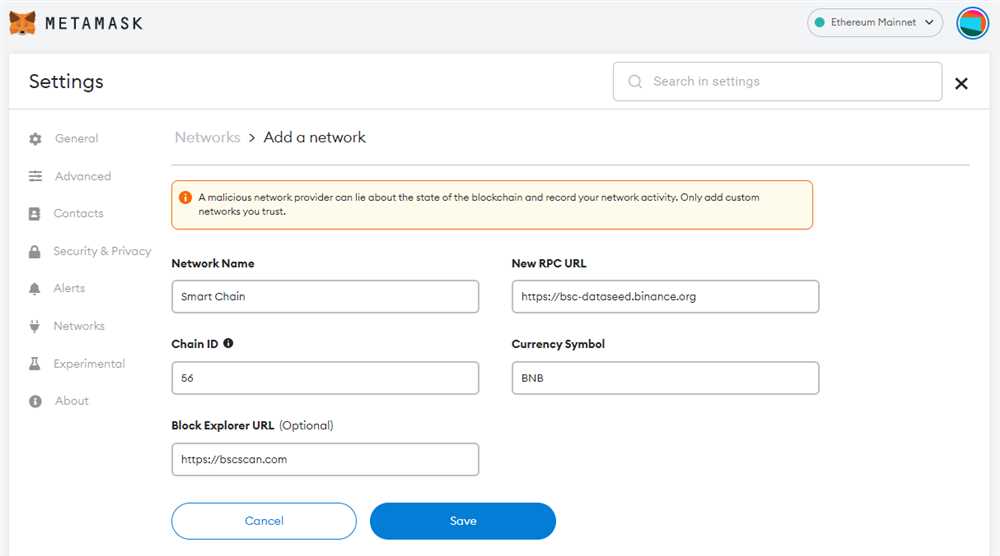
Step 6: Connect Your Wallet to a Network
Once you’re logged in, you’ll need to connect your wallet to a network. Metamask supports various networks, including the Ethereum mainnet and testnets like Kovan and Rinkeby. Choose the network you want to connect to and click “Connect” to link your wallet.
Step 7: Import or Add Accounts
If you already have an existing Metamask wallet or other Ethereum account, you can import it into your new wallet by clicking on the account icon in the top right corner and selecting “Import Account.” Alternatively, you can add new accounts by clicking on “Create Account.”
Step 8: Get Started with Metamask
Now that you’re logged in and set up, you can start using Metamask to manage your cryptocurrencies. You can send and receive funds, interact with decentralized applications, and explore the world of blockchain technology.
Remember to always keep your Metamask password and seed phrase secure to protect your wallet and funds from unauthorized access.
By following these step-by-step instructions, you should be able to successfully log in to Metamask and get started with this powerful cryptocurrency wallet.
Frequently Asked Questions:
What is Metamask?
Metamask is a cryptocurrency wallet that allows users to manage their digital assets and interact with decentralized applications (dApps) on the Ethereum blockchain.
What is a secret recovery phrase?
A secret recovery phrase, also known as a seed phrase or mnemonic phrase, is a sequence of 12 or 24 random words that are used to backup and restore access to your cryptocurrency wallet. It is important to keep this recovery phrase in a safe place and never share it with anyone, as it is the key to accessing your funds.
+ There are no comments
Add yours