


If you’re new to the world of cryptocurrency and are looking to send Bitcoin to your Metamask wallet, you’re in the right place. Metamask is a popular crypto wallet that allows users to store, manage, and interact with various digital assets. In this step-by-step guide, we will walk you through the process of sending Bitcoin to your Metamask wallet, so you can securely hold and use your Bitcoin funds.
Step 1: Set up and Unlock your Metamask Wallet
The first step in sending Bitcoin to your Metamask wallet is to set up and unlock your wallet. If you haven’t already done so, download the Metamask extension for your web browser and create a new wallet. Once your wallet is set up, enter your password to unlock it and gain access to your account.
Step 2: Obtain the Bitcoin Address of your Metamask Wallet
To send Bitcoin to your Metamask wallet, you will need to know the wallet’s Bitcoin address. Go to your Metamask wallet and click on the account you wish to use. Then, click on the “…” button and select “Copy Address” to copy the Bitcoin address to your clipboard.
Step 3: Send Bitcoin from your current wallet/exchange
Now that you have the Bitcoin address of your Metamask wallet, you can send Bitcoin from your current wallet or exchange to your Metamask wallet. Open your current wallet or exchange platform and navigate to the “Send” or “Withdraw” section. Paste the Bitcoin address you copied from your Metamask wallet in the recipient address field. Enter the amount of Bitcoin you want to send and initiate the transaction.
Step 4: Confirm the Transaction
After initiating the transaction, your current wallet or exchange platform will ask you to confirm the details of the transaction, including the recipient address and the amount of Bitcoin being sent. Review the details carefully and confirm the transaction. Depending on the platform you’re using, you may need to enter a unique code or provide additional confirmation before the transaction can be completed.
Step 5: Wait for the Transaction to be Confirmed
Once you’ve confirmed the transaction, you will need to wait for it to be confirmed by the Bitcoin network. The speed of confirmation can vary depending on network congestion and the transaction fee you’ve chosen. You can track the progress of your transaction using a blockchain explorer by pasting the Bitcoin address in the search bar.
Step 6: Check your Metamask Wallet
Once the transaction is confirmed, the Bitcoin funds will be sent to your Metamask wallet. Open your Metamask wallet and navigate to the account you sent the Bitcoin to. You should now see the Bitcoin funds reflected in your account balance. Congratulations! You have successfully sent Bitcoin to your Metamask wallet.
By following these step-by-step instructions, you can securely send Bitcoin to your Metamask wallet and start making use of your cryptocurrencies. Metamask provides a convenient and user-friendly platform for managing and interacting with digital assets, making it an ideal choice for cryptocurrency enthusiasts.
Step 1: Set Up Metamask Wallet
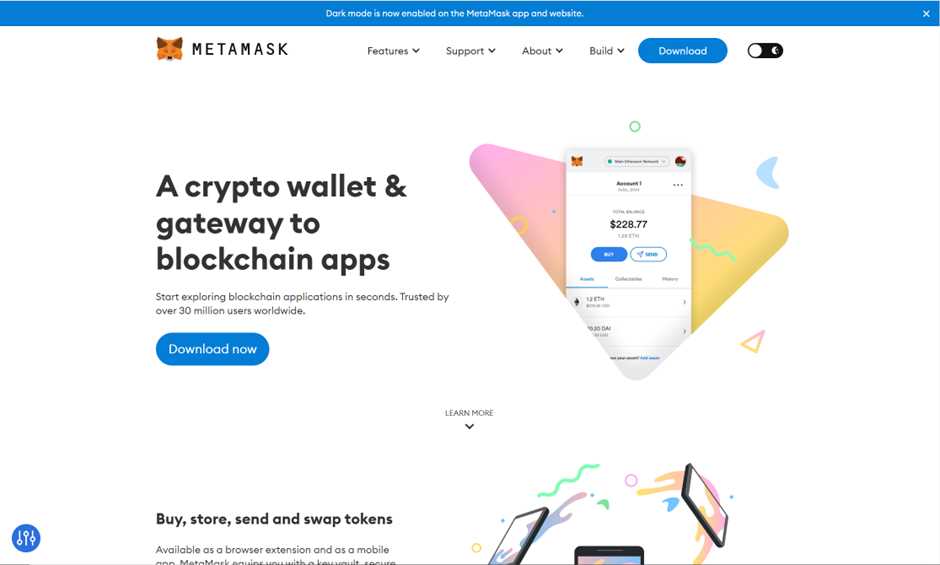
To send Bitcoin to Metamask, you first need to set up a Metamask wallet on your desktop or mobile device. Metamask is a popular cryptocurrency wallet and browser extension that allows you to interact with decentralized applications (dApps) on the Ethereum blockchain.
Here are the steps to set up Metamask:
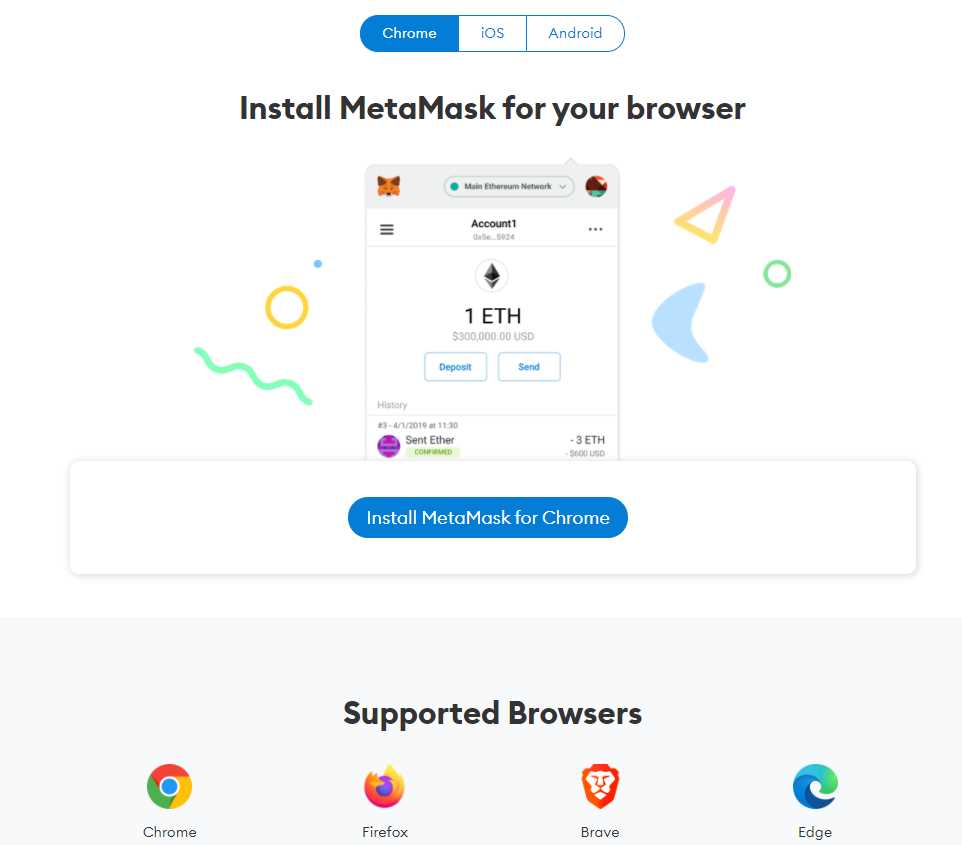
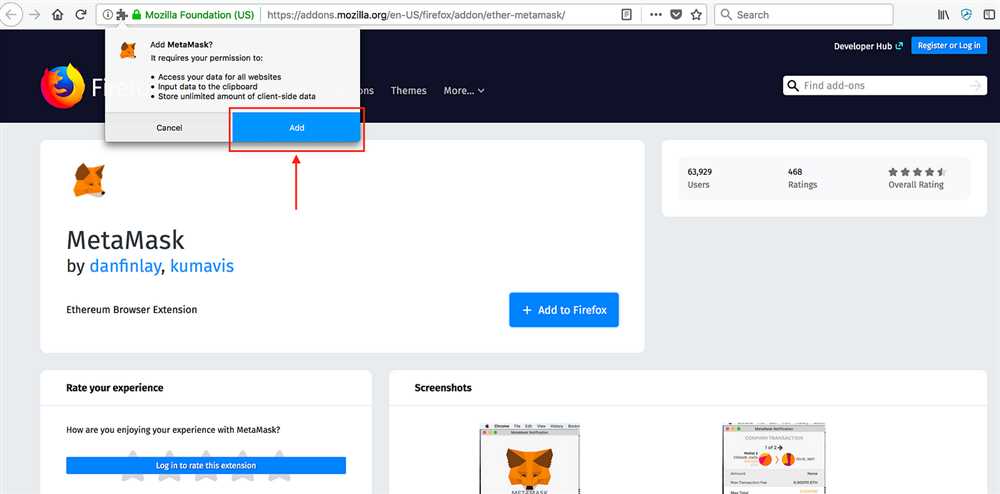
- Go to the Metamask website (https://metamask.io) and click on the “Get Chrome Extension” button if you are using a desktop browser, or download the Metamask app from the App Store or Google Play if you are using a mobile device.
- Follow the installation instructions provided by Metamask to add the extension to your browser or install the app on your mobile device.
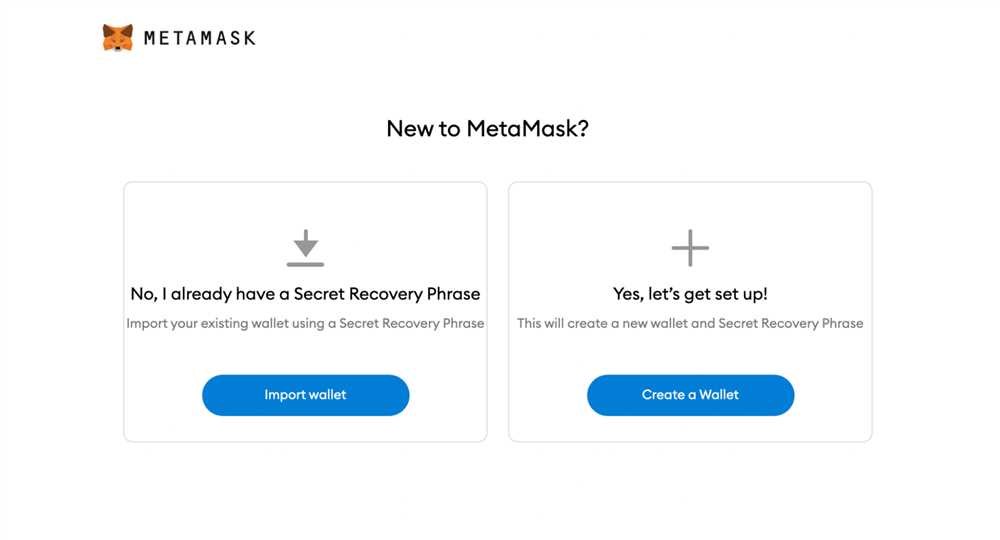
- Open the Metamask extension or app and click on “Create a Wallet” to generate a new wallet.
- Follow the prompts to create a strong password and write down the seed phrase provided by Metamask. This seed phrase is extremely important, as it can be used to recover your wallet if you ever lose access to your device.
- Read and accept the terms of use and privacy policy, then click “I Agree” to continue.
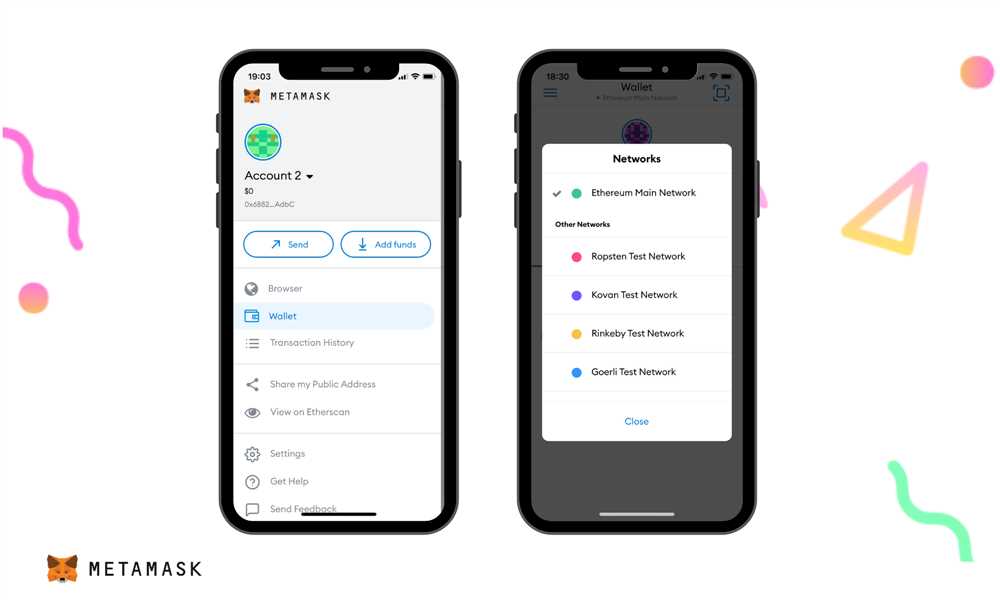
- Your Metamask wallet is now set up and ready to use! You will see your wallet address and balance displayed in the extension or app.
Make sure to keep your seed phrase in a safe place and never share it with anyone. With your Metamask wallet set up, you can now proceed to the next step and send Bitcoin to your wallet.
Step 2: Generate a Bitcoin Wallet Address
After installing and setting up your Metamask wallet, the next step is to generate a Bitcoin wallet address. This address will be used to receive Bitcoin from other wallets or exchanges.
Method 1: Using an Exchange

If you already have a Bitcoin exchange account, such as Coinbase or Binance, you can generate a Bitcoin wallet address directly from there. Simply log in to your account and navigate to the “Wallet” or “Funds” section. Look for the option to generate a new Bitcoin address and follow the instructions provided by the exchange.
Method 2: Using a Bitcoin Wallet App
If you prefer to use a dedicated Bitcoin wallet app, there are many to choose from, such as Electrum, Exodus, or Mycelium. Download and install the app of your choice from a trusted source, then follow the app’s instructions to create a new Bitcoin wallet. Once your wallet is set up, you will be able to generate a Bitcoin address within the app.
Regardless of the method you choose, it’s important to note that each Bitcoin wallet address is unique and should only be used for receiving Bitcoin. Sharing your Bitcoin address publicly is safe, as it only allows others to send you Bitcoin and does not provide access to your wallet’s private keys or funds.
Once you have generated a Bitcoin wallet address, you are ready to proceed to the next step: sending Bitcoin to your Metamask wallet.
Step 3: Copy the Bitcoin Address
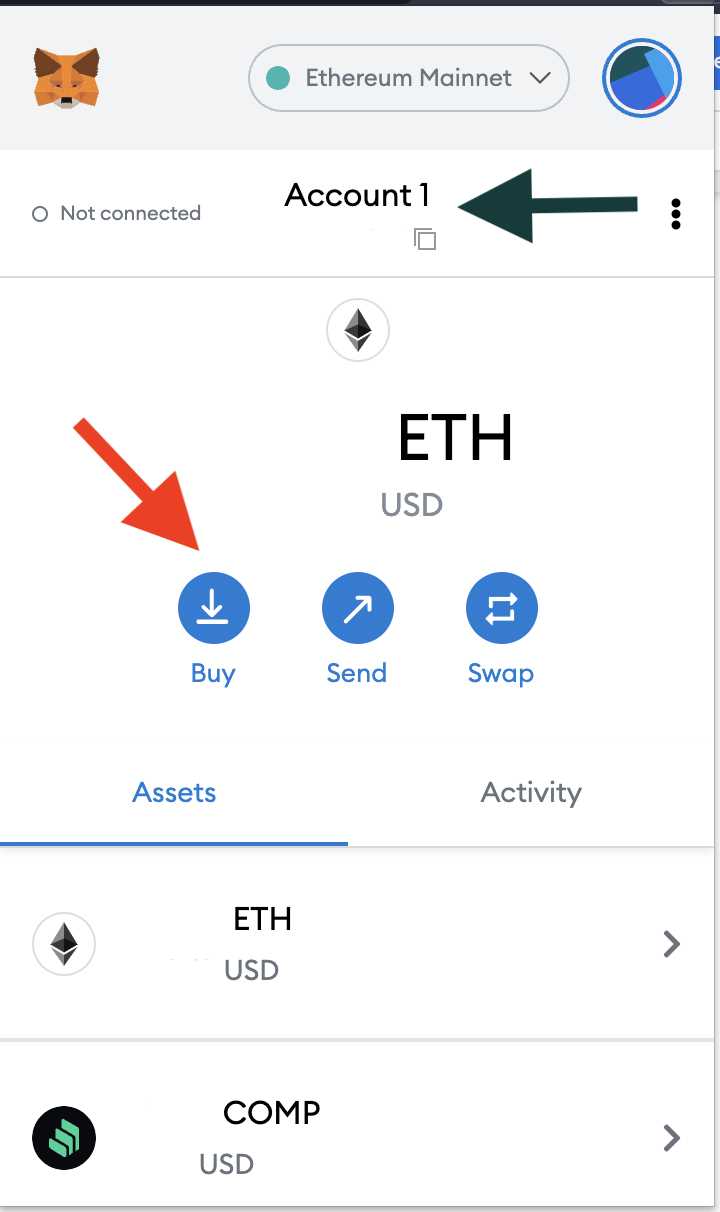
After installing Metamask and launching the application, go to the “Assets” tab. Here, you will find a list of different cryptocurrencies, including Bitcoin.
To copy your Bitcoin address, click on the Bitcoin logo. This will reveal your unique Bitcoin address. You can click on the address to copy it to your clipboard.
Alternatively, you can also click on the “Receive” button next to the Bitcoin logo. This will open a pop-up window with your Bitcoin address displayed. You can click on the address to copy it.
Make sure to double-check the address before proceeding with the transaction. Any mistake in the address may result in the loss of your funds.
Once you have copied the Bitcoin address, you can proceed to the next step, which involves sending Bitcoin from your wallet to your Metamask account.
Step 4: Send Bitcoin to Metamask
Once you have set up your Metamask wallet and have your Bitcoin address ready, you can now send Bitcoin to your Metamask wallet. Here’s how:
1. Open Your Bitcoin Wallet
Open your Bitcoin wallet or exchange account where you have your Bitcoin stored.
2. Locate the Send or Withdraw Bitcoin Option
Find the option to send or withdraw Bitcoin from your wallet or exchange account. This option may be labeled differently depending on the platform you are using.
3. Enter Your Metamask Bitcoin Address
In the recipient or destination address field, enter your Metamask Bitcoin address. Make sure to double-check the address to avoid any errors. This address starts with “0x” and is a long string of alphanumeric characters.
4. Specify the Amount
Specify the amount of Bitcoin you want to send to your Metamask wallet. Make sure you have enough balance in your wallet or exchange account to complete the transaction.
5. Confirm the Transaction
Review the transaction details and confirm the transaction. Depending on your wallet or exchange, you may need to input your password or provide additional security measures to authorize the transaction.
6. Wait for Confirmation
Wait for the Bitcoin network to confirm the transaction. This process may take some time, especially during periods of high network activity. You can track the progress of the transaction using a blockchain explorer.
7. Check Your Metamask Wallet
Once the transaction is confirmed, you should see the Bitcoin balance in your Metamask wallet. You can access your Metamask wallet by clicking on the extension icon in your browser and entering your password.
Congratulations! You have successfully sent Bitcoin to your Metamask wallet.
Note: Sending Bitcoin to your Metamask wallet incurs transaction fees. Make sure to consider these fees when sending smaller amounts of Bitcoin.
Frequently Asked Questions:
What is Metamask?
Metamask is a cryptocurrency wallet that allows users to store, send, and receive digital currencies, including Bitcoin.
How can I send Bitcoin to Metamask?
To send Bitcoin to Metamask, you will need to have a Bitcoin wallet and your Metamask wallet address. You can then initiate a transaction from your Bitcoin wallet, enter the recipient address as your Metamask wallet address, and confirm the transaction.
Can I send other cryptocurrencies to Metamask?
Yes, Metamask supports a wide range of cryptocurrencies. Aside from Bitcoin, you can also send Ethereum, ERC-20 tokens, and other compatible digital assets to your Metamask wallet.
Are there any fees involved when sending Bitcoin to Metamask?
Yes, there are fees associated with sending Bitcoin. These fees are paid to miners who process and confirm Bitcoin transactions. The fee amount can vary depending on network congestion and other factors, so it’s important to check the current fees before sending your Bitcoin to Metamask.
+ There are no comments
Add yours