


Are you interested in participating in the exciting world of cryptocurrency? Have you heard about ERC20 tokens and want to know how to use them with MetaMask? Look no further! This comprehensive guide will walk you through the process step by step, so you can start trading and investing in ERC20 tokens with confidence.
MetaMask is a popular browser extension that serves as a digital wallet for Ethereum and ERC20 tokens. It allows you to securely store, manage, and interact with your tokens directly from your web browser. With MetaMask, you can easily connect to decentralized applications (dApps) and explore the vast ecosystem of ERC20 tokens.
In this guide, we will cover everything you need to know to get started with MetaMask and ERC20 tokens. We will explain how to install and set up MetaMask, how to add ERC20 tokens to your wallet, and how to send and receive tokens. Additionally, we will provide tips and best practices to ensure the security of your tokens and avoid common pitfalls.
Whether you’re a crypto enthusiast, a seasoned trader, or just curious about ERC20 tokens, this guide will equip you with the knowledge and tools to navigate the world of MetaMask and make the most of your ERC20 token investments.
What is MetaMask?

MetaMask is a browser extension that allows users to interact with the Ethereum blockchain. It serves as a digital wallet, enabling users to manage their Ether and ERC20 tokens safely and securely.
With MetaMask, users can access decentralized applications (dApps) and sign transactions without exposing their private keys. This makes it a convenient tool for interacting with the world of decentralized finance (DeFi), including trading tokens, lending and borrowing, and participating in decentralized exchanges (DEXs).
MetaMask also provides users with a convenient way to switch between different Ethereum networks, such as the mainnet, testnets, and custom networks. This allows them to test and explore new dApps or deploy their own smart contracts on dedicated networks.
In addition to its desktop browser extension, MetaMask also offers a mobile app for both iOS and Android devices. This makes it even more accessible for users who prefer to manage their Ethereum assets on the go.
Overall, MetaMask is an essential tool for anyone looking to interact with ERC20 tokens and the broader Ethereum ecosystem. It provides a secure and user-friendly interface for managing Ethereum assets and accessing decentralized applications.
How to Use MetaMask for ERC20 Tokens

MetaMask is a popular Ethereum wallet and bridge that allows users to manage, store, and interact with ERC20 tokens. If you’re new to MetaMask and want to learn how to use it for ERC20 tokens, this guide will walk you through the process step by step.
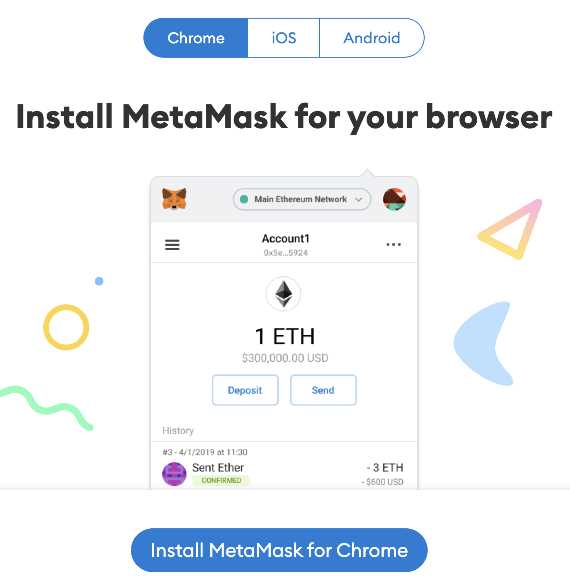
Step 1: Install MetaMask
The first step is to install the MetaMask extension to your web browser. Simply search for “MetaMask” in your browser’s extension store, click on the MetaMask extension, and follow the installation instructions.
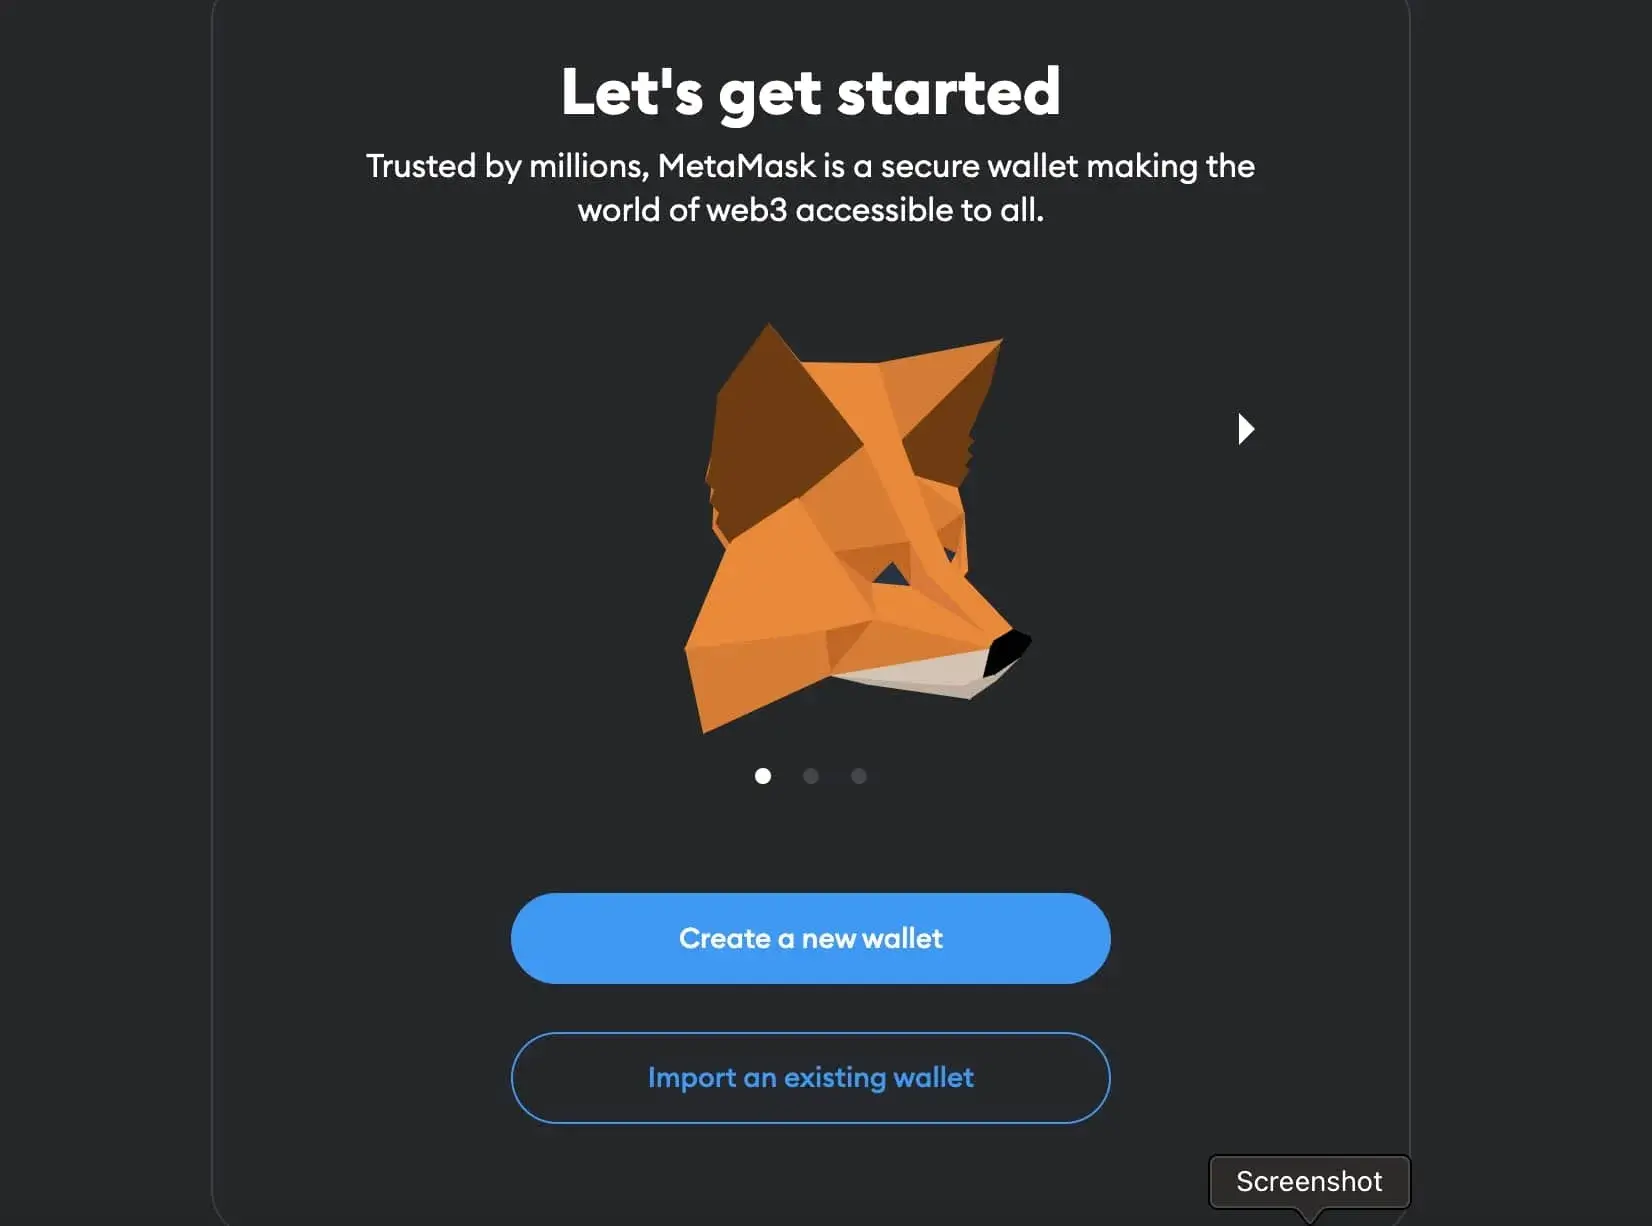
Step 2: Create or Import a Wallet
Once MetaMask is installed, click on the MetaMask icon in your browser toolbar. If you’re a new user, you’ll need to create a new wallet. Click on “Create a Wallet,” set a strong password, and follow the on-screen instructions to create your wallet mnemonic. If you already have a wallet, click on “Import Wallet” and enter your wallet mnemonic to access your existing wallet.
Step 3: Connect to the Ethereum Network
After setting up or importing your wallet, MetaMask will prompt you to connect to the Ethereum network. Choose the network you want to use, such as the Ethereum Mainnet or a test network like Ropsten, Rinkeby, or Kovan. Once selected, your MetaMask wallet will be connected to that network.
Step 4: Add ERC20 Tokens
To start using ERC20 tokens with MetaMask, you’ll need to add the tokens to your wallet. Click on the MetaMask extension icon and navigate to the “Assets” tab. Under the “Tokens” section, click on “Add Token” and enter the token contract address, symbol, and decimal places. Once entered, the token will be added to your MetaMask wallet.
Step 5: Send and Receive ERC20 Tokens
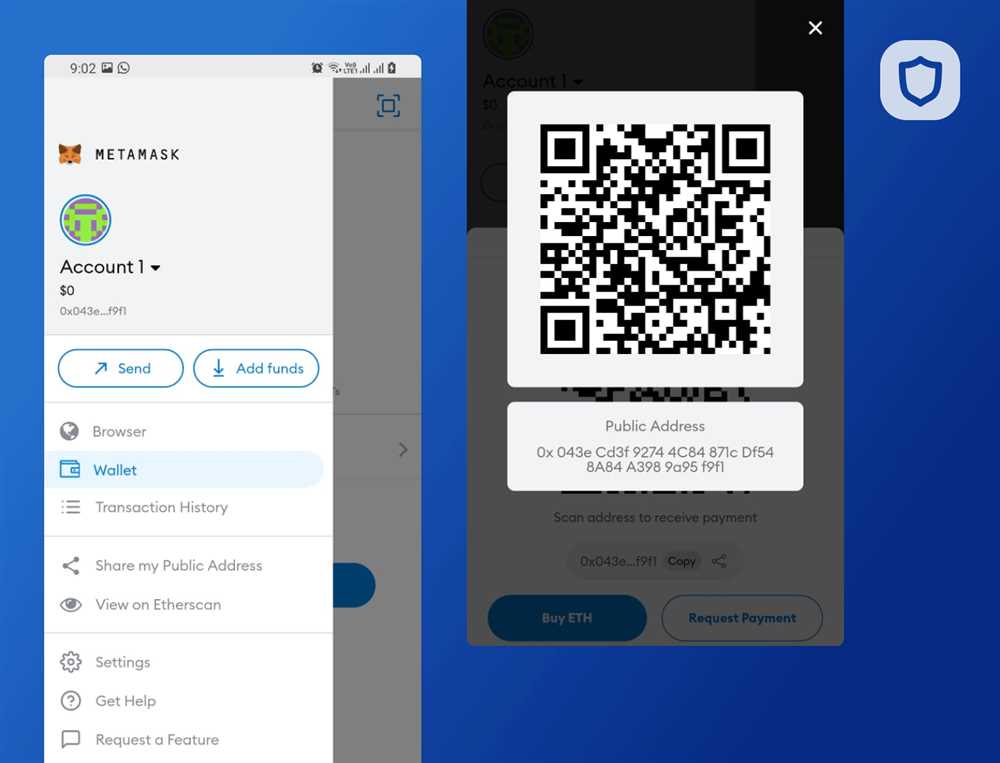
With the ERC20 tokens added to your MetaMask wallet, you can now send and receive them. To send tokens, click on the MetaMask extension icon, select the token you want to send from the “Assets” tab, click on “Send,” enter the recipient’s address, and the amount you want to send. To receive tokens, share your wallet address with the sender and they can send the tokens directly to your wallet.
Step 6: Interact with ERC20 Tokens
MetaMask also allows you to interact with ERC20 tokens on decentralized exchanges (DEXs) and other dApps. You can use your MetaMask wallet to trade tokens on platforms like Uniswap, SushiSwap, or Balancer, or participate in token sales and other token-based activities.
Overall, MetaMask is a powerful and user-friendly wallet that makes it easy to store, manage, and interact with ERC20 tokens. By following these steps, you’ll be able to use MetaMask with ERC20 tokens and take full advantage of the growing Ethereum ecosystem.
Benefits of Using MetaMask with ERC20 Tokens
MetaMask is a popular cryptocurrency wallet that allows users to manage their Ethereum-based assets, including ERC20 tokens. Here are some of the benefits of using MetaMask with ERC20 tokens:
1. Security
MetaMask provides users with a secure and encrypted way to store their ERC20 tokens. By leveraging the security features of the Ethereum network, MetaMask ensures that your tokens are safe from unauthorized access.
2. Convenience
With MetaMask, you can easily manage your ERC20 tokens directly from your web browser. This eliminates the need to download and install separate wallet applications, making it more convenient for users to access and transact with their tokens.
3. User-Friendly Interface
MetaMask offers a user-friendly interface that makes it easy for both beginners and experienced users to interact with ERC20 tokens. The wallet provides clear and intuitive options for sending, receiving, and managing tokens, allowing users to navigate the wallet effortlessly.
4. Compatibility
MetaMask is compatible with a wide range of Ethereum-based applications and platforms. This means that you can easily integrate MetaMask with various decentralized applications (dapps) and access additional features and functionalities offered by these platforms.
5. Seamless Token Swapping
MetaMask allows users to seamlessly swap ERC20 tokens without leaving the wallet. Through its integration with decentralized exchanges (DEXs) such as Uniswap, users can easily exchange one ERC20 token for another, enhancing liquidity and accessibility for token holders.
6. Transaction Visibility
When using MetaMask with ERC20 tokens, users have full visibility and control over their transactions. You can easily track and monitor your token transfers, ensuring that your transactions are executed correctly and promptly.
7. Community Support
As one of the most popular Ethereum wallets, MetaMask has a thriving community that provides support, guidance, and resources to users. If you encounter any issues or have questions about using MetaMask with ERC20 tokens, there are numerous forums and online communities available to help you.
| Benefit | Description |
|---|---|
| Security | MetaMask ensures the secure storage of ERC20 tokens. |
| Convenience | Access and manage ERC20 tokens directly from your web browser. |
| User-Friendly Interface | Intuitive interface for easy interaction with ERC20 tokens. |
| Compatibility | Compatible with various Ethereum-based platforms and applications. |
| Seamless Token Swapping | Easily swap ERC20 tokens without leaving the MetaMask wallet. |
| Transaction Visibility | Full visibility and control over ERC20 token transactions. |
| Community Support | Active community providing support and resources. |
Troubleshooting and Tips for Using MetaMask with ERC20 Tokens

When using MetaMask with ERC20 tokens, you may encounter some issues or have questions about certain features. Here are some troubleshooting tips and helpful suggestions to ensure a smooth experience:
1. Confirming Sufficient Ethereum Balance
Before attempting any ERC20 token transactions, make sure you have a sufficient balance of Ethereum in your MetaMask wallet. ERC20 tokens rely on Ethereum’s blockchain network, so you need to have enough Ether to cover the transaction fees. If you have a low balance, consider adding more funds to your wallet.
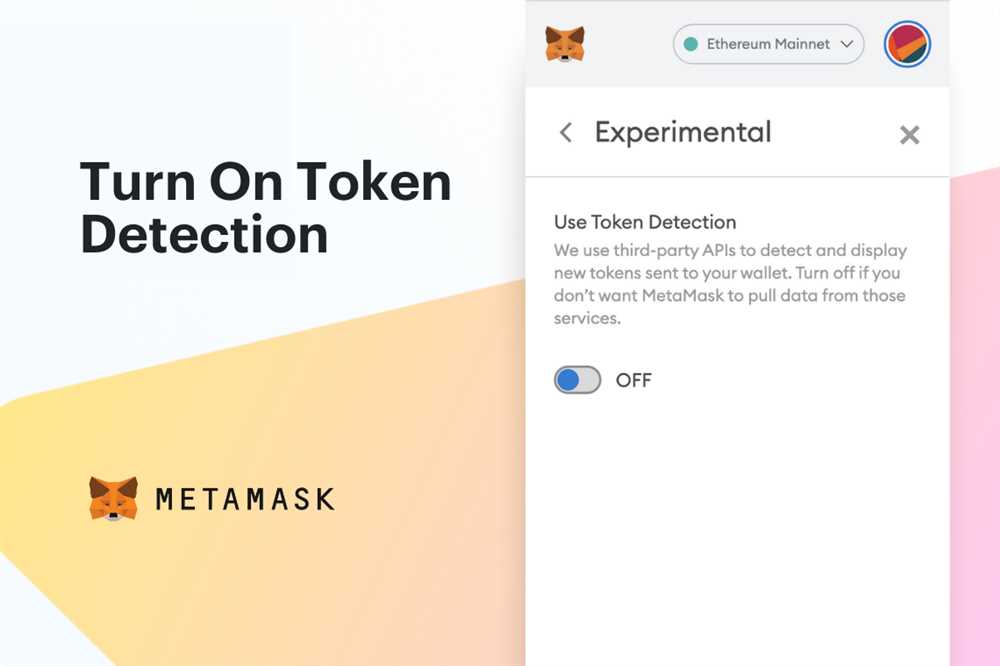
2. Adding Custom ERC20 Tokens to MetaMask
If you don’t see your ERC20 tokens automatically listed in your MetaMask wallet, you can manually add them by following these steps:
| Step | Description |
|---|---|
| Step 1 | Click on the MetaMask extension icon in your browser toolbar. |
| Step 2 | Click on the menu button (three horizontal lines) in the top-right corner of the MetaMask window. |
| Step 3 | Select “Add Token” from the drop-down menu. |
| Step 4 | Enter the contract address, token symbol, and decimal places for the ERC20 token you want to add. |
| Step 5 | Click “Add” to confirm and add the token to your wallet. |
3. Double-Checking Transactions
When sending ERC20 tokens, it’s crucial to double-check all the transaction details before confirming. Pay close attention to the recipient’s address, the token amount, and the transaction fee. An incorrect address or token amount can result in permanent loss of funds. Consider copying and pasting addresses to minimize the risk of typing errors.
4. Checking Network Compatibility
ERC20 tokens can be issued on different blockchain networks, such as Ethereum, Binance Smart Chain, or Polygon. Ensure that the network you are using with MetaMask is compatible with the ERC20 token you want to interact with. Otherwise, you won’t be able to view or transact with the token. To switch networks, click on the network name in the MetaMask window and select the appropriate network from the drop-down menu.
5. Contacting Support
If you encounter any technical issues or have specific questions about using MetaMask with ERC20 tokens, don’t hesitate to reach out to the MetaMask support team. They can provide guidance and assistance to help resolve any problems you may be facing.
By following these troubleshooting tips and utilizing the functionalities provided by MetaMask, you can confidently use ERC20 tokens and enjoy their benefits within the decentralized finance ecosystem. Always prioritize security and double-check all transaction details to avoid any potential losses.
Frequently Asked Questions:
What is MetaMask?
MetaMask is a web browser extension that allows users to interact with the Ethereum blockchain. It acts as a wallet, enabling users to store, manage, and transfer their ERC20 tokens.
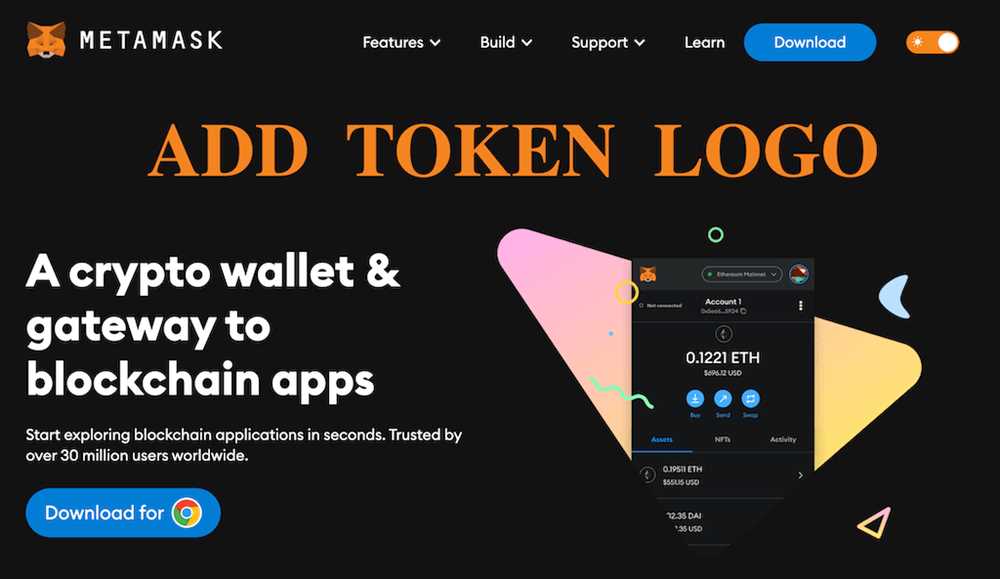
How do I install MetaMask?
To install MetaMask, first open your web browser and go to the MetaMask website. From there, click on the “Get MetaMask” button and follow the instructions to install the extension. Once installed, a fox icon will appear in your browser toolbar.
+ There are no comments
Add yours