


Are you ready to take your cryptocurrency security to the next level? With the Ledger hardware wallet and Metamask Mobile, you can securely store and manage your digital assets on the go. In this guide, we’ll walk you through the process of setting up and using Ledger with Metamask Mobile, so you can have peace of mind knowing that your cryptocurrencies are safe and sound.
First things first, let’s get your Ledger hardware wallet set up. Start by connecting your Ledger device to your computer or smartphone. Follow the instructions on the Ledger device’s screen to set up a new wallet or restore an existing one. Make sure to write down and securely store your recovery phrase, as this is your backup in case your Ledger device is lost, stolen, or damaged.
Once your Ledger wallet is set up, it’s time to integrate it with Metamask Mobile. Download and install the Metamask Mobile app from the app store on your smartphone. Open the app and click on the “Get Started” button. On the next screen, choose the “Hardware” option, and then select “Ledger” as your hardware provider. Follow the on-screen instructions to connect your Ledger device to the app.
Now that your Ledger wallet is connected to Metamask Mobile, you can start managing your cryptocurrencies. Use the app to view your account balance, send and receive funds, and interact with decentralized applications (dApps) on the Ethereum network. Metamask Mobile provides a user-friendly interface that makes it easy to navigate and manage your digital assets securely.
Remember, the key to keeping your cryptocurrencies safe is to never share your recovery phrase with anyone and to always verify the addresses you are sending funds to. By using Ledger with Metamask Mobile, you can enjoy the convenience of managing your digital assets on the go, without compromising on security. So go ahead, set up your Ledger with Metamask Mobile and take control of your cryptocurrencies today!
Getting Started with Ledger
If you’re new to using a Ledger wallet with Metamask Mobile, here is a step-by-step guide to help you get started.
Step 1: Setting up your Ledger Wallet
To get started, you’ll need to set up your Ledger wallet. First, connect your Ledger device to your computer and follow the instructions to set up a new wallet. Make sure to choose a strong PIN code and write down your recovery phrase in a safe place. This recovery phrase will be used to restore your wallet in case your device is lost or damaged.
Step 2: Installing the Metamask Mobile App
Once your Ledger wallet is set up, you’ll need to install the Metamask Mobile app on your smartphone. Go to the App Store (iOS) or Google Play Store (Android) and search for “Metamask”. Download and install the app on your device.
Step 3: Connecting Ledger to Metamask Mobile
Open the Metamask Mobile app and tap on the “Get Started” button. Follow the on-screen instructions to create a new wallet or import an existing one. When prompted to choose a wallet type, select “Hardware wallet”. Connect your Ledger device to your smartphone using a USB cable or Bluetooth and select “Ledger” as the hardware wallet provider. Follow the prompts on both your smartphone and Ledger device to complete the connection.
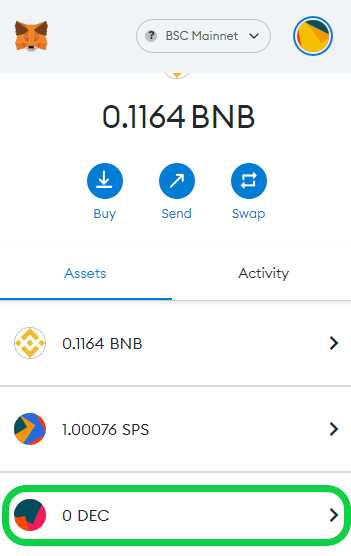
Once connected, you’ll be able to manage your Ledger wallet directly from the Metamask Mobile app. You can view your account balance, send and receive transactions, and interact with decentralized applications (dApps) on the Ethereum network.
Remember to always keep your Ledger device and recovery phrase secure. Do not share your recovery phrase with anyone and be cautious of phishing attempts. With your Ledger wallet and Metamask Mobile app, you can experience secure and convenient cryptocurrency management on the go.
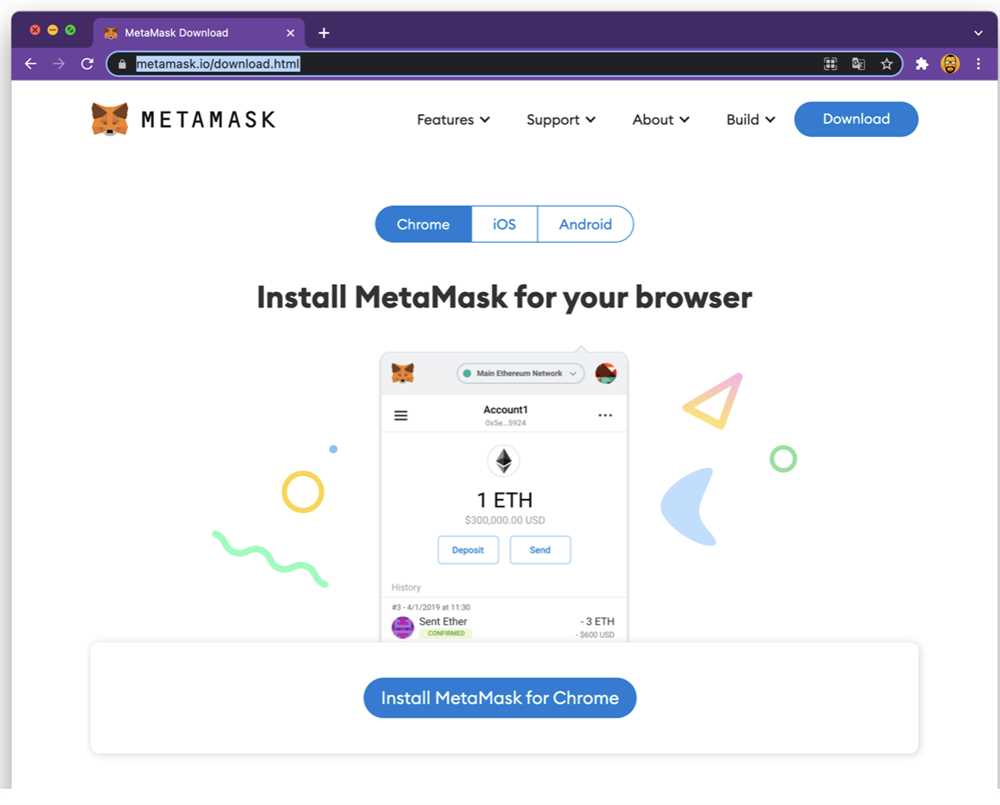
Installing Metamask Mobile

Metamask Mobile is a mobile application that allows you to access the Ethereum blockchain and interact with decentralized applications (dApps) on your smartphone or tablet. Follow the steps below to install Metamask Mobile on your device:
- Open the App Store (iOS) or Google Play Store (Android) on your mobile device.
- Search for Metamask in the search bar.
- Tap on the Metamask app icon when it appears in the search results.
- Click the Install button to download and install the app on your device.
- Once the installation is complete, open the Metamask app.
- Read and accept the Terms of Service and Privacy Policy to continue.
- Create a new wallet by tapping on the Create a Wallet button.
- Set a secure password for your wallet and confirm it.
- Write down the backup seed phrase provided by Metamask. This seed phrase is used to restore your wallet if you lose access to your device.
- Tapping on the seed phrase will show the individual words. Make sure to write them down in the correct order and keep them in a safe place.
- Confirm the seed phrase by selecting the words in the correct order.
- Your Metamask Mobile wallet is now set up and ready to use!
With Metamask Mobile installed on your device, you can now connect it to your Ledger hardware wallet and start securely managing your Ethereum assets. The next section will guide you through the process.
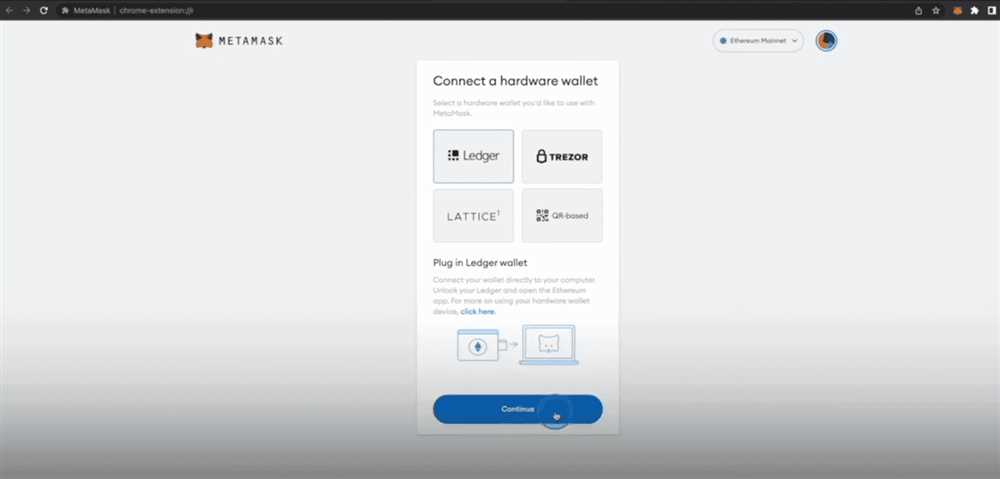
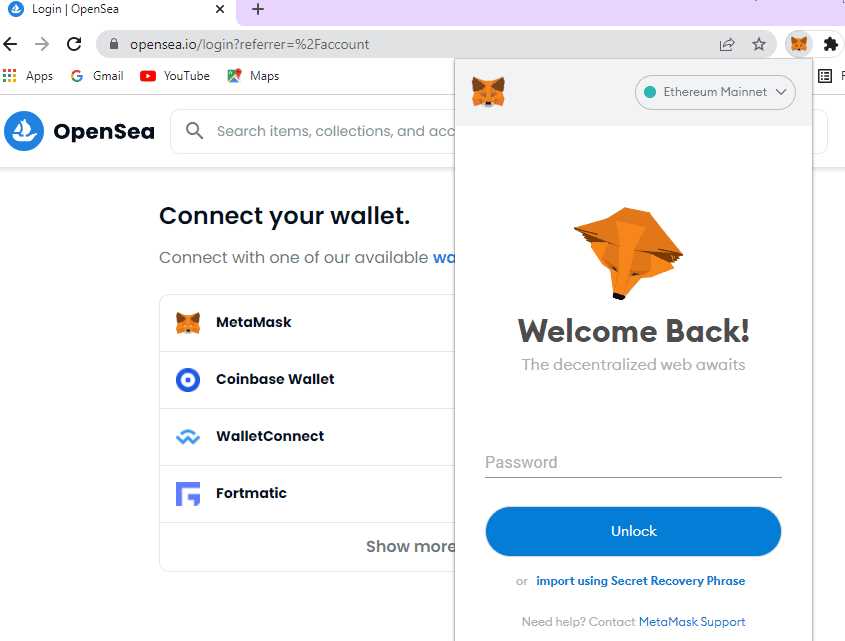
Connecting Ledger to Metamask Mobile

In order to connect your Ledger hardware wallet to Metamask Mobile, you will need to follow these steps:
Step 1: Install Metamask Mobile
If you haven’t already, download and install the Metamask Mobile app on your device from the App Store (iOS) or Google Play Store (Android).
Step 2: Launch Metamask Mobile
Open the Metamask Mobile app on your device and create a new wallet or import your existing wallet using the mnemonic phrase or private key.
Step 3: Connect Your Ledger
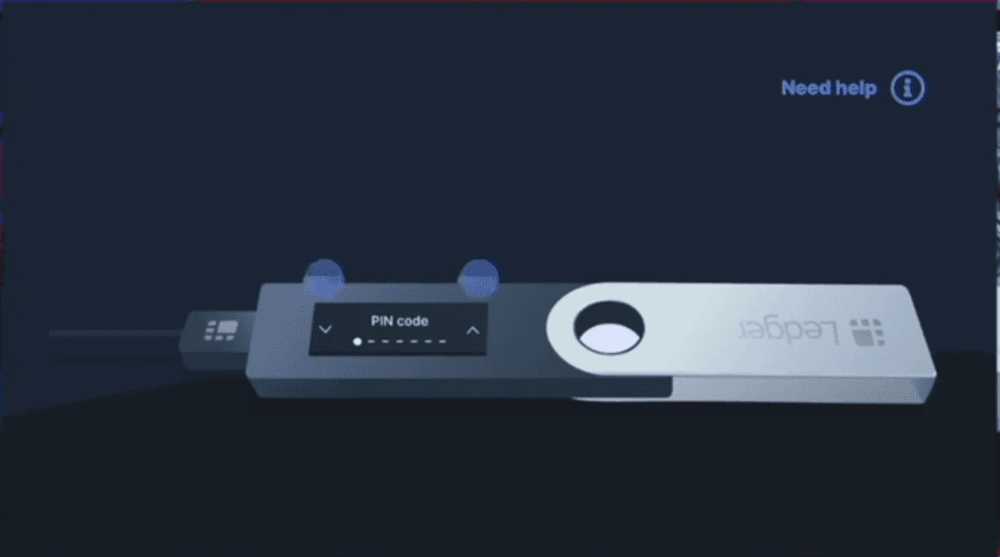
Connect your Ledger hardware wallet to your computer using the USB cable and enter your PIN code to unlock it.
Step 4: Open Metamask Settings
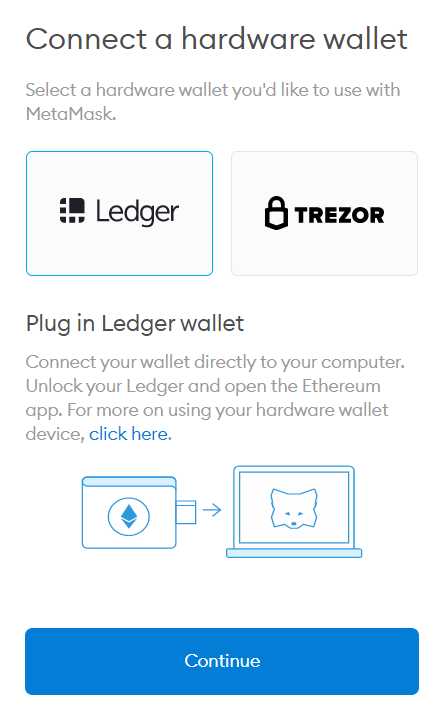
In the Metamask Mobile app, go to the Settings tab and select “Connect Hardware Wallet.”
Step 5: Choose Your Ledger Model
Select the Ledger model you are using from the list of supported devices. Make sure your Ledger device is connected and unlocked.
Step 6: Confirm Connection
Follow the on-screen instructions to confirm the connection between your Ledger hardware wallet and Metamask Mobile. Verify the address displayed on your Ledger device matches the one shown in the app.
Once the connection is established, you can use your Ledger hardware wallet to securely manage and transact with your Ethereum and other supported cryptocurrencies on the Metamask Mobile app.
Using Ledger with Metamask Mobile
If you want to enhance the security of your Metamask Mobile wallet, you can connect it with a Ledger hardware wallet. This will allow you to securely manage your Ethereum and ERC-20 tokens directly from your Ledger device. Follow these steps to set up and use Ledger with Metamask Mobile:
Step 1: Install Metamask Mobile
If you haven’t already, download and install the Metamask Mobile app from the App Store or Google Play Store. Once installed, open the app and create a new wallet or import your existing Metamask wallet.
Step 2: Connect your Ledger device
Connect your Ledger device to your mobile device using a USB cable or Bluetooth. Make sure your Ledger device has the latest firmware installed and is unlocked.
Step 3: Connect Ledger to Metamask Mobile
In the Metamask Mobile app, go to Settings and select “Security & Privacy”. Then, tap on “Connect Hardware Wallet” and choose “Ledger”. Follow the on-screen instructions to connect your Ledger device to Metamask Mobile.
Note: If you encounter any issues during the connection process, ensure that you have the latest versions of both the Ledger Live software and the Metamask Mobile app. You can also try reconnecting your Ledger device and restarting the app.
Step 4: Access your accounts
Once your Ledger device is successfully connected to Metamask Mobile, you can access your Ledger accounts by going to the Accounts tab in the app. Your Ledger accounts will be displayed along with your other wallets.
Step 5: Make transactions
To send or receive Ethereum or ERC-20 tokens, simply select the desired account and tap on “Send” or “Receive”. Follow the on-screen instructions to complete the transaction.
Remember to always verify the transaction details on your Ledger device before confirming.
Using Ledger with Metamask Mobile adds an extra layer of security to your crypto assets. Your private keys never leave your Ledger device, ensuring that you have full control and ownership of your funds. Enjoy the peace of mind that comes with using a hardware wallet.
Frequently Asked Questions:
What is Ledger?
Ledger is a hardware wallet that provides secure storage and management of cryptocurrencies. It is a physical device that keeps the private keys needed to access your funds offline, offering a higher level of security compared to software wallets.
Can I use Ledger with Metamask Mobile for multiple cryptocurrencies?
Yes, you can use Ledger with Metamask Mobile for multiple cryptocurrencies. Ledger supports a wide range of cryptocurrencies, including Bitcoin, Ethereum, ERC-20 tokens, and many others. By using Metamask Mobile with your Ledger device, you can manage all these cryptocurrencies in one place and enjoy the added security provided by the hardware wallet.
+ There are no comments
Add yours