


Rinkeby Network is a popular Ethereum test network used by developers to test and deploy smart contracts before launching them on the main Ethereum network. It provides a secure and easy-to-use environment for experimenting and debugging decentralized applications.
If you’re a developer or someone interested in Ethereum development, adding Rinkeby network to Metamask is a crucial step. Metamask is a browser extension that allows you to interact with Ethereum decentralized applications directly from your browser. By adding Rinkeby network to Metamask, you can seamlessly test and deploy your smart contracts on the Rinkeby network without risking your real Ethereum assets.
This tutorial will guide you through the process of adding Rinkeby network to Metamask, step by step. By the end of this tutorial, you will be able to switch between Rinkeby network and the main Ethereum network with ease, unlocking a world of possibilities for Ethereum development and testing.
Unlocking Rinkeby Network: A Complete Tutorial
Welcome to this tutorial on unlocking the Rinkeby network! In this guide, we will walk you through the steps required to add the Rinkeby network to your MetaMask wallet. This will enable you to interact with decentralized applications (DApps) and test your smart contracts on the Rinkeby test network.
Requirements
In order to follow this tutorial, you will need:
- A MetaMask wallet installed on your browser. If you don’t have it yet, you can download it from the official MetaMask website and set it up.
- A Rinkeby test network account. If you don’t have one, don’t worry, we will guide you on how to create a Rinkeby account in the next steps.
Creating a Rinkeby Account
To create a Rinkeby account, follow these steps:
- Open the MetaMask extension and click on the account dropdown.
- Click on “Create Account” and choose a name for your account.
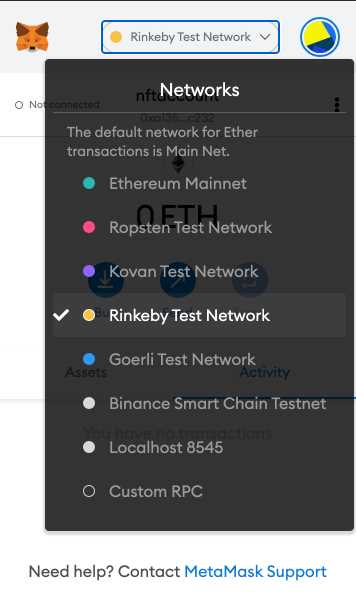
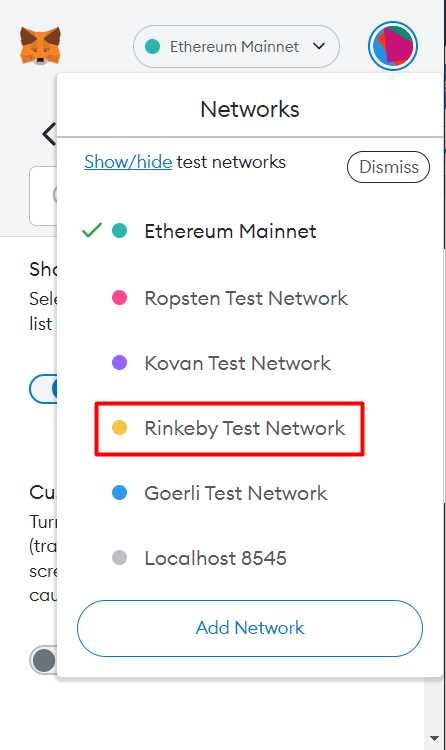
- In the next screen, you will be presented with a list of available networks. Click on the “Rinkeby Test Network” option.
- Once you have selected Rinkeby, click on “Next” to proceed.
- Record your seed phrase in a safe place. This phrase is crucial for recovering your account if you lose access to it. Make sure to keep it private and secure.
- Confirm your seed phrase by entering the words in the correct order.
- Congratulations! You have successfully created a Rinkeby account on MetaMask.
Adding Rinkeby Network to MetaMask
Now that you have a Rinkeby account, let’s add the Rinkeby network to your MetaMask wallet:
- Open the MetaMask extension and click on the account dropdown.
- Click on the settings icon in the top right corner.
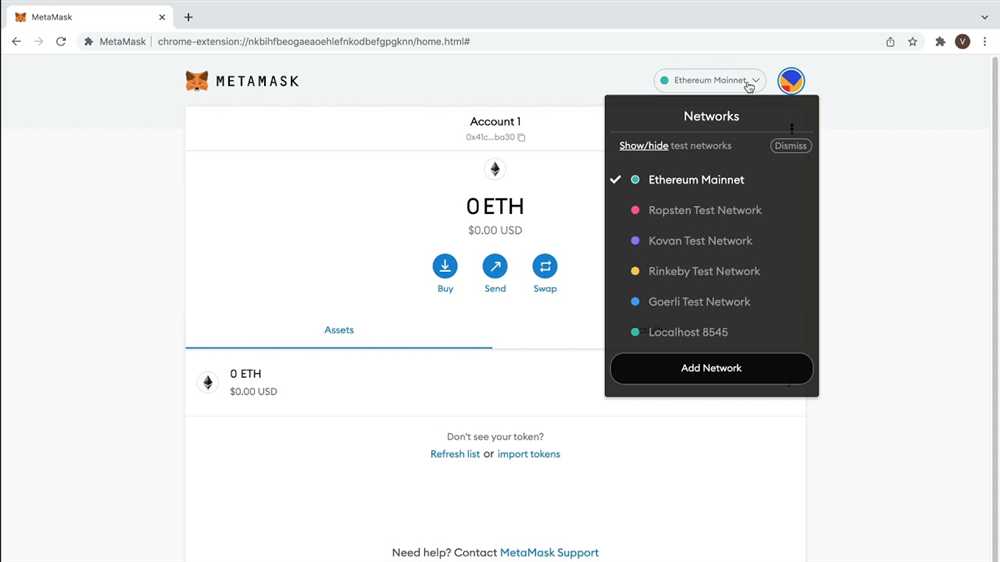
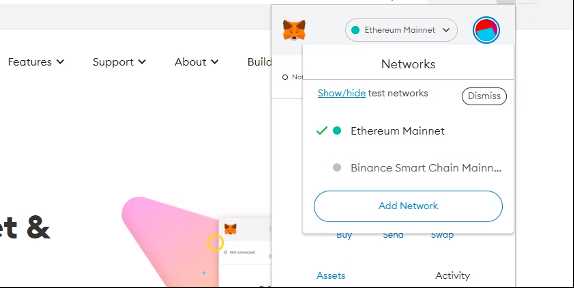
- In the settings menu, select “Networks”.
- Scroll down and click on “Add Network”.
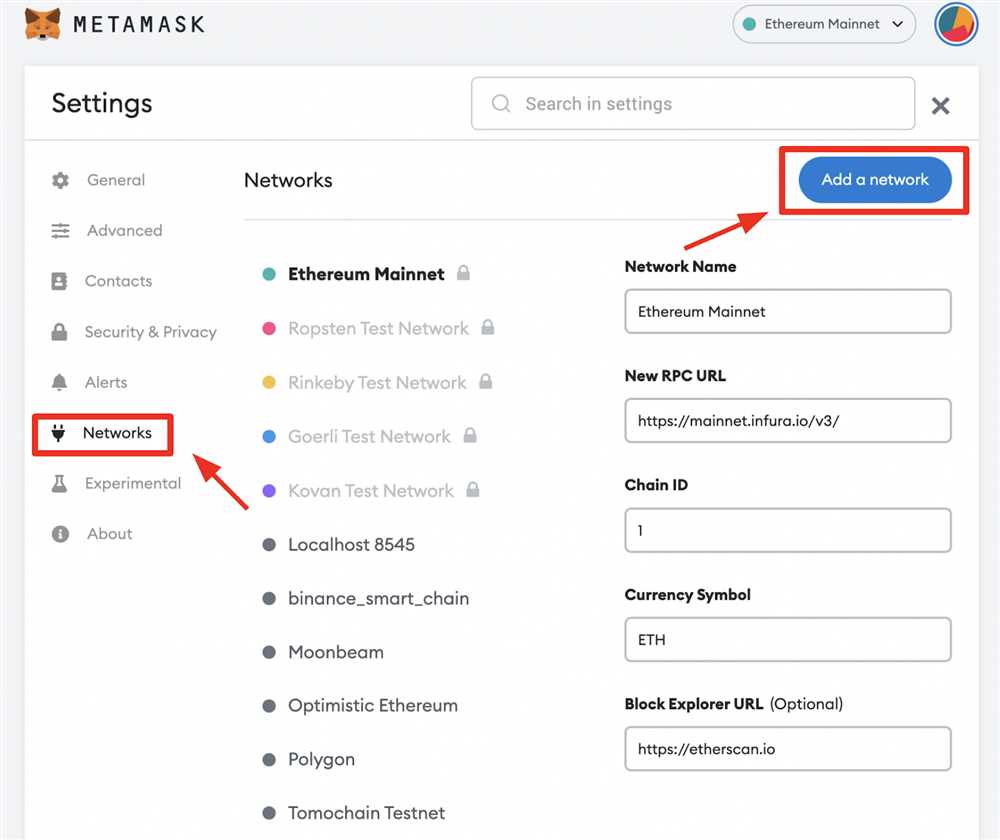
- Enter the following details:
- Network Name: Rinkeby
- New RPC URL: https://rinkeby.ethereum.org
- Chain ID: 4
- Symbol: ETH
- Explorer URL: https://rinkeby.etherscan.io
- Click on “Save” to add the Rinkeby network.
That’s it! You have successfully unlocked the Rinkeby network on MetaMask. Now you can start testing your DApps and smart contracts on the Rinkeby test network. Happy coding!
Adding Rinkeby Network to Metamask
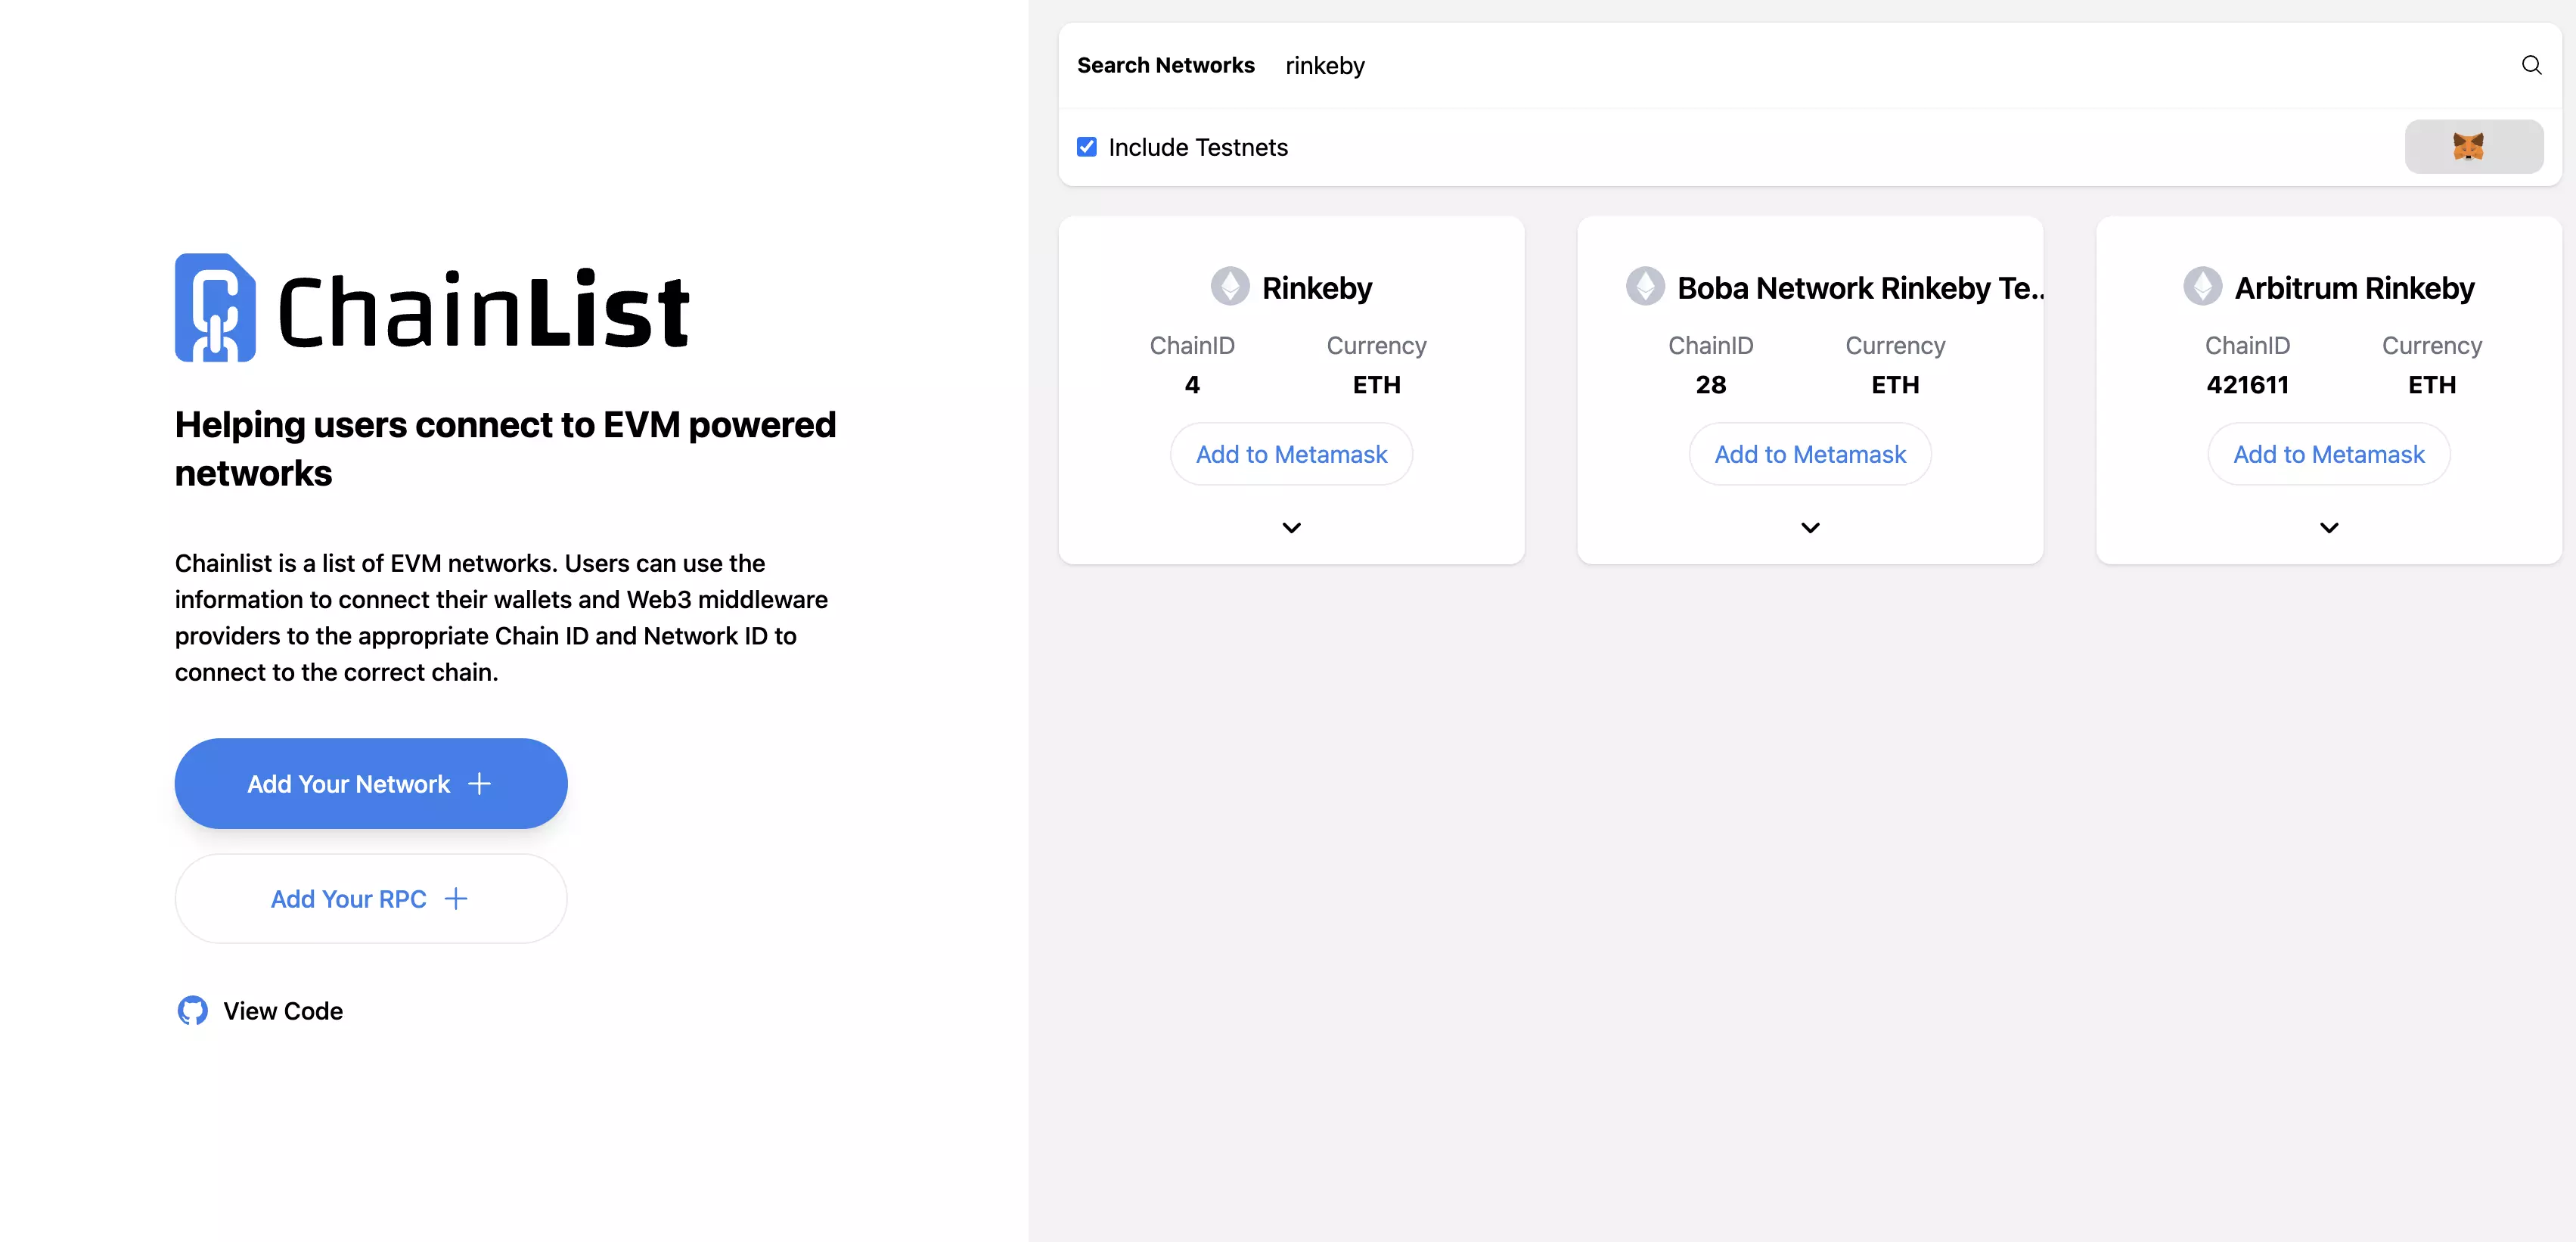
If you’re using Metamask to interact with the Ethereum network, you may want to add the Rinkeby network to your list of available networks. Rinkeby is a test network that allows you to deploy and test smart contracts without using real Ether. Here’s how you can add Rinkeby to Metamask:
1. Open your Metamask wallet and make sure you’re on the main network.
2. Click on the network dropdown menu and select “Custom RPC”.
3. In the “New Network” tab, fill in the following details:
- Network Name: Rinkeby
- New RPC URL: https://rinkeby.infura.io/v3/YOUR_INFURA_PROJECT_ID
- Chain ID: 4
- Currency Symbol: ETH
4. Click “Save” to add Rinkeby to your list of networks.
5. Now you should see Rinkeby as an available network in the network dropdown menu. Select Rinkeby to switch to the Rinkeby network.
That’s it! You’ve successfully added Rinkeby network to Metamask. Now you can use Rinkeby to deploy and test your smart contracts without spending real Ether.
Setting up Metamask for Rinkeby Network
In order to interact with the Rinkeby network on Metamask, you will need to follow these steps to set it up:
Step 1: Install the Metamask extension in your browser.
If you already have Metamask installed, you can skip to step 3.
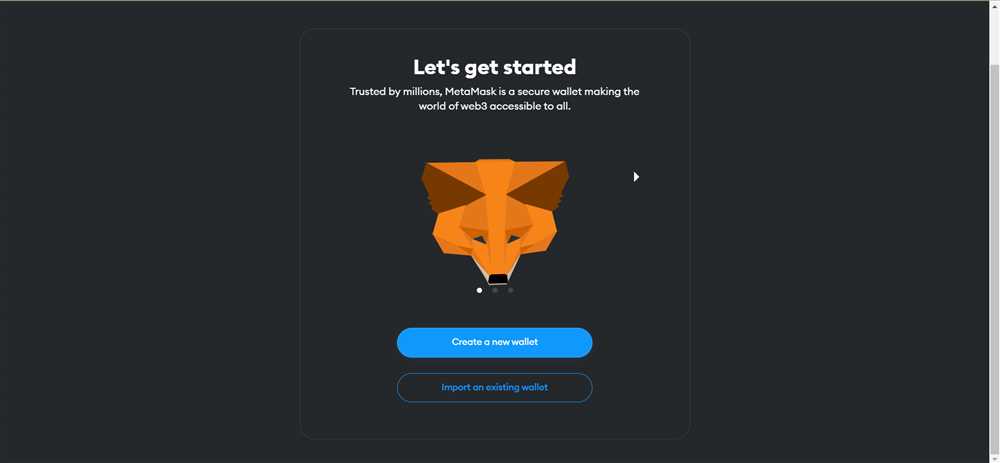
Step 2: Create a new Metamask wallet or import an existing one.
If you are creating a new wallet, make sure to carefully follow the instructions and securely store your recovery phrase.
Step 3: Once you have installed Metamask, click on the extension icon in your browser to open it.
Step 4: If you already have an existing Metamask wallet, log in with your credentials. Otherwise, click on “Get Started” and follow the instructions to set up a new wallet.
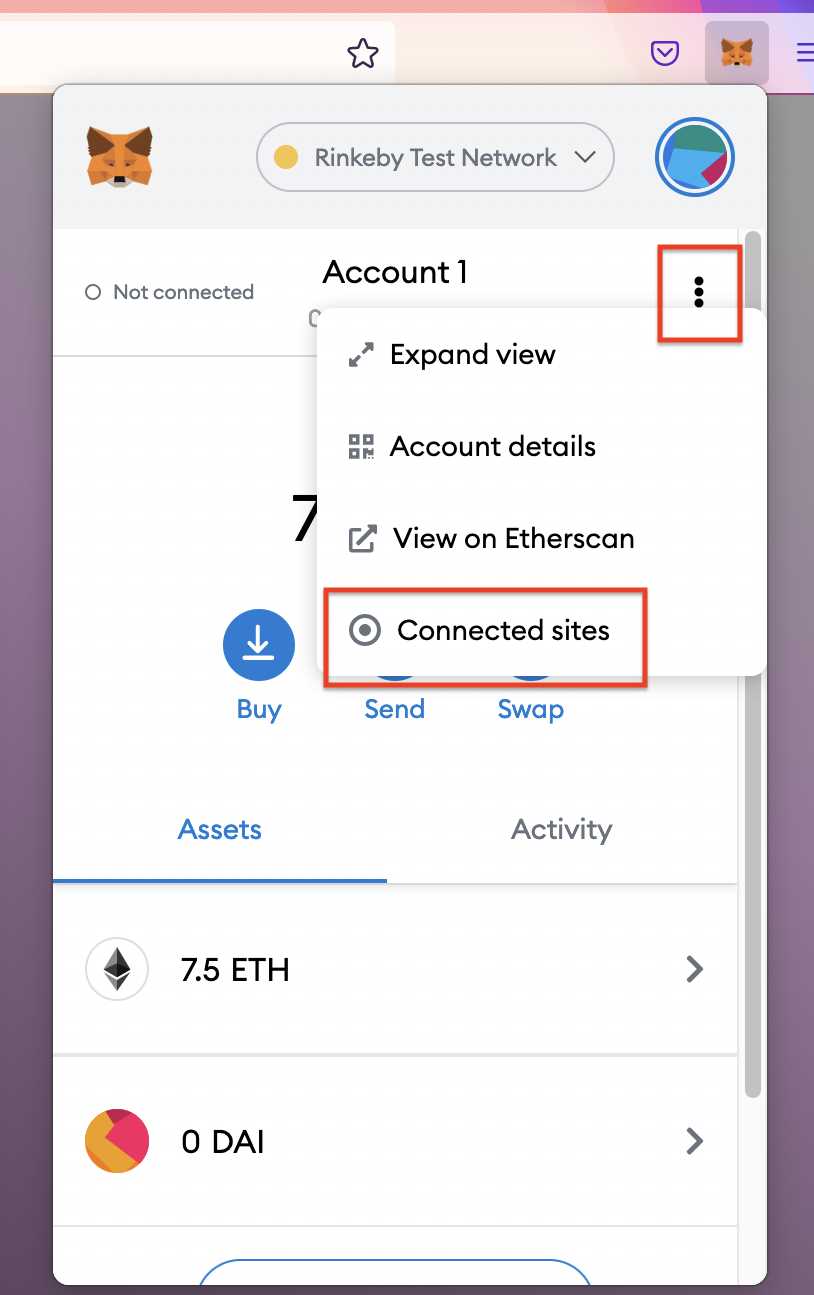
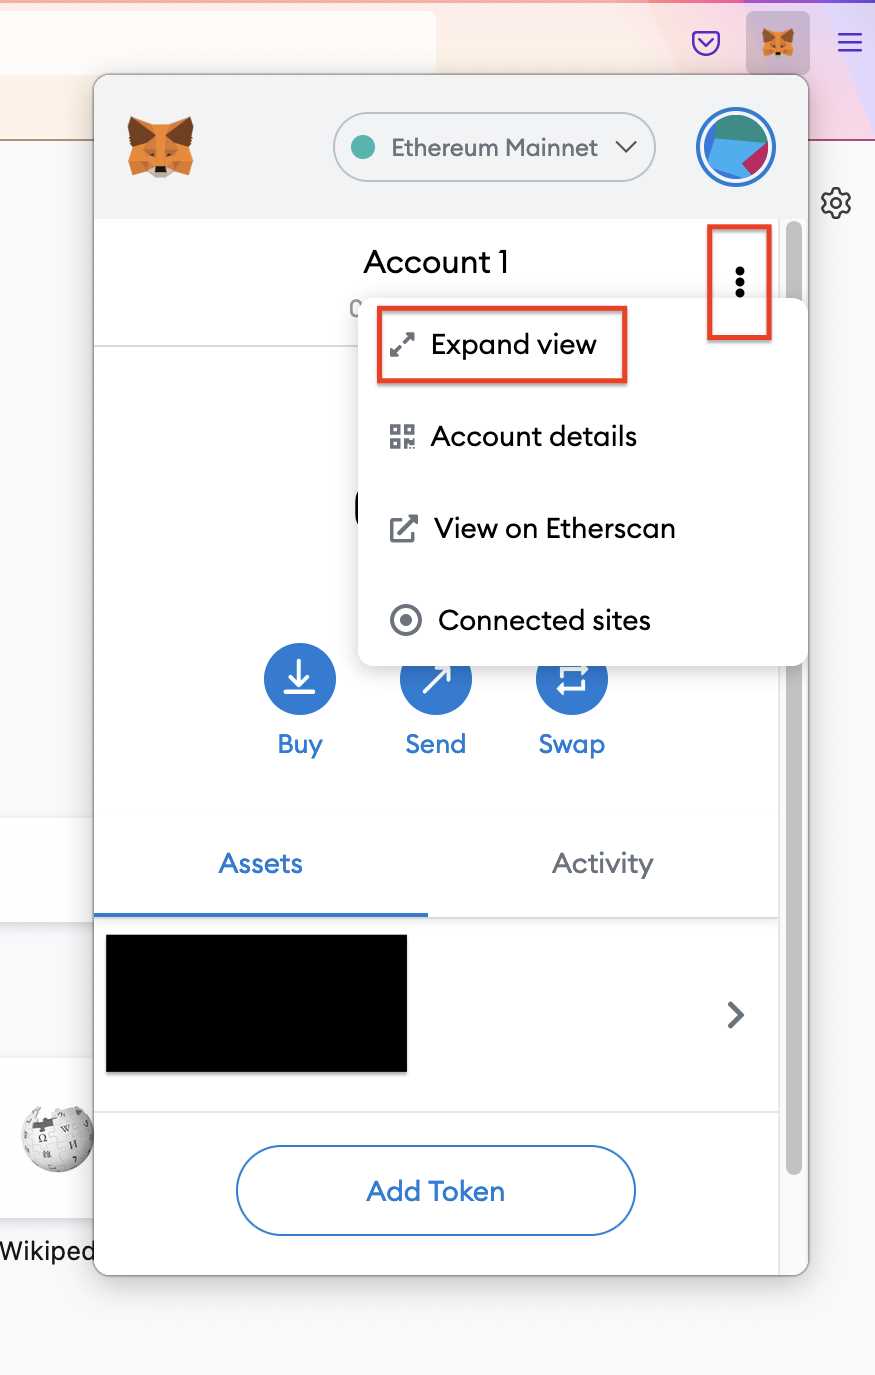
Step 5: After logging in, click on the account profile icon on the top right corner of the Metamask popup and select “Settings”.
Step 6: In the settings menu, scroll down and click on “Networks”.
Step 7: Click on “Add Network” to add a custom network.
Step 8: Fill in the following details to configure the Rinkeby network:
- Network Name: Rinkeby
- New RPC URL: https://rinkeby.infura.io/v3/your-infura-project-id
- Chain ID: 4
- Currency Symbol (optional): ETH
- Block Explorer URL (optional): https://rinkeby.etherscan.io
Step 9: Click on “Save” to save the network configuration.
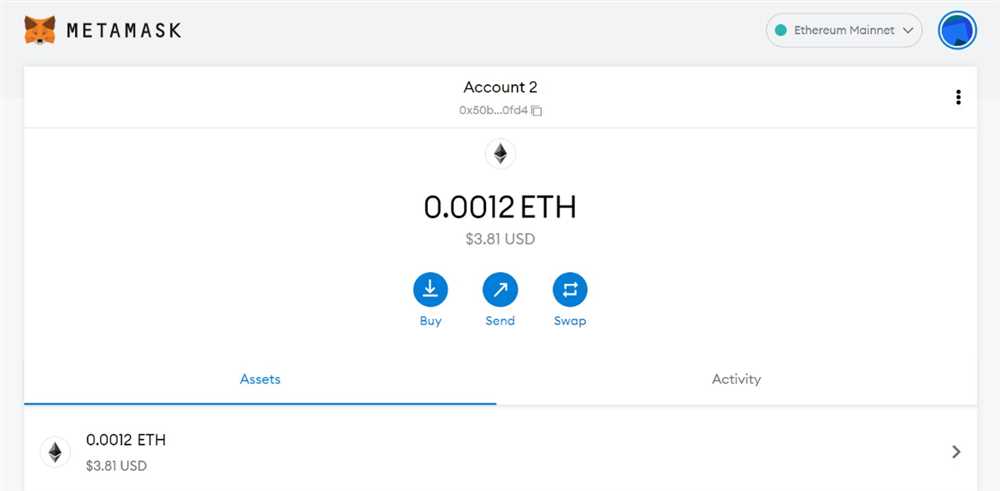
Step 10: Once you have added the Rinkeby network, you can select it as your current network by clicking on the account profile icon and selecting “Rinkeby” from the network dropdown menu.
Congratulations! You have successfully set up Metamask for the Rinkeby network. Now you are ready to interact with Rinkeby dapps and test your smart contracts on this Ethereum test network.
Obtaining Test Ether for Rinkeby Network
In order to interact with the Rinkeby network, you will need test Ether, also known as Rinkeby Ether (Rinkeby testnet currency). The Rinkeby network is a test network for Ethereum, and it uses a different currency than the main Ethereum network.
Step 1: Getting a Rinkeby Ether Faucet
The easiest way to obtain Rinkeby Ether is through a faucet. A faucet is a service that allows you to request test Ether for free. There are several Rinkeby Ether faucets available, such as:
- Rinkeby Authenticated Faucet
- Rinkeby.io Ether Faucet
- Parity Ether Faucet
To obtain test Ether, you usually need a social media account to prove that you are a real person and prevent abuse of the faucet.
Step 2: Requesting Test Ether
Once you have chosen a faucet, follow the instructions on the website to request test Ether. Typically, you will need to provide your Ethereum Rinkeby address, which is the address where the test Ether will be sent.
After providing your Rinkeby address, complete any additional steps required by the faucet, such as solving a captcha or sharing a link on social media.
Once you have completed the necessary steps, the faucet will send test Ether to your Rinkeby address. The transaction may take a few minutes to be processed.
It is important to note that test Ether obtained from a faucet has no monetary value and is only intended for testing purposes on the Rinkeby network.
Testing Rinkeby Network Transactions
Now that you have successfully added the Rinkeby network to your Metamask, it’s time to test out some transactions on the network. This will allow you to see how everything works and make sure that your setup is functioning correctly before you start using it for real transactions.
To test the Rinkeby network transactions, you can start by sending some test Ether from one account to another. This will give you a good understanding of how the network operates and how transactions are processed.
Here are the steps to test a Rinkeby network transaction:
Step 1:
Ensure that you have selected the Rinkeby network in your Metamask extension. You can do this by clicking on the network selection menu at the top of the Metamask window and choosing “Rinkeby Test Network”.
Step 2:
Obtain some test Ether for your Rinkeby account. You can do this by visiting a Rinkeby Testnet Faucet website and requesting some Ether for your account. These test Ether tokens are used exclusively for testing purposes and hold no real-world value.
Step 3:
Once you have obtained the test Ether, you can proceed to send a transaction. Open your Metamask extension and click on the “Send” button. Fill in the recipient’s address, the amount of test Ether you want to send, and any additional information required by the recipient.
Step 4:
Double-check all the transaction details and click on the “Confirm” button to initiate the transaction. Metamask will prompt you for your password to confirm the transaction.
Step 5:
After the transaction is submitted, you can monitor its progress on the Rinkeby network. You can do this by clicking on the Metamask extension icon and opening the transaction history tab. Here, you will be able to see the status of your transaction and whether it has been successfully processed.
By testing Rinkeby network transactions, you can familiarize yourself with the process and ensure that everything is working smoothly. It is always recommended to test transactions on a test network before using real funds to minimize the risk of errors or losses.
Note: Remember that Rinkeby network transactions may take some time to be processed, so be patient while waiting for the transaction to complete. Additionally, Rinkeby Ether has no real value and cannot be exchanged for real Ether or other cryptocurrencies.
Frequently Asked Questions:
What is Rinkeby Network?
Rinkeby Network is one of the test networks on Ethereum. It is often used by developers for testing and deploying smart contracts without using real Ether. Rinkeby Network aims to replicate the functionalities of the Ethereum main network, but with test Ether that has no real-world value.
What is Metamask?
Metamask is a browser extension that allows users to manage their Ethereum accounts and interact with decentralized applications (DApps) on the Ethereum blockchain. It acts as a digital wallet and allows users to easily send, receive, and store Ether and ERC-20 tokens.

+ There are no comments
Add yours