


If you’re new to the world of cryptocurrency and want to start trading, one of the first steps you’ll need to take is to link your Metamask wallet to Coinbase. Metamask is a popular wallet used to store, manage, and interact with Ethereum-based tokens, while Coinbase is one of the largest cryptocurrency exchanges in the world.
Linking your Metamask wallet to Coinbase offers several advantages. First, it allows you to easily transfer funds between the two platforms, giving you greater flexibility in managing your crypto assets. Second, it enables you to take advantage of the features and services offered by both platforms, such as trading on Coinbase and using decentralized applications (dApps) with Metamask.
Fortunately, linking your Metamask wallet to Coinbase is a straightforward process. In this guide, we’ll walk you through the steps to seamlessly connect these two platforms, empowering you to make the most of your crypto investments.
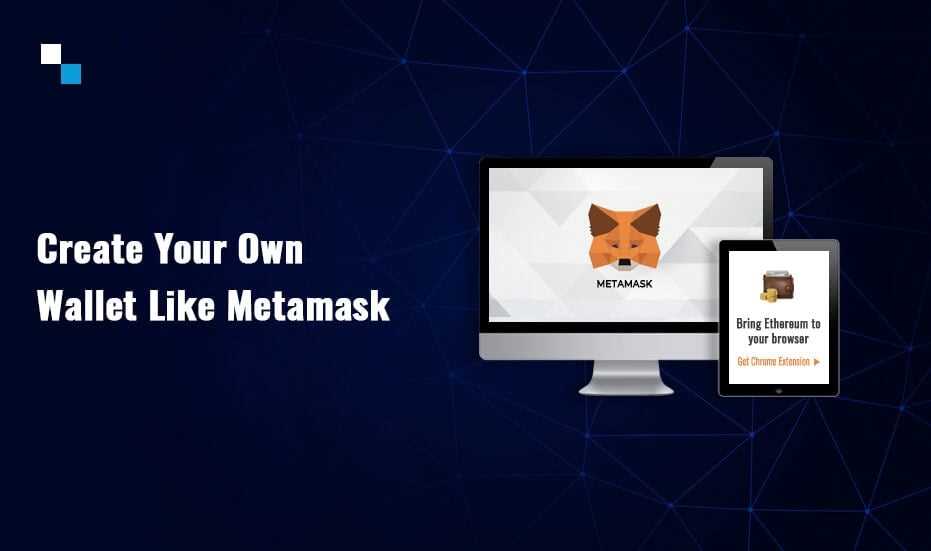
Installing Metamask Extension
To link Metamask to Coinbase, you need to first install the Metamask extension on your browser. Follow the steps below to install Metamask:
Step 1: Open your browser
Launch your preferred browser (Google Chrome, Firefox, or Brave) on your computer.
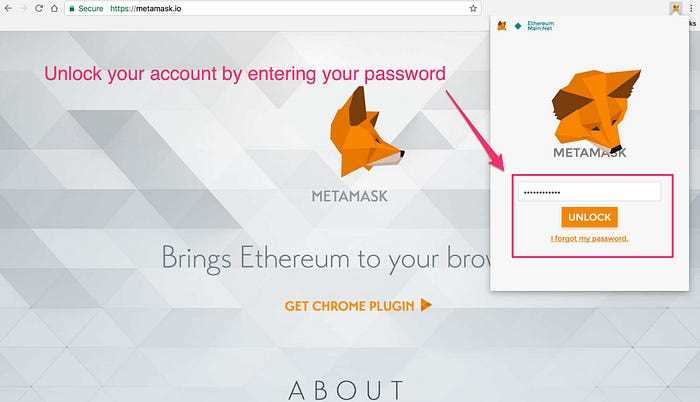
Step 2: Visit the Metamask website
Go to the official Metamask website by typing “https://metamask.io/” in your browser’s address bar and pressing Enter.
Step 3: Download and install the extension
On the Metamask website, you will see a download button. Click on it to start the installation process.
Once the installation package is downloaded, locate it in your computer’s download folder and double-click on it to run the installation.
Follow the on-screen instructions to complete the installation process. You may be prompted to grant necessary permissions for the extension to function properly.
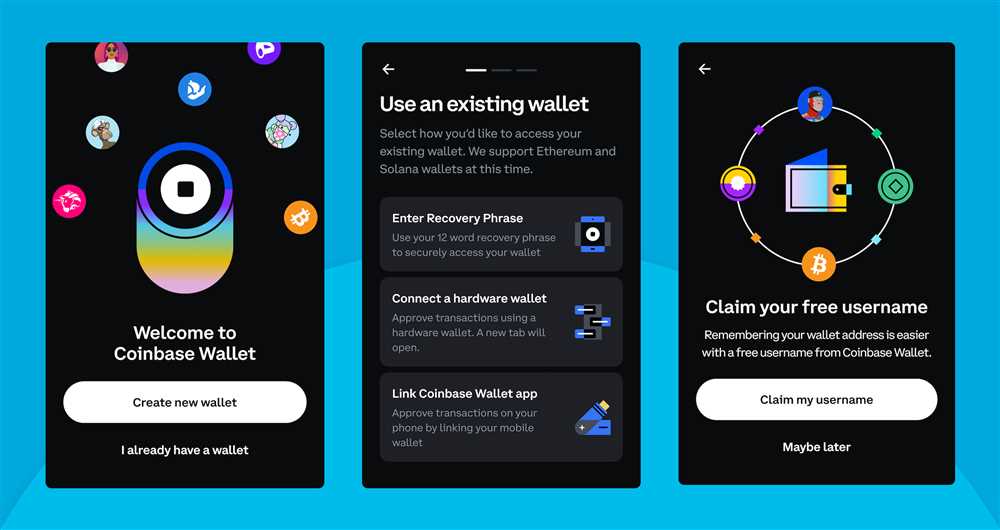
Step 4: Create a new wallet or import an existing one
After the installation is complete, open Metamask from your browser’s extension toolbar. You will see a “Get Started” button.
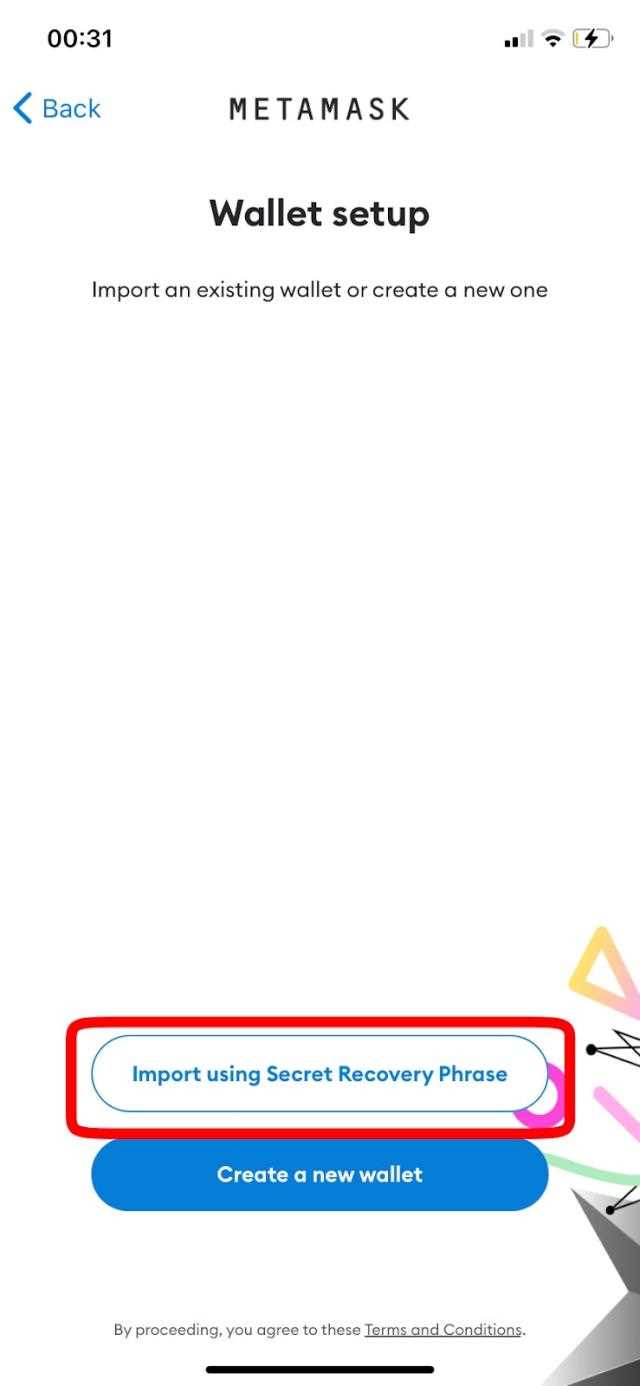
Click on “Get Started” and you will have two options: either create a new wallet or import an existing one if you already have an Ethereum wallet.
Choose the option that suits your needs and follow the instructions provided by Metamask to set up your wallet.
Once your wallet is set up, you will have successfully installed and set up the Metamask extension on your browser.
Creating a Metamask Account
To link your Metamask to Coinbase, you will first need to create a Metamask account if you haven’t already done so. Here are the steps to get started:
Step 1: Install Metamask Extension
First, you will need to install the Metamask extension on your web browser. Metamask supports various browsers like Google Chrome, Mozilla Firefox, and Brave. Simply visit the extension store of your chosen browser and search for “Metamask”. Once you find it, click on “Add to Chrome” (or the respective install button for your browser) to add the extension.
Step 2: Set Up Your Wallet
After installing Metamask, a new tab will open giving you the option to “Get Started” or “Import Wallet”. Since you are creating a new account, click on “Get Started”. You will then be prompted to agree to the terms and conditions. Read through them and click on “Accept” if you agree.
Next, you will need to create a strong password for your Metamask account. Make sure to choose a password that is unique and hard to guess. Confirm your password by retyping it in the following field.
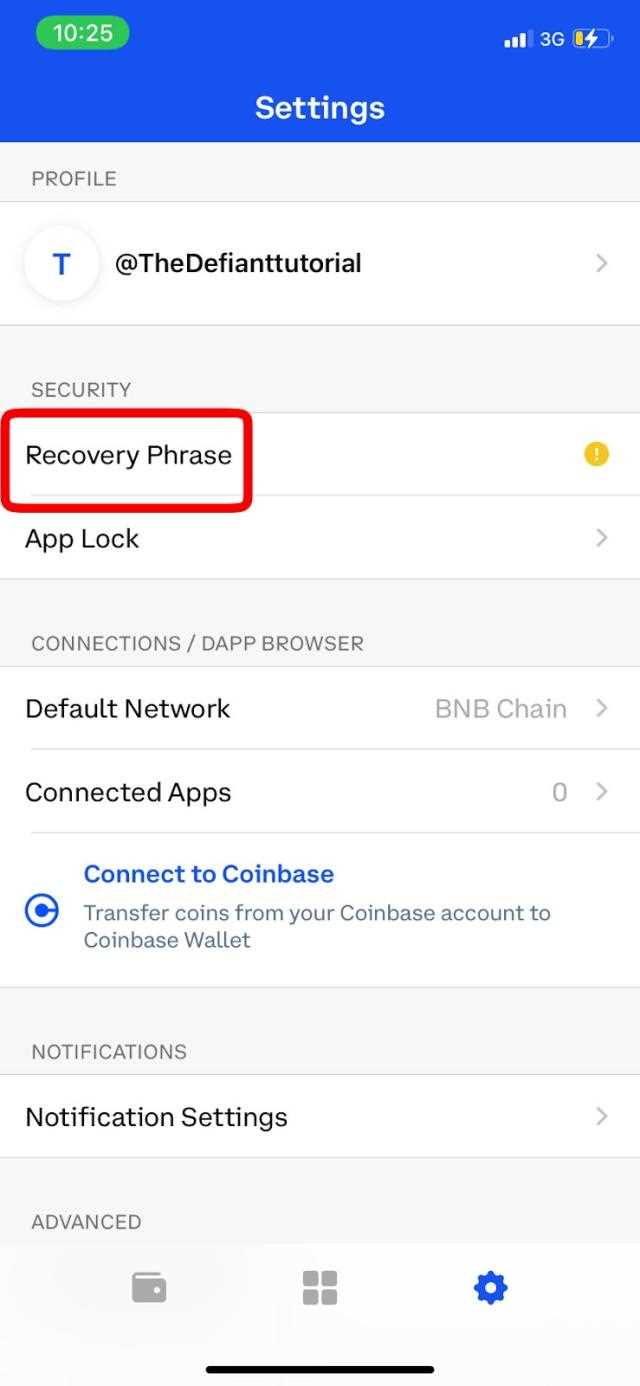
Step 3: Save Your Secret Backup Phrase
Once you have set up your password, you will be presented with your secret backup phrase. This is a unique set of words that can be used to restore your wallet in case you forget your password or lose access to your account. It is crucial to write down or copy this backup phrase and keep it in a safe place. Do not share it with anyone.
After saving your backup phrase, you will be asked to confirm the words in the right order. This step ensures that you have properly saved the backup phrase. Select the words in the correct order and click on “Confirm” to proceed.
Step 4: Connect to a Network
The final step is to select a network to connect your Metamask account to. For most purposes, you would want to select the Ethereum Mainnet, as it is the main network for Ethereum-based transactions. However, you can also choose other networks if you have specific requirements. Once you have selected the network, click on “Connect” to finish creating your Metamask account.
Congratulations! You have successfully created a Metamask account. Now you can proceed to link it to Coinbase.
Setting up Metamask on Coinbase
If you want to connect your Metamask wallet to your Coinbase account, follow these simple steps:
Step 1: Install Metamask
First, install the Metamask extension in your web browser. Visit the Metamask website and follow the instructions to set up your wallet. Make sure to choose a strong password and securely store your recovery phrase.
Step 2: Create a Coinbase Account
If you don’t already have a Coinbase account, visit the Coinbase website and sign up. Provide the necessary details and complete the verification process to create your account.
Step 3: Connect Metamask to Coinbase
Once you have both Metamask and Coinbase accounts set up, you can connect them by following these steps:
- Open your Coinbase account and navigate to the Settings page.
- Select “Connected Apps” from the menu.
- Click on the “Connect Wallet” button.
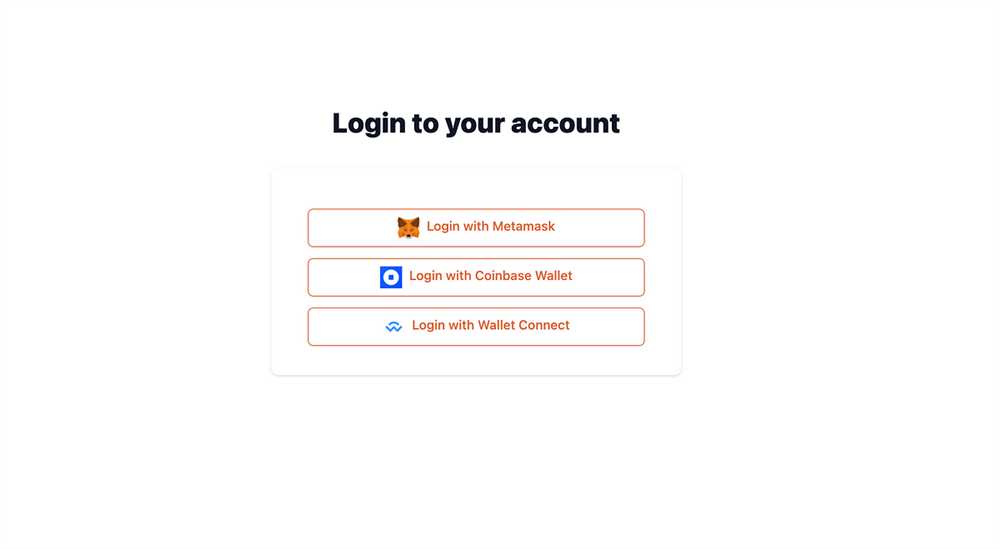
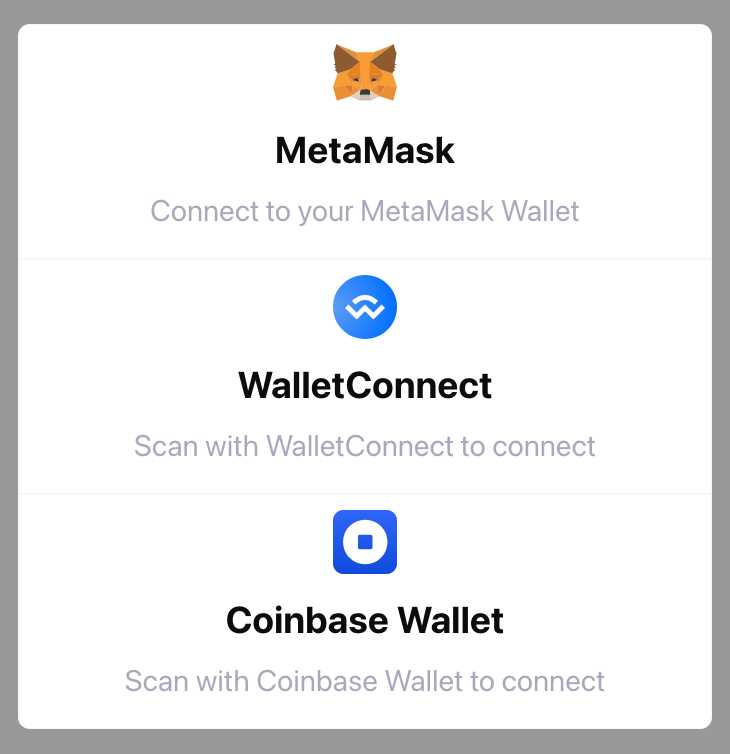
- A pop-up window will appear where you need to choose Metamask as your wallet.
- Click the “Connect” button to authorize the connection.
After completing these steps, your Metamask wallet should now be connected to your Coinbase account. You can now use your Metamask wallet to interact with decentralized applications and perform transactions directly from Coinbase.
Transferring Funds between Metamask and Coinbase
Transferring funds between your Metamask wallet and Coinbase is a simple process that allows you to conveniently manage your cryptocurrency holdings. Follow the steps below to perform a transfer:
From Metamask to Coinbase
To send funds from your Metamask wallet to your Coinbase account, you will need to retrieve your Coinbase wallet address. Here is what you need to do:
- Open your Coinbase account and navigate to the “Accounts” section.
- Select the cryptocurrency you want to transfer (e.g., Ethereum).
- Click on the “Receive” button next to your selected cryptocurrency.
- Copy the wallet address that is provided.
- Open your Metamask extension and click on the “Send” button.
- Paste the Coinbase wallet address in the “Recipient” field.
- Enter the amount you wish to transfer.
- Set the desired gas fee and click on the “Next” button.
- Review the transaction details and click on the “Confirm” button to finalize the transfer.
From Coinbase to Metamask
If you want to transfer funds from your Coinbase account to your Metamask wallet, follow these steps:
- Open your Coinbase account and navigate to the “Accounts” section.
- Select the cryptocurrency you wish to transfer.
- Click on the “Send” button next to your selected cryptocurrency.
- Paste your Metamask wallet address in the “Recipient” field.
- Enter the amount you want to transfer.
- Review the transaction details and click on the “Continue” button.
- Authenticate the transfer using the method specified by Coinbase (e.g., two-factor authentication).
- Confirm the transaction to initiate the transfer. The funds will be sent to your Metamask wallet.
It is important to double-check the wallet addresses and transaction details before confirming any transfers. This ensures that your funds are sent to the intended destination and minimizes the risk of errors or loss of funds.
Remember, always exercise caution and security measures when handling cryptocurrency transfers. Keep your wallets secure and regularly update your security settings to protect your digital assets.
| Step | From Metamask to Coinbase | From Coinbase to Metamask |
|---|---|---|
| 1 | Retrieve Coinbase wallet address | Select cryptocurrency to transfer |
| 2 | Open Coinbase account | Paste Metamask wallet address as recipient |
| 3 | Navigate to “Accounts” section in Coinbase | Enter amount to transfer |
| 4 | Select cryptocurrency to transfer | Review transaction details |
| 5 | Click on “Receive” button | Authenticate the transfer |
| 6 | Copy Coinbase wallet address | Confirm the transaction |
| 7 | Open Metamask and click on “Send” button | – |
| 8 | Paste Coinbase wallet address as recipient | – |
| 9 | Enter amount to transfer | – |
| 10 | Set gas fee and click “Next” | – |
| 11 | Review transaction details and click “Confirm” | – |
Frequently Asked Questions:
What is Metamask?
Metamask is a cryptocurrency wallet and browser extension that allows users to store, send, and receive digital assets on the Ethereum blockchain.
Why would I want to link Metamask to Coinbase?
Linking Metamask to Coinbase allows you to easily transfer funds between your Coinbase account and your Metamask wallet, giving you more flexibility and control over your digital assets.
How can I link Metamask to Coinbase?
To link Metamask to Coinbase, you first need to install and set up the Metamask browser extension. Then, go to the Coinbase website, navigate to the “Link a New Account” section, and follow the instructions to connect your Metamask wallet.
Are there any fees associated with linking Metamask to Coinbase?
No, there are no fees specifically for linking Metamask to Coinbase. However, keep in mind that both Metamask and Coinbase may have their own transaction fees when transferring funds between the two platforms.

+ There are no comments
Add yours