


Welcome to our step-by-step guide to adding Arbitrum to Metamask. Arbitrum is a layer 2 scaling solution for Ethereum that promises faster and cheaper transactions. By adding Arbitrum to Metamask, you can take advantage of these benefits and enjoy a smoother and more efficient Ethereum experience.
Before we dive into the steps, it’s important to understand the basics of Arbitrum and how it works. Arbitrum is based on Optimistic Rollup technology, which allows it to bundle multiple transactions together and submit them as a single transaction on the Ethereum network. This significantly reduces the transaction fees and speeds up the transaction confirmation times.
To add Arbitrum to Metamask, follow the steps below:
Step 1: Install Metamask Extension
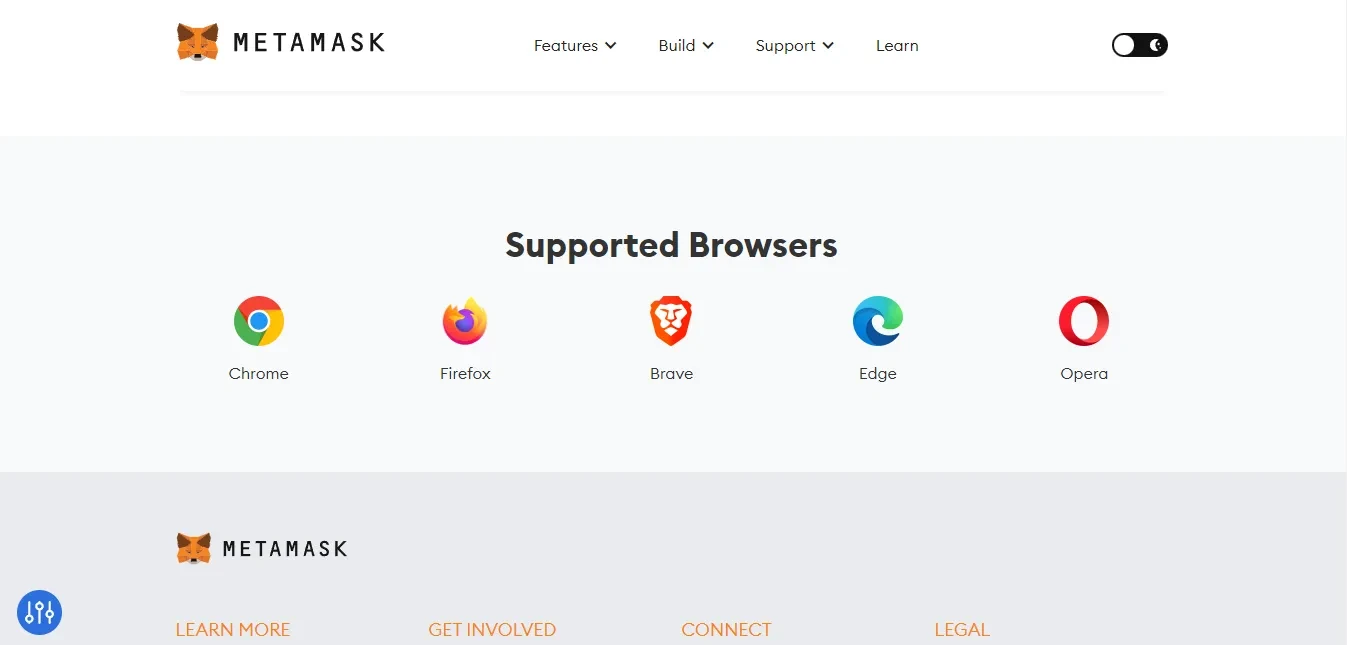
If you haven’t already, install the Metamask extension on your web browser. Metamask is available for Chrome, Firefox, and Brave browsers. Once installed, create a new wallet or import an existing one.
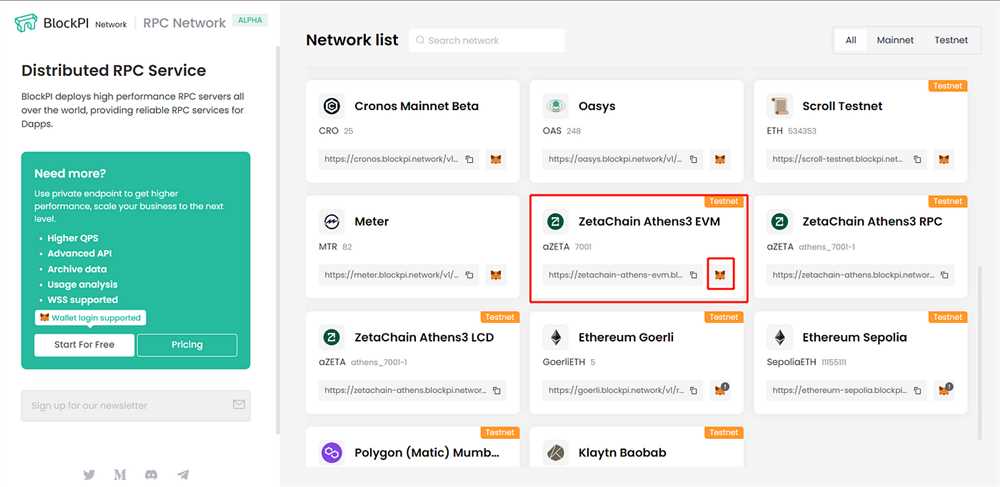
Step 2: Visit Arbitrum One Chain Explorer
Open your web browser and visit the Arbitrum One chain explorer. This is the official explorer for the Arbitrum One network. It provides a user-friendly interface to interact with the Arbitrum network.
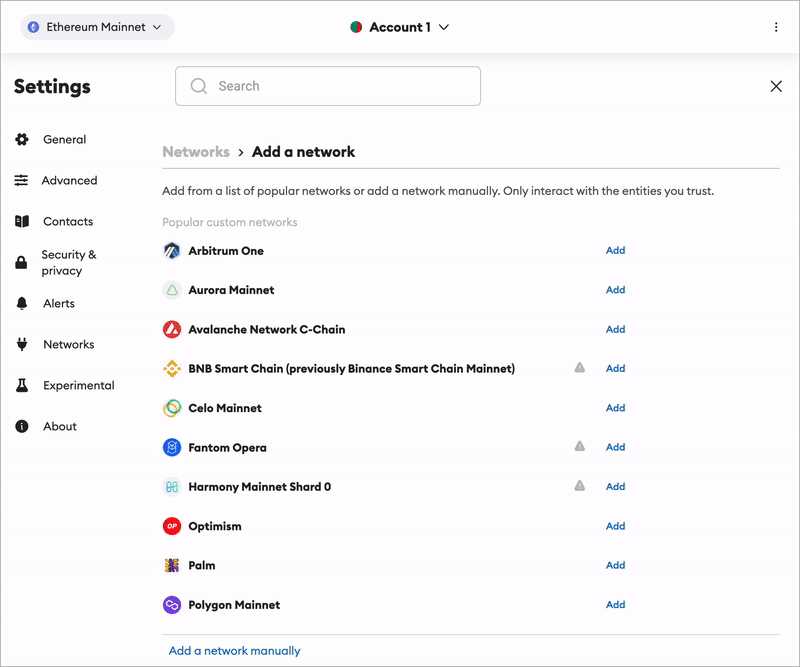
Step 3: Add Arbitrum One Network to Metamask
In the Arbitrum One chain explorer, click on the “Add to Metamask” button. This will open a prompt in your Metamask extension, asking you to confirm the addition of the network. Click “Add” to proceed.
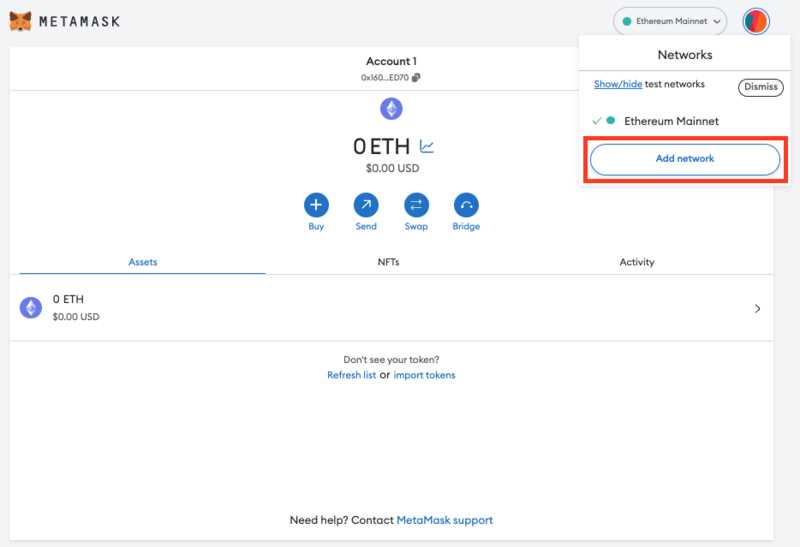
Step 4: Switch to Arbitrum One Network
In your Metamask extension, click on the network selection dropdown and choose “Arbitrum One” from the list. This will switch your Metamask wallet to the Arbitrum One network.
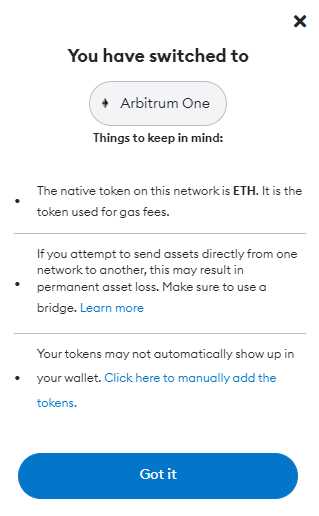
That’s it! You have successfully added Arbitrum to Metamask. Now you can start using the Arbitrum network to enjoy faster and cheaper transactions on Ethereum. Remember to have some ETH in your Arbitrum wallet to cover the gas fees for your transactions.
Disclaimer: Adding Arbitrum to Metamask involves interacting with experimental technology. Please exercise caution and do your own research before using the Arbitrum network for important transactions.
We hope this guide has been helpful in getting you started with Arbitrum on Metamask. If you have any questions or run into any issues, don’t hesitate to reach out to the Arbitrum community for support. Happy exploring!
What is Arbitrum?
Arbitrum is a Layer 2 scaling solution for Ethereum, developed by Offchain Labs. It aims to solve the scalability issues faced by the Ethereum network, which often results in high fees and slow transactions. Arbitrum achieves this by allowing for offchain computation and only settling final results on the Ethereum mainnet.
The core concept of Arbitrum is to move a significant portion of the computation and transaction processing off the Ethereum mainnet, while still maintaining the security and trustlessness of the system. This is done through the use of something called a “rollup”, which is a method of bundling and validating multiple transactions offchain before submitting a single merkle root to the Ethereum mainnet.
By using Arbitrum, users can enjoy faster and cheaper transactions on the Ethereum network. Transactions can be processed offchain, reducing the congestion on the Ethereum mainnet and significantly lowering fees. Additionally, Arbitrum is compatible with existing Ethereum smart contracts, making it easy to integrate with various decentralized applications (dApps) and services.
Overall, Arbitrum provides a scalable and efficient solution for the Ethereum network, improving the user experience and enabling broader adoption of decentralized applications. Its innovative approach to offchain computation and transaction processing makes it a promising addition to the Ethereum ecosystem.
What is Metamask?
Metamask is a popular cryptocurrency wallet and browser extension that allows users to interact with decentralized applications (dApps) built on the Ethereum blockchain. It acts as a bridge between the traditional web and the decentralized web, enabling users to securely manage their Ethereum accounts and interact with blockchain-based sites and services.
Metamask serves as a digital wallet, allowing users to store, send, and receive Ethereum and ERC-20 tokens. It also provides a secure connection to the Ethereum network, allowing users to easily sign transactions and authenticate interactions with dApps.
Key Features of Metamask:
- Wallet Management: Metamask allows users to create multiple Ethereum accounts, import existing wallets, and manage their private keys securely.
- Transaction Signing: Users can easily sign transactions and verify messages using Metamask, ensuring the security and integrity of their interactions with dApps.
- Network Switching: Metamask supports multiple Ethereum networks, including the main Ethereum network, test networks like Ropsten and Rinkeby, and custom networks.
- Token Support: Users can manage their Ethereum-based tokens, including ERC-20 tokens, within Metamask.
- Browser Extension: Metamask is available as a browser extension for popular web browsers like Chrome and Firefox, making it easily accessible for users.
Metamask has gained widespread adoption among cryptocurrency enthusiasts and developers due to its ease of use, security features, and wide range of supported dApps. It simplifies the process of interacting with decentralized applications, empowering users to take full advantage of the Ethereum ecosystem.
Step 1: Installing Metamask

The first step to adding Arbitrum to Metamask is to install the Metamask extension on your browser. Metamask is a digital wallet that allows you to interact with decentralized applications (dApps) on the Ethereum network.
To install Metamask, follow these steps:
- Open your preferred web browser and go to the Metamask website.
- Click on the “Get Chrome Extension” button if you are using Chrome as your browser, or select the appropriate option for your browser.
- Once the extension is installed, you will see the Metamask icon in your browser’s toolbar.
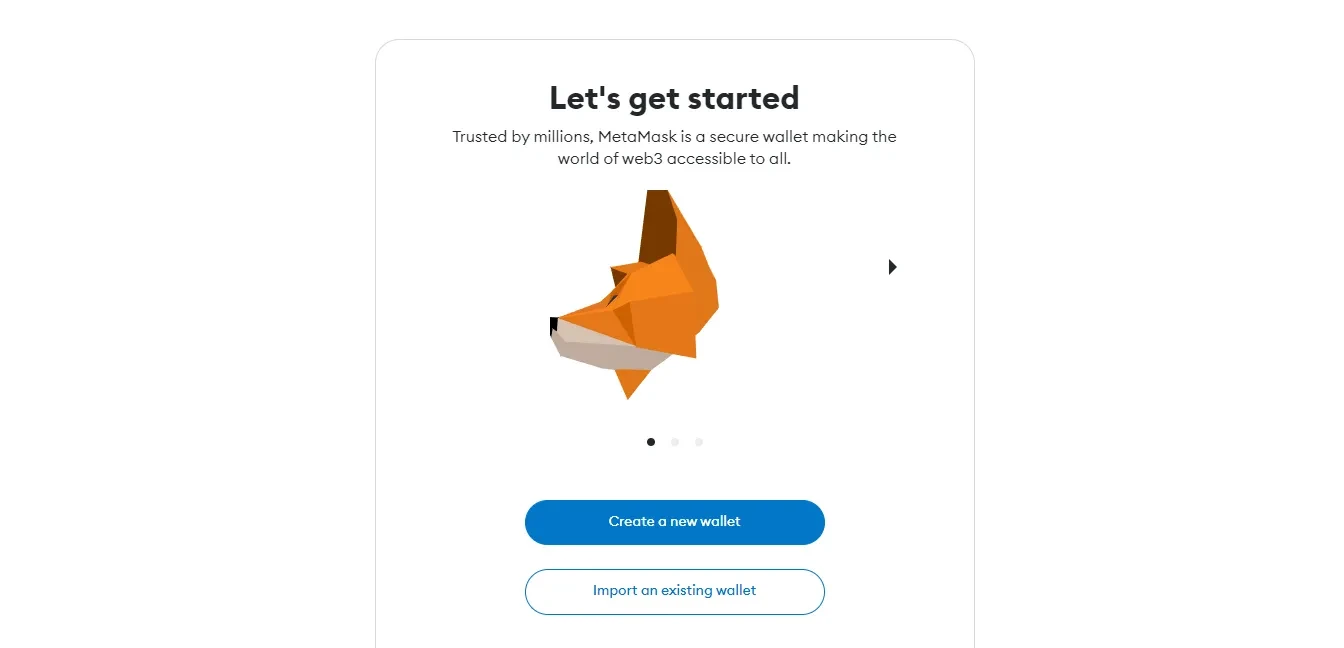
- Click on the Metamask icon and follow the prompts to create a new wallet or import an existing one.
- Set a strong password for your wallet and make sure to write down and securely store your backup seed phrase. This seed phrase is crucial for restoring access to your wallet if you ever lose your password or need to access it from a different device.
- After setting up your wallet, you will be ready to use Metamask to interact with dApps and add Arbitrum.
Once you have successfully installed Metamask, you can proceed to the next step of adding Arbitrum to your wallet.
Downloading Metamask Extension
To start using Arbitrum with Metamask, you’ll first need to download and install the Metamask extension on your web browser. Follow these steps to download Metamask:
Step 1: Open your web browser
Launch the web browser of your choice, such as Chrome, Firefox, or Brave.
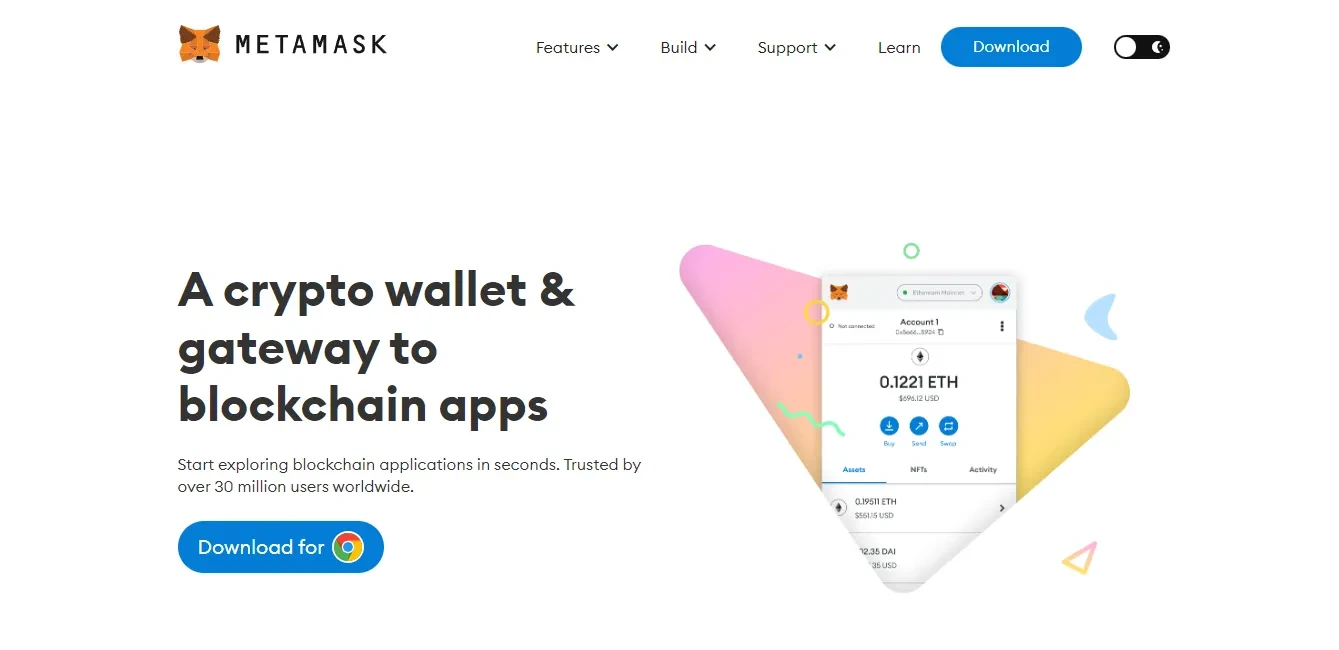
Step 2: Visit the Metamask website
Go to the official Metamask website by typing “https://metamask.io/” in the address bar and pressing Enter.
Step 3: Download the extension
On the Metamask website, you’ll find a “Get Chrome Extension” or “Get Firefox Extension” button. Click on the button corresponding to your web browser.
A pop-up window will appear asking for permission to add the extension to your browser. Click “Add extension” to start the download and installation process.
This will download the Metamask extension and automatically add it to your web browser.
Once the installation is complete, you’ll see the Metamask icon added to your browser’s toolbar.
Congratulations! You’ve successfully downloaded the Metamask extension. Now you’re ready to proceed with adding Arbitrum to Metamask.
Creating a Metamask Wallet
To get started with using Arbitrum on Metamask, you’ll first need to create a Metamask wallet. Follow the steps below to create your wallet:
- Go to the Metamask website and download the Metamask extension for your browser.
- After installing the extension, click on the Metamask icon in your browser toolbar to open the Metamask popup.
- Click on “Get Started” and then on “Create a Wallet”.
- Choose a strong password for your wallet and click on “Create”. Make sure to remember this password as you will need it to access your wallet.
- Metamask will generate a secret backup phrase for your wallet. Write down this phrase on a piece of paper and store it in a safe place. This backup phrase is crucial for recovering your wallet in case you lose access to it.
- After writing down the backup phrase, click on “Next” and Metamask will ask you to confirm the backup phrase. Enter the words in the correct order to proceed.
- Once the backup phrase is successfully confirmed, your wallet will be created. You can now click on “All Done” to finish the setup process.
Congratulations! You have successfully created a Metamask wallet. In the next steps, we will show you how to add Arbitrum to your Metamask wallet and start using it.
Step 2: Adding Arbitrum Network
Once you have installed and set up the Metamask extension, the next step is to add the Arbitrum network to your wallet. The Arbitrum network is a Layer 2 scaling solution for Ethereum, designed to improve the scalability and efficiency of the Ethereum network.
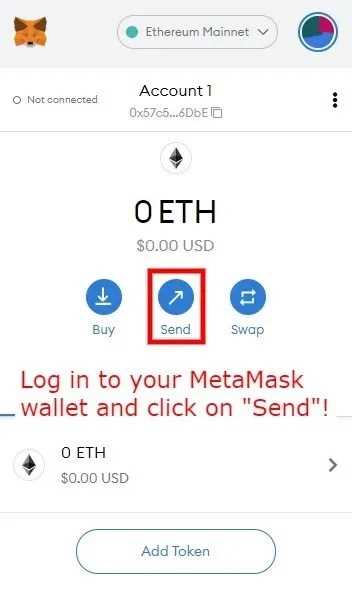
Step 2.1: Open Metamask
Open your Metamask wallet by clicking on the extension icon in your browser toolbar. If you have not yet created a wallet, you will need to set up a new one by following the on-screen instructions.
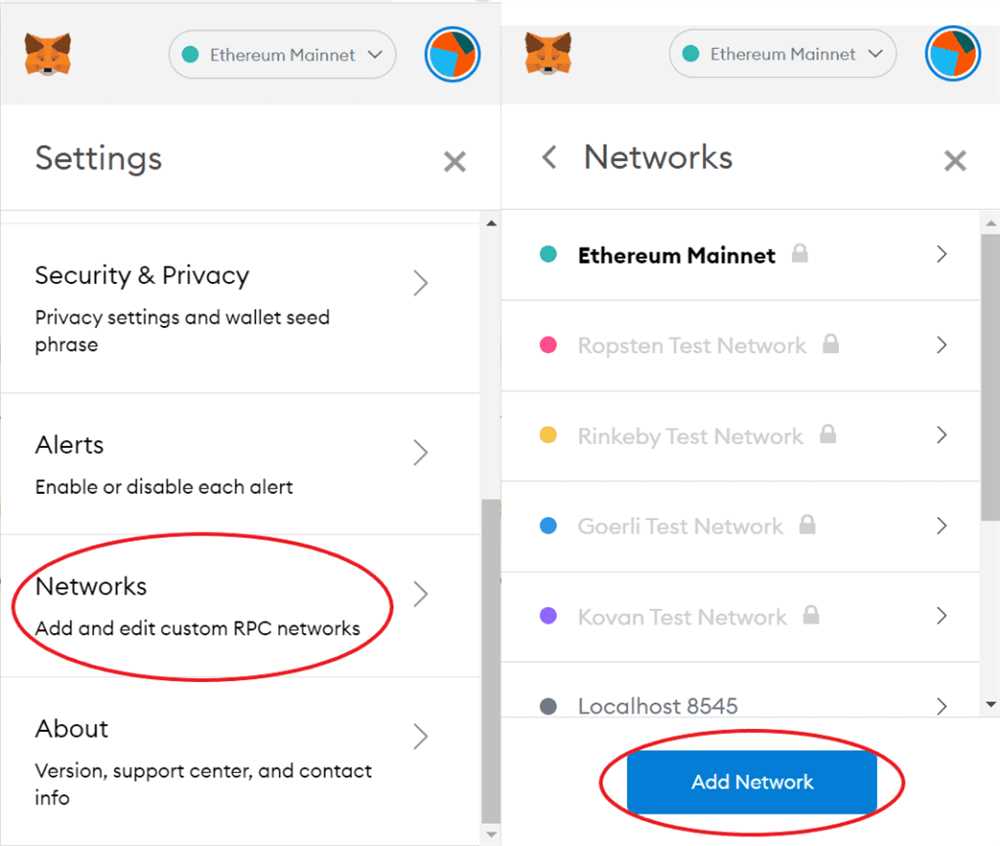
Step 2.2: Access Network Settings
Once you have opened the Metamask wallet, locate and click on the network selection dropdown. This dropdown is usually located at the top of the wallet interface, next to the account information.
Step 2.3: Add Custom Network
In the network selection dropdown, click on the “Custom RPC” option. This will allow you to add a custom network to your Metamask wallet.
Step 2.4: Fill in Network Details
In the custom network settings, fill in the following details to add the Arbitrum network:
| Network Name | Arbitrum |
|---|---|
| New RPC URL | https://arb1.arbitrum.io/rpc |
| Chain ID | 42161 |
| Symbol | ETH |
| Block Explorer URL | https://arbiscan.io/ |
Make sure to double-check the information you have entered before proceeding to the next step.
Step 2.5: Save Network
After filling in the network details, click on the “Save” button to add the Arbitrum network to your Metamask wallet. Once the network is successfully added, you will see it listed in the network selection dropdown.
Congratulations! You have successfully added the Arbitrum network to your Metamask wallet. You are now ready to start using Arbitrum and take advantage of its benefits.
Frequently Asked Questions:
What is Arbitrum?
Arbitrum is a layer 2 Ethereum scaling solution developed by Offchain Labs. It aims to provide faster and cheaper transactions on the Ethereum network by using a technique called rollups.
Why would I want to add Arbitrum to Metamask?
Adding Arbitrum to Metamask allows you to access and interact with decentralized applications (dApps) that are built on the Arbitrum network. It enables you to take advantage of the benefits of using a layer 2 solution, such as faster transaction confirmation times and lower transaction fees.
+ There are no comments
Add yours