


Welcome to the world of Non-Fungible Tokens (NFTs), where blockchain technology has revolutionized the way we think about digital ownership and the value of art. With NFTs, artists, creators, and collectors can create, buy, and sell unique digital assets, such as artwork, music, videos, and more, with proof of authenticity and ownership recorded on the blockchain.
If you’re eager to join the NFT craze and mint your very own NFT, this comprehensive tutorial will guide you through the process using the popular MetaMask wallet. Whether you’re an artist looking to showcase your work or a collector seeking to expand your digital art collection, this tutorial will equip you with the knowledge and skills needed to master NFT creation on MetaMask.
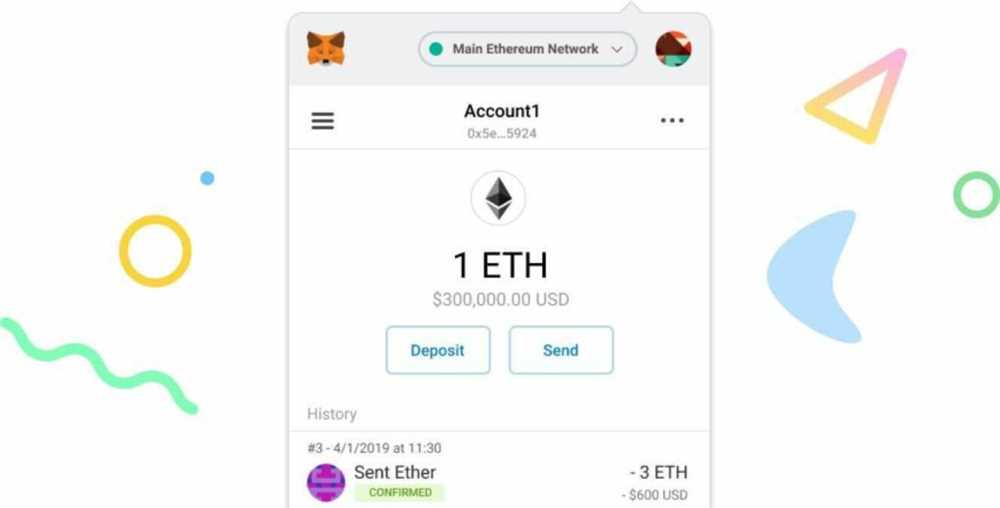
Before we begin, it’s essential to understand the basics of MetaMask and how it integrates with blockchain technology. MetaMask is a browser extension wallet that allows users to interact with decentralized applications (dApps) on the Ethereum blockchain. It acts as a bridge between you and the blockchain, enabling you to securely manage your cryptocurrencies, store your digital assets, and interact with smart contracts.
In this tutorial, we’ll cover everything from setting up your MetaMask wallet to deploying your NFT smart contract and minting your first NFT. By the end, you’ll have a solid understanding of the entire process and be ready to unleash your creativity in the world of NFTs. So, let’s dive in and embark on this exciting journey together!
Mastering NFT Creation on MetaMask
MetaMask is a powerful tool for creating and managing NFTs. In this comprehensive tutorial, we will guide you through the process of minting your first NFT using MetaMask.
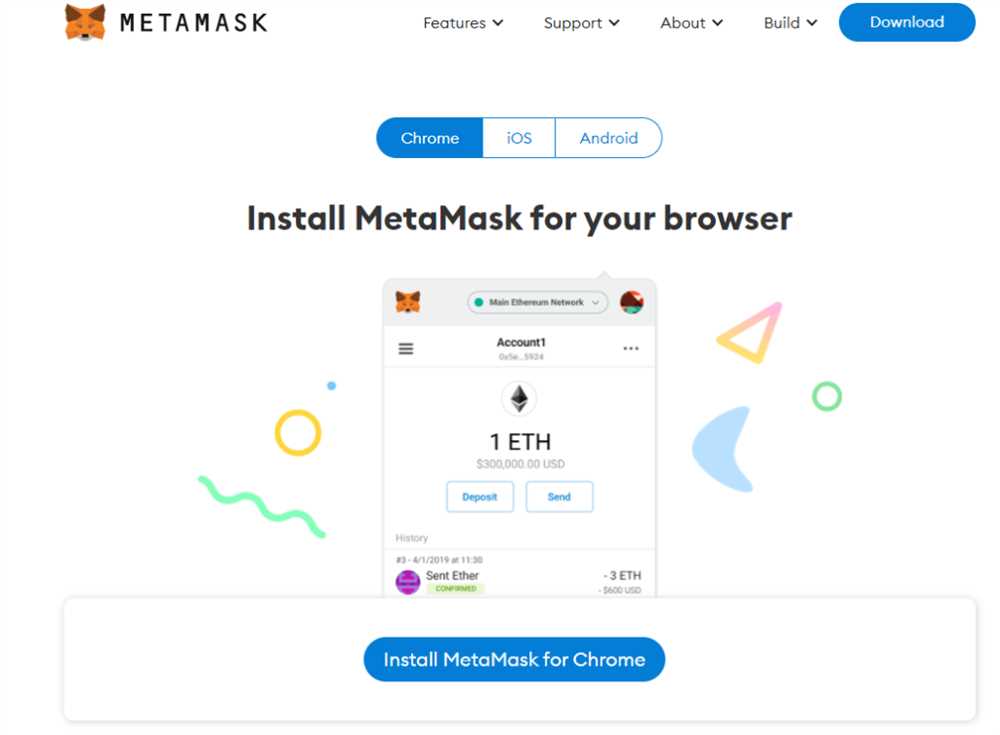
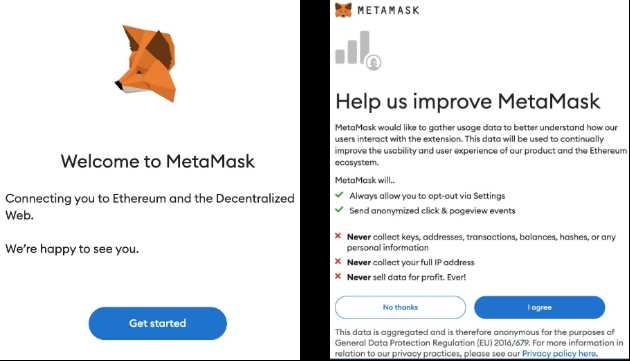
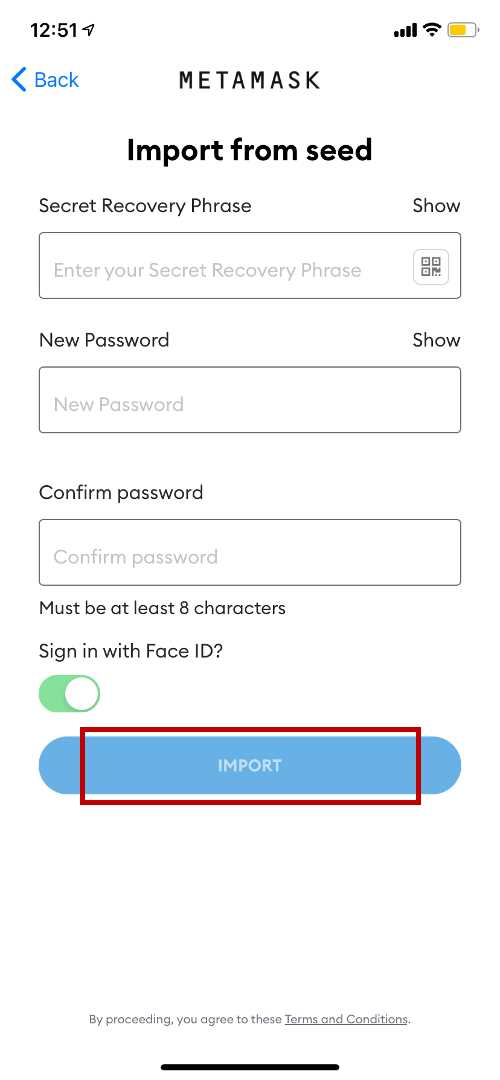
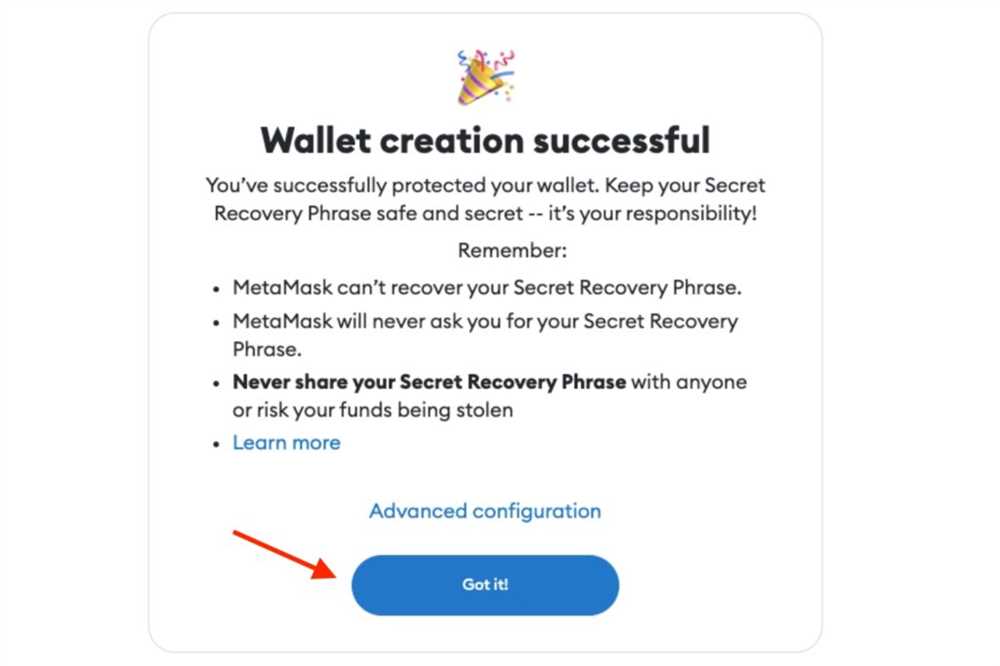
To get started, you will need to install the MetaMask browser extension and create a new wallet. Make sure to securely store your wallet’s seed phrase, as it will be used to recover your wallet in case of loss or theft.
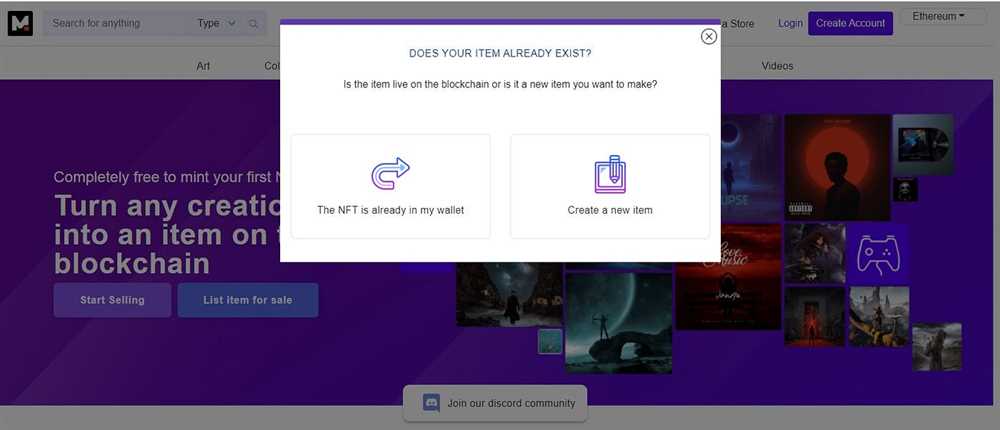
Once you have set up your wallet, you can start creating your NFT. First, you will need to decide what kind of NFT you want to mint. It could be a digital artwork, a piece of music, a collectible, or anything else that you want to tokenize.
Next, you will need to prepare your NFT for minting. This typically involves creating a high-quality digital file of your artwork or asset. Make sure to follow the platform’s guidelines regarding file format, size, and resolution.
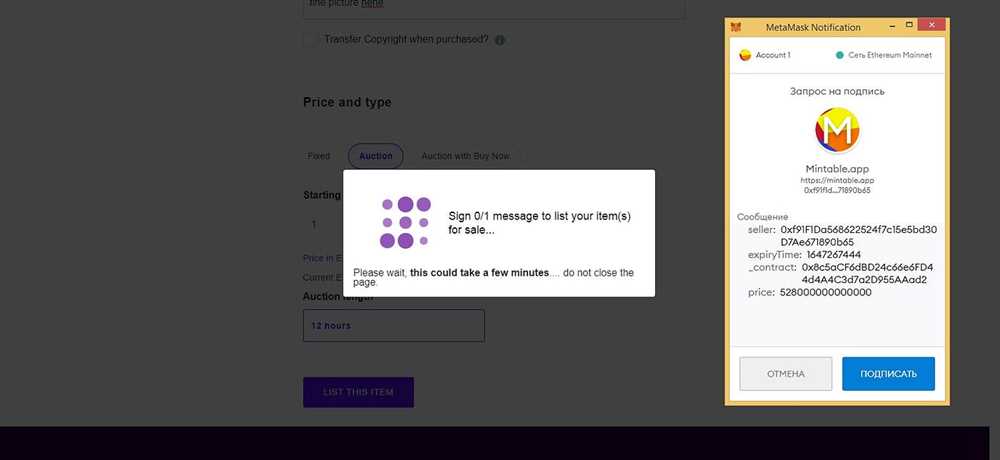
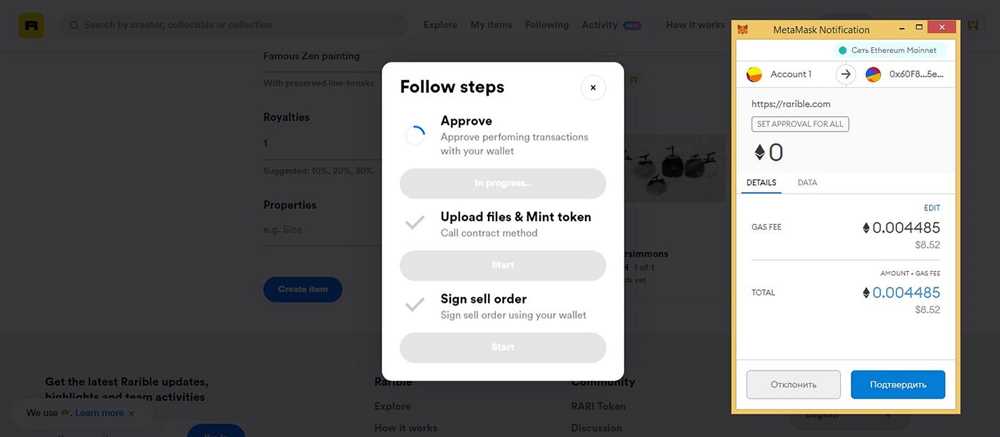
After you have prepared your NFT, you can connect your MetaMask wallet to a compatible NFT marketplace or platform. This will allow you to upload and mint your NFT. You may need to pay a gas fee (transaction fee) in order to complete the minting process.
Once your NFT is successfully minted, you will have the option to add additional information and metadata to enhance its value and discoverability. This may include a title, description, history, and tags.
Now that your NFT is minted and ready for sale or showcasing, you can choose to list it on a marketplace or share it with the world. Make sure to promote your NFT through social media, art communities, and other relevant platforms to increase its exposure and potential for sales.
Remember that creating and selling NFTs requires careful consideration of legal and intellectual property rights. Make sure you have the necessary rights and permissions to mint and sell your NFTs.
In conclusion, MetaMask provides a user-friendly interface for creating and managing NFTs. By following the steps outlined in this tutorial, you can confidently navigate the process of minting your first NFT and participating in the exciting world of digital collectibles.
A Step-by-Step Guide to Minting Your First NFT
Minting your first NFT can seem intimidating, but with the help of MetaMask, it becomes a straightforward process. Follow this step-by-step guide to learn how to mint your first NFT:
Step 1: Set Up MetaMask
The first step is to install the MetaMask extension on your web browser. Once installed, create a new MetaMask wallet or import an existing one. Make sure to store your wallet recovery phrase in a safe place.
Step 2: Connect to a Blockchain
After setting up MetaMask, connect your wallet to a blockchain network. Choose between Ethereum mainnet or a test network like Rinkeby or Ropsten. Make sure to have some ETH in your wallet to cover the gas fees involved in minting your NFT.
Step 3: Choose an NFT Marketplace
Select an NFT marketplace where you want to mint and sell your NFT. Popular options include OpenSea, Rarible, and SuperRare. Each platform offers different features and fees, so do some research to find the best fit for your needs.
Step 4: Prepare Your Artwork
Before minting your NFT, ensure that your artwork meets the marketplace’s requirements. This may include specific file formats, image sizes, or restrictions on content.
Step 5: Mint Your NFT
Once you have your artwork ready, go to your chosen NFT marketplace and navigate to the minting section. Follow the instructions provided to upload your artwork, set a title and description for your NFT, and configure any additional settings, such as royalties or limited editions.
Step 6: Confirm and Pay
Review the details of your NFT listing and confirm all information is correct. At this point, you’ll need to approve the transaction and pay the gas fees associated with minting your NFT.
Step 7: Share and Promote
Once your NFT is successfully minted, it’s time to share and promote it! Use social media platforms, artist communities, and other avenues to spread the word about your NFT and attract potential buyers.
| Pros | Cons |
|---|---|
| Easy to create and mint | Gas fees can be high |
| Ownership proven by blockchain | Marketplace fees may apply |
| Access to a global audience | Competitive market |
By following these steps, you’ll be well on your way to minting your first NFT and joining the exciting world of digital art!
Understanding the Basics of NFTs and MetaMask
Non-Fungible Tokens (NFTs) have gained immense popularity in recent years, revolutionizing the digital art and collectibles world. In simple terms, NFTs are unique digital assets that represent ownership or proof of authenticity for a piece of digital content, such as artwork, videos, music, or virtual real estate.
MetaMask, on the other hand, is a web browser extension and cryptocurrency wallet that allows users to interact with blockchain-based applications, including NFT marketplaces. It serves as a bridge between users and the Ethereum network, enabling them to create, store, and manage their NFTs.
What Makes NFTs Unique?
The uniqueness of NFTs stems from their underlying blockchain technology. Unlike cryptocurrencies such as Bitcoin or Ethereum, which are fungible and can be exchanged on a one-to-one basis, NFTs cannot be exchanged on a like-for-like basis since each NFT has a distinct value and is one-of-a-kind. This uniqueness is ensured by the use of smart contracts on the blockchain, which establish ownership and enforce scarcity.
How Does MetaMask Work?
MetaMask acts as a digital wallet that stores a user’s private keys and allows them to interact with the Ethereum blockchain. When users create an account on MetaMask, they are assigned a unique Ethereum address, which serves as their identity on the network. This address is used to send and receive funds, as well as interact with NFT contracts on platforms like OpenSea, Rarible, or SuperRare.
MetaMask also provides a user-friendly interface for managing transactions, accessing dApps, and browsing NFT collections. It allows users to connect their wallets to various NFT marketplaces and perform actions like minting new NFTs, bidding on existing ones, or transferring ownership.
Getting Started with MetaMask and NFT Creation
To begin your NFT creation journey using MetaMask, you’ll need to install the MetaMask extension on your web browser and set up an account. Once you have a wallet address and some Ethereum tokens, you can explore NFT marketplaces, connect with artists and creators, and even mint your own unique NFTs.
Keep in mind that creating and minting NFTs typically involves certain fees and gas costs on the Ethereum network, so ensure you have enough ETH in your wallet to cover these expenses.
Now that you have a solid understanding of NFTs and MetaMask, it’s time to dive deeper into the world of NFT creation and learn how to mint your first NFT using MetaMask!
Choosing the Right Platform for NFT Creation
When it comes to creating your first NFT, choosing the right platform is an important decision. With so many options available, it’s crucial to find a platform that aligns with your artistic vision, budget, and long-term goals.
Consider the User Interface
A user-friendly interface can make the NFT creation process smooth and enjoyable. Look for platforms that provide intuitive tools and a clear step-by-step guide to help you through the minting process. You don’t want to waste your time trying to figure out a complicated interface when you could be focusing on creating and promoting your artwork.
Evaluate the Cost and Fees
Before choosing a platform, carefully evaluate the costs and fees involved in minting and selling your NFTs. Some platforms charge a percentage of the sales as a commission, while others may have a fixed fee per minted NFT. It’s important to understand these costs upfront to avoid any unexpected surprises down the line.
Additionally, consider the gas fees associated with minting on a specific blockchain. Gas fees can vary from platform to platform and can significantly impact your profits. Factor in these costs when deciding which platform is the right fit for your NFT creation.
Research Platform Reputation and Security

When dealing with digital assets and transactions, security is of utmost importance. Research the platform’s reputation and security measures before committing to mint your NFTs with them. Look for platforms that have a solid track record, positive user reviews, and employ industry-standard security protocols to protect your digital artworks and funds.
Another aspect to consider is the platform’s community and marketplace. Some platforms have a larger user base and more active marketplace, which can increase the visibility and potential sales of your NFTs. Take into account the platform’s reach and engagement level to maximize your opportunities as an artist.
In conclusion, choosing the right platform for NFT creation is a crucial step in your journey as an NFT artist. Take the time to research and evaluate different platforms based on their user interface, cost structure, reputation, and security measures. By choosing the right platform, you can set yourself up for success in the exciting world of NFTs.
Tips and Best Practices for Successful NFT Creation
Creating a successful NFT involves more than just uploading an image and pressing a few buttons. To make your NFT standout, consider following these tips and best practices:
- Choose unique content: The key to a successful NFT is to create something that stands out from the crowd. Whether it is a unique artwork, a rare collectible, or an exclusive digital asset, make sure your content is original and valuable.
- High-quality visuals: Presentation is crucial in the NFT world. Ensure your image or media files are of high resolution and visually appealing. This will increase the chances of attracting potential buyers.
- Responsive design: Make sure your NFT creation is compatible with different platforms and devices. Whether it is desktop, mobile, or tablet, your NFT should be accessible and visually appealing across all devices.
- Metadata: Pay attention to the metadata associated with your NFT. Include accurate and detailed information about your artwork, such as title, description, edition number, and any additional information that adds value to your creation.
- Pricing: Research the market and set a reasonable price for your NFT. Take into account factors such as scarcity, demand, and uniqueness when determining the value of your creation.
- Promotion: Utilize social media platforms, online communities, and NFT marketplaces to promote your creation. Engage with potential buyers, collaborate with other artists, and build a strong online presence to increase visibility and exposure for your NFT.
- Solidify ownership rights: Consider offering certificates of authenticity or proof of ownership for your NFTs. This can help establish trust and add value to your creation, making it more desirable to potential buyers.
- Stay informed: Stay up-to-date with the latest trends and developments in the NFT space. By staying informed, you can adapt your NFT creation strategies and take advantage of new opportunities that arise.
By following these tips and best practices, you can increase your chances of creating a successful and highly sought-after NFT. Remember, the NFT market is constantly evolving, so continuously learn and iterate to stay ahead of the curve.
Frequently Asked Questions:
What is MetaMask?
MetaMask is a cryptocurrency wallet and a browser extension that allows users to interact with the Ethereum blockchain. It allows users to manage their Ethereum accounts, store digital assets, and execute smart contracts.
What are NFTs?
NFTs, or non-fungible tokens, are unique digital assets that are stored on the blockchain. These tokens can represent ownership of a specific item, such as a piece of artwork or a collectible, and they cannot be interchanged with other tokens on a one-to-one basis.
Can I create multiple NFTs using MetaMask?
Yes, you can create multiple NFTs using MetaMask. As long as you have the necessary digital assets and the required Ethereum in your MetaMask wallet to pay for the minting fees, you can create as many NFTs as you’d like. Each NFT will have its own unique token ID and metadata associated with it.
Are there any fees associated with minting an NFT on MetaMask?
Yes, there are fees associated with minting an NFT on MetaMask. These fees are typically in the form of gas fees and are required to cover the cost of executing the smart contract on the Ethereum blockchain. The exact amount of the fees can vary depending on network congestion and the complexity of the smart contract.
+ There are no comments
Add yours