


Metamask is a popular cryptocurrency wallet and decentralized application (dApp) browser extension that allows users to interact with the Ethereum blockchain. By adding Sepolia to your Metamask wallet, you will have access to a new decentralized exchange (DEX) and a wide range of tokens for trading and investment.
Adding Sepolia to Metamask is a simple process that can be done in just a few easy steps. In this step-by-step guide, we will walk you through the process of adding Sepolia to your Metamask wallet, so you can start trading and investing in the Sepolia ecosystem.
Step 1: Install and Set Up Metamask
If you haven’t already, the first step is to install the Metamask browser extension. You can find the extension by searching for “Metamask” in your favorite browser’s extension store. Once installed, follow the prompts and create a new wallet or import an existing one.
Note: Make sure you store your seed phrase in a safe place, as it is the only way to recover your wallet if you lose access to your device.
Step 2: Open the Metamask Wallet
Once you have installed and set up Metamask, click on the extension icon in your browser’s toolbar to open the wallet. If you have already created a wallet, enter your password or use biometrics to unlock it. If you are creating a new wallet, follow the prompts to set a secure password.
Step-by-Step Guide: Adding Sepolia to Metamask
Metamask is a popular cryptocurrency wallet that allows users to interact with decentralized applications (DApps) built on the Ethereum blockchain. Sepolia is a decentralized exchange (DEX) that allows users to trade cryptocurrencies. In this guide, we will walk you through the process of adding Sepolia to Metamask so you can start trading on the platform.
Step 1: Install Metamask
If you don’t already have Metamask installed, the first step is to download and install it on your browser. Metamask is available as a browser extension for Chrome, Firefox, Brave, and Edge. Once installed, create a new wallet or import an existing one.
Step 2: Connect Metamask to the Ethereum Mainnet
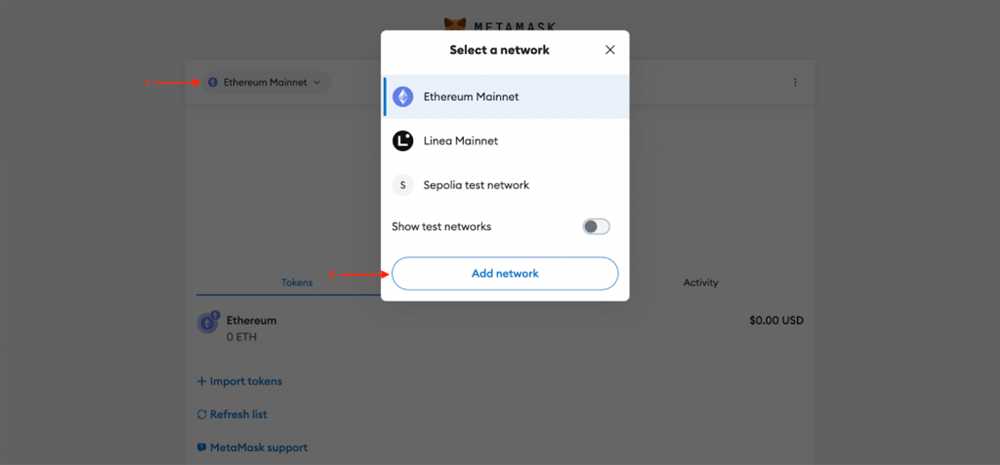
After installing Metamask, make sure you are connected to the Ethereum mainnet. Click on the Metamask extension icon in your browser and select “Main Ethereum Network” from the dropdown menu. If you are already connected, you can skip this step.
Step 3: Add Sepolia Custom Network
In order to trade on Sepolia, you need to add the Sepolia custom network to Metamask. To do this, click on the Metamask extension icon and select “Settings” from the dropdown menu. In the Settings tab, scroll down and click on “Networks”.
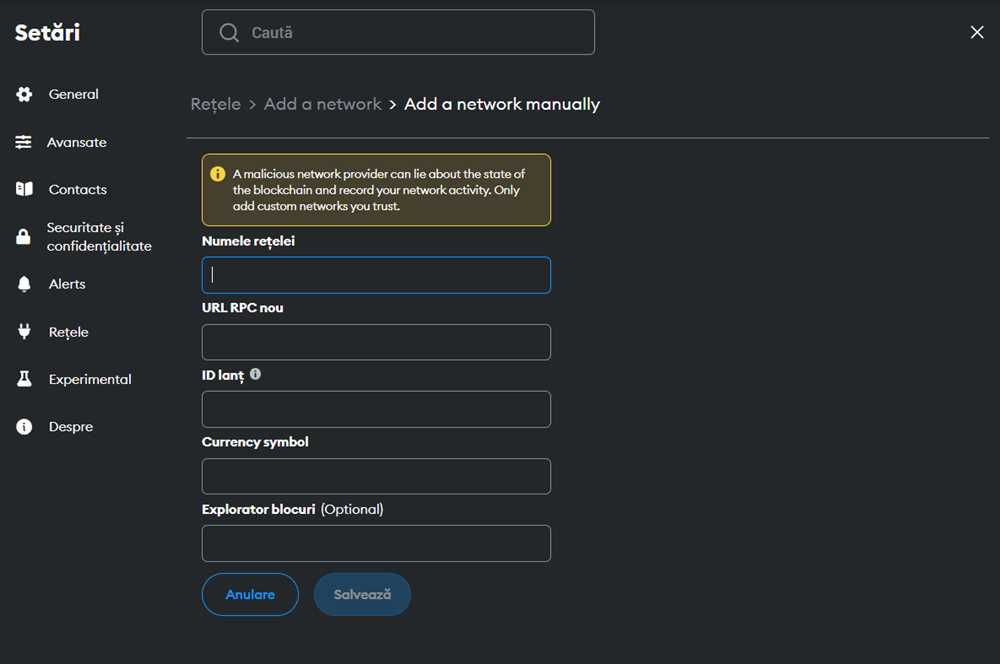
Click on “Add Network” and fill in the following details:
Network Name: Sepolia
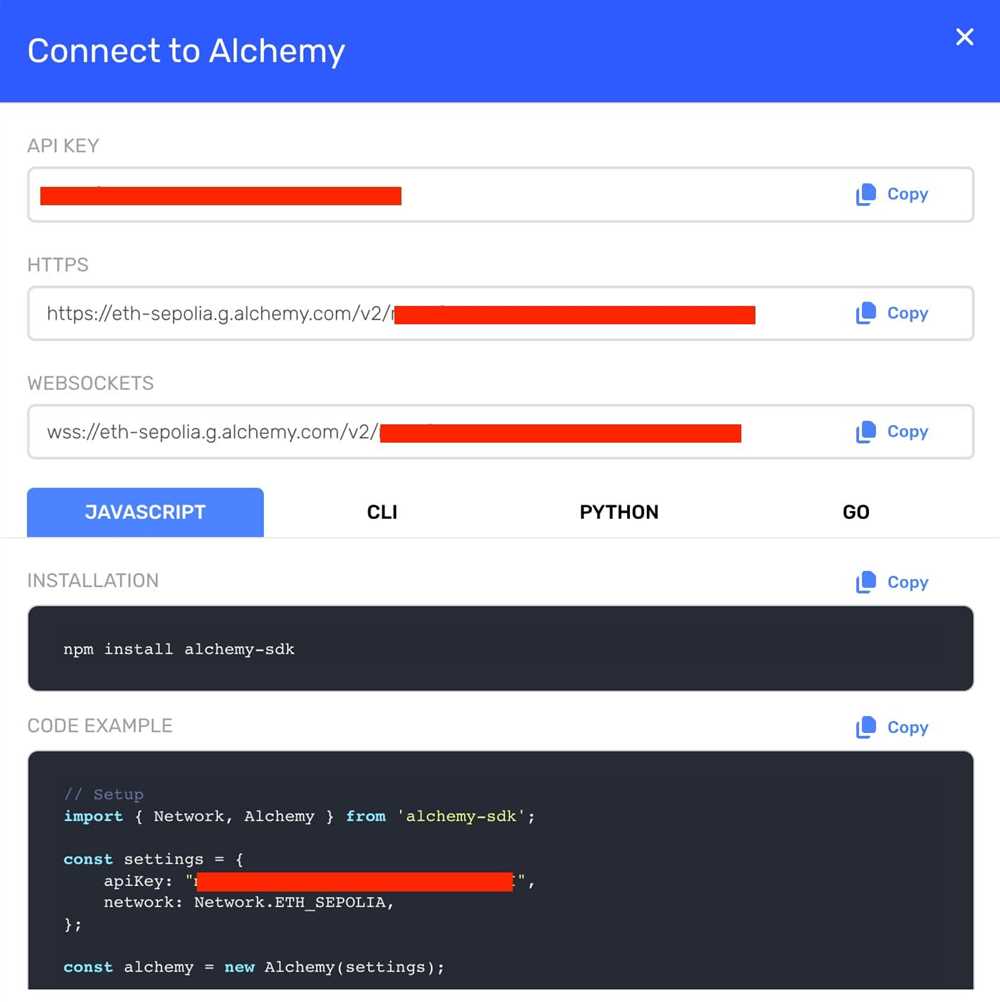
New RPC URL: [enter the Sepolia RPC URL]
ChainID: [enter the Sepolia Chain ID]
Symbol: [enter the Sepolia token symbol]
Block Explorer URL: [enter the Sepolia block explorer URL]
Once you have filled in the details, click on “Save” to add the Sepolia custom network to Metamask.
Step 4: Import Sepolia Token
After adding the Sepolia custom network, you need to import the Sepolia token into your Metamask wallet. To do this, click on the Metamask extension icon and select “Add Token” from the dropdown menu. In the “Custom Token” tab, fill in the Sepolia token contract address and click on “Next”. Metamask will automatically populate the token details. Click on “Add Tokens” to import the Sepolia token.
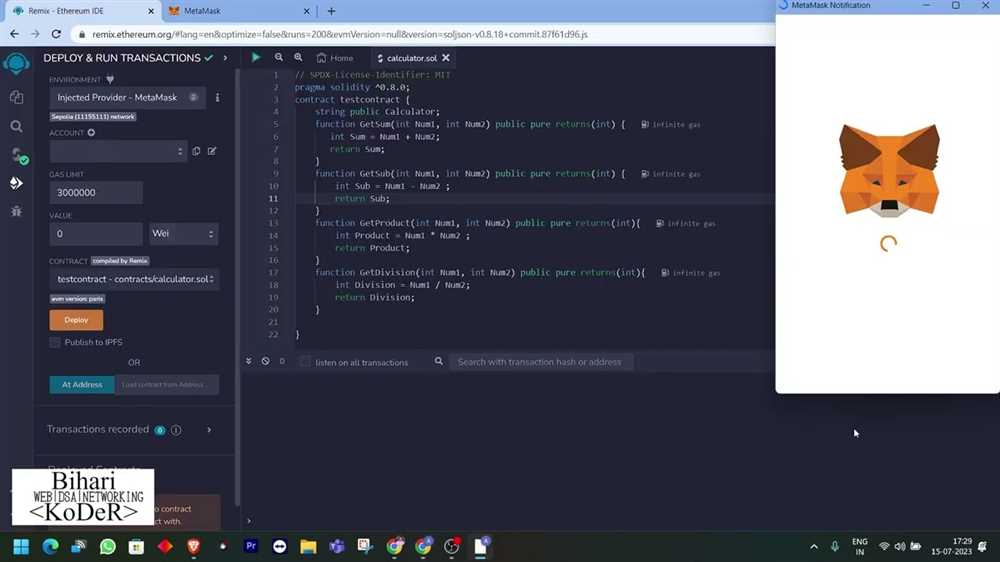
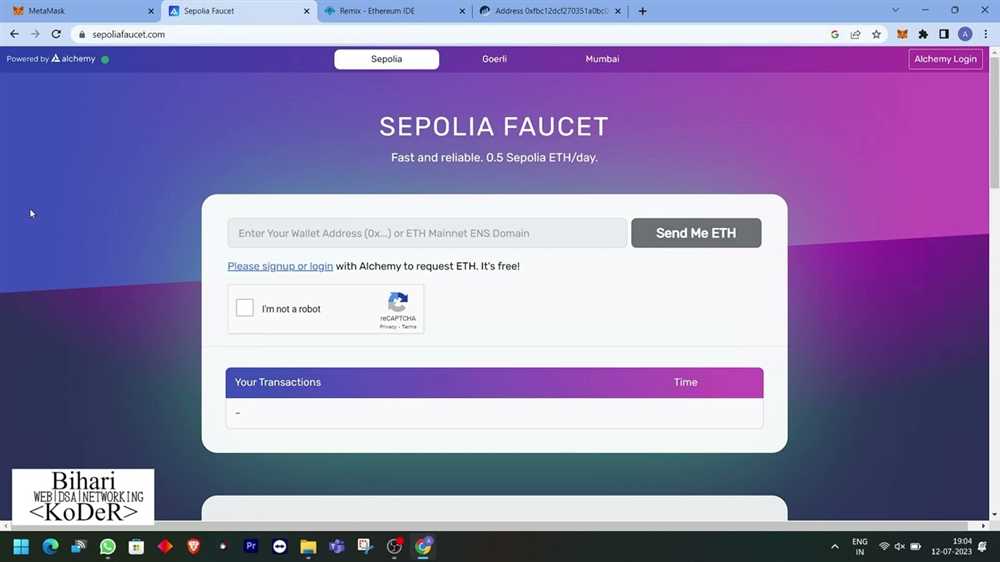
Step 5: Start Trading on Sepolia
Now that you have added Sepolia to Metamask, you can start trading on the platform. Visit the Sepolia website and connect your Metamask wallet. You should now see your Sepolia token balance in your Metamask wallet and be able to trade on Sepolia.
Remember to always exercise caution when trading cryptocurrencies and only invest what you can afford to lose. Happy trading!
How to Install Metamask Extension
Metamask is a popular browser extension that allows you to interact with decentralized applications on the Ethereum blockchain. To install the Metamask extension, follow these simple steps:
1. Open your preferred web browser and navigate to the official Metamask website.
2. Click on the “Get Chrome Extension” button if you are using Google Chrome. If you are using a different browser, look for the appropriate download option.
3. You will be redirected to the Chrome Web Store or the relevant extension store for your browser. Click on the “Add to Chrome” button.
4. A pop-up window will appear asking for confirmation to add the extension. Click on the “Add extension” button to proceed.
5. Once the extension is added, you will see the Metamask icon in your browser’s toolbar.
6. Click on the Metamask icon to open the extension. You will be prompted to create a new wallet or import an existing one.
7. Follow the on-screen instructions to set up your Metamask wallet. Make sure to securely backup your wallet seed phrase.
8. Once your wallet is set up, you can start using Metamask to interact with decentralized applications, manage your Ethereum addresses, and send/receive Ethereum and ERC-20 tokens.
That’s it! You have successfully installed the Metamask extension. Enjoy seamless access to the world of Ethereum decentralized applications!
Connecting Metamask to Sepolia
To connect Metamask to Sepolia, follow these steps:
- Open Metamask: Make sure you have the Metamask extension installed in your browser. If not, you can download it from the official Metamask website and follow the installation instructions.
- Select the Network: In the Metamask extension, click on the network dropdown menu at the top. Select “Custom RPC” from the options.
- Add Sepolia’s RPC URL: In the “New RPC URL” field, enter the RPC URL for Sepolia. The RPC URL is https://sepolia-rpc-url.com (replace with the actual URL for Sepolia). Make sure to double-check the URL for accuracy.
- Save the Network: Once you have entered the RPC URL, click on the “Save” button to save the network settings.
- Switch to Sepolia: After saving the network settings, you should see Sepolia listed as one of the networks in the network dropdown menu. Select Sepolia to switch to the Sepolia network.
- Confirm the Connection: A pop-up window will appear asking you to confirm the connection to Sepolia. Review the details and click “Connect” to proceed.
- Connected to Sepolia: If everything is successful, Metamask should now be connected to Sepolia. You can now start using Sepolia to interact with decentralized applications (dApps) and perform transactions on the Sepolia network.
Remember to always verify the RPC URL and network details before connecting Metamask to any network. This ensures that you are connecting to the correct network and helps prevent any potential security risks.
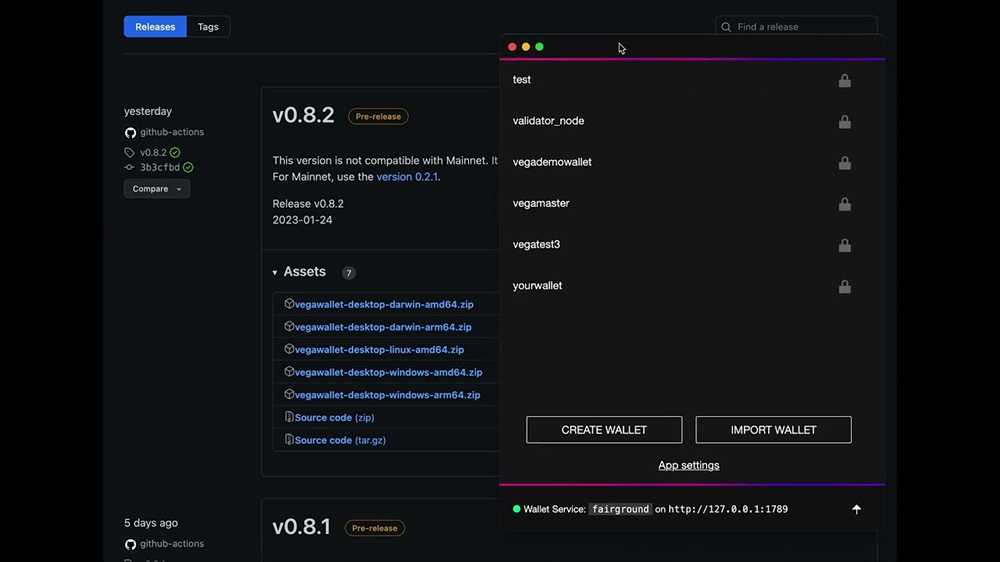
Importing Wallet to Metamask

Once you have successfully installed Metamask to your browser, the next step is to import your wallet.
To import your wallet, follow these steps:
- Open the Metamask extension by clicking on the icon in your browser toolbar.
- In the Metamask window, click on the “Create Account” button.
- On the next screen, there will be an option to import an existing wallet. Click on this option.
- You will be prompted to enter your wallet’s private key or seed phrase. Make sure to enter it correctly.
- After entering the private key or seed phrase, click on the “Import” button.
Metamask will then validate the private key or seed phrase and import your wallet. Once imported, you will be able to view your wallet balance and interact with decentralized applications.
Note: It is important to keep your private key or seed phrase secure and do not share it with anyone. Losing your private key or seed phrase can result in permanent loss of access to your wallet and funds.
Frequently Asked Questions:
What is Sepolia?
Sepolia is a decentralized finance (DeFi) project built on the Ethereum blockchain. It aims to provide users with a decentralized exchange (DEX) platform for trading various tokens.
What tokens can I trade on Sepolia?
Sepolia supports a wide range of tokens, including popular ERC-20 tokens like Ethereum (ETH), Binance Coin (BNB), and DAI, as well as other tokens built on the Ethereum blockchain. You can check the available tokens on the Sepolia platform or through the Sepolia block explorer.

+ There are no comments
Add yours