


Are you tired of complicated procedures and long waiting times when it comes to transferring funds from Coinbase to Metamask? Look no further – we’ve got you covered! In this article, we will guide you step-by-step through the simplified process of moving your funds seamlessly, without any hassle or unnecessary delay.
First things first, let’s understand the basics. Coinbase is a popular cryptocurrency exchange platform where you can buy, sell, and store various digital assets. Metamask, on the other hand, is a digital wallet that allows you to securely manage your cryptocurrencies and interact with decentralized applications (DApps).
Now, let’s delve into the simplified process of transferring funds from Coinbase to Metamask. Please note that you will need an existing Coinbase account and a Metamask wallet set up before proceeding. If you haven’t done that yet, be sure to create and set up your accounts first.
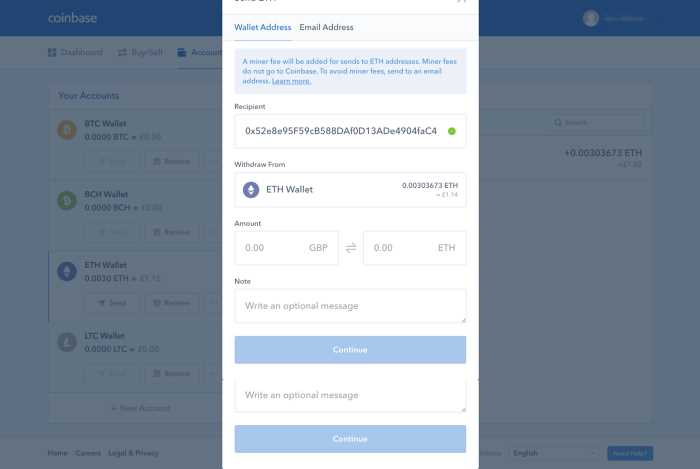
The first step is to open Coinbase and navigate to your wallets. Once you’re there, select the cryptocurrency you want to transfer. Next, click on the “Send” button, which will prompt you to enter the recipient’s wallet address. Go to your Metamask wallet and copy the wallet address associated with the specific cryptocurrency you want to transfer.
Then, return to Coinbase and paste the wallet address into the recipient’s address field. Double-check that the address is correct, as transactions made to the wrong address cannot be reversed. Finally, enter the amount you wish to transfer and review the details. If everything looks good, click on the “Send” button to initiate the transfer. You might be asked to confirm the transaction via email or two-factor authentication, depending on your security settings.
That’s it! You’ve successfully transferred your funds from Coinbase to Metamask. Now you can enjoy the benefits of using your cryptocurrencies within the Metamask ecosystem, whether it’s interacting with DApps, managing your digital assets, or participating in decentralized finance (DeFi) activities.
Remember, simplicity is key when it comes to fund transfers. By following this simplified process, you can save time, avoid unnecessary complications, and have more control over your digital investments. So, go ahead and master the art of transferring funds from Coinbase to Metamask, and unlock a world of opportunities in the vast realm of digital currencies!
Understanding the Fund Transfer Process
When it comes to moving funds from Coinbase to Metamask, it is important to understand the process involved. This can help ensure a smooth and secure transfer of your funds.
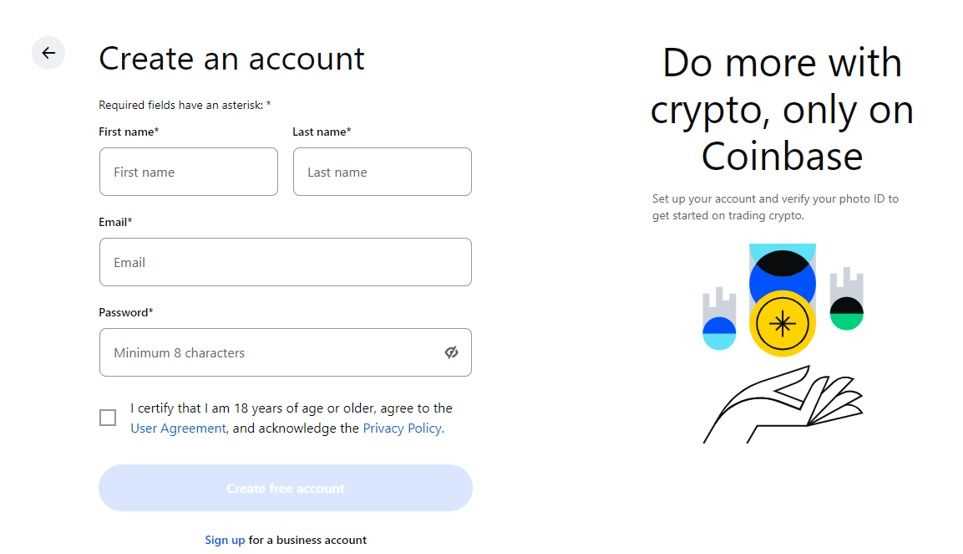
1. Set up your Coinbase account: Before you can transfer funds, you will need to create an account on Coinbase. This involves providing some basic personal information and completing any necessary identity verification steps.
2. Set up your Metamask wallet: Once you have a Coinbase account, you will need to set up a wallet on Metamask. Metamask is a browser extension that acts as a digital wallet for Ethereum and other web3 applications. You will need to install the extension and create a new wallet, which will generate a unique address for your funds.
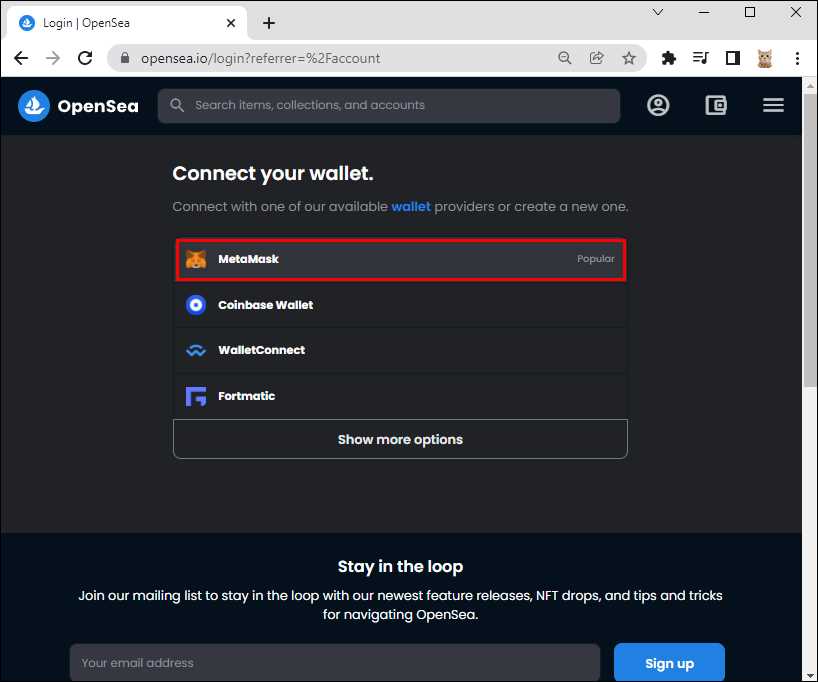
3. Link your Coinbase account to Metamask: After setting up your Metamask wallet, you will need to link it to your Coinbase account. This can usually be done by selecting the option to connect a wallet in your Coinbase account settings and following the prompts to authorize the connection.
4. Deposit funds into your Coinbase account: To transfer funds to Metamask, you will first need to deposit them into your Coinbase account. This can usually be done by selecting the option to deposit funds and choosing the desired method, such as a bank transfer or credit/debit card.
5. Transfer funds from Coinbase to Metamask: Once your funds are in your Coinbase account, you can initiate a transfer to your Metamask wallet. This can usually be done by selecting the option to send funds and entering your Metamask wallet address as the recipient.
6. Confirm the transfer: After initiating the transfer, you will need to confirm it on both Coinbase and Metamask. This may involve entering security codes or passwords to verify your identity and authorize the transfer.
7. Wait for the transfer to complete: Once the transfer is confirmed, you will need to wait for it to complete. The time it takes for the transfer to be processed and reflected in your Metamask wallet can vary depending on network congestion and other factors.
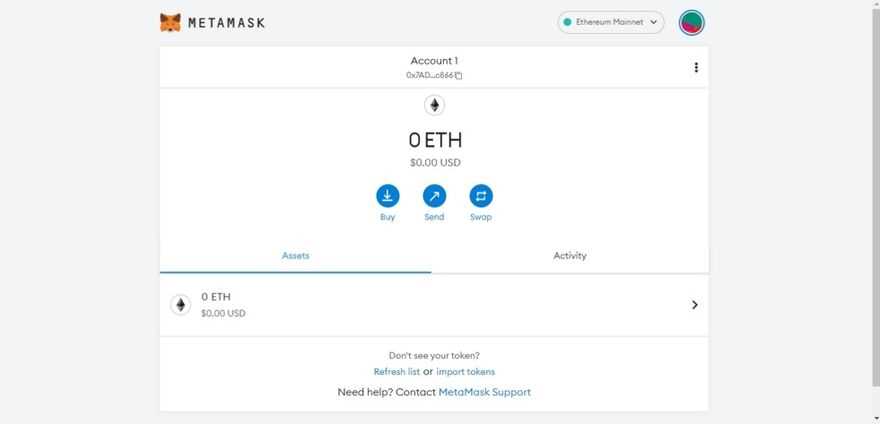
8. Check your Metamask wallet balance: After the transfer is complete, you should check your Metamask wallet balance to ensure that the funds have been successfully transferred. You can usually do this by opening the Metamask extension and viewing your account details.
By understanding and following these steps, you can confidently navigate the fund transfer process from Coinbase to Metamask. Remember to double-check all addresses and take appropriate security measures to protect your funds during the transfer.
Overview of Coinbase and Metamask
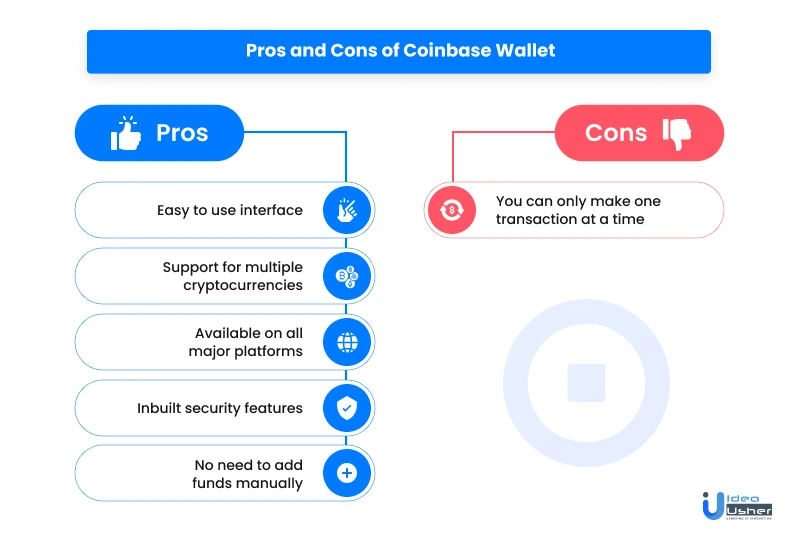
Coinbase and Metamask are both important tools in the world of cryptocurrency. Coinbase is a digital currency exchange that allows users to buy, sell, and store various cryptocurrencies, such as Bitcoin and Ethereum. It provides a user-friendly interface for beginners and offers a secure platform for trading digital assets.
Metamask, on the other hand, is a cryptocurrency wallet that is used as an extension for web browsers, such as Google Chrome and Mozilla Firefox. It acts as a bridge between users and the Ethereum blockchain, allowing them to interact with decentralized applications (dApps) and manage their digital assets securely.
Differences between Coinbase and Metamask
- Functionality: Coinbase is primarily used for trading cryptocurrencies, while Metamask is focused on managing Ethereum-based tokens and interacting with dApps.
- Storage: Coinbase stores cryptocurrencies on behalf of the users, while Metamask allows users to have full control over their private keys and wallets.
- Integration: Coinbase operates as a centralized platform, while Metamask is a decentralized tool that connects users directly to the Ethereum network.
Use Cases for Coinbase and Metamask
- Coinbase:
- Buying and selling cryptocurrencies.
- Storing digital assets in a secure wallet.
- Converting between different cryptocurrencies.
- Metamask:
- Interacting with decentralized applications (dApps).
- Creating and managing Ethereum wallets and tokens.
- Participating in Initial Coin Offerings (ICOs) and token sales.
In summary, Coinbase is a popular exchange for buying and selling cryptocurrencies, while Metamask is a versatile tool for managing Ethereum-based assets and interacting with the Ethereum network. Both platforms serve different purposes and can be used in conjunction to make seamless cryptocurrency transactions.
Step 1: Creating and Configuring a Metamask Wallet
To transfer funds from Coinbase to Metamask, you’ll need to create and configure a Metamask wallet. Metamask is a popular cryptocurrency wallet that allows you to manage your Ethereum-based assets and interact with decentralized applications.
1. Install Metamask
The first step is to install the Metamask extension on your web browser. Metamask is compatible with Chrome, Firefox, Brave, and Edge. To install Metamask, follow these steps:
- Open your web browser and go to the Metamask website.
- Click on the “Get Chrome Extension” button or the respective button for your browser.
- Follow the on-screen instructions to install the extension.
- Once installed, a new Metamask icon will appear in your browser’s toolbar.
2. Create a Metamask Wallet
After installing Metamask, you need to create a new wallet. Here’s how:
- Click on the Metamask icon in your browser’s toolbar.
- A pop-up window will appear. Click on the “Get Started” button.
- Read and accept the terms of use.
- Create a new password for your wallet. Make sure it’s strong and secure.
- Click on the “Create” button.
- Metamask will display a unique set of words called a seed phrase. Write down these words and keep them in a safe place. This seed phrase is essential for recovering your wallet if you ever lose access to it.
- Confirm the seed phrase by selecting the words in the correct order.
- Your Metamask wallet is now created and ready to use.
3. Configure Metamask Network
In order to interact with the Ethereum network, you need to configure Metamask to connect to the correct network. Follow these steps:
- Open the Metamask extension by clicking on the icon in your browser’s toolbar.
- Click on the account avatar located in the top right corner of the Metamask window.
- A drop-down menu will appear. Click on “Settings”.
- In the Settings menu, click on “Networks”.
- Click on the “Add Network” button.
- Enter the following details for the network:
- Network Name: Ethereum Mainnet
- New RPC URL: https://mainnet.infura.io/v3/YOUR_INFURA_API_KEY
- Chain ID: 1
- Symbol (optional): ETH
- Block Explorer URL (optional): https://etherscan.io/
- Click on “Save” to add the network.
- Your Metamask wallet is now configured to connect to the Ethereum Mainnet.
Congratulations! You have successfully created and configured your Metamask wallet. In the next step, we will guide you through the process of transferring funds from Coinbase to Metamask.
Step 2: Generating an Ethereum Address in Metamask
After setting up your Metamask wallet and connecting it to the Ethereum mainnet, you can proceed to generate an Ethereum address. This address will serve as your unique identifier and enable you to receive funds.
To generate an Ethereum address in Metamask, follow these steps:
- Click on the Metamask extension icon in your browser’s toolbar. This will open the Metamask interface.
- If necessary, enter your wallet password to unlock Metamask.
- In the Metamask interface, click on the account icon located at the top right corner of the window. This will open the Account menu.
- From the Account menu, select “Create Account”.
- Metamask will now generate a new Ethereum address for you.
- Take note of your Ethereum address or copy it to your clipboard for future reference.
- You can optionally customize the name of your account by clicking on the account name field in the Metamask interface.
Once you have generated an Ethereum address in Metamask, you can proceed to the next step of transferring funds from Coinbase to Metamask.
Step 3: Transferring Funds from Coinbase to Metamask
Now that you have successfully connected your Coinbase account to your Metamask wallet, it’s time to transfer funds from Coinbase to your Metamask wallet. This will allow you to use your funds for various decentralized finance (DeFi) applications, decentralized exchanges (DEX), or simply to hold your assets securely in a non-custodial wallet.
Follow the steps below to transfer funds from Coinbase to Metamask:
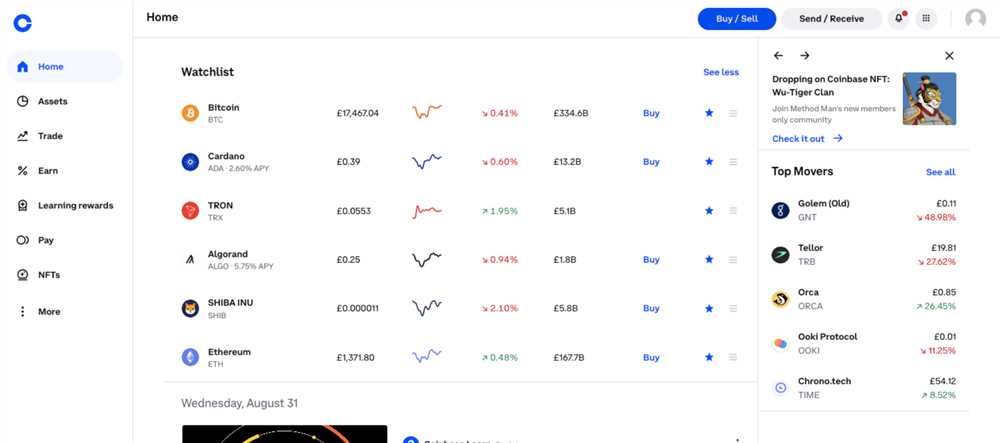
- Log in to your Coinbase account and navigate to the “Accounts” tab.
- Select the cryptocurrency you want to transfer from Coinbase to Metamask. Ensure that you have enough funds available.
- Click on the “Send” button for the selected cryptocurrency.
- In the recipient address field, paste your Metamask wallet address. Double-check the address to avoid any mistakes.
- Enter the amount you wish to transfer. Make sure the amount is within the limits set by Coinbase.
- Review the details of the transaction and confirm that everything is accurate.
- Click on the “Send now” or “Confirm” button to initiate the transfer.
- Wait for the transfer to be confirmed on the blockchain. This may take some time depending on the network congestion.
- Once the transfer is confirmed, you can check your Metamask wallet to see the funds reflected in your account balance.
Note that each cryptocurrency has its own network and transaction fees. Make sure to review the fees associated with the transfer before proceeding. You may also need to wait for a certain number of confirmations on the blockchain before the funds are fully available in your Metamask wallet.
With the funds now in your Metamask wallet, you can explore the world of decentralized finance and take advantage of various DeFi protocols, decentralized exchanges, and other blockchain-powered applications.
Congratulations! You have successfully transferred funds from Coinbase to your Metamask wallet.
Frequently Asked Questions:
What is Coinbase?
Coinbase is a popular cryptocurrency exchange and wallet platform that allows users to buy, sell, and store various cryptocurrencies.
Can I transfer funds directly from Coinbase to Metamask?
Yes, you can transfer funds directly from Coinbase to Metamask by following a simple process.
+ There are no comments
Add yours