


Are you tired of the high fees and slow confirmation times on the Ethereum network? Look no further than Xdai Metamask. With Xdai Metamask, you can enjoy faster and cheaper transactions while still leveraging the security and reliability of the Ethereum network.
Setting up Xdai Metamask is a breeze. Simply follow these steps:
- Install the Metamask extension in your web browser.
- Create a new wallet or import your existing one.
- Click on the network selector and choose “Custom RPC.”
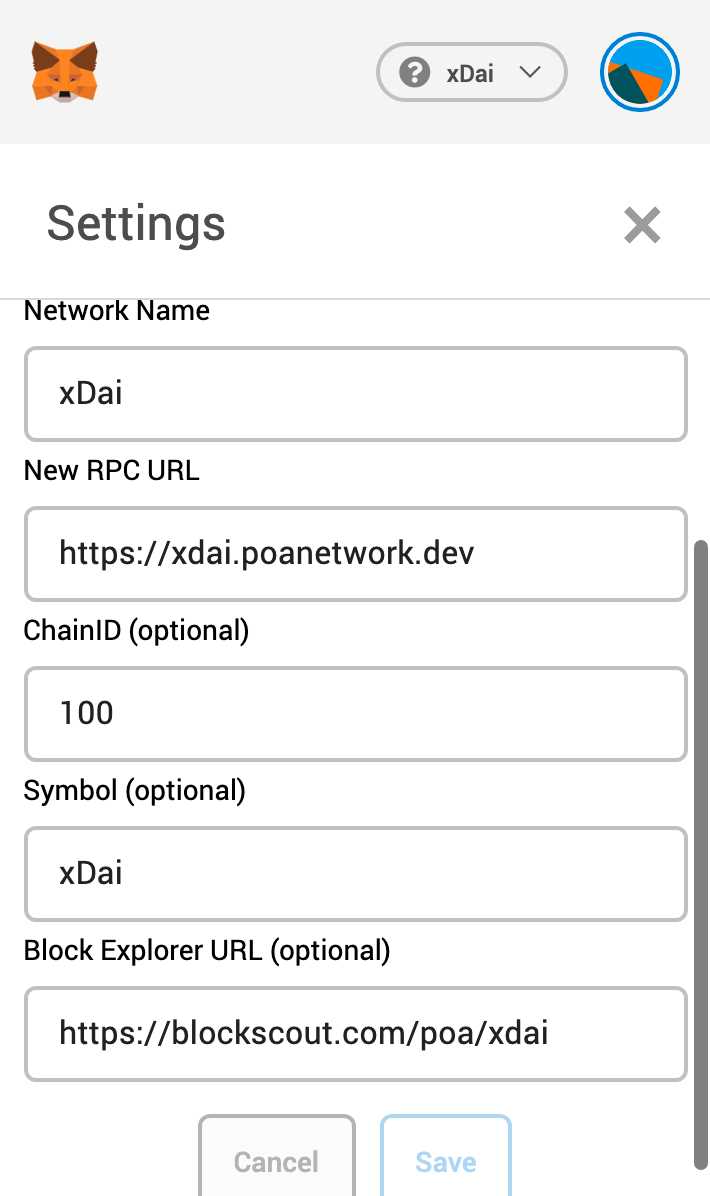
- Enter the Xdai network details:
Network Name: Xdai
New RPC URL: https://dai.poa.network
Chain ID: 100
Symbol: Xdai
Block Explorer URL: https://blockscout.com/xdai/mainnet
Once you’ve set up Xdai Metamask, using it for transactions is as simple as using the Ethereum network. You can send and receive Xdai tokens, interact with decentralized applications, and participate in Xdai-based projects.
Xdai Metamask offers a seamless experience with all the benefits of the Ethereum network. Say goodbye to high fees and slow confirmations – try Xdai Metamask today and experience the future of decentralized finance.
What is Xdai Metamask?
Xdai Metamask is a Chrome extension wallet that allows users to easily interact with the Xdai blockchain network. The Xdai network is a sidechain of the Ethereum network, designed to offer faster and cheaper transactions compared to the main Ethereum network.
Xdai Metamask integrates seamlessly with the Metamask wallet, allowing users to switch between the Ethereum mainnet and the Xdai network with just a few clicks. This makes it convenient for users who want to take advantage of the benefits of the Xdai network while still being able to access their Ethereum assets.
Benefits of Xdai Metamask

One of the main benefits of using Xdai Metamask is the reduced transaction fees. Since the Xdai network operates on its own blockchain, transactions are processed more quickly and at a fraction of the cost compared to the Ethereum mainnet. This makes Xdai Metamask ideal for users who frequently make small and frequent transactions.
Another advantage of Xdai Metamask is the ability to earn rewards in the form of xDai tokens. By staking their xDai tokens, users can participate in the network’s Proof-of-Stake model and earn additional tokens as a reward. This provides an incentive for users to support the network and contribute to its security and decentralization.
Overall, Xdai Metamask offers a user-friendly interface and a seamless integration with the Metamask wallet, making it easy for users to switch between the Ethereum mainnet and the Xdai network. With its faster transaction speeds and low fees, Xdai Metamask provides a convenient option for users who want to take advantage of the benefits of the Xdai blockchain network.
Benefits of Using Xdai Metamask

Xdai Metamask provides several benefits for users when it comes to conducting transactions on the Ethereum network. Here are some of the key advantages:
1. Lower Transaction Fees
Using Xdai Metamask allows users to take advantage of lower transaction fees compared to the main Ethereum network. This is due to the fact that Xdai operates on a sidechain, which reduces the computational resources required for transactions and thus lowers the associated costs.
2. Faster Transaction Confirmation
Transactions on Xdai Metamask are typically confirmed faster compared to the main Ethereum network. This is again because of the sidechain structure, which enables quicker processing and validation of transactions. Users can enjoy faster confirmation times, allowing for a more efficient and seamless experience when interacting with decentralized applications.
3. Seamless User Experience
Xdai Metamask provides a user-friendly interface, making it easy for individuals to set up and use the platform. The familiar Metamask interface, combined with the benefits of the Xdai network, allows for a seamless and intuitive experience when conducting transactions on the Ethereum network.
Overall, Xdai Metamask offers a range of advantages to users, including lower transaction fees, faster confirmation times, and a user-friendly interface. These benefits make Xdai Metamask a valuable tool for individuals looking to optimize their interactions on the Ethereum network.
Getting Started
Before you can start using Xdai Metamask for easy Ethereum network transactions, you’ll need to follow a few simple steps to set everything up correctly.
Firstly, make sure you have the latest version of Metamask installed in your browser. You can download it from the official website or the browser extension store of your choice.
Once you have Metamask installed, open it and create a new wallet or import your existing one using your private key or seed phrase. Make sure to keep this information secure as it grants access to your funds.
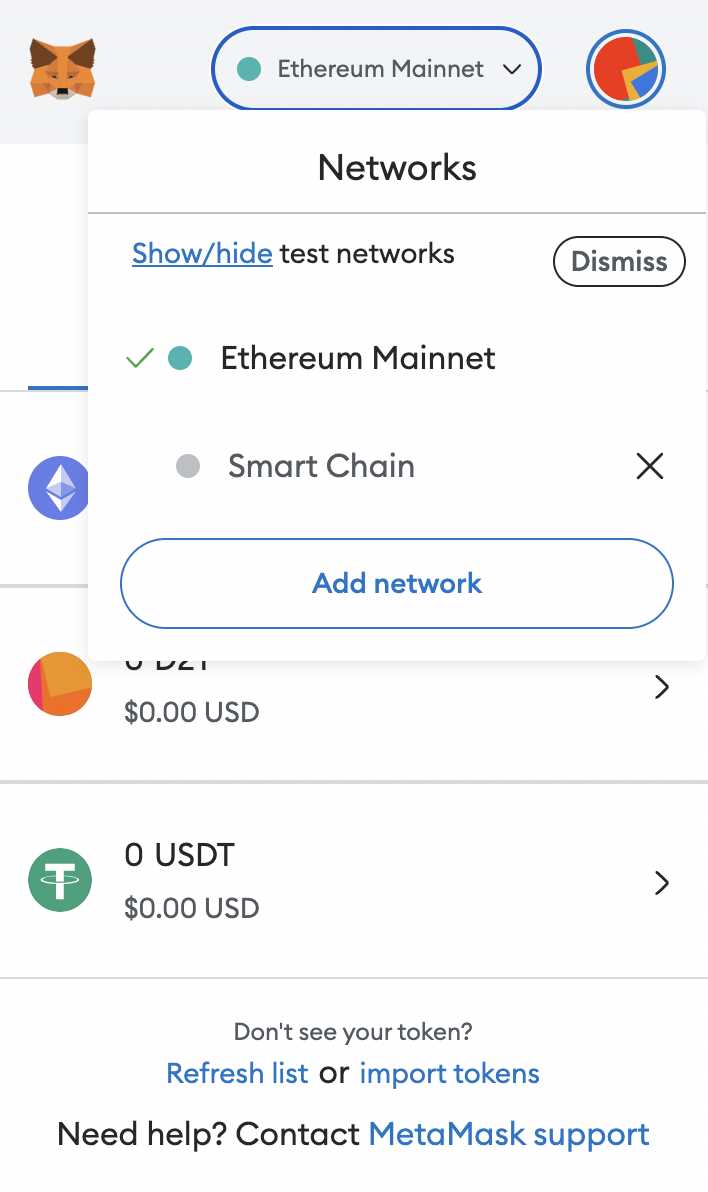
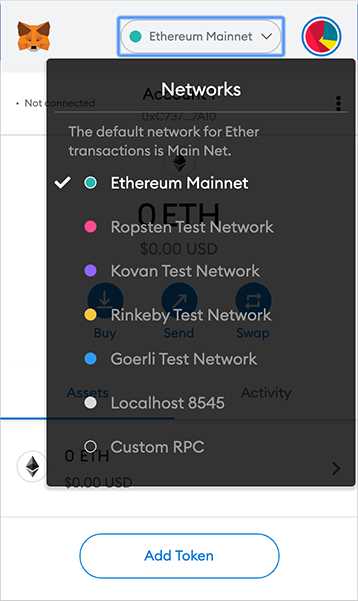
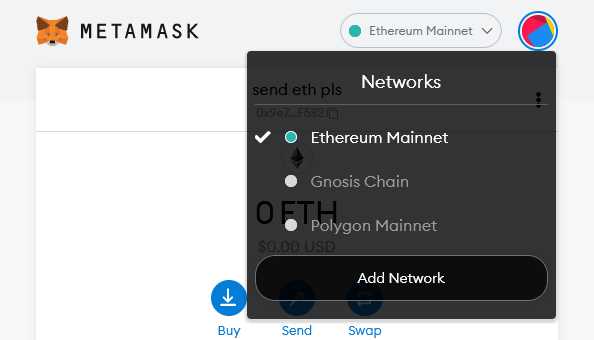
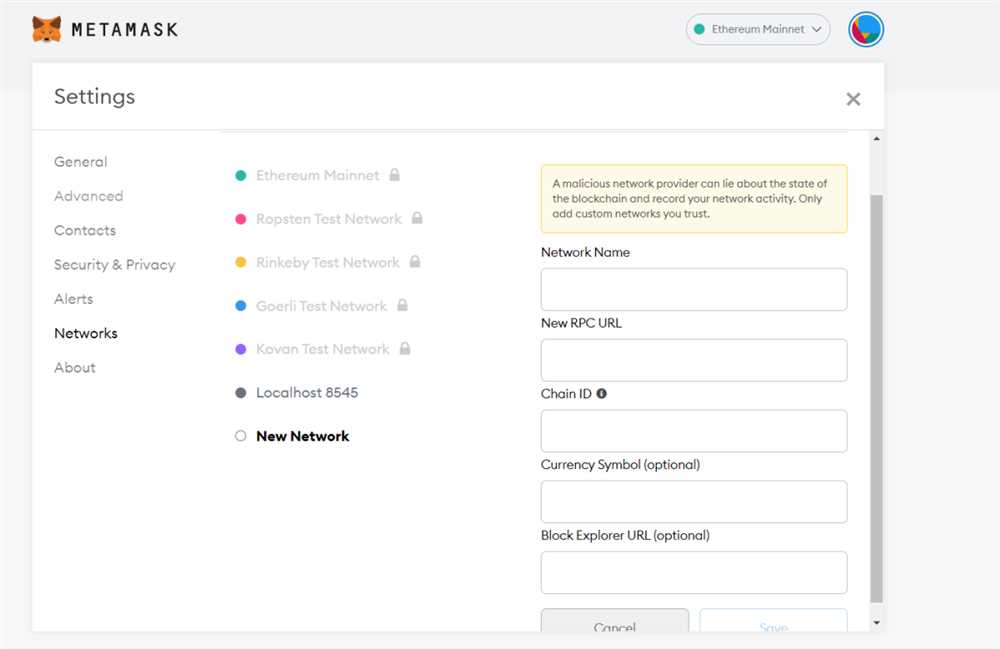
After setting up your wallet, click on the network selection dropdown in the Metamask UI. From the list of available networks, select “Custom RPC”. This will allow you to connect to the Xdai network.
In the custom RPC settings, enter the following information:
- Network Name: Xdai
- New RPC URL: https://rpc.xdaichain.com/
- ChainID: 100
- Symbol (optional): XDAI
- Block Explorer URL (optional): https://blockscout.com/xdai/mainnet
Once you’ve entered all the information, click “Save” to add the Xdai network to your Metamask.
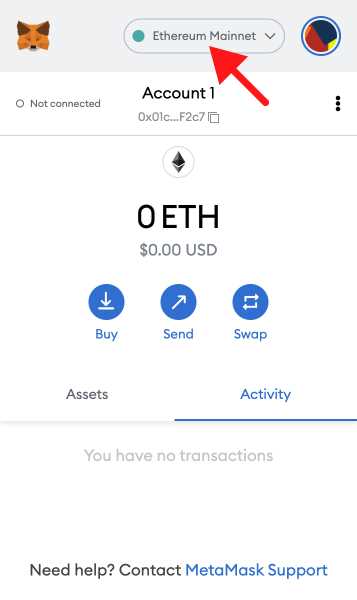
Now, you’re all set to start using Xdai Metamask for easy Ethereum network transactions. You can switch to the Xdai network by selecting it from the network dropdown in the Metamask UI. Remember to fund your Xdai wallet with XDAI tokens to perform transactions on the Xdai network.
Installing Xdai Metamask
To install Xdai Metamask, follow these steps:
| 1. | Open your browser and go to the Metamask website. |
| 2. | Click on the “Get Chrome Extension” button if you are using Google Chrome, or select the appropriate option for your browser. |
| 3. | Once the extension is added to your browser, click on the Metamask icon in the toolbar. |
| 4. | Click on the “Create a Wallet” option, and follow the on-screen instructions to set up your wallet. |
| 5. | Once your wallet is set up, click on the network dropdown menu and select “Custom RPC”. |
| 6. | In the “New RPC URL” field, enter “https://rpc.xdaichain.com/” as the network URL. |
| 7. | Click “Save” to add Xdai network to your Metamask. |
| 8. | Now you should see the Xdai network listed in the network dropdown menu. Select it to switch to the Xdai network. |
Congratulations! You have successfully installed Xdai Metamask and set up the Xdai network. You can now use Xdai network for easy Ethereum network transactions.
Creating a Wallet
In order to use Xdai Metamask for easy Ethereum network transactions, you’ll first need to create a wallet. Follow these steps to create a new wallet:
1. Install the Metamask extension on your browser (if you haven’t already). You can find the extension for Chrome, Firefox, and Brave browsers on the Metamask website.
2. Once the extension is installed, click on the Metamask icon in your browser’s toolbar to open the extension.
3. Click on the “Get Started” button to begin the wallet creation process.
4. Choose the option to “Create a Wallet” and proceed to the next step.
5. Set a strong password for your wallet. Make sure to choose a password that is unique and not easily guessable.
6. Read and accept the terms of use for using Metamask and click on the “Accept” button.
7. Now, you will be shown a secret backup phrase consisting of 12 randomly generated words. This phrase is extremely important and will be used to restore your wallet in case you lose access to it. Write down the backup phrase and keep it in a safe and secure place. Do not share it with anyone.
8. After saving your backup phrase, click on the “Next” button to proceed.
9. In the next step, you will be asked to confirm your backup phrase. This is to ensure that you have written it down correctly. Select the words in the correct order and click on the “Confirm” button.
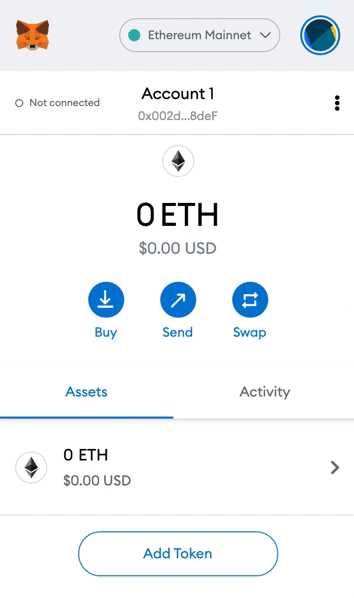
10. Your wallet is now created and ready to use! You will be redirected to the main Metamask interface, where you can manage your wallet’s settings, view your account balance, and perform Ethereum network transactions.
Remember to keep your wallet’s password and backup phrase secure, as these are essential for accessing your wallet. With your new Xdai Metamask wallet, you can now easily send and receive Ethereum network transactions on the Xdai network!
Frequently Asked Questions:
What is Xdai Metamask?
Xdai Metamask is a browser extension and wallet that allows users to interact with the Xdai network, a layer 2 scaling solution for Ethereum. It enables users to send and receive Xdai tokens, as well as interact with decentralized applications (dApps) on the Xdai network.
How do I install Xdai Metamask?
To install Xdai Metamask, you need to first have the regular Metamask extension installed on your browser. Once you have that, you can add the Xdai network to your Metamask by clicking on the network selection dropdown and selecting “Custom RPC”. Then, enter the Xdai network details and save it. After that, you will be able to switch between Ethereum and Xdai networks in your Metamask.
+ There are no comments
Add yours