


If you’re a cryptocurrency enthusiast or a developer looking to dive into the world of decentralized finance, then you’ve probably heard of AVAX and Metamask. AVAX is a cutting-edge blockchain platform that aims to revolutionize the way we think about digital assets and financial transactions. Metamask, on the other hand, is a popular browser extension that allows users to interact with AVAX and other blockchain networks.
Integrating AVAX with Metamask opens up a whole new world of possibilities. With AVAX, you can create and manage your own digital assets, participate in decentralized applications, and even earn passive income through trading and staking. Metamask acts as your gateway to this world, allowing you to securely interact with AVAX and its ecosystem.
In this comprehensive guide, we’ll walk you through the steps of integrating AVAX with Metamask, so you can start exploring the exciting world of decentralized finance. Whether you’re a beginner or an experienced user, you’ll find everything you need to get started, from setting up a wallet to interacting with smart contracts on AVAX.
By the end of this guide, you’ll have the knowledge and confidence to leverage the power of AVAX and Metamask to take your cryptocurrency journey to the next level. So let’s dive in and discover the ultimate guide to integrating AVAX with Metamask!
Why integrate AVAX with Metamask?
Integrating AVAX with Metamask can bring numerous benefits to both developers and users in the DeFi ecosystem. By integrating AVAX, users gain access to the Avalanche network, which offers high-speed and low-cost transactions. Metamask, on the other hand, is a widely used Ethereum wallet that provides a user-friendly interface and convenient access to various decentralized applications (DApps).
Here are several reasons why integrating AVAX with Metamask is beneficial:
1. Enhanced User Experience:
By integrating AVAX with Metamask, users can seamlessly interact with Avalanche-based DApps using a familiar and user-friendly interface. They can manage AVAX assets, make transactions, and participate in various decentralized finance activities without the need for additional wallets or tools.
2. Lower Transaction Costs:
One of the main advantages of integrating AVAX with Metamask is the significantly lower transaction costs offered by the Avalanche network compared to Ethereum. Users can enjoy faster and cheaper transactions, which is especially important during periods of high network congestion or when handling small transactions.
3. Access to a Growing Ecosystem:
Integrating AVAX with Metamask provides users with access to the expanding Avalanche ecosystem. They can participate in various DeFi protocols, yield farming opportunities, and investment options available on Avalanche. This integration opens up new possibilities and diversifies the portfolio of decentralized applications and services that users can access.
4. Interoperability:
Integrating AVAX with Metamask enhances the interoperability between different blockchain networks. Metamask acts as a bridge between the Ethereum and Avalanche ecosystems, allowing users to seamlessly transfer assets and interact with DApps across both networks. This interoperability provides users with more flexibility and options for managing their assets.
In conclusion, integrating AVAX with Metamask offers a range of benefits, including enhanced user experience, lower transaction costs, access to a growing ecosystem, and increased interoperability. Developers and users in the DeFi sector can take advantage of these benefits to unlock new opportunities and improve their decentralized finance experience.
Benefits of using AVAX with Metamask
Using AVAX with Metamask offers several benefits for users looking to participate in Avalanche’s decentralized finance ecosystem. Here are some of the key advantages:
1. Seamless Integration
By integrating AVAX with Metamask, users can seamlessly connect to the Avalanche network without the need for additional wallets or applications. Metamask, a popular Ethereum wallet, can be used to interact with the AVAX ecosystem, making it easier for users to access and manage their AVAX assets.
2. Improved Security
Metamask is known for its strong security features, such as encrypted private keys and an intuitive user interface. By using Metamask for AVAX transactions, users can benefit from these security measures and ensure the safety of their funds.
Additionally, Metamask allows users to verify transactions and review smart contract details before confirming, reducing the risk of unauthorized or fraudulent activities. This added layer of security enhances user confidence in the AVAX ecosystem.
3. Access to DeFi Applications
By integrating AVAX with Metamask, users gain access to a wide range of decentralized finance (DeFi) applications on the Avalanche network. This includes decentralized exchanges (DEXs), lending platforms, yield farming opportunities, and more.
Metamask’s integration with AVAX opens up a world of possibilities for users to participate in the growing ecosystem of DeFi applications on Avalanche, providing them with new avenues for investment, earning rewards, and accessing innovative financial products.
In conclusion, integrating AVAX with Metamask offers users a seamless and secure way to access the Avalanche network and take advantage of its decentralized finance ecosystem. The benefits of using AVAX with Metamask include easy integration, improved security, and access to a wide range of DeFi applications. By harnessing the power of these two platforms, users can unlock the full potential of Avalanche’s decentralized financial ecosystem.
Step-by-step guide to integrating AVAX with Metamask
In this guide, we will walk you through the steps to integrate AVAX with Metamask. By integrating AVAX with Metamask, you will be able to interact with Avalanche, a decentralized and highly scalable blockchain platform.
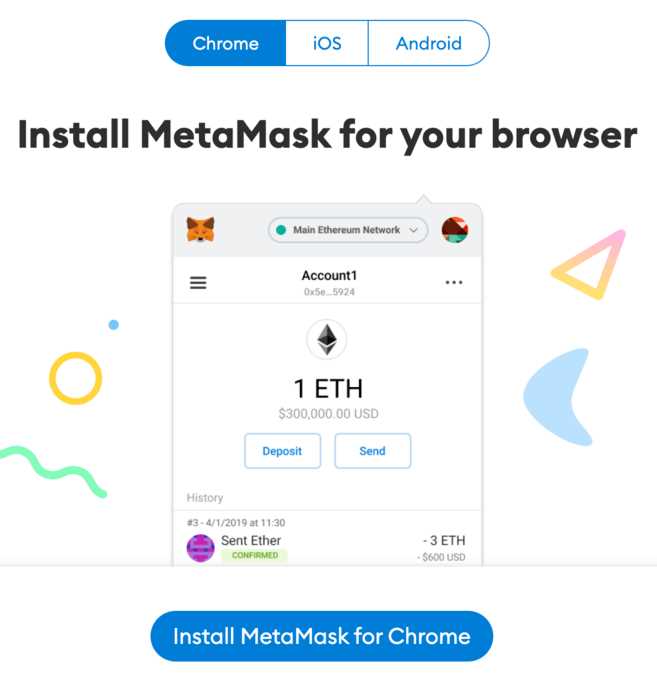
Step 1: Install Metamask
If you haven’t already, install the Metamask extension for your browser. Metamask is a popular browser wallet that allows you to interact with Ethereum and other compatible blockchains.
Step 2: Create or Import a Wallet
Once Metamask is installed, create a new wallet or import an existing one. Follow the prompts to set up a password and securely store your wallet’s seed phrase. This seed phrase is your key to accessing your funds, so make sure to keep it safe.
Step 3: Connect to Avalanche Network
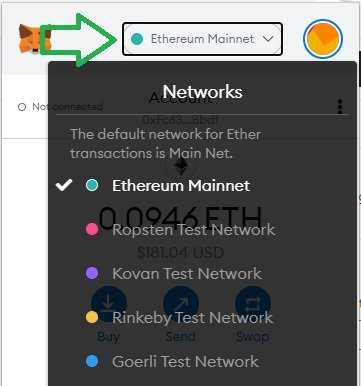
Click on the Metamask extension and select “Custom RPC” from the network dropdown. Enter the following Avalanche network details:
| Network Name | RPC URL | Chain ID | Symbol | Block Explorer URL |
|---|---|---|---|---|
| Avalanche Mainnet | https://api.avax.network/ext/bc/C/rpc | 43114 | AVAX | https://cchain.explorer.avax.network/ |
| Avalanche Fuji Testnet | https://api.avax-test.network/ext/bc/C/rpc | 43113 | FAVAX | https://cchain.explorer.avax-test.network/ |
Step 4: Add AVAX
In Metamask, click on the “Add Token” button and select “Custom Token”. Enter the AVAX token contract address, which is 0x1ce0c2827e2ef14d5c4f29a091d735a204794041. Metamask will automatically fill in the rest of the token details. Click on “Next” and then “Add Tokens” to add AVAX to your wallet.
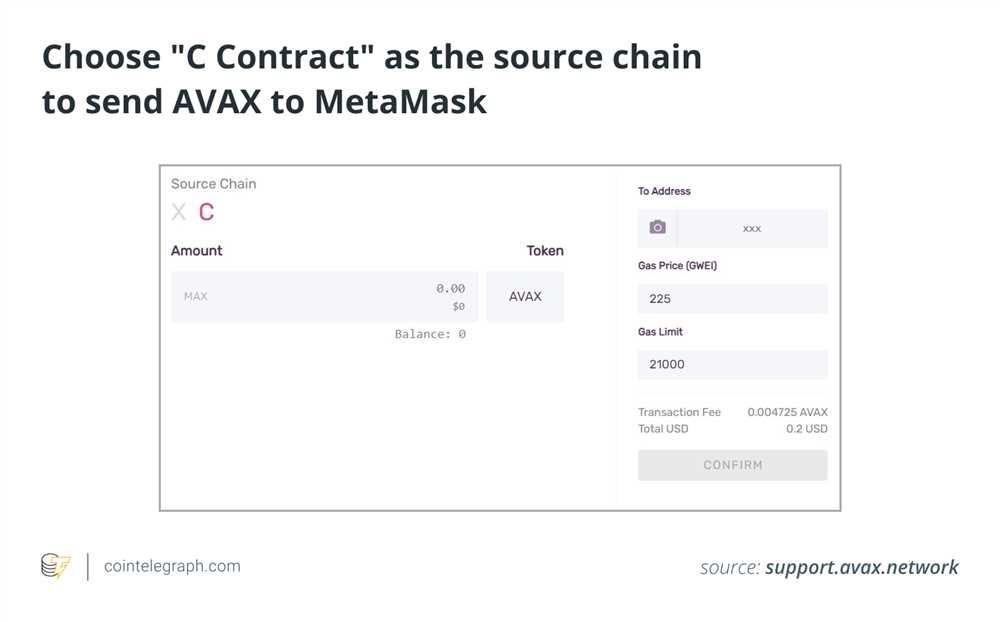
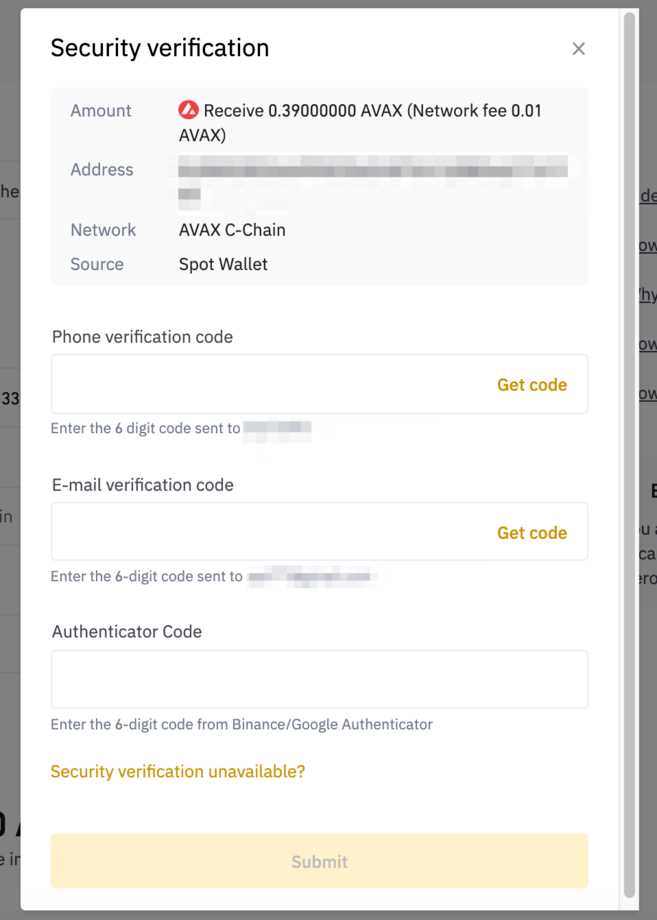
Step 5: Swap or Transfer AVAX
With AVAX added to your Metamask wallet, you can now swap or transfer the token. You can use decentralized exchanges or other platforms to swap AVAX or send it to other addresses.
That’s it! You have successfully integrated AVAX with Metamask. Now you can enjoy the benefits of Avalanche’s fast and secure blockchain platform.
Install and set up Metamask
Metamask is a popular cryptocurrency wallet that allows users to manage their Ethereum assets and interact with decentralized applications (DApps) in their web browser. Follow the steps below to install and set up Metamask:
Step 1: Install Metamask Extension
To get started, go to the Metamask website or visit the extension’s page on your browser’s add-on store. Click on the “Install” button to initiate the installation process.
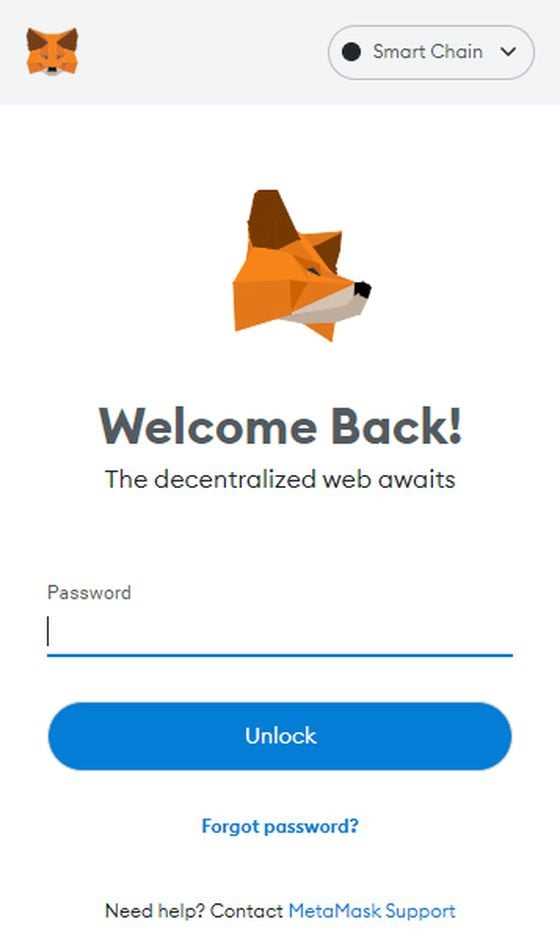
Step 2: Create a Wallet
Once the extension is successfully installed, you will see the Metamask icon in your browser toolbar. Click on the icon to launch Metamask. You will be prompted to create a new wallet or import an existing one. Click on the “Create a Wallet” button to proceed.
Step 3: Set a Strong Password
Enter a strong password for your wallet. Make sure it is unique and not easily guessable. Confirm the password and click on the “Create” button.
Step 4: Secure your Secret Backup Phrase
Metamask will generate a secret backup phrase consisting of twelve random words. This backup phrase is crucial for restoring access to your wallet in case you forget your password or lose your device. Write down the backup phrase on a piece of paper and keep it safe. Do not share it with anyone and do not store it electronically.
Step 5: Confirm your Backup Phrase
To ensure that you have correctly written down your backup phrase, Metamask will ask you to select the words in the correct order. Select the words in the correct sequence and click on the “Confirm” button.
Step 6: Connect to the Avalanche Network
After confirming your backup phrase, Metamask will display the main dashboard. By default, it is connected to the Ethereum network. To connect to the Avalanche network, click on the network dropdown at the top of the screen, select “Custom RPC,” and enter the Avalanche network’s details:
Network Name: Avalanche
New RPC URL: https://api.avax.network/ext/bc/C/rpc
Chain ID: 43114
Step 7: Import or Fund your Metamask Wallet
You can now import an existing Ethereum wallet or fund your Metamask wallet with AVAX tokens. To import an existing wallet, click on the account dropdown and select “Import Account.” Enter your private key or recovery phrase to import the wallet.
Congratulations! You have successfully installed and set up Metamask and connected it to the Avalanche network. You can now use Metamask to interact with AVAX tokens and decentralized applications on Avalanche.
Connect Metamask to the Avalanche network
In order to connect your Metamask wallet to the Avalanche network, you will need to follow these steps:
Step 1: Install and set up Metamask
If you haven’t already, you will need to install the Metamask browser extension and create a new wallet. Follow the instructions provided by Metamask to set up your wallet and securely store your seed phrase.
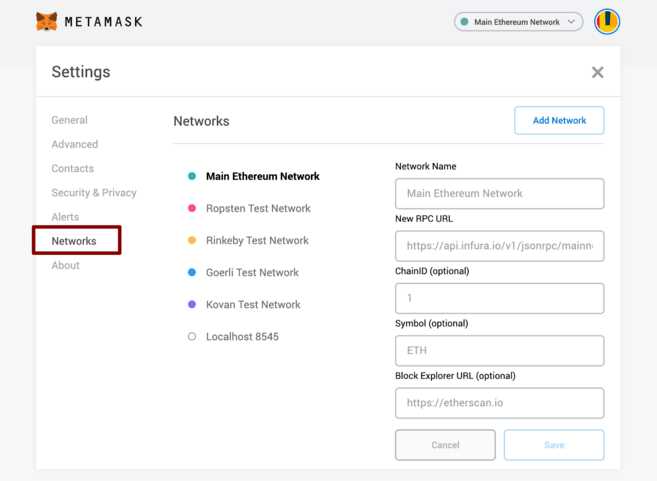
Step 2: Open Metamask settings
After installing and setting up your Metamask wallet, click on the extension icon in your browser to open the Metamask popup. From the popup, click on the profile icon on the top right corner and select “Settings”.
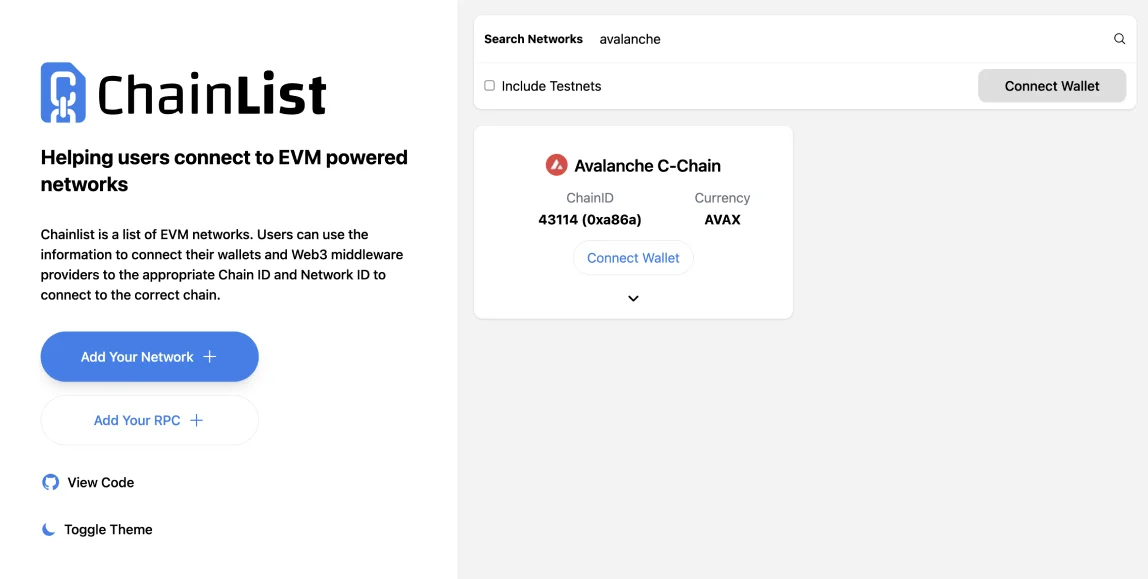
Step 3: Add Avalanche network
In the Metamask settings, select “Networks” from the left menu. Scroll down and click on “Add Network”. Fill in the following details:
- Network Name: Avalanche
- New RPC URL: https://api.avax.network/ext/bc/C/rpc
- Chain ID: 43114
- Symbol: AVAX
- Block Explorer URL: https://cchain.explorer.avax.network/
Step 4: Save and select Avalanche network
After filling in the network details, click on “Save” to add the Avalanche network to your Metamask wallet. Once saved, select the Avalanche network from the networks list in Metamask. You are now connected to the Avalanche network using Metamask.
By connecting Metamask to the Avalanche network, you can now interact with decentralized applications (dApps) and use AVAX tokens on the Avalanche blockchain.
Add AVAX token to Metamask
To add the AVAX token to your Metamask wallet, you need to follow these steps:
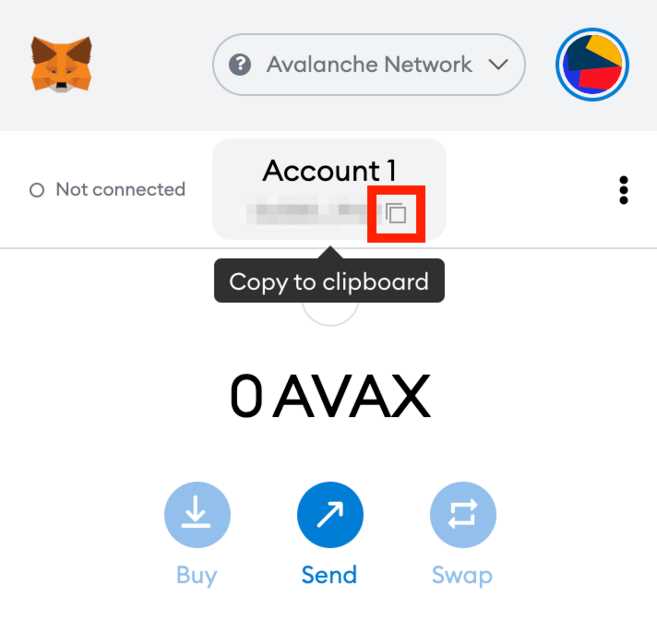
- Open your Metamask wallet extension in your web browser.
- Click on the “Assets” tab at the top of the page.
- Scroll down and click the “Add Token” button.
- Click on the “Custom Token” tab.
- In the “Token Contract Address” field, enter the AVAX token contract address: [AVAX Token Contract Address]
- The “Token Symbol” field will automatically be populated with “AVAX”.
- The “Decimals of Precision” field will also be filled in automatically with the correct value.
- Click the “Next” button.
- Review the details and click “Add Tokens” to complete the process.
Once you have added the AVAX token to your Metamask wallet, you will be able to view your AVAX balance and use it for transactions within the wallet.
Frequently Asked Questions:
What is AVAX?
AVAX is the native cryptocurrency of the Avalanche network. It is used for various purposes within the ecosystem such as paying for transaction fees, participating in governance, and staking.
+ There are no comments
Add yours