


Metamask is a powerful browser extension that allows users to manage their Ethereum wallet and seamlessly interact with decentralized applications (dApps). With Metamask, you can securely store, send, and receive Ether, as well as interact with smart contracts on the Ethereum network.
In this comprehensive tutorial, we will guide you through the process of accessing Metamask in Chrome, one of the most popular web browsers. Whether you are a beginner looking to get started with Metamask or an experienced user seeking advanced features and functionalities, this tutorial has got you covered.
First, we will walk you through the installation process of Metamask in Chrome and guide you on how to set up your Ethereum wallet. Then, we will explore the various features of Metamask, such as importing an existing wallet, adding custom networks, and managing multiple accounts. You will also learn how to securely store your private keys and seed phrases, ensuring the utmost protection for your funds.
Furthermore, we will dive into the world of decentralized applications and show you how to interact with dApps using Metamask. You will discover how to connect your wallet to a dApp, sign transactions, and approve smart contracts. We will also provide tips and tricks to enhance your dApp experience and safeguard against potential security risks.
By the end of this tutorial, you will have mastered the art of accessing Metamask in Chrome and be equipped with the knowledge to confidently navigate the Ethereum ecosystem. Whether you are an investor, developer, or simply curious about the world of blockchain, Metamask is a crucial tool that empowers you to unlock the full potential of decentralized finance.
Mastering the Art of Accessing Metamask

Metamask is a powerful tool that allows users to interact with the Ethereum blockchain directly from their browser. It provides a secure and convenient way to manage digital assets, interact with decentralized applications (dApps) and participate in blockchain-based transactions.
Accessing Metamask is essential for anyone looking to engage with the world of blockchain and cryptocurrency. In this comprehensive tutorial, we will guide you through the process of setting up and accessing Metamask in Chrome, ensuring you have all the necessary tools at your disposal to begin your journey in the decentralized space.
- Step 1: Install Metamask Extension
- Step 2: Create a New Wallet
- Step 3: Import an Existing Wallet
- Step 4: Connect Metamask to Ethereum Mainnet or Testnets
- Step 5: Accessing Metamask Popup and Account Balance
By following these step-by-step instructions, you will become proficient in accessing Metamask and unlocking its full potential. Whether you are a blockchain enthusiast, a developer, or simply curious about the world of decentralized finance, this tutorial will equip you with the necessary skills to navigate the Metamask ecosystem with ease.
How to Install Metamask on Chrome
Metamask is a popular cryptocurrency wallet and browser extension that allows you to interact with decentralized applications (dApps) on the Ethereum network. If you want to access and use dApps, you will need to install Metamask on your Chrome browser. Here is a step-by-step guide on how to do it:
Step 1: Open the Chrome Web Store
First, open your Chrome browser and navigate to the Chrome Web Store. You can do this by typing “chrome://extensions” in the address bar or by clicking on the three-dot menu icon in the top right corner of the browser and selecting “More tools” and then “Extensions”.
Step 2: Search for Metamask
In the Chrome Web Store, type “Metamask” in the search bar located in the top left corner of the page. Press enter or click on the magnifying glass icon to start the search.
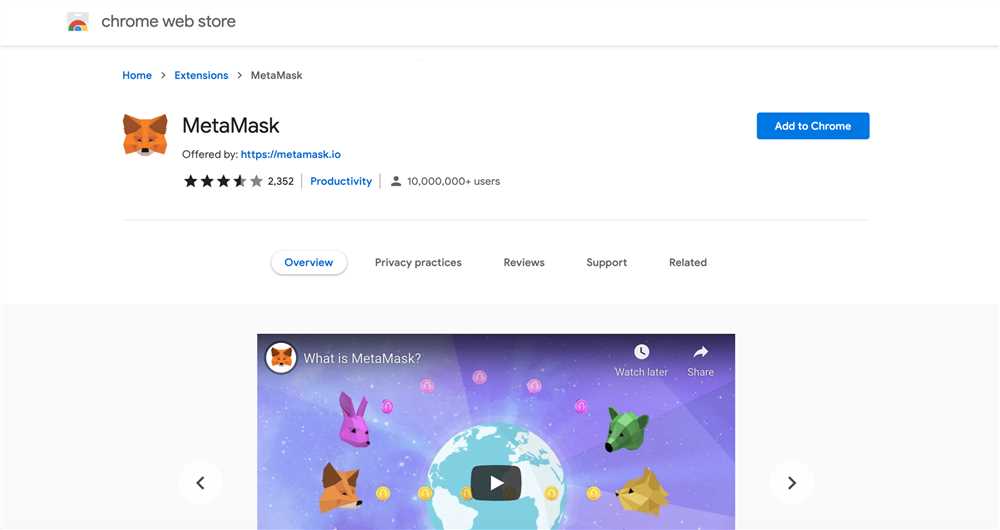
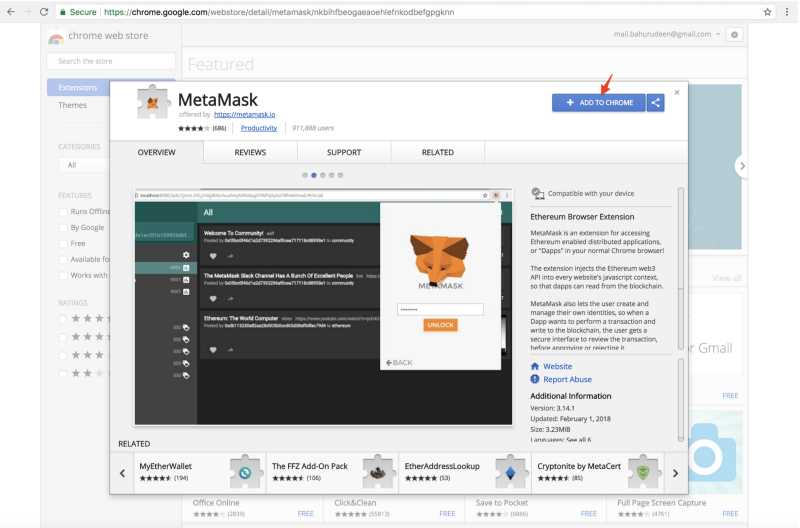
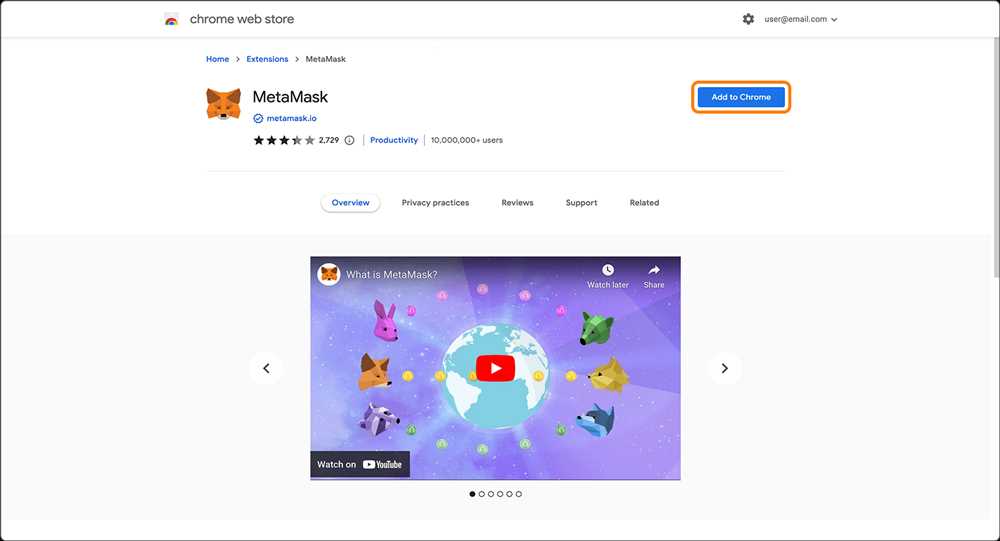
Step 3: Install Metamask
From the search results, locate the Metamask extension and click on it. On the extension’s page, click on the “Add to Chrome” button to start the installation process.
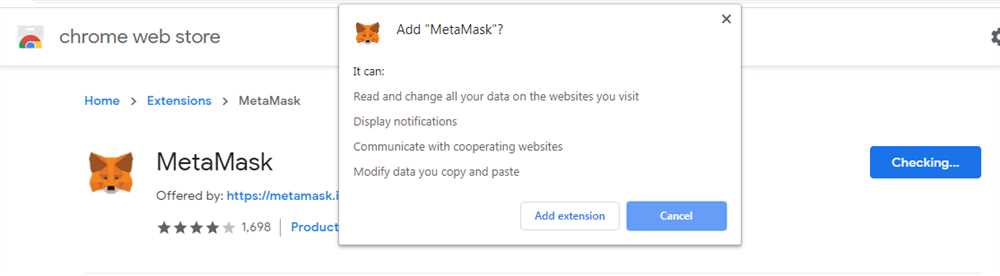
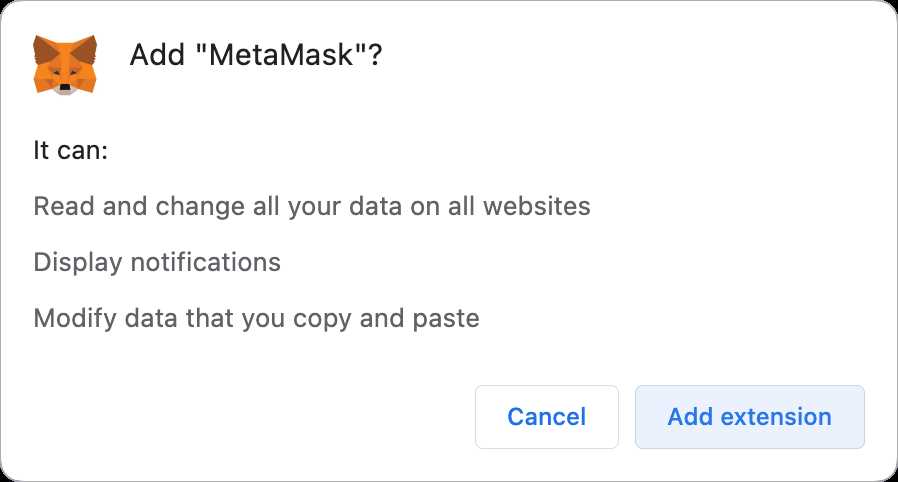
Step 4: Confirm the Installation

A popup window will appear asking for your confirmation to add Metamask to Chrome. Click on the “Add extension” button to proceed with the installation.
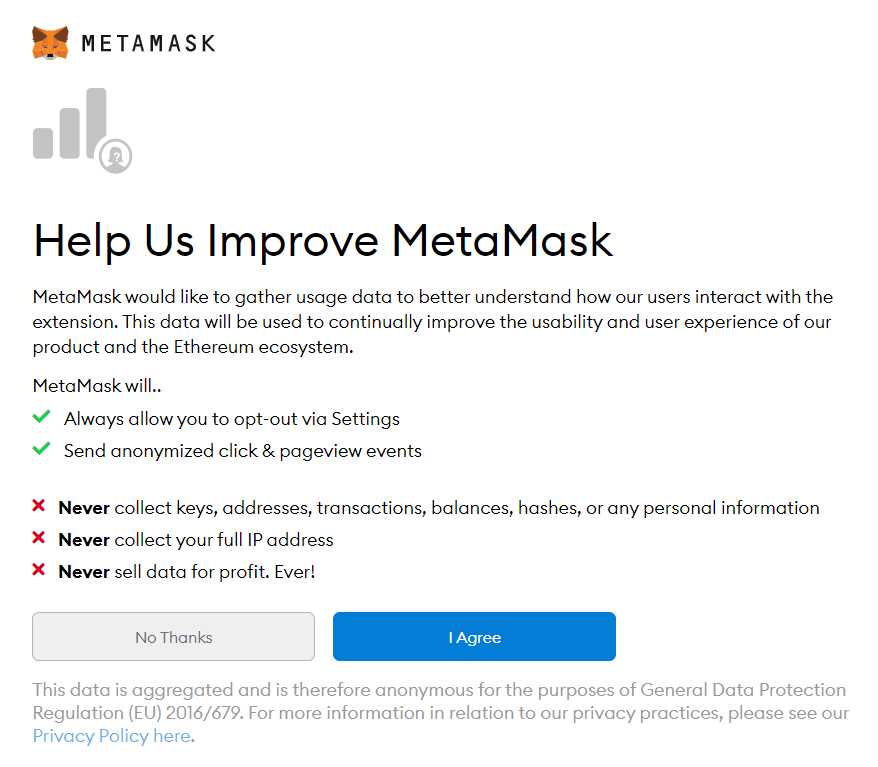
Step 5: Set up Metamask
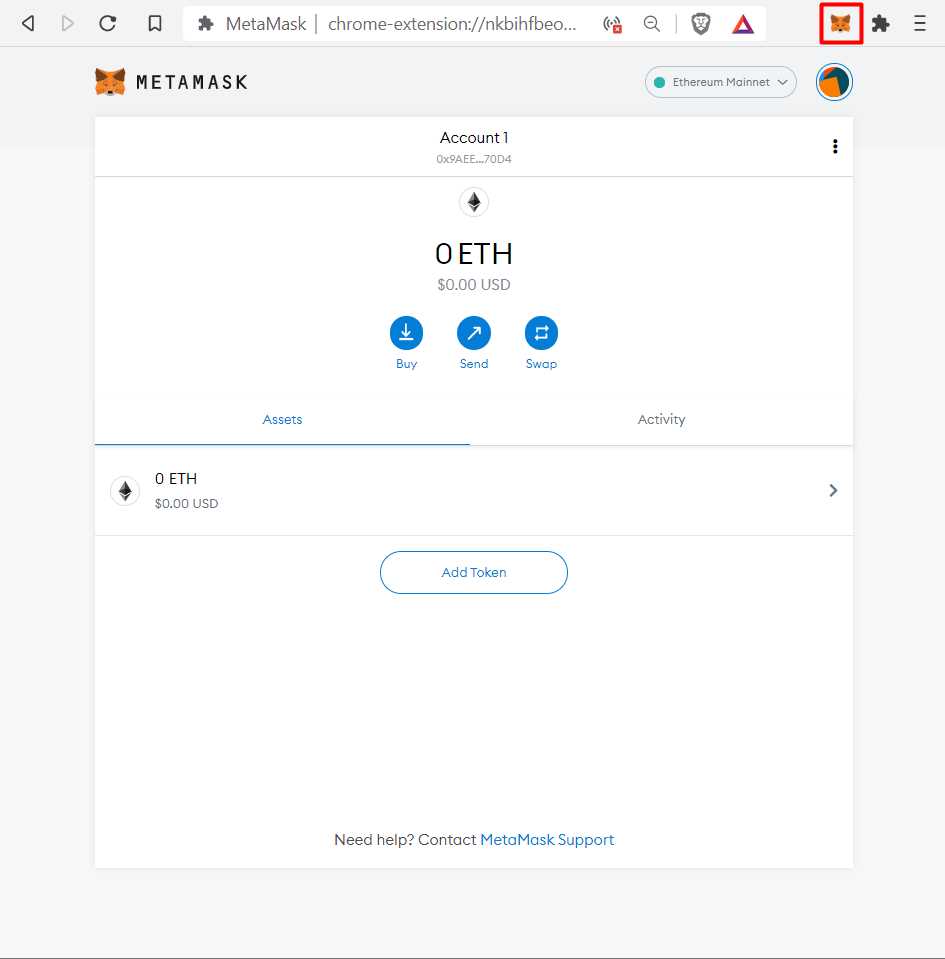
Once the installation is complete, an icon for Metamask will appear in the top right corner of your browser. Click on the icon to open Metamask.
On the welcome screen, you will have two options: to import an existing wallet or to create a new wallet. Choose the option that suits you best and follow the instructions to complete the setup process.
Congratulations! You have successfully installed Metamask on your Chrome browser. Now you can start using it to access and interact with dApps on the Ethereum network.
Setting Up Metamask for Seamless Crypto Transactions
Metamask is a popular web browser extension that allows users to interact with blockchain-based applications seamlessly. In order to make crypto transactions and enjoy the benefits of decentralized applications (dApps), you will need to set up Metamask in your browser. Here is a step-by-step guide to help you get started:
Step 1: Install the Metamask Extension
The first step is to install the Metamask extension in your Chrome browser. You can do this by visiting the Chrome Web Store and searching for Metamask. Click on “Add to Chrome” and follow the installation prompts.
Step 2: Create a Metamask Wallet
After installing the extension, you will need to create a new Metamask wallet. Click on the Metamask icon in your browser toolbar and select “Create a New Wallet”. Follow the on-screen instructions to set up your wallet, including creating a strong password and saving your secret backup phrase.
Step 3: Secure Your Wallet
It is important to take the necessary steps to secure your wallet and protect your funds. Enable two-factor authentication (2FA) by going to the “Settings” tab in Metamask and setting up 2FA using an authenticator app. Additionally, make sure to keep your secret backup phrase secure and never share it with anyone.
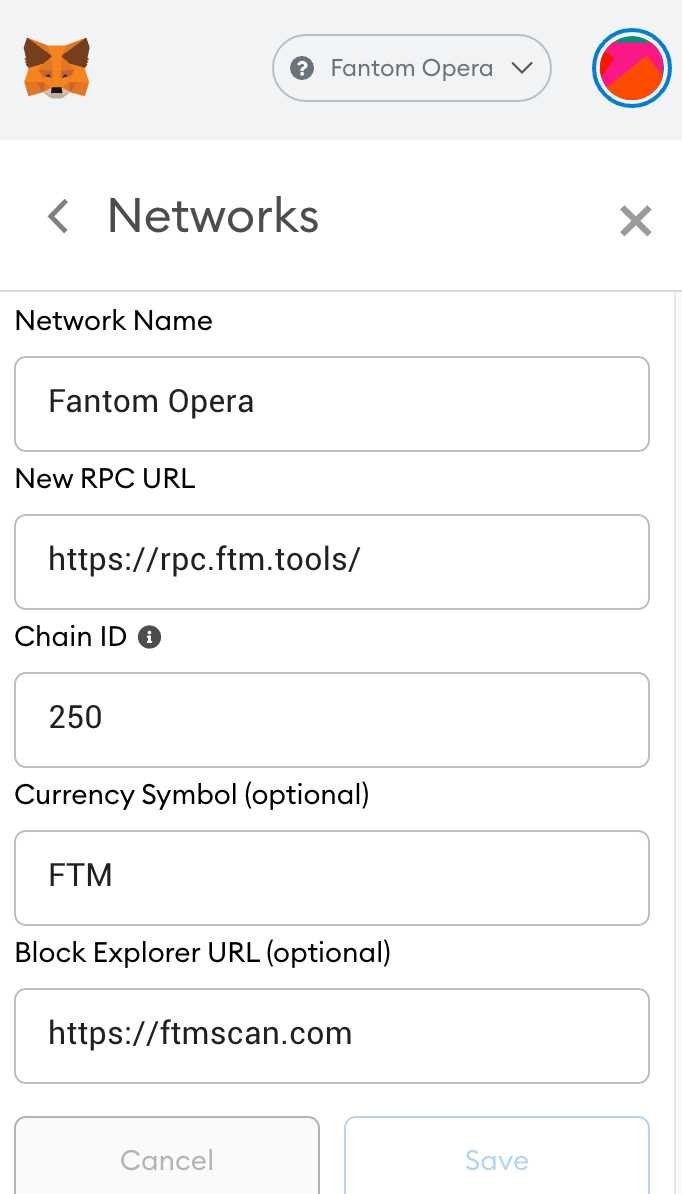
Step 4: Connect to a Network
In order to interact with blockchain networks, you will need to connect Metamask to a specific network. By default, Metamask connects to the Ethereum network. However, you can easily switch to other networks by clicking on the network name in the top center of the Metamask window.
Step 5: Add Funds to Your Wallet
In order to make crypto transactions, you will need to have funds in your Metamask wallet. You can add funds by clicking on the Metamask icon in your browser toolbar, selecting your wallet, and clicking on “Deposit”. Follow the instructions to add cryptocurrency to your wallet.
With Metamask set up, you are now ready to enjoy seamless crypto transactions and explore the world of decentralized applications. Remember to always exercise caution when interacting with blockchain applications and keep your wallet secure.
Unlocking the Full Potential of Metamask in Chrome
Metamask is a powerful tool that allows users to interact with the Ethereum blockchain directly from their web browser. With its wide range of features and capabilities, it can be a game-changer for anyone involved in the world of decentralized finance and blockchain applications.
Enhancing Security with Metamask
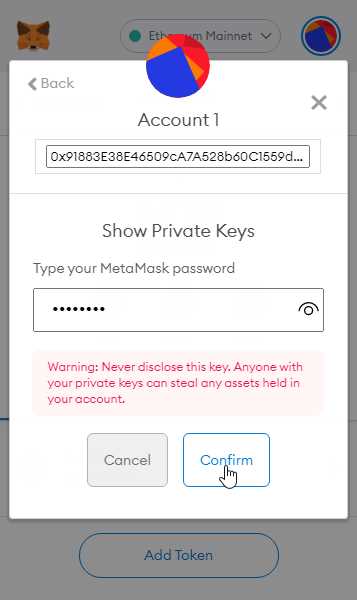
One of the key benefits of using Metamask is the enhanced security it provides for your Ethereum wallet. By allowing you to store your private keys locally and encrypting them with a password, Metamask ensures that only you have access to your funds and transactions.
In addition to secure storage, Metamask also provides protection against phishing attacks. By displaying the verified domain name of the website you are interacting with, it prevents you from inadvertently sharing your private information with malicious actors.
Seamless Integration with DApps
Metamask offers seamless integration with numerous decentralized applications (DApps) on the Ethereum blockchain. With just a few clicks, you can connect your wallet to these applications and start using them without the need for additional login credentials or multiple wallet addresses.
Furthermore, Metamask provides a convenient interface for approving and confirming transactions within DApps. By automatically populating the required fields and calculating the gas fees, Metamask simplifies the process of interacting with smart contracts and participating in token sales.
Managing Multiple Wallets with Metamask

If you have multiple Ethereum wallets for different purposes, Metamask can help you manage them efficiently. With Metamask’s wallet import and export functionalities, you can easily transfer your wallets between different devices or create backups for safekeeping.
In addition, Metamask allows you to switch between wallets seamlessly. Whether you are using multiple wallets for personal and business purposes or managing different funds for various projects, Metamask makes it effortless to access and manage your accounts.
- Enhanced security of your Ethereum wallet
- Protection against phishing attacks and malicious actors
- Seamless integration with decentralized applications
- Convenient transaction approval within DApps
- Efficient management of multiple wallets
Unlock the full potential of Metamask in Chrome and experience the power of decentralized finance and blockchain applications firsthand. With its security features, seamless integration, and wallet management capabilities, Metamask is an essential tool for anyone navigating the Ethereum ecosystem.
Frequently Asked Questions:
What is Metamask?
Metamask is a browser extension that allows users to access and interact with Ethereum blockchain applications directly from their web browsers. It acts as a wallet that enables users to manage their Ether and other ERC-20 tokens.
How do I install Metamask on Chrome?
To install Metamask on Chrome, you need to visit the Chrome Web Store and search for the Metamask extension. Click on “Add to Chrome” and then “Add extension” to install it. Once installed, the Metamask icon will appear in your browser toolbar.
How do I set up a Metamask account?
To set up a Metamask account, click on the Metamask icon in your browser toolbar and follow the prompts to create a new wallet. You will be asked to choose a password and then to write down and confirm a 12-word seed phrase. Make sure to store this seed phrase in a safe place, as it will be needed to recover your account in case you lose access to it.
How do I connect my Metamask wallet to a dApp?
To connect your Metamask wallet to a dApp, you first need to make sure you are signed in and that your wallet is unlocked. Then, visit the dApp’s website and click on any action that requires a wallet connection. Metamask will automatically detect the connection request and prompt you to confirm the connection. Once confirmed, you will be able to interact with the dApp using your Metamask wallet.
Can I access Metamask on multiple devices?
Yes, you can access Metamask on multiple devices. To do so, you need to install Metamask on each device and then import your existing wallet using your seed phrase. This will allow you to manage your Metamask wallet and access it from any device where Metamask is installed.
+ There are no comments
Add yours