


If you are a cryptocurrency enthusiast and want to send Ethereum (ETH) from your MetaMask wallet to Coinbase, this step-by-step guide will walk you through the process seamlessly. Follow these simple instructions carefully:
Step 1: Open your MetaMask wallet on your preferred browser, and make sure you are logged in.
Step 2: Check if you have sufficient Ethereum (ETH) in your MetaMask wallet to transfer. If not, you may need to buy ETH or receive it from another wallet.
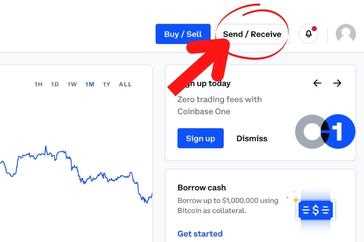
Step 3: Once you have confirmed that you have enough ETH, click on the “Send” button on the MetaMask interface.
Step 4: Enter the recipient address, which should be your Coinbase wallet address, in the designated field. Make sure to double-check the address to avoid any errors.
Step 5: Specify the amount of ETH you want to send to Coinbase. You can choose to send the entire balance or a specific amount.
Step 6: Review the transaction details and confirm that everything looks correct.
Step 7: Click on the “Send” button to initiate the transfer.
Step 8: Wait for the transaction to be confirmed on the Ethereum blockchain. This may take a few minutes to complete.
Step 9: Once the transaction is confirmed, you can verify the transfer by checking your Coinbase wallet balance.
Note: It’s important to be cautious when sending cryptocurrencies and always verify the recipient address to ensure the accuracy of your transactions.
That’s it! You have successfully sent ETH from your MetaMask wallet to Coinbase. Now you can enjoy trading or holding your Ethereum on the Coinbase platform.
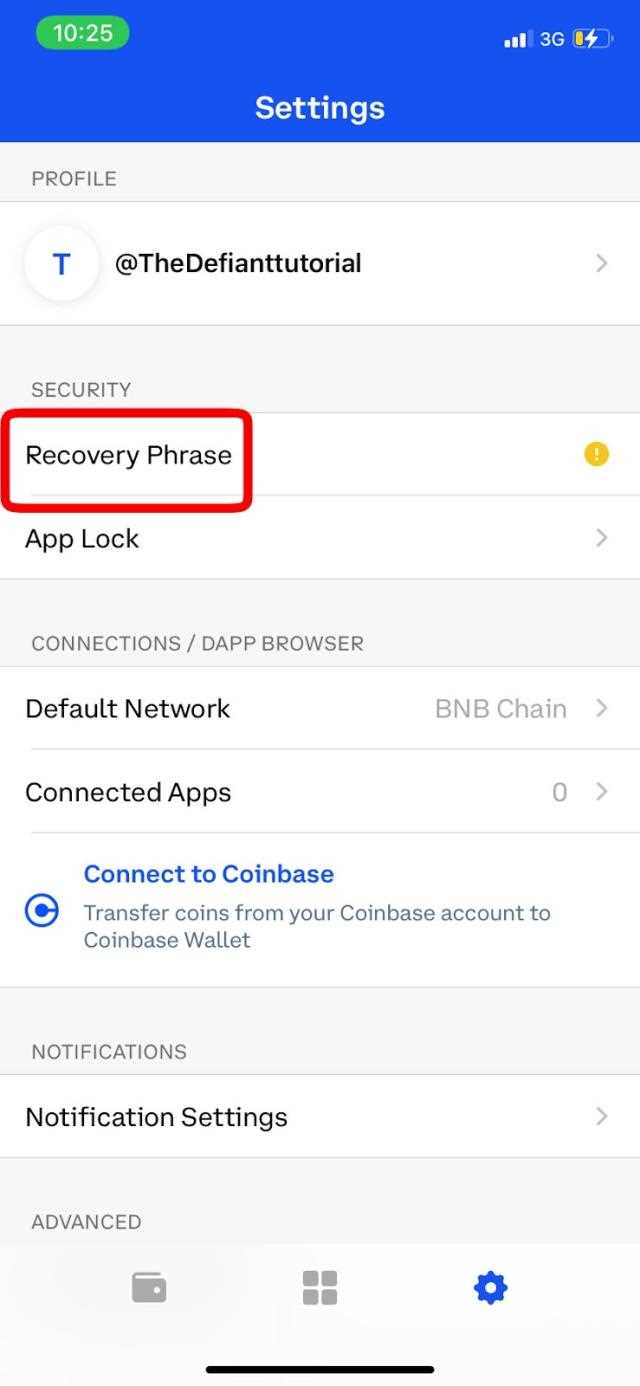
Step 1: Connect MetaMask to Coinbase
To send ETH from MetaMask to Coinbase, you need to make sure that your MetaMask wallet is connected to your Coinbase account. Follow the steps below to connect MetaMask to Coinbase:
Step 1.1: Open MetaMask
Open the MetaMask extension in your browser.
Step 1.2: Unlock MetaMask
If your MetaMask wallet is locked, click on the MetaMask extension icon and enter your password to unlock it.
Step 1.3: Switch Network
Make sure that you are on the Ethereum network in MetaMask. If you are not on the Ethereum network, click on the network dropdown and select Ethereum.
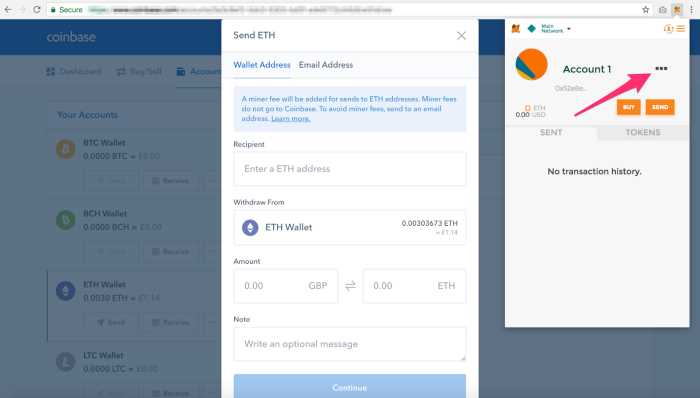
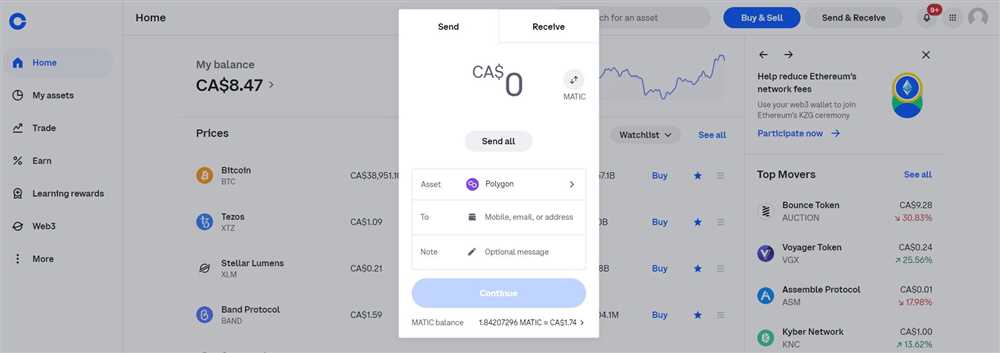
Step 1.4: Copy Coinbase Wallet Address
Go to your Coinbase account and copy your ETH wallet address. This address is where you will be sending your ETH from MetaMask.
Step 1.5: Add Custom Network
In MetaMask, click on the network dropdown and select “Custom RPC”.
Step 1.6: Enter Coinbase Network Details
Enter the following details for the Coinbase network:
- Network Name: Coinbase
- New RPC URL: https://rpc.coinbase.com
- Chain ID: 1
- Currency Symbol: ETH
- Block Explorer URL: https://etherscan.io
Step 1.7: Save Coinbase Network
Click on the “Save” button to save the Coinbase network settings.
Step 1.8: Connect Coinbase Wallet

Click on the network dropdown, select “Coinbase”, and your MetaMask wallet will now be connected to your Coinbase account.
Once you have successfully connected MetaMask to Coinbase, you can proceed to the next step to send ETH from MetaMask to Coinbase.
Step 2: Verify Account Details
Once you have accessed your MetaMask wallet and are ready to send ETH to Coinbase, it is important to verify your account details before proceeding. It is crucial to ensure that you are sending the ETH to the correct Coinbase account to avoid any potential loss or complications.
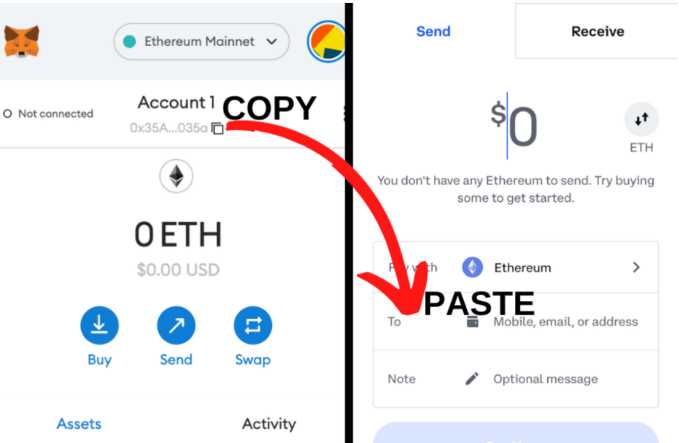
1. Confirm Recipient Address
Double-check the recipient address provided by Coinbase to ensure that it matches the address you are intending to send the ETH to. Copying and pasting the address is recommended to avoid any typing errors.
2. Confirm Network and Gas Fees
Make sure that you are sending the ETH on the correct network. MetaMask will usually default to the Ethereum Mainnet, but it is essential to confirm this before sending the transaction. Additionally, take note of the gas fees associated with the transaction and ensure that you have enough ETH in your wallet to cover the fees.
Important Note: Make sure to double-check the gas fees regularly, as they can fluctuate depending on network congestion.
3. Verify Account Limits and Restrictions
Check if there are any specific limits or restrictions on your Coinbase account that may affect the amount of ETH you can send. It is important to be aware of any restrictions to avoid any issues or delays in the transaction process.
Note: This step may be necessary if you are sending a large amount of ETH or if you encounter any issues during the verification process.
By carefully verifying your account details, you can ensure a smooth and secure transfer of your ETH from MetaMask to Coinbase.
Step 3: Transfer ETH
Now that you have successfully connected your MetaMask wallet to Coinbase, it’s time to transfer your Ethereum (ETH) from MetaMask to your Coinbase account. Follow the simple steps below:
Step 3.1: Open MetaMask Wallet
Open your MetaMask wallet by clicking on the extension in your browser toolbar or by launching the MetaMask app on your mobile device. Make sure you are logged in to the correct wallet where your ETH is stored.
Step 3.2: Select the Account and Amount
Within your MetaMask wallet, select the account that holds the ETH you wish to transfer. Then, enter the amount of ETH you want to send to Coinbase.
Step 3.3: Generate Transfer Transaction
Click on the “Send” or “Transfer” button in MetaMask to initiate the transfer transaction. Review the transaction details carefully, including the destination address (Coinbase wallet address) and the amount of ETH being sent.
Step 3.4: Confirm and Send
After verifying that all the transaction details are correct, click on the “Confirm” or “Send” button to proceed with the transfer. MetaMask may prompt you to sign the transaction with your wallet’s private key.
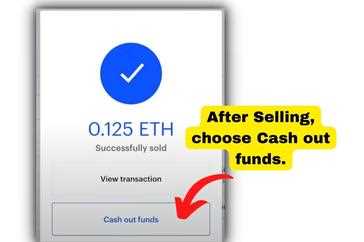
Step 3.5: Monitor the Transfer
Once the transaction is sent, you can monitor its progress by viewing the transaction hash on the Ethereum blockchain explorer. It may take some time for the transfer to be confirmed and reflected in your Coinbase account.
Congratulations! You have successfully transferred your ETH from MetaMask to Coinbase. You can now use your ETH for trading, investing, or any other purposes supported by Coinbase.
Please note that transaction fees may be applied during the transfer process. Make sure to check the current fee rates in MetaMask and Coinbase before proceeding with the transfer.
| Step | Description |
|---|---|
| Step 3.1 | Open MetaMask Wallet |
| Step 3.2 | Select the Account and Amount |
| Step 3.3 | Generate Transfer Transaction |
| Step 3.4 | Confirm and Send |
| Step 3.5 | Monitor the Transfer |
Frequently Asked Questions:
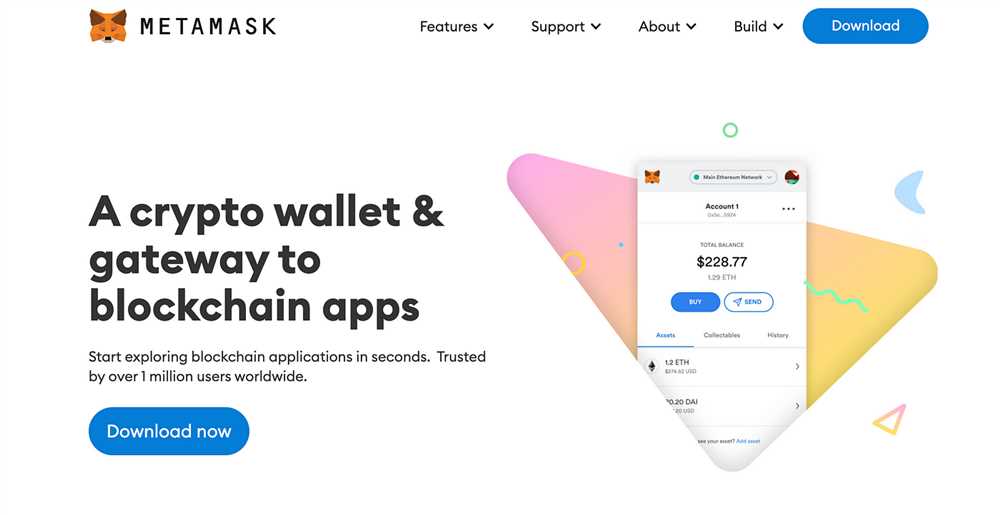
What is MetaMask?
MetaMask is a cryptocurrency wallet and browser extension that allows you to manage your Ethereum assets and interact with decentralized applications (dApps) on the Ethereum network.
How do I send ETH from MetaMask to Coinbase?
To send ETH from MetaMask to Coinbase, you need to open your MetaMask wallet, click on the “Send” button, enter the Coinbase wallet address as the recipient, specify the amount of ETH you want to send, and confirm the transaction.
Can I send ETH directly from MetaMask to a hardware wallet?
Yes, you can send ETH directly from MetaMask to a hardware wallet. To do this, you need to connect your hardware wallet to the MetaMask wallet and follow the same steps as sending ETH to Coinbase, but enter the hardware wallet address as the recipient.
What fees are involved in sending ETH from MetaMask to Coinbase?
When sending ETH from MetaMask to Coinbase, you will incur network fees, also known as gas fees. The amount of these fees depends on the current network congestion and the gas price you set for the transaction. You can adjust the gas price in MetaMask to control the fees you pay.
Is it safe to send ETH from MetaMask to Coinbase?
Yes, it is generally safe to send ETH from MetaMask to Coinbase. However, it is important to ensure that you have entered the correct recipient address and carefully review the transaction details before confirming. Additionally, make sure your MetaMask wallet is secure and you are using a trusted device to initiate the transaction.

+ There are no comments
Add yours