


Welcome to the ultimate guide to using Metamask on iOS! If you’re new to the world of cryptocurrencies and decentralized finance, Metamask is a must-have tool for securely managing your digital assets.
With Metamask, you can easily interact with the Ethereum blockchain and access a wide range of decentralized applications (DApps), including decentralized exchanges, lending platforms, and more. Whether you want to buy, sell, trade, or simply store your Ethereum and ERC-20 tokens, Metamask provides a user-friendly interface that makes it all possible.
In this comprehensive guide, we will walk you through everything you need to know about using Metamask on iOS. From installing the app to creating your wallet, importing or exporting your accounts, and making transactions, we’ll cover it all. By the end of this guide, you’ll be confident in navigating the world of decentralized finance using Metamask on your iPhone or iPad.
So, whether you’re a beginner looking to get started with cryptocurrencies or an experienced user wanting to explore the possibilities of decentralized finance, let’s dive in and discover the power of Metamask on iOS!
Overview of Metamask
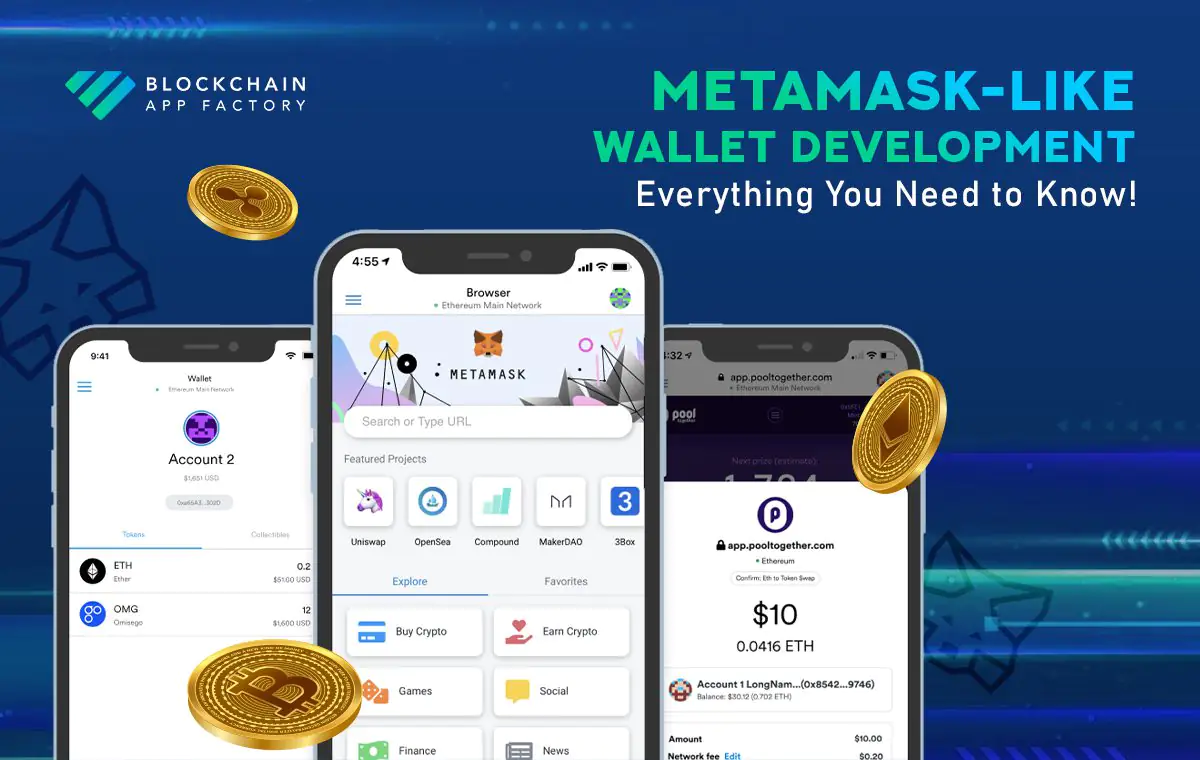
Metamask is a popular Ethereum wallet and browser extension that allows users to interact with decentralized applications (dapps) directly from their web browser. It acts as a bridge between a user’s web browser and the Ethereum network, making it easy to manage and secure their digital assets.
With Metamask, users can securely store and manage their Ethereum and ERC-20 tokens, send and receive cryptocurrency, and participate in token sales and decentralized finance (DeFi) applications. It also provides a seamless and user-friendly experience when interacting with decentralized applications, eliminating the need to manually handle private keys or navigate complex blockchain interfaces.
One of the key features of Metamask is its support for Ethereum Name Service (ENS), which allows users to use human-readable names instead of long and complicated wallet addresses. This makes it easier to send and receive transactions, especially for non-technical users.
Additionally, Metamask offers a built-in decentralized exchange (DEX) aggregator called “Swap”, which allows users to easily trade their cryptocurrencies directly from their wallet. It supports various decentralized exchanges, enabling users to find the best prices and liquidity for their trades.
Metamask is available as a browser extension for desktop browsers, such as Chrome, Firefox, and Brave. It also has a mobile application for iOS and Android devices, allowing users to manage their Ethereum wallet and interact with dapps on the go.
Overall, Metamask is a powerful tool that brings the world of decentralized applications and cryptocurrencies to the fingertips of users. By providing a secure and user-friendly interface, it empowers individuals to take full control of their digital assets and participate in the decentralized economy.
Setting up Metamask on iOS
If you’re an iOS user and want to use Metamask, you’re in luck! Setting up Metamask on iOS is a straightforward process. Just follow these steps:
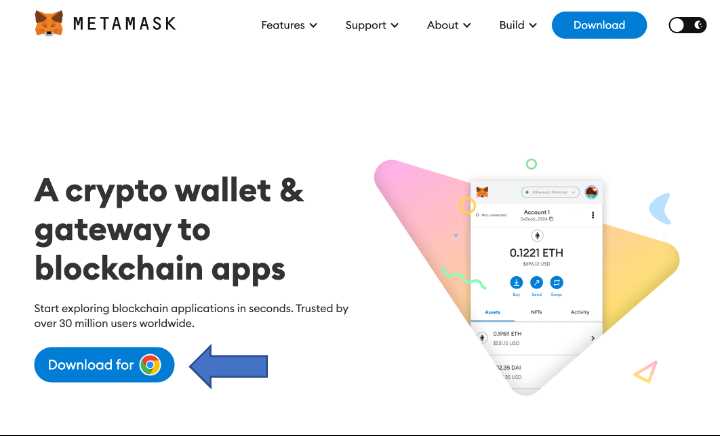
Step 1: Download Metamask from the App Store
The first step is to download the Metamask app from the App Store on your iOS device. Simply search for “Metamask” in the search bar and click on the download button next to the app.
Step 2: Open the Metamask app

Once the app is downloaded, tap on the Metamask icon to open it. You will see a welcome screen with a button that says “Get Started”. Tap on this button to begin the setup process.
Step 3: Create a new wallet
In order to use Metamask, you need to create a new wallet. Tap on the “Create a Wallet” option on the welcome screen. You will be asked to enter a password for your wallet. Make sure to choose a strong and secure password.
Step 4: Backup your wallet
Metamask will then ask you to back up your wallet by writing down a secret phrase. This phrase is extremely important as it can be used to recover your wallet in case you lose access to your device. Write down the phrase and keep it in a safe place. Do not share it with anyone.
Step 5: Confirm your secret phrase
After writing down your secret phrase, Metamask will ask you to confirm it by selecting the words in the correct order. This is to ensure that you have correctly noted down the phrase. Once you have confirmed the phrase, your wallet setup is complete.
That’s it – you have successfully set up Metamask on your iOS device! Now you can start using it to securely store and manage your cryptocurrencies.
Using Metamask for Transactions and Interactions
Metamask is not just a wallet, it also provides a seamless experience for interacting with decentralized applications (dApps) on the Ethereum blockchain. In this section, we will explore how to use Metamask for transactions and interactions.
1. Connecting Metamask to a dApp

Before you can use Metamask to interact with a dApp, you need to connect it to the dApp’s interface. To do this, simply follow these steps:
- Open the dApp in your mobile browser.
- Click on the Metamask extension icon in your browser toolbar.
- Authorize the dApp to access your Metamask account by clicking “Connect” or “Authorize”.
2. Making Transactions

Once you have connected Metamask to a dApp, you can start making transactions. To send Ether or ERC-20 tokens, follow these steps:
- Click on the Metamask extension icon in your browser toolbar.
- Ensure that you have selected the correct network (Ethereum Mainnet, Ropsten, etc.)
- Click on the “Send” button.
- Fill in the recipient’s address, the amount you want to send, and any additional data required by the dApp.
- Review the transaction details and click “Next”.
- Confirm the transaction by clicking “Confirm” or “Sign”.
3. Interacting with Smart Contracts
Metamask enables you to interact with smart contracts on the Ethereum blockchain. To interact with a smart contract, you will need the contract’s address and ABI (Application Binary Interface). Follow these steps:
- Click on the Metamask extension icon in your browser toolbar.
- Ensure that you have selected the correct network (Ethereum Mainnet, Ropsten, etc.)
- Click on the “Browser” tab.
- Enter the contract’s address and ABI in the provided fields.
- Click “Access” to view the contract’s functions and data.
- Choose the function you want to interact with and fill in the required parameters.
- Click “Submit” to execute the function.
With Metamask, you can easily perform transactions and interact with various dApps on the Ethereum blockchain. It provides a convenient and secure way to manage your crypto assets and participate in the decentralized ecosystem.
Tips and Troubleshooting with Metamask on iOS
Metamask on iOS is a powerful tool for managing your Ethereum assets and interacting with decentralized applications. However, you may encounter some common issues or have questions about its functionality. Here are some tips and troubleshooting steps to help you make the most of Metamask on iOS:
1. Keeping your wallet secure:
Always use a strong and unique password for your Metamask wallet. Enable two-factor authentication for an extra layer of security. Be cautious of phishing attempts and only download the official Metamask app from a reputable source.
2. Managing multiple wallets:
If you have multiple wallets connected to Metamask, make sure to double-check the active wallet before making any transactions. You can easily switch between wallets by selecting the account icon at the top of the screen and choosing the desired wallet.
3. Network connectivity:
If you are having trouble connecting to a specific network, such as the Ethereum mainnet or a test network, check your internet connection and ensure that the network is not experiencing any major issues. You can also try switching to a different network and then back again to see if it resolves the connectivity problem.
4. Transaction errors:
If you encounter an error message when trying to send a transaction, double-check the recipient address and the amount you are sending. Ensure that you have enough funds and that the gas fee is set appropriately. If the issue persists, you can try resetting your Metamask account or contacting their support team for further assistance.
5. Updating Metamask:
Regularly updating your Metamask app is important to ensure you have the latest features and security patches. Check the App Store for any available updates and install them promptly.
6. Clearing cache and data:
If you experience any performance issues or unexpected behaviors with the Metamask app, try clearing the app’s cache and data. This can often resolve minor glitches and improve overall performance. Go to your device’s Settings, select the Metamask app, and choose the option to clear cache and data.
7. Seeking assistance:
If you encounter a problem that you cannot resolve on your own, don’t hesitate to seek assistance. Metamask has a comprehensive support website with FAQs and troubleshooting guides. You can also reach out to their support team directly for personalized assistance.
Following these tips and troubleshooting steps will help you navigate any challenges you may encounter with Metamask on iOS and ensure a smooth and secure experience with your Ethereum assets.

+ There are no comments
Add yours