


Transferring Ethereum from Coinbase to Metamask is a simple process that allows you to have more control over your cryptocurrency holdings. Metamask is a popular browser extension that acts as an Ethereum wallet, and by connecting it to your Coinbase account, you can easily transfer your Ethereum to Metamask and take advantage of its features.
To begin the transfer, you must first ensure that you have both a Coinbase account and the Metamask extension installed in your browser. Once you have these in place, you can follow the step-by-step guide below to transfer your Ethereum.
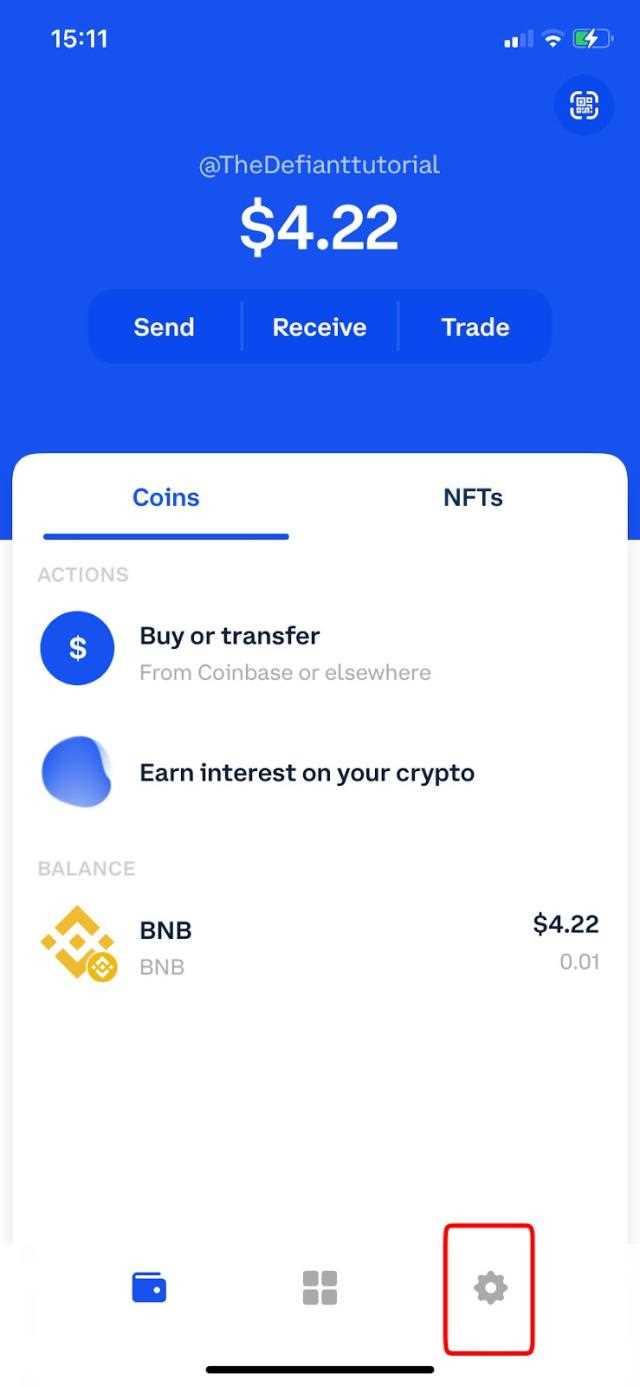
Step 1: Generate a new Ethereum address in Metamask
Open your Metamask extension and click on the account icon in the top right corner. From the drop-down menu, choose “Create Account” to generate a new Ethereum address. Take note of the address as you will need it for the next steps.
Step 2: Copy your Ethereum address from Metamask
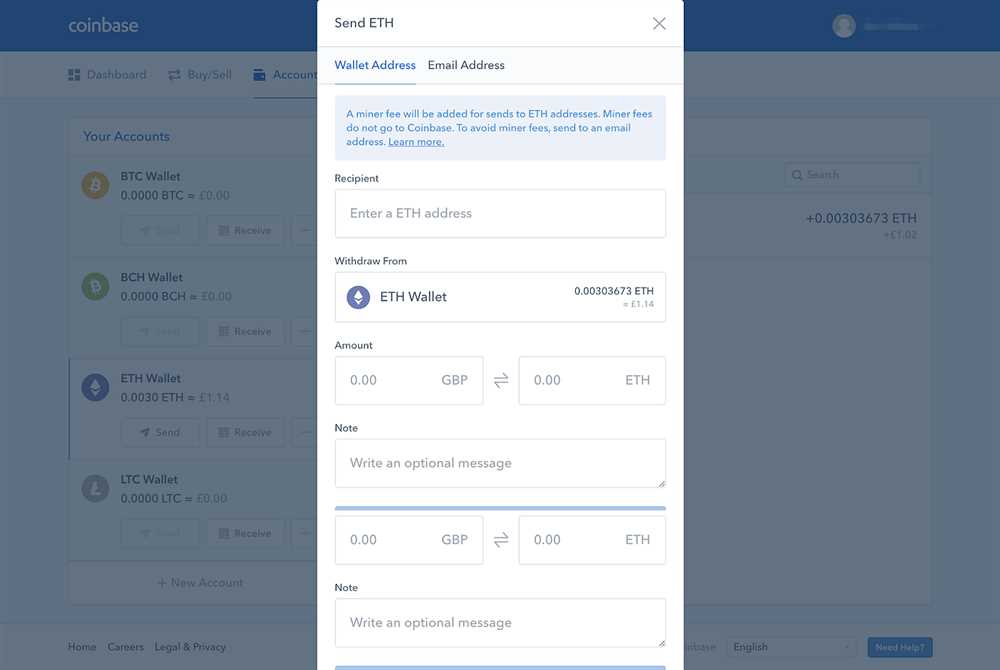
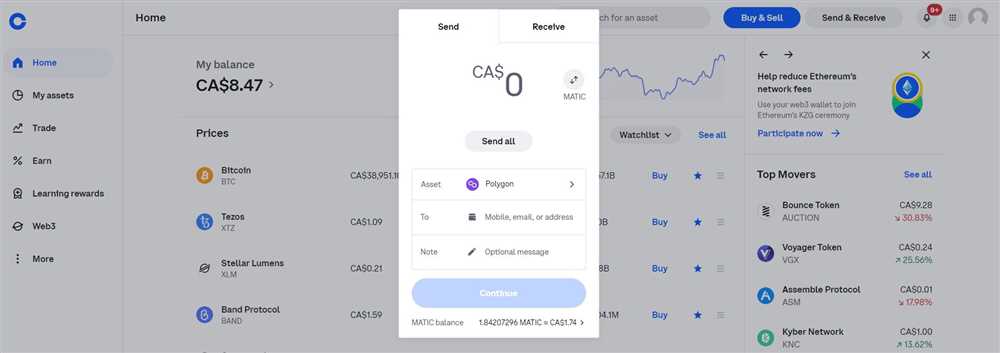
Go back to your Coinbase account and navigate to the “Accounts” page. Find your Ethereum wallet and click on the “Send” button. In the recipient field, paste the Ethereum address you copied from Metamask.
Step 3: Set the amount and confirm the transfer
In the “Amount” field, enter the amount of Ethereum you wish to transfer. Take note of any network fees that may apply. Double-check all the details to ensure they are correct, and then click on the “Continue” button to proceed.
Step 4: Verify the transfer in Metamask
Switch back to your Metamask extension and click on the account icon. You should see a new transaction with the details of your transfer. Confirm the details once again, and then click on the “Confirm” button to finalize the transfer.
Step 5: Wait for the transfer to complete
Once you have confirmed the transfer, you will have to wait for the Ethereum network to process it. The time it takes for the transfer to complete can vary depending on network congestion and other factors, so be patient.
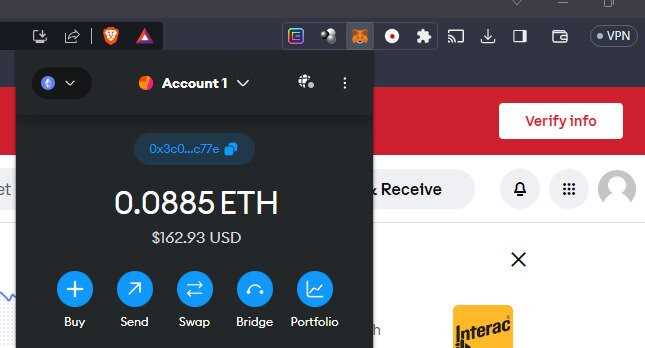
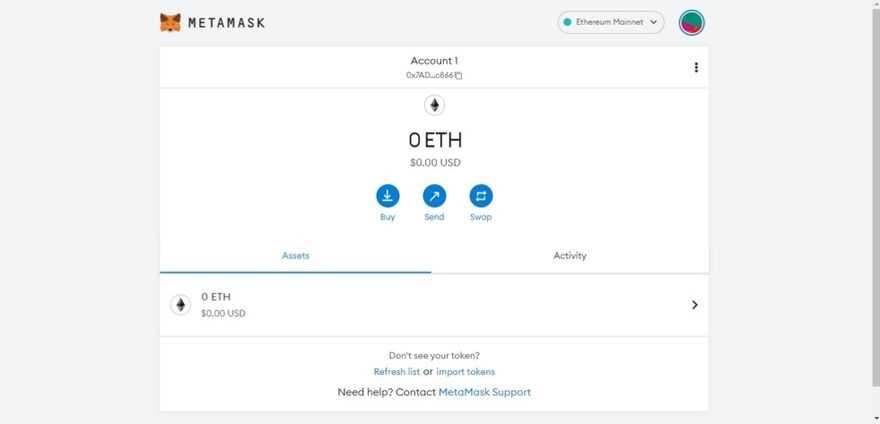
After the transfer is complete, you will see the Ethereum balance in your Metamask account. You can now use Metamask to interact with decentralized applications (DApps) and manage your Ethereum holdings with ease.
Remember to always exercise caution when transferring cryptocurrency and double-check all the details before finalizing the transaction. By following this step-by-step guide, you can confidently transfer Ethereum from Coinbase to Metamask and enjoy the benefits of having full control over your assets.
Why Transfer Ethereum from Coinbase to Metamask?
Transferring Ethereum from Coinbase to Metamask provides several benefits for cryptocurrency users. Here are some reasons why you might consider making this transfer:
- Decentralization: Metamask is a decentralized wallet that gives you full control over your Ethereum funds. By transferring your Ethereum from Coinbase to Metamask, you are ensuring that you hold the private keys to your assets.
- Increased Security: Coinbase is a centralized exchange that holds your private keys on your behalf. By moving your Ethereum to Metamask, you reduce the risk of your funds being compromised in case of a security breach on the exchange.
- Interacting with Decentralized Applications: Metamask is specifically designed to interact with decentralized applications (DApps) on the Ethereum network. By transferring your Ethereum to Metamask, you can easily participate in various DeFi, gaming, and other DApp ecosystems.
- Transaction Speed: Metamask allows you to set your own gas fees for Ethereum transactions, which can result in faster confirmations. This gives you more control over the speed at which your transactions are processed on the Ethereum network.
- Privacy: By using Metamask, you can separate your Ethereum transactions from your Coinbase activity, adding an extra layer of privacy to your financial operations.
Overall, transferring Ethereum from Coinbase to Metamask empowers you with more control, security, and flexibility when managing your cryptocurrency assets on the Ethereum network.
Step 1: Create a Metamask Wallet
To transfer Ethereum from Coinbase to Metamask, you will first need to create a Metamask wallet. Metamask is a digital wallet that allows you to store, manage, and interact with Ethereum and other cryptocurrencies.
Follow these steps to create a Metamask wallet:
1. Install the Metamask Extension
Go to the official Metamask website or search for “Metamask” in your browser’s extension store. Click on the “Add” or “Install” button to add the Metamask extension to your browser.
2. Set up a New Wallet
Once the extension is installed, click on the Metamask icon in your browser’s toolbar. Click “Get Started” and then “Create a Wallet”. You will be asked to create a strong password for your wallet. Make sure to use a unique and secure password.
3. Backup Your Seed Phrase
After creating a wallet password, Metamask will display a secret seed phrase of 12 or 24 words. This seed phrase is crucial for restoring your wallet in case you forget your password or lose access to your device. Write down the seed phrase and keep it in a safe place. Do not share it with anyone.
4. Confirm Your Seed Phrase
To ensure that you have correctly written down your seed phrase, Metamask will ask you to select the words in the correct order. This is a security measure to prevent typos or mistakes. Select the words in the correct order, and then click “Confirm”.
5. Connect to the Ethereum Network
Metamask will prompt you to connect to an Ethereum network. Select “Main Ethereum Network” to connect to the main network where your Ethereum tokens will be stored. You can also choose other networks such as the Rinkeby test network.
Once you have completed these steps, congratulations! You have successfully created a Metamask wallet.
Now that you have a Metamask wallet, you can move on to the next step of transferring Ethereum from Coinbase to Metamask.
Step 2: Generate an Ethereum Address
Once you have installed and set up your Metamask wallet, the next step is to generate an Ethereum address. This address will be used to receive and store your Ethereum funds.
To generate an Ethereum address in Metamask, follow these steps:
- Open the Metamask extension in your browser and click on the account icon located at the top right corner of the window. The icon will look like a circular silhouette.
- Click on the “Create Account” button in the dropdown menu. This will prompt Metamask to generate a new Ethereum address for you.
- Once the address has been generated, it will be displayed in the extension window. It will consist of a long string of alphanumeric characters.
- Make sure to copy and store this address in a safe place. This address is unique to your wallet and will be used to receive Ethereum from Coinbase.
Note: It is important to keep your Ethereum address secure and not share it with anyone you do not trust. Anyone with access to your Ethereum address will be able to send funds to it, so it is crucial to protect it like you would protect a regular bank account number.
By following these steps, you have successfully generated an Ethereum address in your Metamask wallet. Now you can move on to the next step of transferring Ethereum from Coinbase.
FAQ:
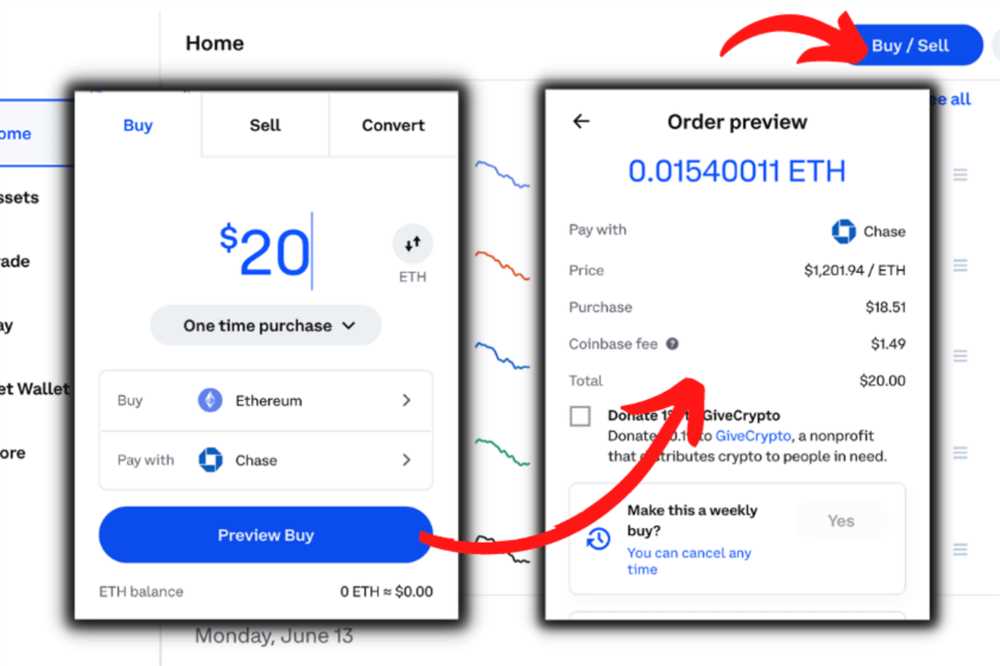
What is Coinbase?
Coinbase is a popular cryptocurrency exchange and wallet platform that allows users to buy, sell, and store various cryptocurrencies, including Ethereum.
What is Metamask?
Metamask is a cryptocurrency wallet and browser extension that allows users to interact with decentralized applications (dApps) on the Ethereum blockchain. It provides a user-friendly interface for managing Ethereum and other ERC-20 tokens.
+ There are no comments
Add yours