


Unlock your NFT collection and take it to the next level with our easy-to-follow guide on how to import NFTs into MetaMask. Whether you’re an experienced cryptocurrency enthusiast or just starting out, our step-by-step instructions will ensure you can effortlessly bring your prized digital assets into the world of MetaMask.
Why MetaMask?
MetaMask is a trusted and secure digital wallet that allows you to manage your NFTs, cryptocurrencies, and decentralized applications (dApps) all in one place. With MetaMask, you can easily interact with the blockchain, buy and sell NFTs, and participate in the exciting world of decentralized finance. It’s the perfect tool for collectors, artists, and enthusiasts alike.
How to Import NFTs into MetaMask:
Step 1: Download and Install MetaMask
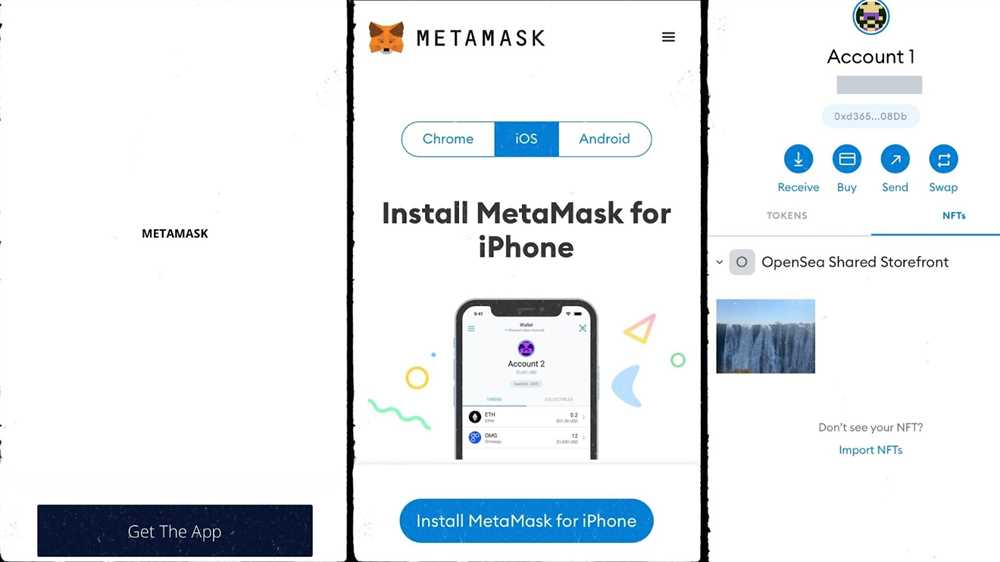
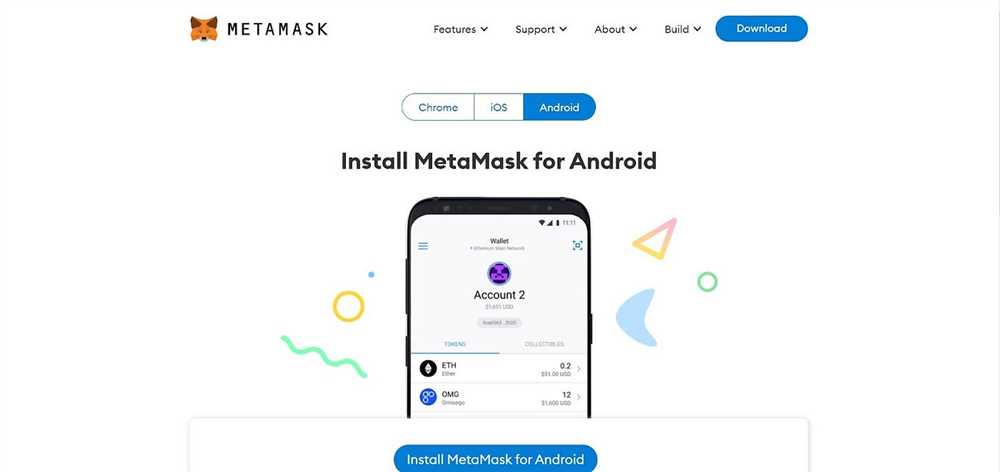
Begin your journey by downloading MetaMask. Visit the official MetaMask website and follow the easy installation process. Choose your preferred browser – Chrome, Firefox, or Brave – and get ready to unlock a whole new world of possibilities.
Step 2: Set Up Your MetaMask Wallet
Once MetaMask is installed, you’ll need to set up your wallet. Create a strong, unique password and carefully store your secret backup phrase. This ensures only you have access to your valuable NFTs. Your wallet is now ready to be filled with your cherished digital assets.
Step 3: Import Your NFTs
Now comes the exciting part – importing your NFTs into MetaMask. Follow our detailed guide on how to export or transfer your NFTs from various marketplaces or wallets into MetaMask. You’ll be amazed at how seamless the process is and how quickly you can start enjoying and showcasing your NFT collection.
Unlock your NFT collection and elevate your digital asset experience today. Follow our step-by-step guide and join the vibrant MetaMask community. Don’t miss out on the unparalleled opportunities that await you.
Unlock NFT Collection:
Are you ready to take your NFT collection to the next level? With our easy-to-use guide, you can unlock the full potential of your NFTs and import them into MetaMask with just a few simple steps. Whether you’re a seasoned NFT collector or just starting out, this step-by-step guide will help you unleash the power of your digital assets.
Step 1: Understand the Benefits
Unlocking your NFT collection and importing it into MetaMask opens up a world of possibilities. By utilizing the MetaMask wallet, you can securely store, manage, and trade your NFTs with ease. No longer will you be limited to a single marketplace or platform – you’ll have the freedom to explore the entire NFT ecosystem and connect with other collectors.
Step 2: Prepare Your NFTs
Before you can import your NFTs into MetaMask, it’s important to ensure that they are compatible with the platform. Check the requirements of MetaMask and make any necessary adjustments to your NFTs, such as resizing or converting file formats. This will ensure a smooth and seamless import process.
| File Format | Image Size |
|---|---|
| JPEG or PNG | 500×500 pixels |
| GIF | 300×300 pixels |
Step 3: Import Your NFTs
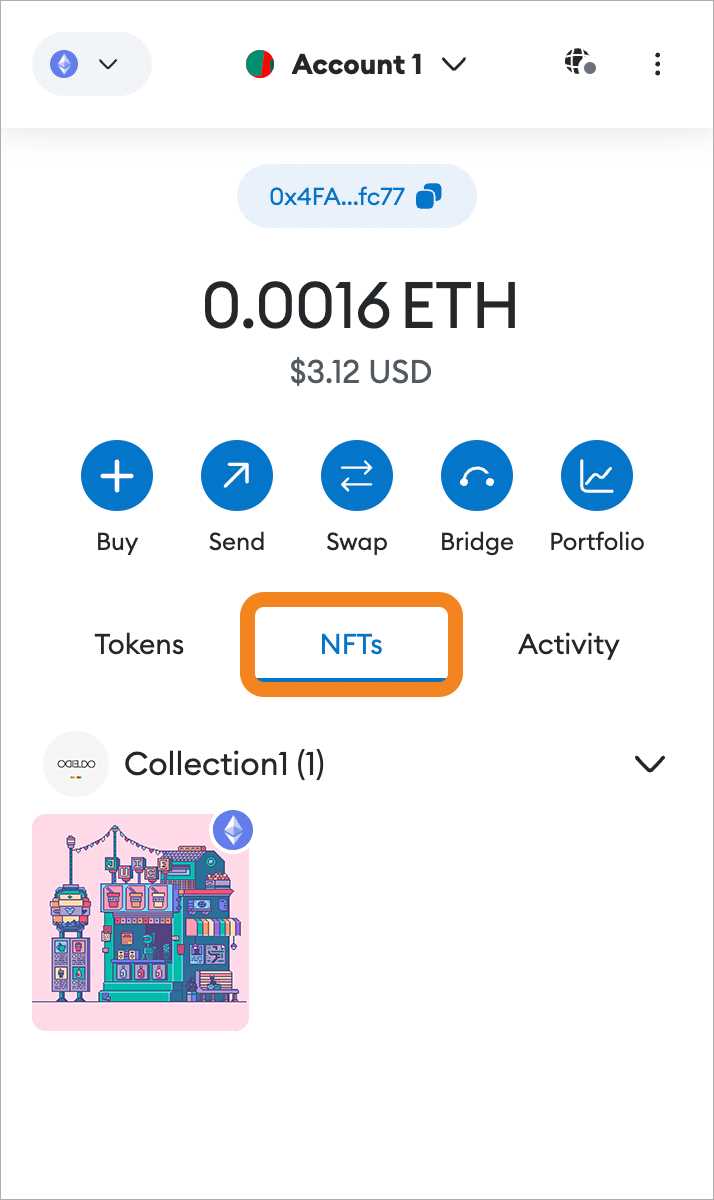
Once you have prepared your NFTs, it’s time to import them into MetaMask. Open MetaMask and navigate to the NFT section. Click on the import button and select the files you want to import. MetaMask will guide you through the process and provide instructions for each step.
Remember to double-check the details and confirm the import before proceeding. Once your NFTs are imported, you can view, manage, and trade them directly from your MetaMask wallet. Enjoy the convenience and security of having all your NFTs in one place!
Unlocking your NFT collection and importing it into MetaMask has never been easier. Follow our step-by-step guide to unleash the full potential of your digital assets and take your NFT journey to new heights. Start exploring the vibrant NFT ecosystem today!
Import NFTs into MetaMask
MetaMask is a popular cryptocurrency wallet that allows users to manage their digital assets and interact with various decentralized applications (dApps) on the Ethereum blockchain. Importing your NFTs into MetaMask is a quick and easy process that gives you more control over your non-fungible tokens. Follow the step-by-step guide below to import your NFTs into MetaMask:
Step 1: Install MetaMask

If you don’t have MetaMask installed, you can download and install it as a browser extension or as a mobile app. Visit the official MetaMask website and follow the instructions for your preferred platform.
Step 2: Set up your MetaMask wallet
After installing MetaMask, proceed to set up your wallet by creating a new account or importing an existing one. Make sure to secure your wallet with a strong password and write down your recovery phrase in a safe place.
Step 3: Access the NFT import feature
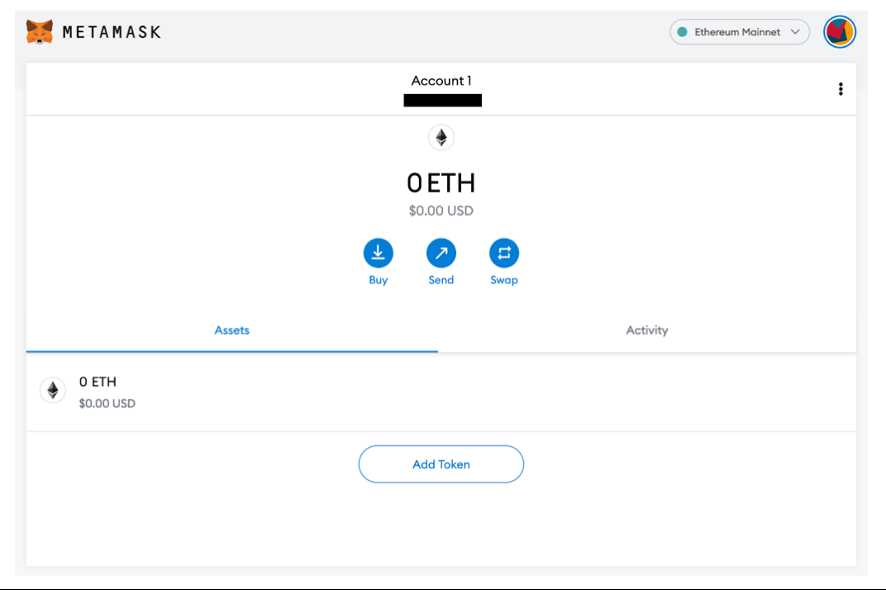
Open your MetaMask wallet and navigate to the “Settings” or “More Options” section. Look for the option that allows you to import NFTs or add custom contracts. This feature may be named differently depending on the version of MetaMask you are using.
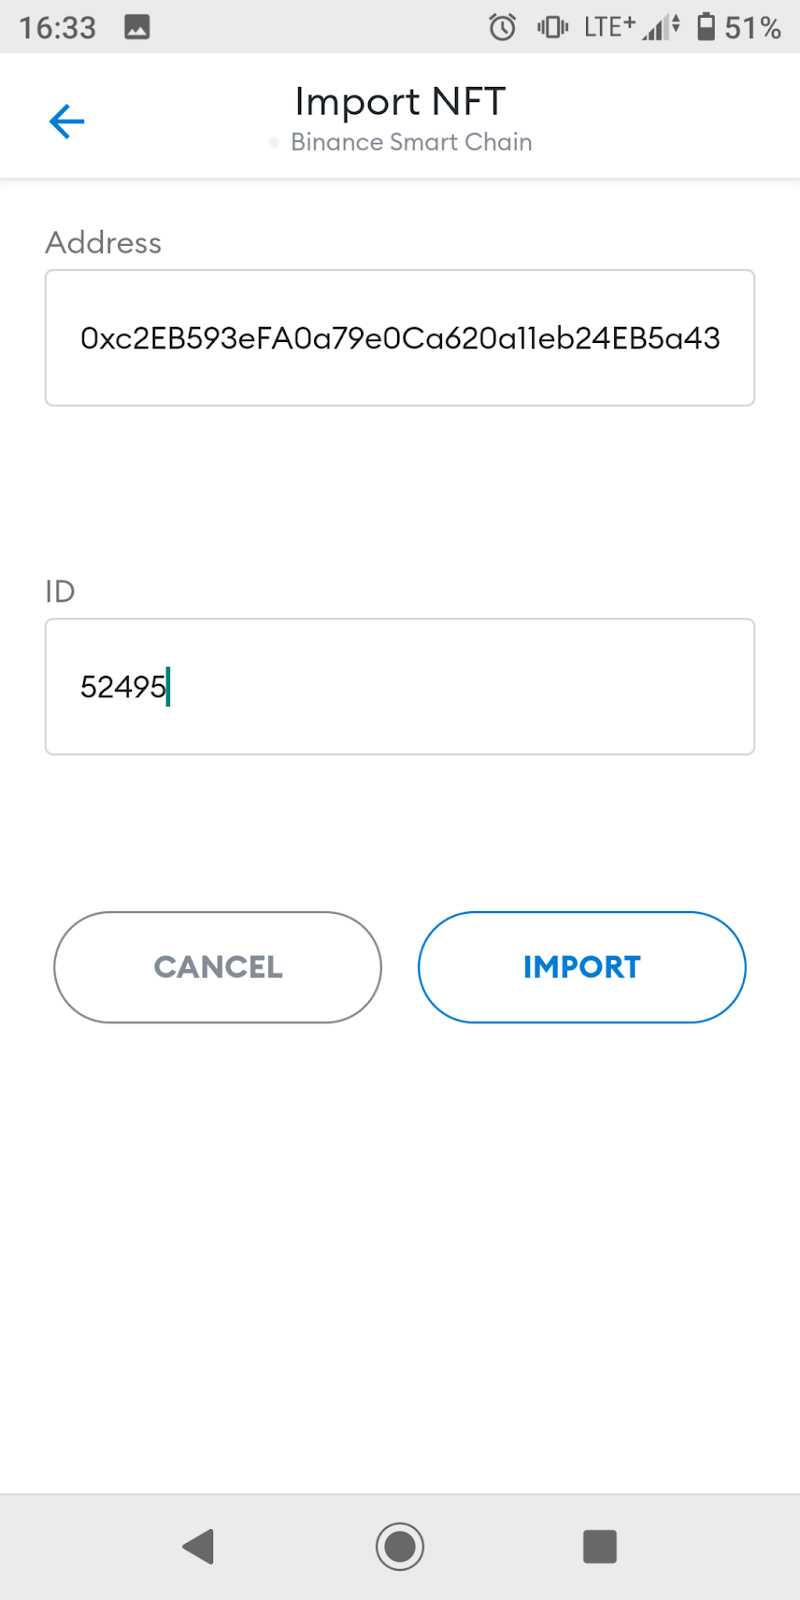
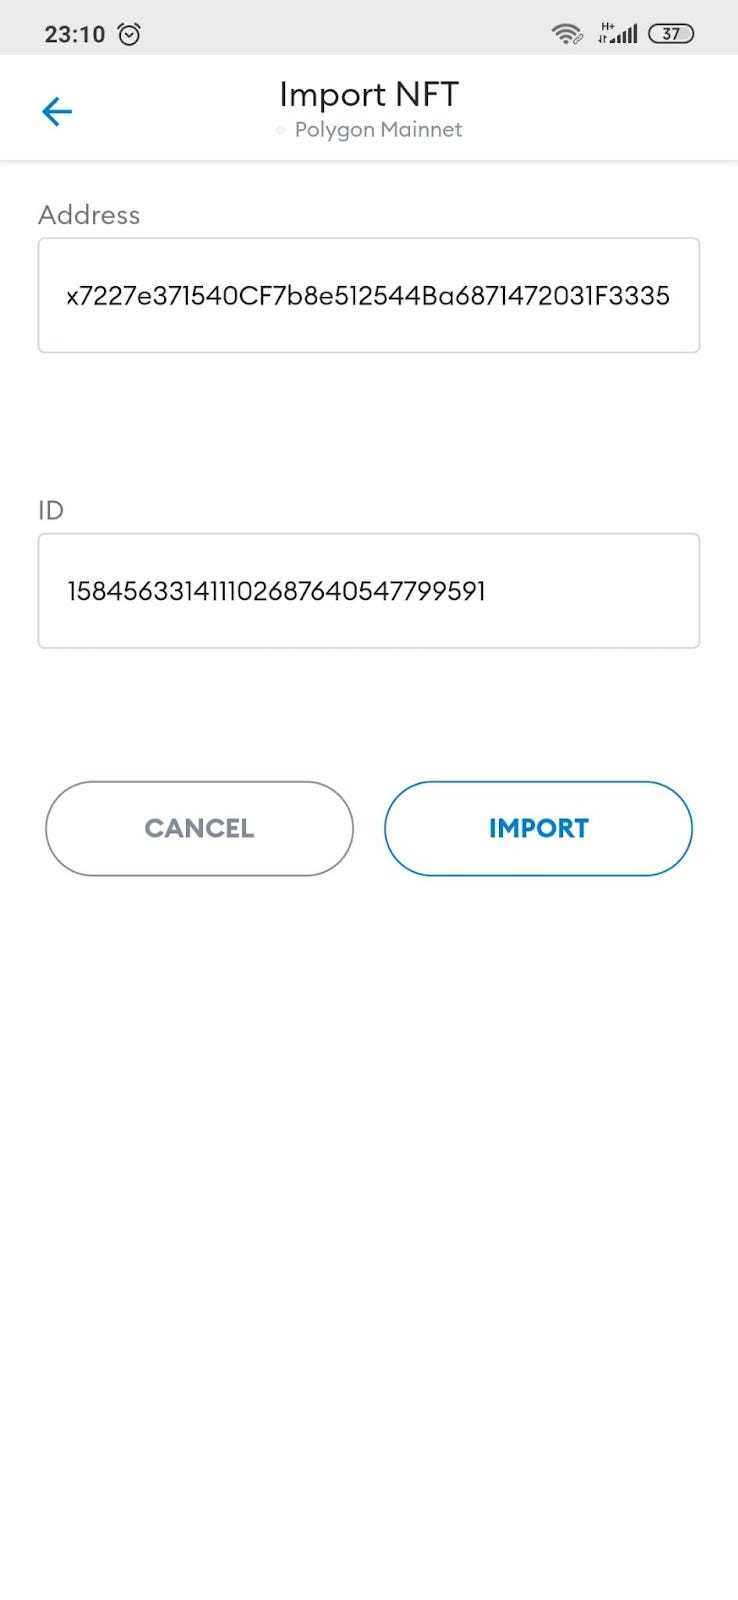
Step 4: Enter the contract address
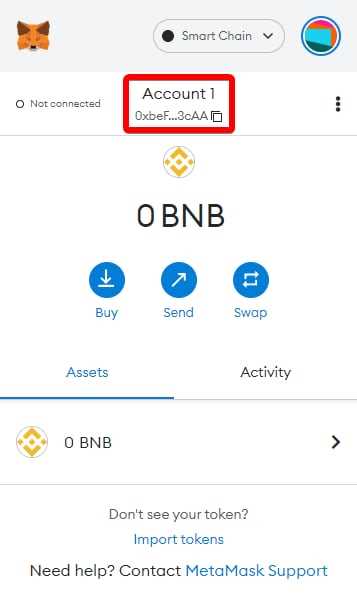
Locate the contract address of the NFT collection you want to import. You can usually find this information on the website or marketplace where you obtained the NFTs. Copy the contract address and paste it into the designated field in MetaMask.
Step 5: Confirm and import your NFTs
Before importing the NFTs, double-check that you have entered the correct contract address. Once you are sure, click on the import button or confirm the import action. MetaMask will then scan the blockchain for the NFTs associated with the provided contract address and add them to your wallet.
Now you have successfully imported your NFTs into MetaMask! You can view and manage your NFTs within the wallet, as well as use them in various decentralized applications and marketplaces.
Note: Importing NFTs into MetaMask may require a small transaction fee to cover the network gas cost. Make sure you have enough Ether (ETH) in your wallet to cover any associated fees.
Disclaimer: The steps mentioned above may vary slightly depending on the version and user interface of MetaMask. Always refer to the official MetaMask documentation or seek assistance from their support team if you encounter any issues during the process.
Easily – Step-by-Step Guide
Unlocking the NFT Collection and importing NFTs into MetaMask is a simple and straightforward process. Follow the step-by-step guide below to easily access your NFTs.
Step 1: Install MetaMask
If you haven’t already, start by installing the MetaMask browser extension. MetaMask is a digital wallet that allows you to store and manage your NFTs securely. You can download MetaMask for free from the official website, and it is available for most popular browsers.
Step 2: Create or Import Your Wallet
Once you have MetaMask installed, open it and follow the instructions to either create a new wallet or import an existing one. Make sure to securely store your wallet seed phrase, as this is the key to accessing your NFTs and other cryptocurrencies.
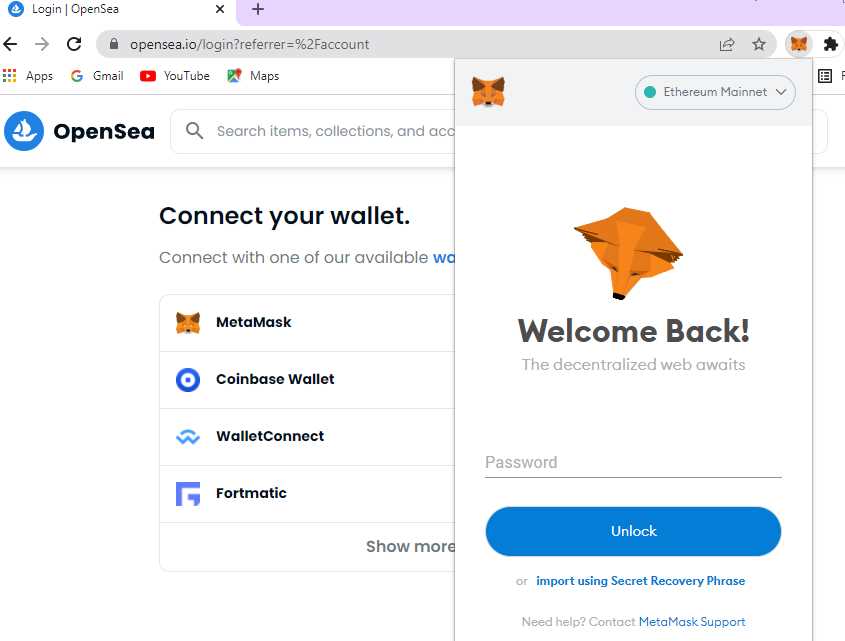
Step 3: Connect to the NFT Collection
With your wallet set up, navigate to the Unlock NFT Collection website. Click on the “Connect Wallet” or similar button to establish a connection between your MetaMask wallet and the NFT Collection platform.
Step 4: Import Your NFTs
Once your wallet is connected, you will be able to import your NFTs into MetaMask. Navigate to the “Import NFTs” or similar section on the website and follow the instructions to import your NFTs from other marketplaces or sources.
That’s it! You have successfully unlocked the NFT Collection and imported your NFTs into MetaMask. Now you can securely manage and trade your NFTs directly from your MetaMask wallet.
Frequently Asked Questions:
What is the “Unlock NFT Collection”?
The “Unlock NFT Collection” is a product that allows you to easily import NFTs into your MetaMask wallet. It provides a step-by-step guide to help you navigate the process.
How does the “Unlock NFT Collection” work?
The “Unlock NFT Collection” works by providing a detailed guide on how to import NFTs into your MetaMask wallet. It covers every step of the process, including connecting your wallet, finding and selecting the NFTs you want to import, and completing the importation process.
Can I import any type of NFTs with the “Unlock NFT Collection”?
Yes, you can import any type of NFTs with the “Unlock NFT Collection”. It is designed to work with a wide range of NFTs, regardless of the platform or marketplace they were originally acquired from.
What are the benefits of using the “Unlock NFT Collection”?
The “Unlock NFT Collection” offers several benefits. Firstly, it simplifies the process of importing NFTs into your MetaMask wallet, saving you time and effort. Additionally, it provides a comprehensive guide that ensures you understand each step of the process. Finally, it ensures that your NFTs are securely imported and easily accessible in your wallet.
+ There are no comments
Add yours