


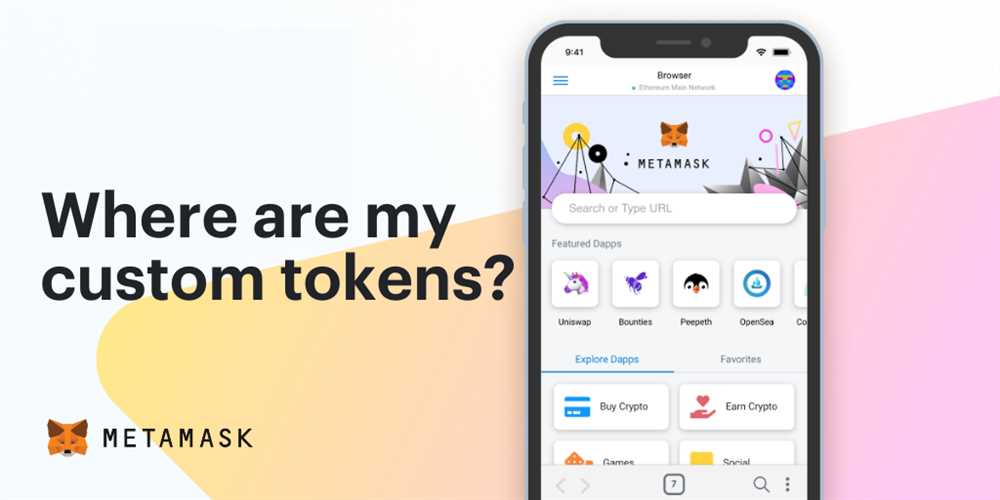
Welcome to our tutorial on how to add additional networks to your Metamask wallet! Metamask is a popular cryptocurrency wallet that allows users to securely store and manage their digital assets. By default, Metamask supports the Ethereum network, but did you know that you can also add other networks to your wallet?
Adding additional networks to your Metamask wallet can open up a whole new world of possibilities. It allows you to interact with different blockchain networks, access decentralized applications (dApps), and explore various digital assets beyond Ethereum. Whether you’re interested in exploring alternative cryptocurrencies or participating in specific blockchain projects, adding additional networks to your Metamask wallet is a must.
This tutorial will guide you step by step on how to add additional networks to your Metamask wallet. We will cover everything from finding the network details to configuring your wallet settings. By the end of this tutorial, you will have the knowledge and confidence to expand the capabilities of your Metamask wallet.
So, let’s get started and unlock new possibilities with your Metamask wallet!
Unlocking new possibilities: Adding additional networks to your Metamask wallet
Metamask is a popular Ethereum wallet that allows users to interact with decentralized applications (dApps) and manage their cryptocurrencies securely. By default, Metamask is configured to work with the Ethereum mainnet, but did you know that you can also add additional networks to your wallet?
Why add additional networks?
Adding additional networks to your Metamask wallet can open up new possibilities and allow you to access and use dApps on other blockchain networks. It allows you to diversify your portfolio and explore different decentralized ecosystems.
How to add additional networks to your Metamask wallet
Adding additional networks to your Metamask wallet is a simple process. Here’s a step-by-step guide:
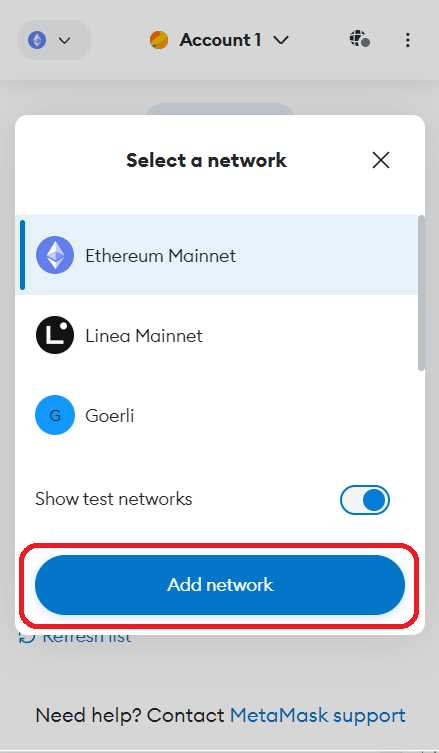
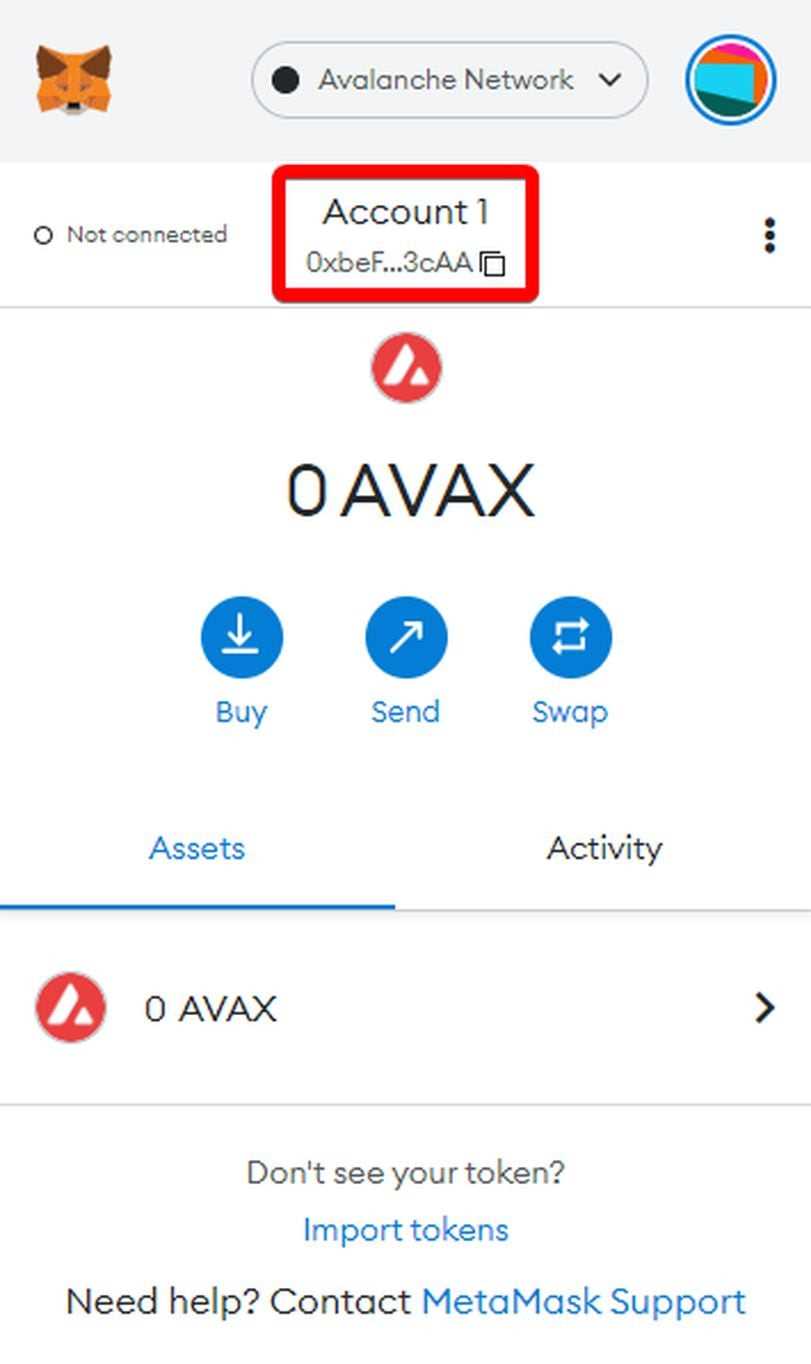
- Open your Metamask wallet and click on the network selection box at the top of your wallet.
- Scroll to the bottom of the network list and click on “Custom RPC”.
- In the “New Network” section, enter the network details, including the network name, RPC URL, and chain ID.
- Click on “Save” to add the new network to your Metamask wallet.
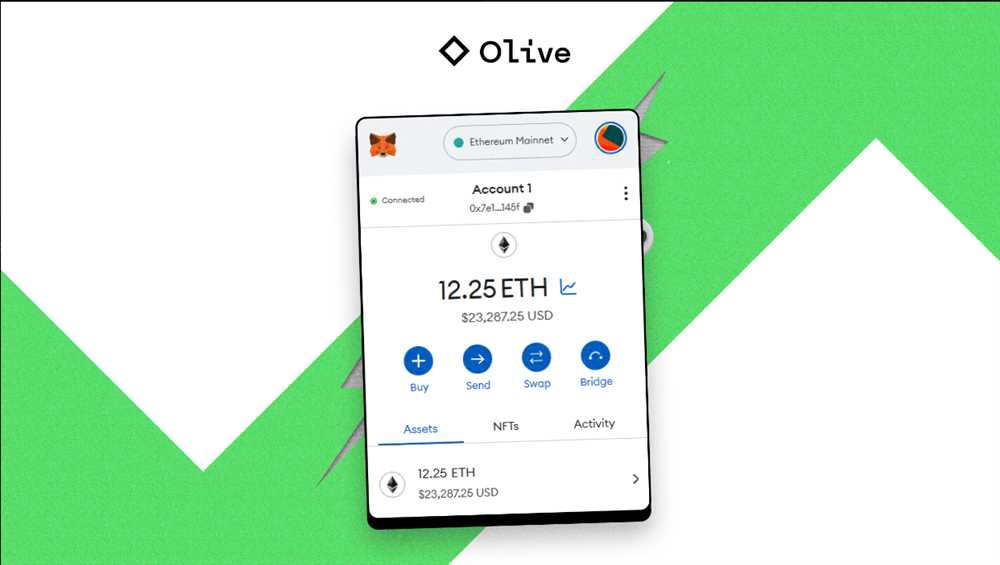
Once you’ve added the new network, you’ll be able to switch between different networks and access dApps on those networks. You can also view and manage your cryptocurrency balances on each network.
Popular additional networks to consider
There are several popular additional networks that you can consider adding to your Metamask wallet. Some of these include:
- Binance Smart Chain (BSC): A high-performance blockchain that offers low transaction fees and fast confirmation times.
- Polygon (formerly Matic): A scaling solution for Ethereum that enables fast and low-cost transactions.
- Fantom: A fast and secure blockchain platform that supports smart contracts and decentralized applications.
By adding these networks to your Metamask wallet, you can take advantage of the unique features and opportunities they offer.
Unlock new possibilities by adding additional networks to your Metamask wallet today and explore the decentralized world beyond Ethereum!
Why add additional networks?
Metamask is a popular cryptocurrency wallet that allows users to interact with decentralized applications (DApps) on the Ethereum blockchain. By default, Metamask supports the Ethereum network, but you may find it beneficial to add additional networks to your wallet. Here are a few reasons why:
Access to other blockchains
By adding additional networks, such as the Binance Smart Chain or Polygon, you gain access to other blockchains and their associated tokens and DApps. This allows you to explore and participate in a wider range of decentralized finance (DeFi) projects and ecosystems.
Cost optimization

The Ethereum network is known for its high transaction fees, also known as gas fees. By adding other networks, you can take advantage of lower transaction fees and reduce the cost of using decentralized applications. This can be particularly beneficial for frequent traders or users who want to save on fees.
Note: It’s important to research and understand the security and reliability of any additional networks you choose to add. Some newly launched networks might have higher risks or less proven track records.
Adding additional networks to your Metamask wallet is a simple process that can greatly expand your options and opportunities in the world of blockchain and cryptocurrencies. It’s always a good idea to explore and experiment with new networks, but remember to exercise caution and only use trusted sources to gather information about these networks.
Unlock new possibilities by adding additional networks to your Metamask wallet and discover the vibrant and ever-expanding world of decentralized finance.
How to add additional networks to Metamask
If you’re using Metamask as your Ethereum wallet, you may want to add additional networks to fully explore the possibilities of decentralized finance. Here’s a step-by-step guide on how to add new networks to your Metamask wallet:
- Open the Metamask extension: Make sure you have the Metamask extension installed and open it on your browser.
- Access the network settings: Look for the icon with three horizontal lines, usually located at the top right corner of the Metamask interface. Click on it to reveal the dropdown menu and select “Settings”.
- Switch to Networks: In the “Settings” menu, you should see different options. Look for the “Networks” tab and click on it to access the network settings.
- Add a new network: On the “Networks” page, you’ll find the option to add a custom network. Click on the “Add Network” button to proceed.
- Fill in the details: A form will appear where you can input the details of the new network you want to add. Make sure to provide the right information, including the network name, RPC URL, chain ID, symbol, and block explorer URL.
- Save the changes: Double-check that all the details are accurate, and then click on the “Save” button to add the new network to your Metamask wallet.
- Switch networks: Once the network is added, you can switch between networks by clicking on the network name in the top center of the Metamask interface and selecting the desired network from the dropdown menu. This way, you can easily access different networks and explore various decentralized applications.
Note: Adding custom networks to Metamask comes with its risks. Make sure to verify the authenticity of the network you’re adding and exercise caution when interacting with unknown networks.
By following these steps, you can expand the capabilities of your Metamask wallet and unlock new possibilities in the world of decentralized finance.
Exploring the opportunities with additional networks
Unlocking new possibilities with the addition of additional networks to your Metamask wallet opens up a world of opportunities in the cryptocurrency ecosystem. By expanding your reach beyond the Ethereum network, you gain access to a variety of alternative networks that offer different features and capabilities.
One of the main benefits of adding additional networks to your Metamask wallet is the ability to interact with decentralized applications (DApps) that are built on these networks. DApps have the potential to revolutionize various industries, such as finance, gaming, and supply chain management. By connecting to different networks, you can participate in a wider range of DApps and explore their unique functionalities.
Furthermore, each network has its own native token, which can be used for various purposes within its ecosystem. By adding additional networks, you can diversify your token holdings and potentially benefit from different investment opportunities. You can also take advantage of the unique utility that each token offers, such as governance rights or discounted transaction fees.
In addition to DApps and tokens, different networks may also offer alternative consensus mechanisms. While Ethereum currently operates on a Proof-of-Work (PoW) consensus algorithm, other networks may use Proof-of-Stake (PoS) or Delegated Proof-of-Stake (DPoS) algorithms. This opens up new possibilities for participation in network consensus and potentially earning rewards through staking or delegating tokens.
Exploring additional networks also allows you to stay up-to-date with the latest developments and innovations in the cryptocurrency space. By keeping an eye on different networks, you can discover new projects, protocols, and technical advancements that may not be available on the Ethereum network alone. This knowledge can help you make informed decisions and stay ahead of the curve.
In conclusion, adding additional networks to your Metamask wallet expands your horizons and offers a multitude of opportunities for engagement, investment, and knowledge acquisition. By exploring different networks, you can unlock new functionalities, diversify your token holdings, and stay at the forefront of the ever-evolving cryptocurrency landscape.
Frequently Asked Questions:
Why would I want to add additional networks to my Metamask wallet?
Adding additional networks to your Metamask wallet allows you to connect to different blockchain networks and access a wider range of decentralized applications (dApps) and services. Each network may have its own unique features, tokens, and applications. By adding additional networks, you can explore and engage with different blockchain ecosystems, participate in various decentralized finance (DeFi) protocols, and interact with different communities and projects within the crypto space.

+ There are no comments
Add yours