


If you’re new to the world of cryptocurrencies, one of the first things you’ll need to do is set up a wallet to securely store your digital assets. One popular wallet option is Metamask, a browser extension that allows you to interact with decentralized applications (DApps) on the Ethereum blockchain.
Once you’ve installed Metamask and created a wallet, the next step is to fund it with some cryptocurrency. In this step-by-step guide, we’ll walk you through the process of funding your Metamask wallet, so you can start using it to engage with the exciting world of decentralized finance (DeFi).
Step 1: Connect Metamask to a Supported Wallet
Before you can fund your Metamask wallet, you’ll need to connect it to a supported wallet. Metamask supports various wallets, including Coinbase Wallet, WalletConnect, and Fortmatic. To connect your wallet, click on the Metamask extension icon in your browser, then click on the account dropdown and select “Connect.” Choose the wallet you want to connect to, and follow the instructions to complete the connection.
Step 2: Add Funds to Your Connected Wallet
Once you’ve connected Metamask to a supported wallet, you’ll need to add funds to that wallet. Each supported wallet has its own process for adding funds, so you’ll need to follow the specific instructions provided by your chosen wallet provider. Generally, you’ll need to transfer cryptocurrency from an exchange or another wallet to your connected wallet address.
Step 3: Link Your Connected Wallet to Metamask
After you’ve added funds to your connected wallet, you’ll need to link it to Metamask. To do this, click on the Metamask extension icon in your browser, then click on the account dropdown and select “Import Account.” Choose the option to import your wallet using the seed phrase or private key provided by your connected wallet. Follow the instructions to complete the linking process.
Step 4: Check Your Wallet Balance
Once you’ve linked your connected wallet to Metamask, you can check your wallet balance by clicking on the Metamask extension icon in your browser and selecting your wallet account from the account dropdown. Your wallet balance will be displayed in the Metamask interface, allowing you to keep track of your funded assets.
Congratulations! You’ve successfully funded your Metamask wallet. Now you can use it to interact with DApps, participate in token sales, and explore the exciting world of decentralized finance. Remember to always keep your wallet and seed phrase safe and secure, as they are your keys to accessing your digital assets.
Understanding Metamask and Wallet Funding
Metamask is a popular browser extension that serves as a digital wallet for storing and managing cryptocurrencies. It is compatible with various blockchain networks, including Ethereum, allowing users to securely interact with decentralized applications (dApps).
To utilize Metamask, users must first install the extension on their preferred browser, such as Chrome or Firefox. Once installed, the user creates a new wallet or imports an existing one using a seed phrase or private key. This wallet will be linked to their browser and can be used for various purposes, including funding it with cryptocurrency.
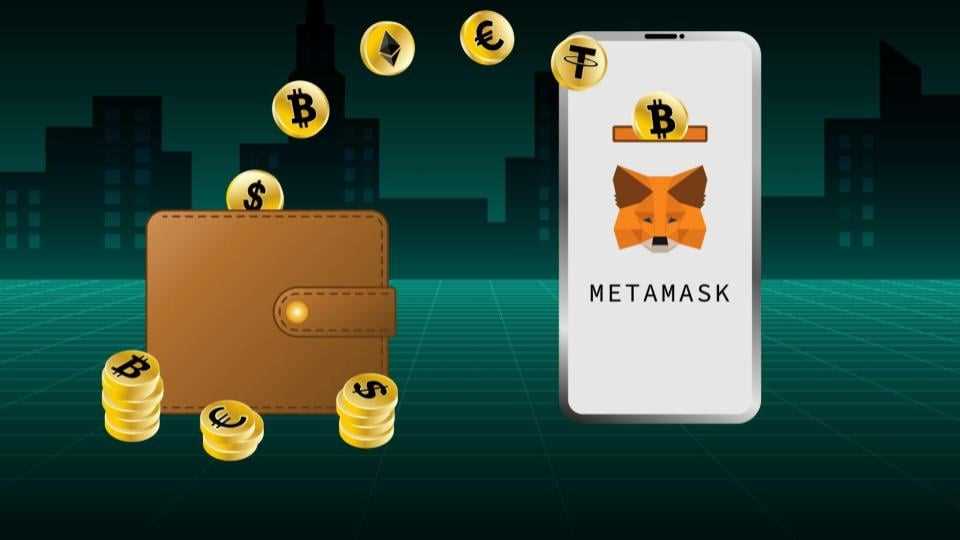
Wallet funding refers to the process of adding cryptocurrency to your Metamask wallet. This allows you to store and manage your digital assets within the wallet, as well as use them for transactions and interactions with dApps.
There are several ways to fund your Metamask wallet. One common method is to transfer cryptocurrency from an exchange or another wallet to your Metamask address. This involves copying your wallet’s public address and using it as the destination address when making the transfer.
When funding your Metamask wallet, it is important to pay attention to transaction fees. These fees cover the cost of processing your transaction on the blockchain and can vary depending on network congestion. Higher fees usually result in faster transaction confirmations, while lower fees may lead to slower processing times.
After completing the funding process, you can check your wallet’s balance and transaction history within the Metamask interface. You can also manage your wallet’s settings and security features, such as adding a password or enabling two-factor authentication for enhanced security.
Overall, understanding how to fund your Metamask wallet is essential for anyone looking to securely store and manage cryptocurrencies. By following the necessary steps and considering transaction fees, you can ensure a smooth funding process and effectively utilize your digital wallet.
What is Metamask?
Metamask is a cryptocurrency wallet that allows users to manage and interact with decentralized applications (DApps) on the Ethereum blockchain. It functions as a browser extension for Google Chrome, Firefox, and Brave, making it easily accessible to users.
With Metamask, users can securely store and manage their Ethereum assets, including Ether (ETH) and ERC-20 tokens. It also provides a seamless connection to various DApps, allowing users to interact with decentralized exchanges, decentralized finance (DeFi) platforms, and other Ethereum-based applications.
Key Features of Metamask:
- Wallet Management: Users can create multiple wallets, import existing wallets, and easily switch between them.
- Secure Storage: Metamask stores private keys locally in the browser, ensuring that the user has full control over their funds.
- Transaction Signing: Users can sign transactions and approve smart contract interactions directly from the Metamask interface.
- DApp Integration: Metamask provides a seamless integration with various DApps, allowing users to interact with them directly from their wallet interface.
- Network Customization: Users can switch between different Ethereum networks, including the mainnet, testnets, and custom networks.
- Token Support: Metamask supports a wide range of ERC-20 tokens, making it easy to manage diverse cryptocurrency portfolios.
Overall, Metamask provides a user-friendly and secure solution for managing Ethereum assets and interacting with the growing ecosystem of decentralized applications.
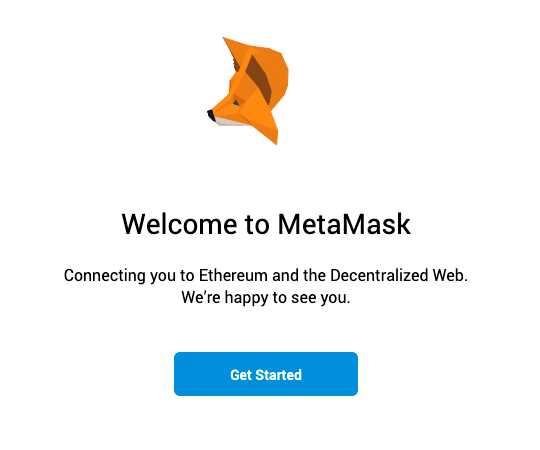
Installing Metamask and Creating a Wallet
The first step to funding your wallet with Metamask is to install the Metamask extension on your browser. Follow these steps to install Metamask:
- Open your browser (Chrome, Firefox, or Brave) and go to the Metamask website.
- Click on the “Get started” button.
- A new tab will open, and you’ll be redirected to the Chrome Web Store if you’re using Google Chrome. For other browsers, you’ll be redirected to the appropriate extension store.
- Click on the “Add to Chrome” or “Add to Firefox” button (depending on your browser).
- Wait for the extension to finish installing.
- Once installed, you’ll see the Metamask fox icon added to your browser’s extensions toolbar.
- Click on the Metamask fox icon to open the extension.
Now that you have Metamask installed, you can create a wallet by following these steps:
- Click on the “Get started” button.
- Read and accept the terms of use and privacy notice.
- Click on the “Create a Wallet” button.
- Create a strong password for your wallet.
- Click on the “Create” button.
Congratulations! You have successfully installed Metamask and created a wallet. In the next step, we will guide you through the process of funding your wallet.
Step-by-Step Guide for Installation and Wallet Creation
If you want to start using Metamask for managing your cryptocurrency funds, here is a step-by-step guide on how to install and create a wallet:
1. Install Metamask Extension
To begin, open your preferred web browser and search for the Metamask extension. Find the official website and click on the “Install” button to start downloading the extension.
2. Add Metamask to Your Browser
Once the extension is downloaded, you will see a new icon appear in your browser’s toolbar. Click on the Metamask icon and choose the option to create a new wallet.
3. Create a New Wallet
Next, you will be prompted to create a new wallet. Set a secure password and click on the “Create” button. Make sure to store your password in a safe place.
4. Backup Your Wallet
After creating your wallet, Metamask will provide you with a secret backup phrase. This is a unique combination of words that can be used to restore your wallet if you ever lose access. Write down the backup phrase and keep it safe.
5. Confirm Your Backup Phrase
To ensure that you have properly saved your backup phrase, Metamask will ask you to confirm a few random words from the phrase. This step is crucial for the security of your wallet, so make sure to do it accurately.
6. Congratulations! Your Wallet is Ready

Once you have completed the previous steps, your wallet is successfully created and ready to use. You can now start funding your wallet by transferring cryptocurrency from an exchange or another wallet.
Remember to always keep your wallet and backup phrase secure to protect your funds. It is recommended to use hardware wallets or other additional security measures for extra protection.
Funding Your Metamask Wallet
Metamask is a popular Ethereum wallet that allows users to manage and interact with their Ethereum accounts. Before you can start using Metamask, you’ll need to fund your wallet with some Ethereum. Here’s a step-by-step guide on how to fund your Metamask wallet:
- Open Metamask and create a new wallet if you don’t have one already. Make sure to securely backup your wallet seed phrase.
- Once your wallet is set up, click on the account icon in the top right corner and select “Copy Address” to copy your wallet address.
- Launch your preferred cryptocurrency exchange or wallet where you hold Ethereum.
- Go to the “Send” or “Withdraw” section of the exchange or wallet and paste your Metamask wallet address in the recipient field.
- Enter the amount of Ethereum you want to send to your Metamask wallet. Make sure to double-check the address to avoid any mistakes.
- Review the transaction details and fees, if applicable, and confirm the transaction.
- Wait for the Ethereum transaction to be confirmed on the blockchain. This usually takes a few minutes, but can sometimes take longer during periods of high network congestion.
- Once the transaction is confirmed, you should see the Ethereum balance in your Metamask wallet.
Now that your Metamask wallet is funded, you can use it to interact with decentralized applications (dApps), participate in token sales, trade cryptocurrencies, and more. Just make sure to manage your private keys and seed phrase carefully to keep your funds secure.
Step-by-Step Guide for Funding your Wallet
Do you want to fund your wallet with Metamask? Follow these simple steps to get started:
Step 1: Download and Install Metamask
First, make sure you have Metamask installed on your computer. If you don’t have it, you can download it from the official website and follow the installation instructions.
Step 2: Create a Wallet
Once Metamask is installed, open the extension in your browser and click on “Create a Wallet”. Follow the prompts to set up your wallet by creating a unique password and saving the recovery phrase in a secure location.
Step 3: Log in to Metamask
After creating your wallet, you will be automatically logged in. If not, click on the Metamask icon in your browser and enter your password to log in.
Step 4: Access the Wallet Address
In the Metamask extension, you will see your wallet address. Click on the account drop-down menu to copy the address or view the QR code.
Step 5: Fund Your Wallet
Once you have your wallet address, you can fund it with cryptocurrency. Transfer the desired amount to your wallet address from another wallet or exchange. Be sure to double-check the address before sending any funds.
Step 6: Confirm Transaction
After sending the funds to your wallet address, you will need to wait for the transaction to be confirmed on the blockchain. This process may take a few minutes, depending on network congestion.
Note: Depending on the network you’re using, you may need to pay a small transaction fee for the transfer.
Step 7: Check Your Balance
Once the transaction is confirmed, you can check your wallet balance in Metamask. The funded amount should now be reflected in your wallet.
Congratulations! You have successfully funded your wallet with Metamask. Now you can use your wallet to interact with decentralized applications and participate in the blockchain ecosystem.
Frequently Asked Questions:
What is Metamask?
Metamask is a cryptocurrency wallet that allows users to store and manage their digital assets.
How do I fund my wallet with Metamask?
To fund your wallet with Metamask, you can follow these steps:
1. Open the Metamask extension in your browser
2. Click on the “Deposit” button
3. Select the asset you want to deposit
4. Enter the amount you wish to deposit
5. Follow the instructions to complete the deposit
6. Once the transaction is confirmed, your wallet will be funded with the chosen asset.
Can I fund my Metamask wallet with fiat currency?
No, you cannot directly fund your Metamask wallet with fiat currency. However, you can use a cryptocurrency exchange to buy cryptocurrency with fiat currency and then transfer it to your Metamask wallet.
Are there any fees associated with funding my Metamask wallet?
Yes, there may be fees associated with funding your Metamask wallet. These fees can vary depending on the cryptocurrency you are depositing and the current network congestion. It is advisable to check the current fee rates before making a deposit.
Is it safe to fund my Metamask wallet?
Funding your Metamask wallet is generally safe if you follow best security practices. Make sure you are using the official Metamask website or extension, and always double-check the addresses when making a deposit. It is also recommended to use additional security measures, such as setting up a strong password and enabling two-factor authentication.
+ There are no comments
Add yours