


If you’re a fan of cryptocurrencies and love the popular meme-inspired Dogecoin (Doge), you might want to add it to your Metamask wallet. Metamask is a browser extension wallet that allows you to interact with decentralized applications (dApps) on the Ethereum blockchain. By adding Doge to your Metamask wallet, you can easily send, receive, and trade this fun and vibrant cryptocurrency.
Adding Doge to Metamask is a straightforward process that involves a few simple steps. This step-by-step guide will walk you through the process, ensuring you can start managing your DOGE effortlessly. Please note that you should already have the Metamask extension installed in your browser before proceeding.
Step 1: Open Metamask
Open your Metamask wallet by clicking on the Metamask extension icon in your browser toolbar. If you’re using Metamask for the first time, you may need to set up a new wallet or import an existing one.
Step 2: Access the Wallet
Once you have opened Metamask, click on the wallet address located in the top right corner of the wallet interface. This will copy your wallet’s address to your clipboard.
Note: Ensure that you are using the Ethereum network in your Metamask wallet, as Dogecoin is an ERC-20 token and runs on the Ethereum blockchain.
Step 3: Find the DOGE Contract Address
Visit a reliable blockchain explorer or a website that provides DOGE contract information, such as CoinGecko or CoinMarketCap. Search for Dogecoin and locate the contract address for Doge. The contract address is a unique identifier for the token.
Step 4: Add DOGE Token
Head back to your Metamask wallet interface and click on the “Add Token” button. This button is usually located at the bottom of the assets list. In the pop-up window, click on the “Custom Token” tab.
Step 5: Enter Token Details
In the “Token Address” field, paste the DOGE contract address you obtained earlier. The remaining fields, such as “Token Symbol” and “Decimals of Precision,” should automatically fill in.
Step 6: Confirm and Add
After verifying that the token details are correct, click on the “Next” button. Metamask will display a summary of the DOGE token you are about to add. Click on the “Add Tokens” button to finalize the process.
And there you have it! You have successfully added Dogecoin (DOGE) to your Metamask wallet. You can now view your DOGE balance and use it for transactions within the Metamask wallet interface.
Remember, always exercise caution when dealing with cryptocurrencies. Make sure to double-check the contract address and only transact with trusted sources. Happy Doge trading!
Create or Import a Metamask Wallet
If you don’t already have a Metamask wallet, you’ll need to create one. Follow the steps below to create or import a Metamask wallet:
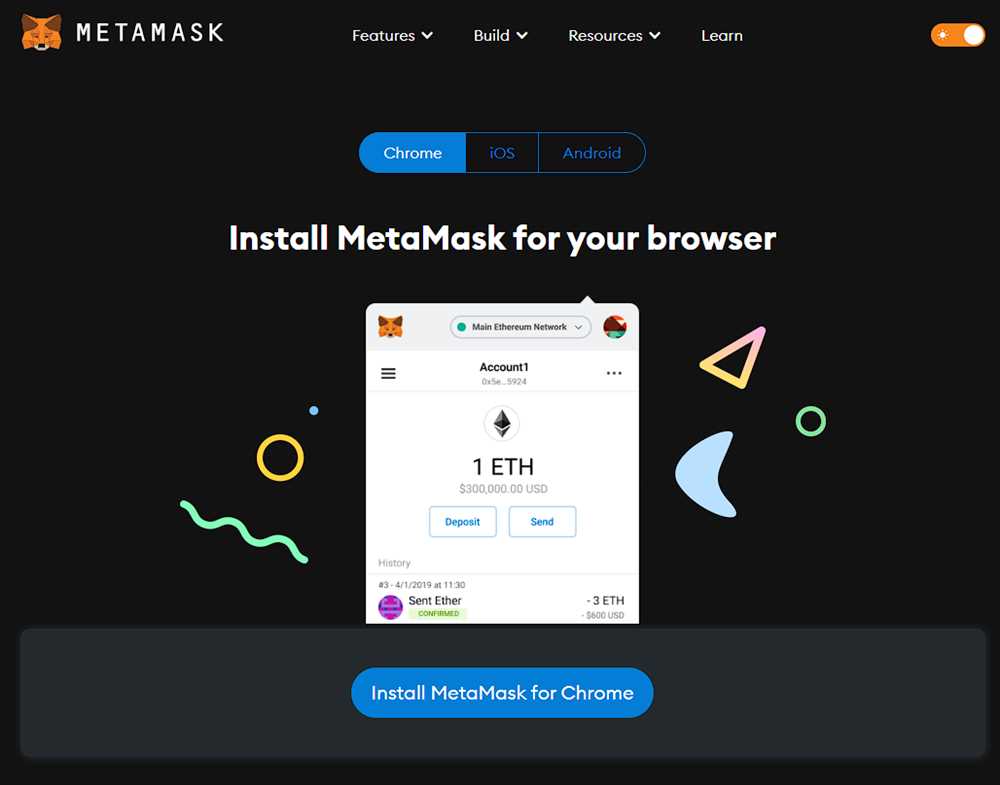
Step 1: Install the Metamask Extension
First, you need to install the Metamask extension on your web browser. Metamask is available for Google Chrome, Mozilla Firefox, and Brave.
To install Metamask, go to the extension store for your browser and search for “Metamask”. Click on the “Add to Chrome” (or equivalent) button and follow the prompts to install the extension. Once you have installed Metamask, you will see its icon in your browser’s toolbar.
Step 2: Set Up Your Metamask Wallet
After installing Metamask, click on the Metamask icon in your browser’s toolbar. You will see a welcome screen with the option to “Create a Wallet” or “Import Wallet”. If you don’t already have a wallet, click on the “Create a Wallet” button.
Follow the prompts to set up a new wallet. You will be asked to create a strong password and agree to the terms of service. Make sure to write down your password and keep it in a safe place. Once you have completed the setup process, you will be shown a seed phrase (also known as a recovery phrase).
Note: The seed phrase is extremely important and should be kept private and secure. It can be used to recover your wallet if you forget your password or lose access to your device.
Step 3: Backup Your Seed Phrase
After you have been shown your seed phrase, you will be prompted to back it up. Click on the “Next” button and you will be shown your seed phrase. Write down all the words in the correct order and keep them in a safe place. It’s a good idea to make multiple copies and store them in different secure locations.
Once you have securely backed up your seed phrase, click on the checkboxes confirming that you have done so. Then click on the “Verify” button to complete the backup process.
Note: If you lose access to your device or forget your password, you can use the seed phrase to recover your wallet. Treat it like your private key and keep it safe!
That’s it! You have now created a Metamask wallet or imported an existing one. You can now use your wallet to manage your cryptocurrency holdings and interact with decentralized applications (DApps).
Remember to never share your seed phrase, private key, or password with anyone. Be cautious of phishing attempts and always double-check the URL of the websites you visit.
Creating a New Metamask Wallet
To add Doge to your Metamask wallet, you first need to create a new wallet. Here are the steps:
- Install the Metamask browser extension if you haven’t already.
- Click on the Metamask icon in your browser’s toolbar.
- A pop-up window will appear. Click on the “Get Started” button.
- Read and accept the terms of use.
- Create a new password for your wallet. Make sure it’s strong and secure.
- Click on the “Create” button to proceed.
- You will be presented with a seed phrase. This is a set of 12 or 24 randomly generated words. Write it down and keep it in a safe place. It is very important, as it can be used to recover your wallet in case you forget your password.
- Confirm your seed phrase by selecting the words in the correct order.
- Set a password for your account. This password will be required whenever you try to access your Metamask wallet.
- Your wallet is now created! You will see your account address on the Metamask popup window.
Now that you have created a new Metamask wallet, you can proceed with adding Doge to it. Follow the steps mentioned in the guide to complete the process.
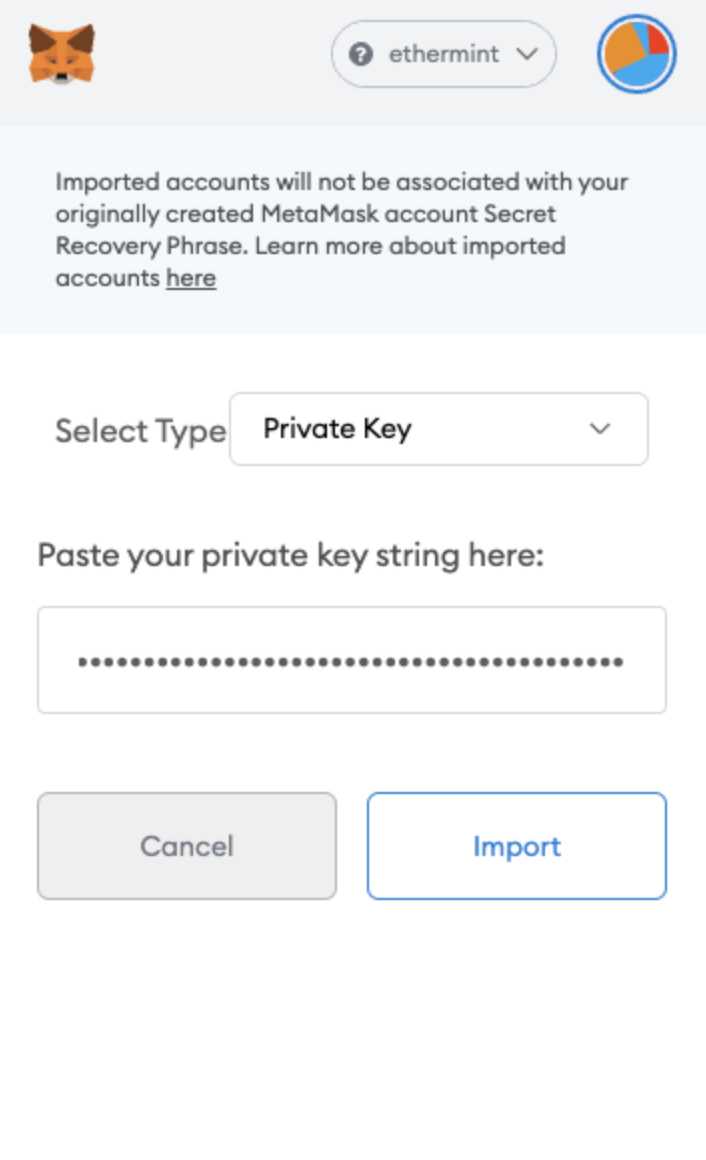
Importing an Existing Metamask Wallet
If you already have a Metamask wallet set up and want to add Dogecoin to it, you can easily import your existing wallet into Metamask. Here’s how:
- Open the Metamask extension in your browser and click on the account icon in the top-right corner.
- Select “Import Account” from the drop-down menu.
- In the “Import Account” window, choose the “JSON File” option.
- Locate the JSON file of your existing Metamask wallet on your computer, and click “Open”.
- Enter the password you used to encrypt your wallet when prompted.
- Click on “Import” to complete the process.
Once you’ve successfully imported your existing Metamask wallet, you can now add Dogecoin to it following the previous steps mentioned in this guide. Make sure you select your imported wallet as the current wallet in Metamask before adding Dogecoin.
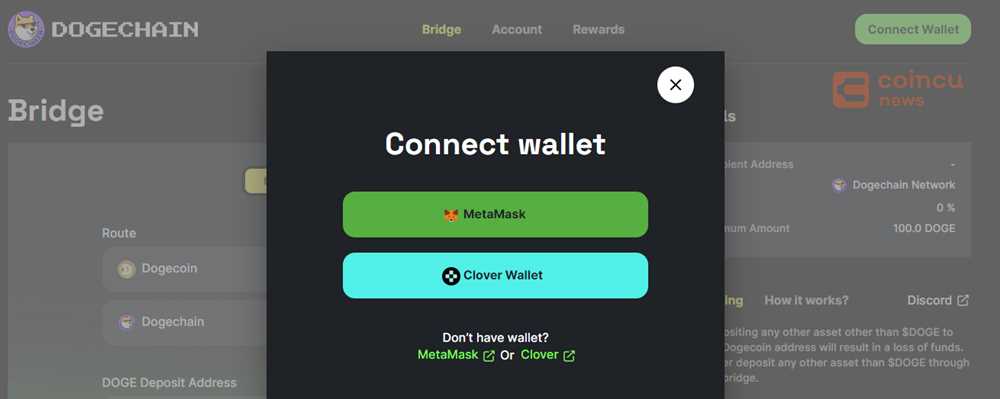
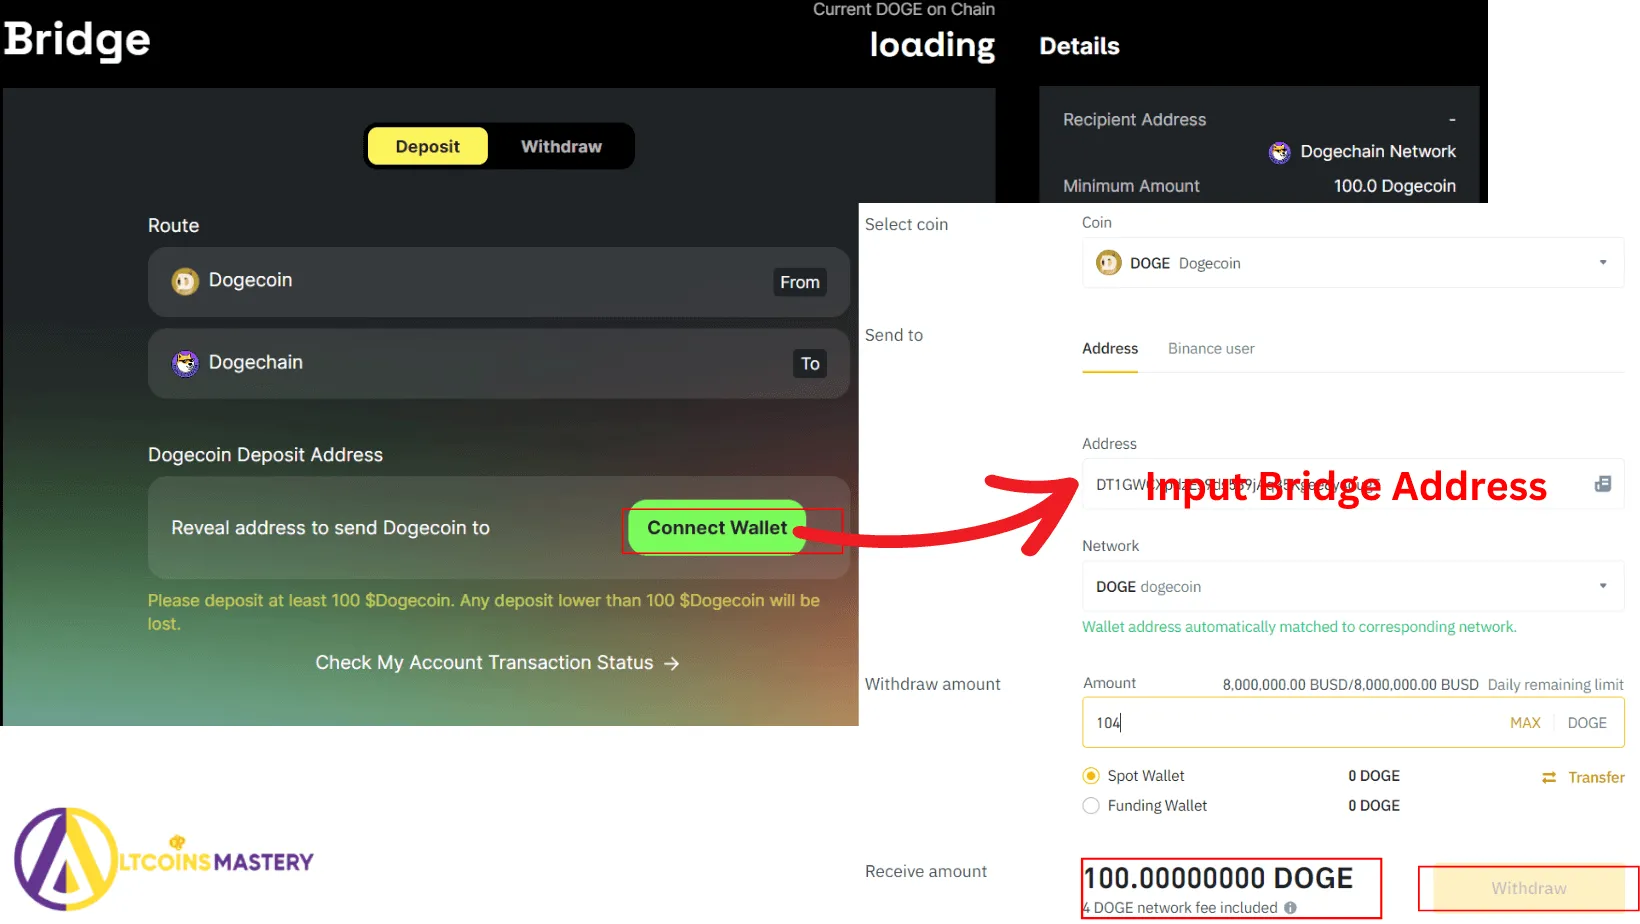
Connect Metamask to the Doge Network
If you want to add Doge to your Metamask wallet, you will need to connect it to the Doge network. Here is a step-by-step guide to help you do just that:
Step 1: Open your Metamask extension in your browser and ensure that you are logged in.
Step 2: Click on the network dropdown to open the network selection menu.
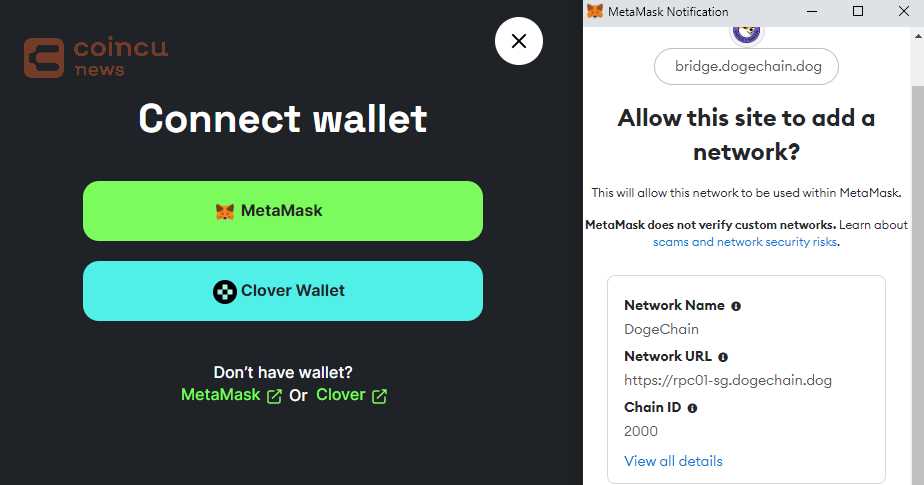
Step 3: Scroll down to the bottom of the network selection menu and click on “Custom RPC”.
Step 4: In the “New RPC URL” field, enter the Doge network RPC URL: https://doge-rpc.dogec.io/
Step 5: Click on “Save” to add the Doge network to your Metamask wallet.
Step 6: After saving, you will see the Doge network appear in the network selection dropdown. Select it to switch to the Doge network.
Step 7: Congratulations! Your Metamask wallet is now connected to the Doge network. You can now receive and send Doge tokens using your Metamask wallet.
Note: You may need to add Doge tokens as a custom token in Metamask to view your balance and perform transactions.
By following these simple steps, you can easily connect your Metamask wallet to the Doge network and start using your Doge tokens without any hassle.
Select the Doge Network
To add the Doge network to your MetaMask wallet, you need to follow these steps:
Step 1: Open MetaMask
Open your MetaMask wallet by clicking on the MetaMask extension icon in your browser toolbar. If you haven’t installed MetaMask yet, you can download it from the official website and set up a wallet.
Step 2: Access the Settings
In MetaMask, click on the account avatar icon in the top right corner to open the account menu. From the menu, select “Settings”.
Step 3: Network Selection

In the Settings page, scroll down to the “Networks” section. Click on “Networks” to access the network selection options.
A table with the list of available networks will appear. The first listed network is the Ethereum Mainnet.
| Network Name | Network URL |
|---|---|
| Ethereum Mainnet | https://mainnet.infura.io/v3/YOUR_INFURA_PROJECT_ID |
| Ropsten Test Network | https://ropsten.infura.io/v3/YOUR_INFURA_PROJECT_ID |
| Rinkeby Test Network | https://rinkeby.infura.io/v3/YOUR_INFURA_PROJECT_ID |
| Goerli Test Network | https://goerli.infura.io/v3/YOUR_INFURA_PROJECT_ID |
| Kovan Test Network | https://kovan.infura.io/v3/YOUR_INFURA_PROJECT_ID |
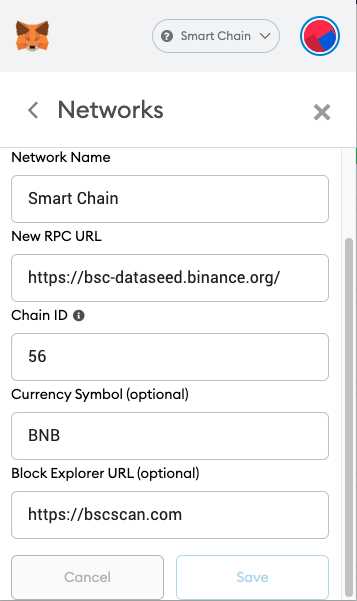
To add the Doge network, click on “Add Network” at the bottom of the table.
A form will appear where you can input the following information:
- Network Name: Doge Network
- New RPC URL: https://dogetestnet3.bloks.io/
- Chain ID: 1
- Symbol: DOGE
- Block Explorer URL: https://dogetestnet3.bloks.io/
After filling in the necessary information, click on “Save”. The Doge network will now be added to your MetaMask wallet.
Add the Doge Token

To add the Doge token to your MetaMask wallet, follow the steps below:
- Open the MetaMask extension and make sure you are on the main wallet page.
- Click on the “Assets” tab at the top of the page.
- Scroll down and click on the “Add Token” button.
- From the “Search Tokens” tab, type “Doge” in the search bar.
- A list of tokens will appear, select the “Doge” token with the correct symbol and contract address.
- Click on the “Next” button.
- Review the token details and click on the “Add Tokens” button.
Once you have completed these steps, the Doge token will be added to your MetaMask wallet and you will be able to view your Doge balance and perform transactions with it.
Frequently Asked Questions:
What is Metamask?
Metamask is a cryptocurrency wallet that allows users to store, send, and receive various digital assets on the Ethereum blockchain.
Can I use Metamask to store other cryptocurrencies?
Yes, you can use Metamask to store a variety of cryptocurrencies as long as they are on the Ethereum blockchain. Metamask supports a wide range of ERC-20 tokens, which are tokens built on the Ethereum platform.
Are there any fees associated with adding Doge to Metamask?
Adding Doge to Metamask itself does not incur any fees. However, when you send or receive Doge tokens, there may be transaction fees involved on the Ethereum network. These fees are determined by the network congestion and can vary.
+ There are no comments
Add yours