


If you are new to the world of cryptocurrency and are looking to dive into the world of decentralized finance, then Metamask is a must-have tool. Metamask is a popular browser extension wallet that allows you to interact with Ethereum and other compatible blockchains.
One common requirement for using Metamask is to import your existing wallet into the extension. This can be a bit daunting, especially for those who are not familiar with the technical aspects of cryptocurrency. But fear not! In this step-by-step guide, we will walk you through the process of importing your wallet to Metamask.
Before we begin, it is important to note that Metamask supports various wallet formats. Whether you have a mnemonic phrase, a private key, or a JSON file, you can import your wallet into Metamask with ease. So, let’s get started!
A Simple Guide to Importing Your Wallet to Metamask
If you want to use the Metamask wallet for your cryptocurrency transactions, you’ll need to import your existing wallet into it. Here’s a step-by-step guide to help you through the process:
- First, ensure that you have Metamask installed on your browser. If not, visit the Metamask website and install it.
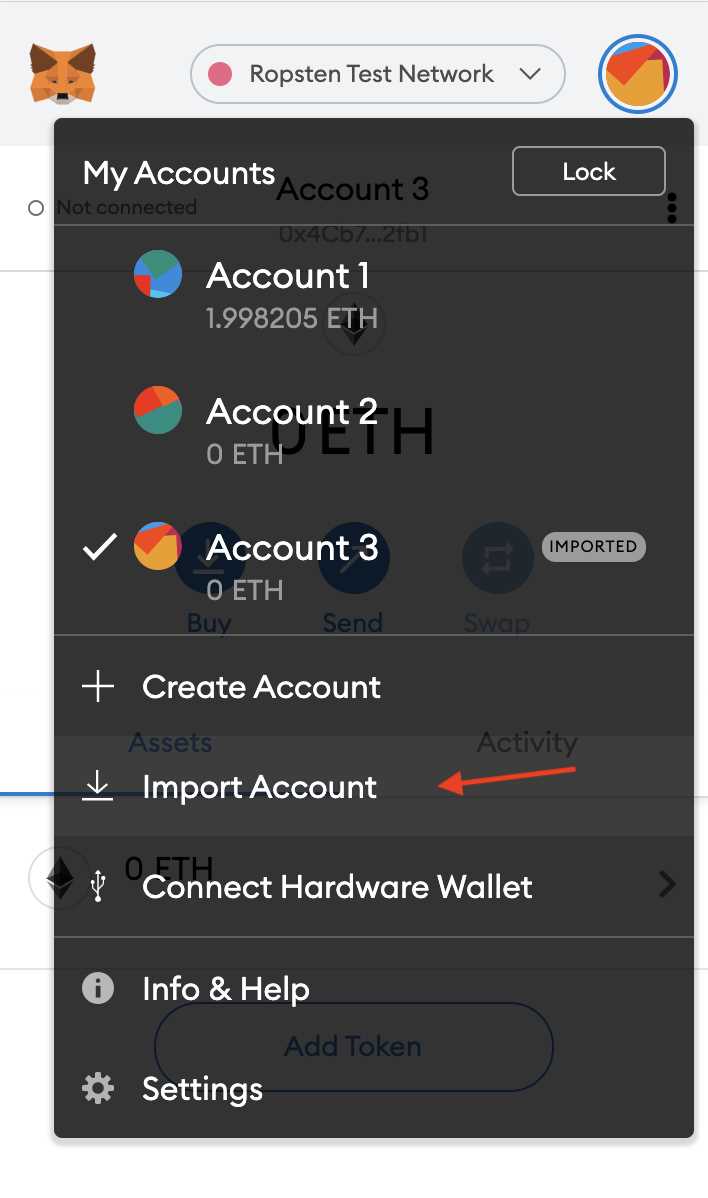
- Open the Metamask extension in your browser and click on the menu icon in the top-right corner.
- Select “Import Account” from the dropdown menu.
- You’ll be presented with different options to import your wallet. Choose the option that matches the type of wallet you have.
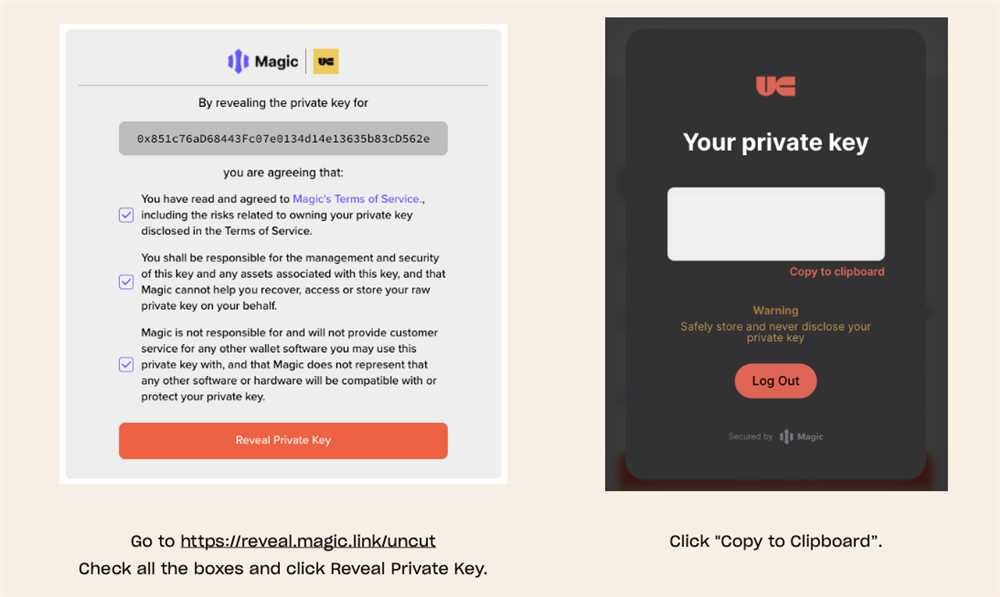
- If you have a seed phrase or private key, select “Import using seed phrase” or “Import using private key,” respectively. Enter the required information and click “Import.”
- If you have a JSON file, select “Import using file.” Browse your computer to find the file and click “Import.”
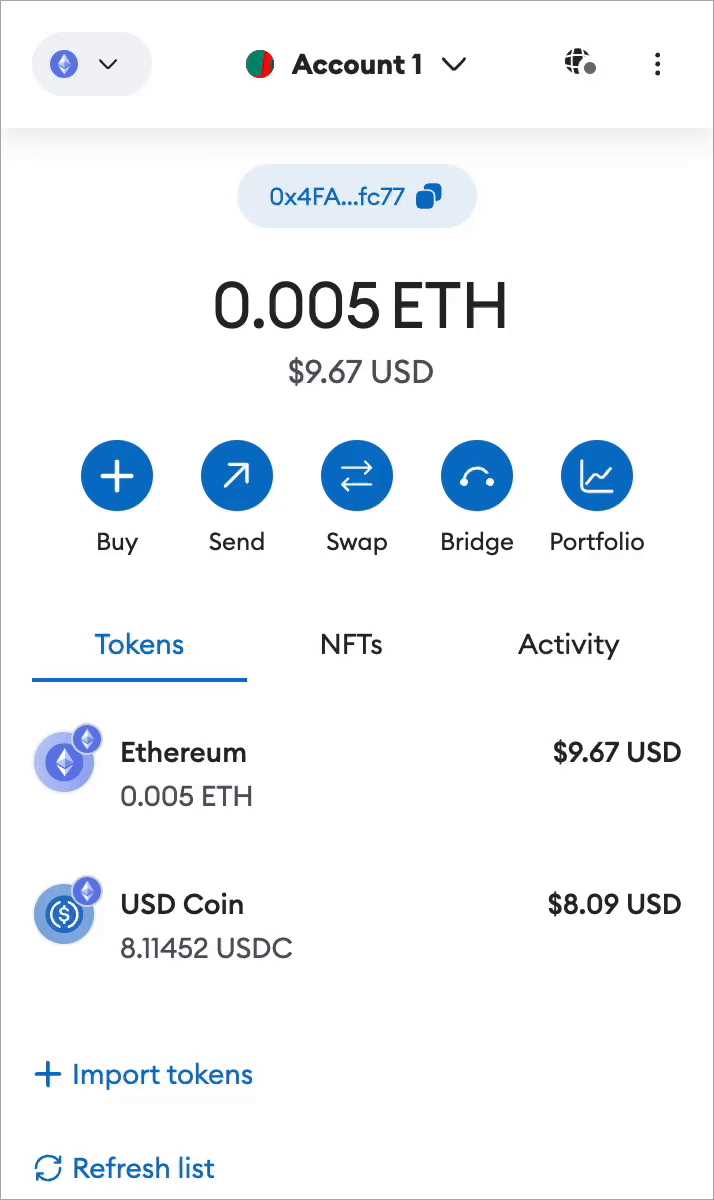
- Metamask will import your wallet and display the associated accounts. Review the accounts and make sure they match your expectations.
- You’re all set! Now you can use your imported wallet to manage your cryptocurrency transactions using Metamask.
Remember to keep your wallet information secure and never share it with anyone. With this simple guide, you can easily import your wallet to Metamask and start using it for all your cryptocurrency needs.
Step 1: Install the Metamask Extension
To begin importing your wallet to Metamask, you will first need to install the Metamask extension in your web browser. Follow the steps below to install Metamask:
- Open your web browser.
- Go to the Metamask website at https://metamask.io/.
- Click on the “Get Chrome Extension” button if you are using Google Chrome, or “Get Firefox Add-on” if you are using Mozilla Firefox.
- You will be redirected to the Chrome Web Store or Firefox Add-ons page. Click on the “Add to Chrome” or “Add to Firefox” button to start the installation.
- Once the installation is complete, a small fox icon will appear in your browser’s toolbar.
- Click on the fox icon to open the Metamask extension.
- Follow the on-screen prompts to set up your Metamask wallet.
- Create a new password and write it down in a safe place. This password will be required to access your wallet in the future.
- Click on “Create” to create a new wallet.
- Read and accept the Terms of Use and Privacy Policy.
- You are now ready to import your existing wallet to Metamask!
Once you have installed and set up the Metamask extension, you can proceed to the next step to import your wallet.
Step 2: Create a New Wallet
After installing Metamask on your browser, the next step is to create a new wallet. Follow the instructions below to create your wallet:
1. Open Metamask
To open Metamask, click on the Metamask logo extension in your browser. If you don’t see the logo, click on the extension button in your browser’s toolbar and look for the Metamask icon.
2. Accept Terms of Use
When you open Metamask, you will be presented with the terms of use. Make sure to read and understand the terms, then click on the “Accept” button to continue.
3. Create a New Wallet
On the Metamask welcome screen, click on the “Create a Wallet” button. This will initiate the wallet creation process.
4. Set a Strong Password
Enter a strong password for your wallet. Make sure to choose a password that is difficult for others to guess but easy for you to remember. It is important to choose a strong password to protect your wallet and funds.
5. Create a Seed Phrase
Metamask will generate a seed phrase consisting of 12 random words. This seed phrase is a backup for your wallet and can be used to recover your funds in case you lose access to your wallet. Write down the seed phrase and keep it in a safe place. Do not share it with anyone.
6. Confirm Seed Phrase
To confirm your seed phrase, Metamask will ask you to select the words in the correct order. Select the words in the order they were shown to you during the wallet creation process. This step ensures that you have correctly written down your seed phrase.
Congratulations! You have successfully created a new wallet in Metamask. In the next step, we will import your existing wallet into Metamask.
Step 3: Import Your Existing Wallet
Now that you have installed MetaMask, it’s time to import your existing wallet into the extension. Importing your wallet allows you to access and manage your existing Ethereum accounts directly from MetaMask.
1. Open MetaMask
Click on the MetaMask icon in your browser’s extension toolbar to open the MetaMask extension.
2. Click on the Sign In button
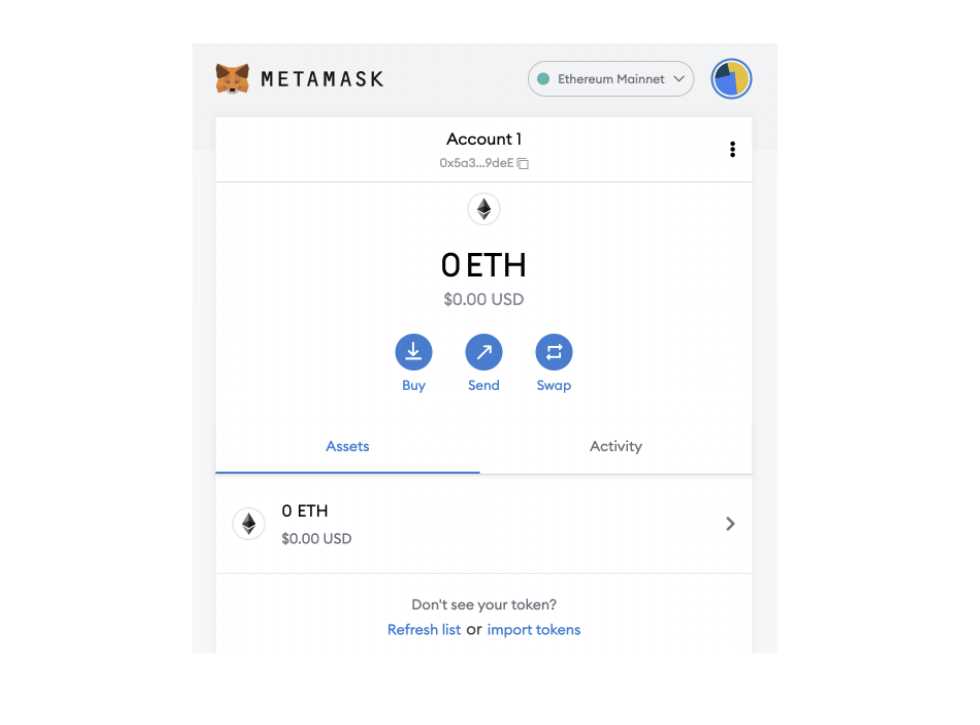
On the MetaMask home screen, click on the “Sign In” button to start the wallet import process.
3. Select Import Wallet
From the Sign In screen, select the “Import Wallet” option to import your existing wallet.
4. Enter Your Wallet Details
Enter the required wallet details, including your wallet’s seed phrase or private key. Make sure to double-check the information you enter to avoid any errors.
5. Set a Password
Choose a strong password to secure your MetaMask wallet. This password will be used to encrypt your wallet’s private keys, so make sure it’s something you can remember but difficult for others to guess.
6. Confirm Your Wallet Import
After entering your wallet details and setting a password, click on the “Import” button to confirm and import your wallet into MetaMask.
Congratulations! You have successfully imported your existing wallet into MetaMask. Now you can use MetaMask to manage your Ethereum accounts and interact with decentralized applications.
Frequently Asked Questions:
What is Metamask?
Metamask is a cryptocurrency wallet that allows users to store, manage, and interact with their digital assets on the Ethereum blockchain.

+ There are no comments
Add yours