


Are you new to the world of Ethereum and looking to buy some ETH for your Metamask wallet? Look no further! This step-by-step guide will walk you through the process of purchasing Ethereum and transferring it to your Metamask wallet to start your journey in the decentralized world.
Metamask is a popular browser extension wallet that allows you to interact with Ethereum-based decentralized applications (DApps) directly from your browser. But before you can dive into the world of DApps, you’ll need to have some ETH in your wallet.
Step 1: Choose a cryptocurrency exchange. There are numerous exchanges where you can buy Ethereum, such as Coinbase, Binance, Kraken, and many more. Choose an exchange that suits your needs and sign up for an account.
Step 2: Complete the verification process. To comply with regulations, most exchanges require you to verify your identity. This usually involves providing your personal information and submitting some documents. Once your account is verified, you can proceed to the next step.
Step 3: Deposit funds. After your account is verified, you’ll need to deposit funds into your exchange account. Depending on the exchange, you can deposit fiat currency (like USD or EUR) or other cryptocurrencies and then convert them into ETH.
Step 4: Buy ETH. Now that you have funds in your exchange account, it’s time to buy some Ethereum. Go to the trading section of the exchange and place a buy order for ETH. Specify the amount you want to buy and review the transaction details before confirming the purchase.
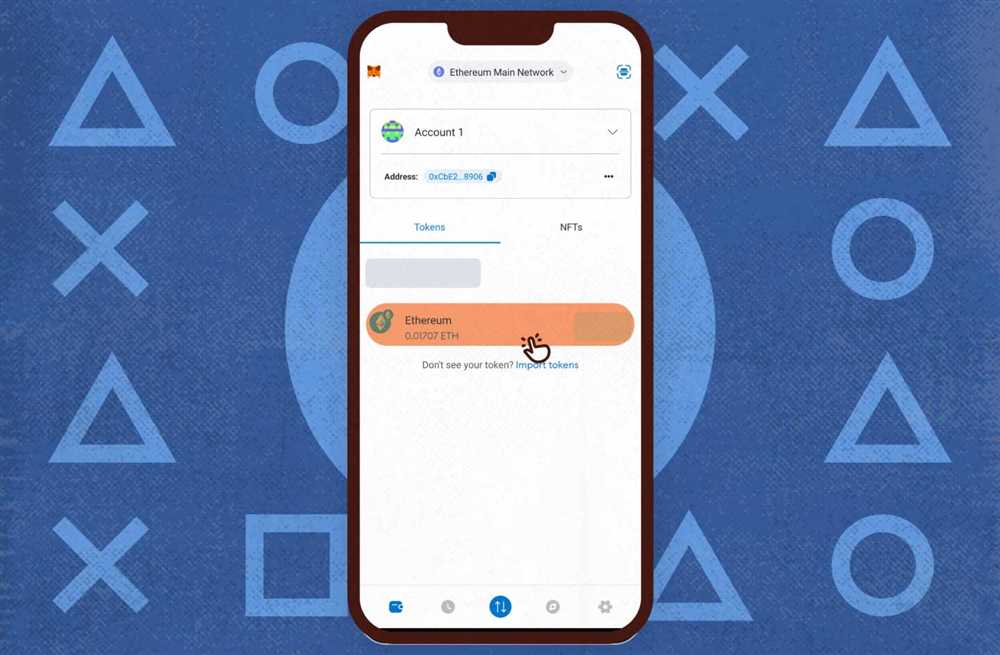
Step 5: Transfer ETH to your Metamask wallet. Once you have successfully purchased Ethereum, it’s time to transfer it to your Metamask wallet. Open your Metamask wallet, copy your wallet address, and go back to the exchange. Withdraw the ETH from the exchange and paste your Metamask wallet address as the destination for the transfer.
Step 6: Confirm the transaction. After initiating the withdrawal, you may need to wait for a confirmation from the exchange. This process can take some time, depending on the network congestion. Once the transaction is confirmed, you will see the ETH in your Metamask wallet.
Congratulations! You have successfully bought ETH for your Metamask wallet. Now you can explore the world of decentralized finance, NFTs, and other exciting Ethereum-based applications. Remember to always exercise caution and do thorough research before engaging in any transactions.
Why Buy ETH for Metamask?
Metamask is a popular cryptocurrency wallet and browser extension that allows users to interact with decentralized applications (dApps) built on the Ethereum blockchain. To fully utilize the functionalities of Metamask, it is necessary to have Ether (ETH) in your wallet.
1. Access to Decentralized Finance (DeFi) Applications
DeFi has been one of the hottest areas in the cryptocurrency space, offering various financial services without the need for traditional intermediaries. By buying ETH for Metamask, you gain access to a vast array of DeFi applications such as lending, borrowing, decentralized exchanges, and yield farming.
2. Participate in Initial Coin Offerings (ICOs) and Token Sales
Many projects in the blockchain space raise funds through ICOs or token sales. These events often require participants to contribute Ether (ETH) to purchase the project’s tokens. By having ETH in your Metamask wallet, you can participate in these fundraising events and potentially secure early access to promising projects.
| Benefits of Buying ETH for Metamask |
|---|
| 1. Enables access to DeFi applications |
| 2. Participate in ICOs and token sales |
| 3. Interact with Ethereum-based dApps |
| 4. Store and manage your digital assets securely |
Furthermore, Metamask allows users to interact with a wide range of Ethereum-based decentralized applications (dApps). Whether you want to play blockchain games, join decentralized social networks, or explore decentralized identity solutions, having ETH for your Metamask wallet opens the door to a world of possibilities.
Lastly, owning ETH in your Metamask wallet ensures that you can store and manage your digital assets securely. Metamask has robust security measures in place, including seed phrases and password protection, to keep your funds safe.
In conclusion, buying ETH for Metamask provides you with access to DeFi applications, opportunities to participate in ICOs and token sales, the ability to interact with Ethereum-based dApps, and a secure way to store and manage your digital assets. It’s an essential step for anyone looking to make the most of the Ethereum ecosystem.
Step 1: Get a Metamask Wallet
Before you can buy ETH for Metamask, you first need to have a Metamask wallet. Metamask is a browser extension that allows you to manage your Ethereum digital assets, including ETH, and interact with decentralized applications (dapps) on the Ethereum network.
To get started, follow these steps:
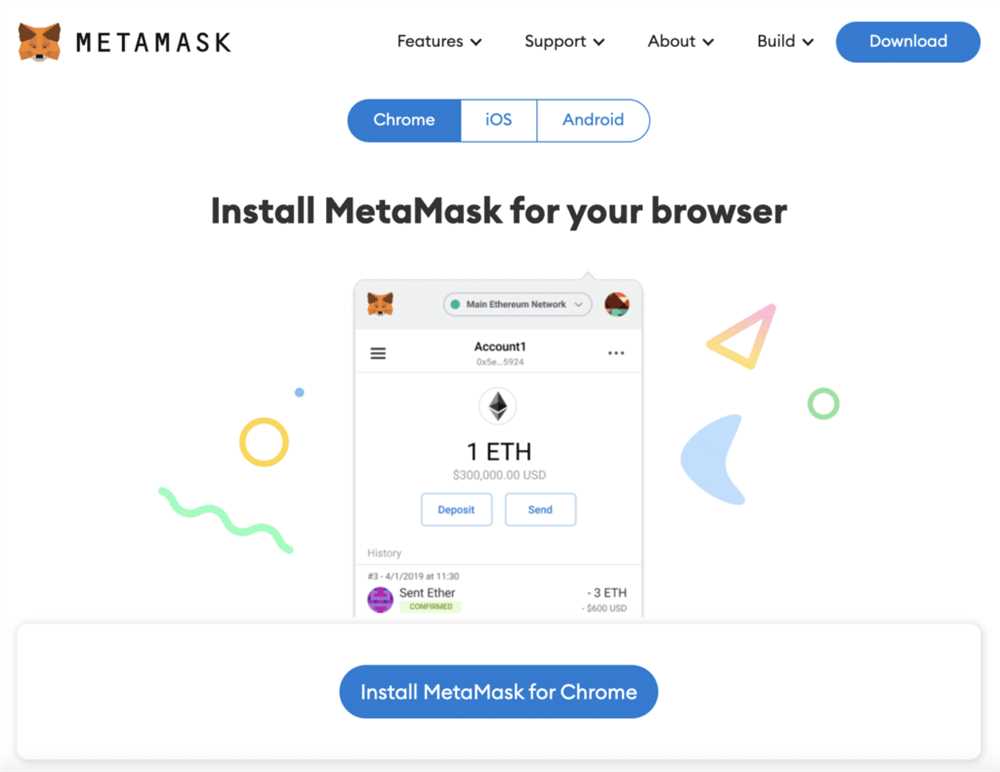
- Open your preferred web browser (such as Chrome or Firefox) and go to metamask.io.
- Click on the “Get Chrome Extension” button if you are using Google Chrome or the “Get Firefox Extension” button if you are using Firefox.
- This will redirect you to the respective web store for your browser. Click on the “Add to Chrome” or “Add to Firefox” button.
- You will see a pop-up notification asking for confirmation to add the extension. Click on “Add extension” to proceed.
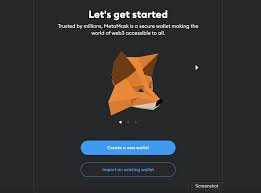
- Once the extension is installed, you will see the Metamask fox icon added to your browser’s toolbar.
- Click on the Metamask fox icon and then click on “Create a Wallet” to proceed with setting up your Metamask wallet.
- Follow the on-screen instructions to create a new wallet. This includes setting up a password and agreeing to the terms of service.
- After creating your wallet, you will be provided with a secret backup phrase. It is crucial to write this down and keep it in a safe place, as it can be used to restore your wallet if you ever lose access to it.
- Read and understand the information on the next screen, which includes important security tips and reminders. Then, click on “I’ve copied it somewhere safe” to proceed.
- Finally, you will be taken to your Metamask wallet interface, where you can view your account address, balance, and perform various actions.
Congratulations! You have successfully obtained a Metamask wallet. You are now ready to proceed with buying ETH for your wallet.
Step 2: Connect Your Wallet to an Exchange
Now that you have set up your Metamask wallet, the next step is to connect it to a cryptocurrency exchange where you can buy Ethereum (ETH). This process allows you to transfer funds from your wallet to the exchange and vice versa.
Here’s how you can connect your Metamask wallet to an exchange:
1. Choose a Cryptocurrency Exchange
There are several reputable exchanges where you can buy Ethereum. Some popular options include Binance, Coinbase, and Kraken. Research the exchanges to find the one that suits your needs in terms of security, fees, and availability in your country.
2. Sign up and Complete Verification
Create an account on the chosen exchange and go through their verification process. This usually involves providing your personal information and submitting proof of identification.
Note: Some exchanges may have restrictions or specific requirements depending on your country of residence.
3. Add Ethereum (ETH) to Your Wallet

Once your account is verified, you will need to deposit funds into the exchange. Look for the option to deposit Ethereum (ETH) into your account. Copy the deposit address provided by the exchange.
Important: Make sure you select the Ethereum (ETH) wallet in your Metamask extension before proceeding further.
4. Connect Metamask to the Exchange

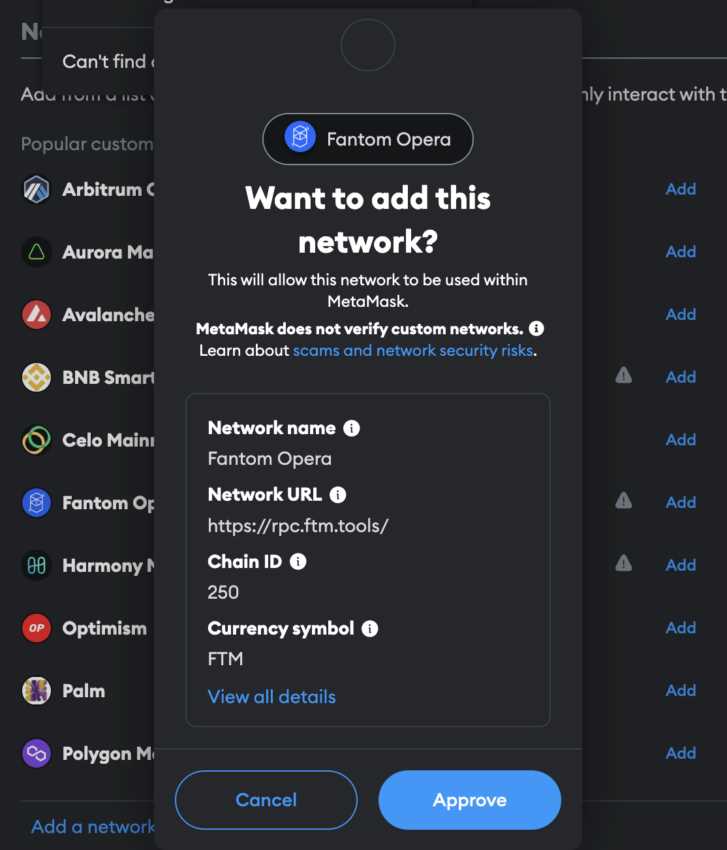
Go to your Metamask wallet and click on the browser extension. In the Metamask window, click on the network selection dropdown and choose the network supported by the exchange (e.g., Ethereum Mainnet).
Now, navigate back to the exchange and find the option to connect a wallet. Select Metamask as your wallet provider and authorize the connection.
5. Transfer Funds
Once Metamask is connected to the exchange, go to the withdrawal or transfer section on the exchange platform. Fill in the withdrawal details, including the amount of Ethereum (ETH) you want to transfer and the recipient address (your Metamask deposit address).
Double-check the recipient address to avoid any mistakes, as cryptocurrency transactions are irreversible.
Note: The transfer may take some time to complete, depending on the network congestion and transaction fees.
By following these steps, you have successfully connected your Metamask wallet to an exchange and can now proceed to buy Ethereum (ETH) using the funds in your wallet.
+ There are no comments
Add yours