


If you’re interested in exploring the world of decentralized finance (DeFi) or non-fungible tokens (NFTs), you’ve likely come across the term “Polygon Network”. Polygon, formerly known as Matic Network, is a popular Ethereum scaling solution that aims to improve the scalability and usability of Ethereum. By connecting your Metamask wallet to the Polygon Network, you can access a whole new range of dApps and services that operate on this network.
Setting up Metamask to connect to the Polygon Network is a simple process that can be completed in just a few steps. First, make sure you have the latest version of Metamask installed on your browser. If you don’t have it installed, you can download it from the Metamask website and add it as an extension to your preferred browser.
Once you have Metamask installed, open the extension and click on the network icon at the top right corner of the window. From the drop-down menu, select “Custom RPC” to add a new network. In the “New RPC URL” field, enter the following URL: https://rpc-mainnet.maticvigil.com/. Give the network a name, such as “Polygon” or “Matic”, and click on the “Save” button.
After saving the network, you will see the new network listed in the network dropdown menu. Select the Polygon network from the list, and you’re ready to start using your Metamask wallet on the Polygon Network. You can now explore various dApps, trade tokens, and interact with smart contracts on this network.
Remember that when you’re connected to the Polygon Network, your wallet’s ETH balance will be different from your Ethereum Mainnet balance. Polygon has its own native cryptocurrency called MATIC, which you can use to pay for transaction fees on the network. Make sure to monitor your balances correctly and have enough MATIC to cover the gas fees for your transactions.
Connecting Metamask to the Polygon Network opens up a world of opportunities in the expanding realm of decentralized finance. By following these simple steps, you can unlock the full potential of the Polygon Network and take advantage of its fast and cheap transactions. Start exploring the exciting world of Polygon today!
Installing and Setting Up Metamask
MetaMask is a popular cryptocurrency wallet that allows users to interact with decentralized applications (dApps) on the Ethereum blockchain. To connect MetaMask to the Polygon network, follow these steps:
- Install MetaMask on your preferred web browser by visiting the official website at https://metamask.io/.
- Click on the “Get Chrome Extension” or “Get Firefox Extension” button, depending on your browser.
- Follow the on-screen instructions to add MetaMask to your browser. Once installed, you will see the MetaMask icon in your browser toolbar.
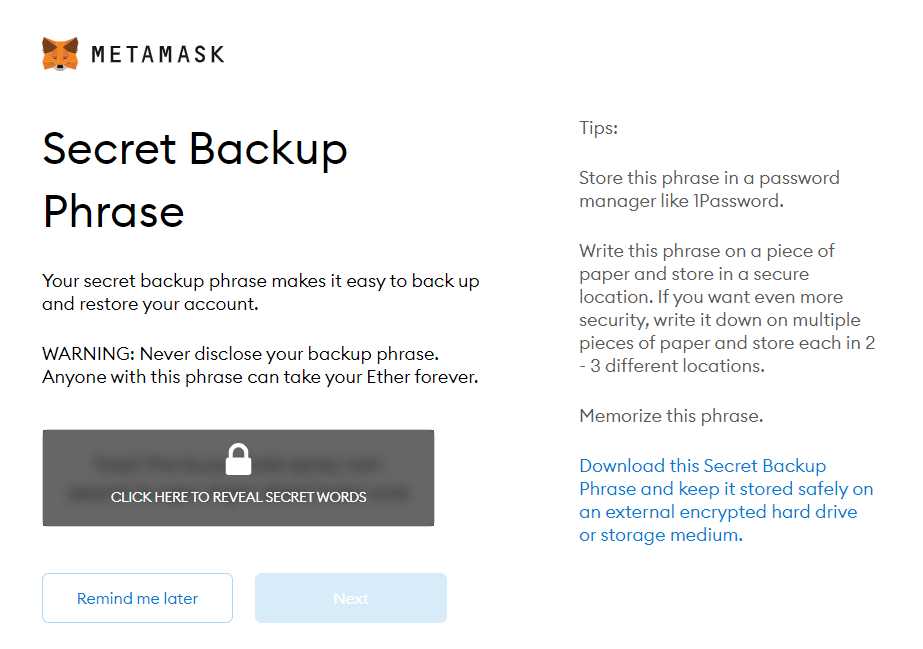
- Click on the MetaMask icon and select “Create a Wallet” to create a new wallet. Set up a strong password and backup your secret recovery phrase in a safe place. This recovery phrase is crucial for restoring your wallet.
- Once your wallet is created, click on the account icon in the top right corner of the MetaMask interface and select “Custom RPC” from the dropdown menu.
- In the “Network Name” field, enter “Polygon” and in the “New RPC URL” field, enter “https://rpc-mainnet.matic.network”. Click “Save” to add the Polygon network to your MetaMask.
- Now you should see “Polygon” as an option in the network dropdown menu. Select “Polygon” to switch to the Polygon network.
- To add funds to your Polygon wallet, you’ll need to transfer some ETH to your MetaMask Ethereum wallet. You can use a cryptocurrency exchange to buy ETH and then send it to your MetaMask Ethereum address.
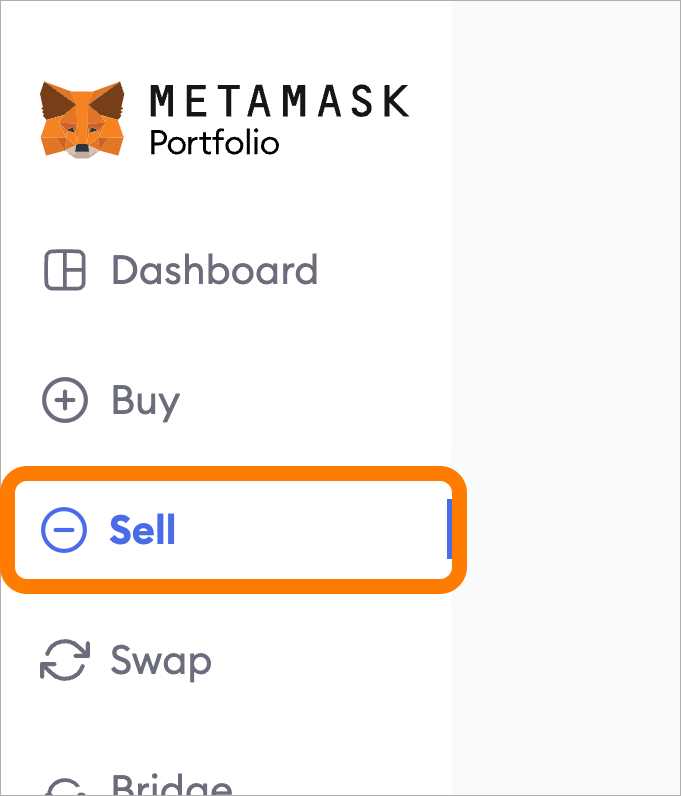
- Once you have ETH in your MetaMask Ethereum wallet, you can use the “Bridge” or “Transfer” feature in the MetaMask interface to move your ETH from Ethereum to the Polygon network.
- After completing the transfer, you can now interact with dApps on the Polygon network using your MetaMask wallet.
Congratulations! You have successfully installed and set up MetaMask to connect to the Polygon network. You are now ready to explore the world of decentralized finance (DeFi) and other exciting applications on Polygon.
Adding Polygon Network to Metamask
In order to connect Metamask to the Polygon Network, follow these steps:
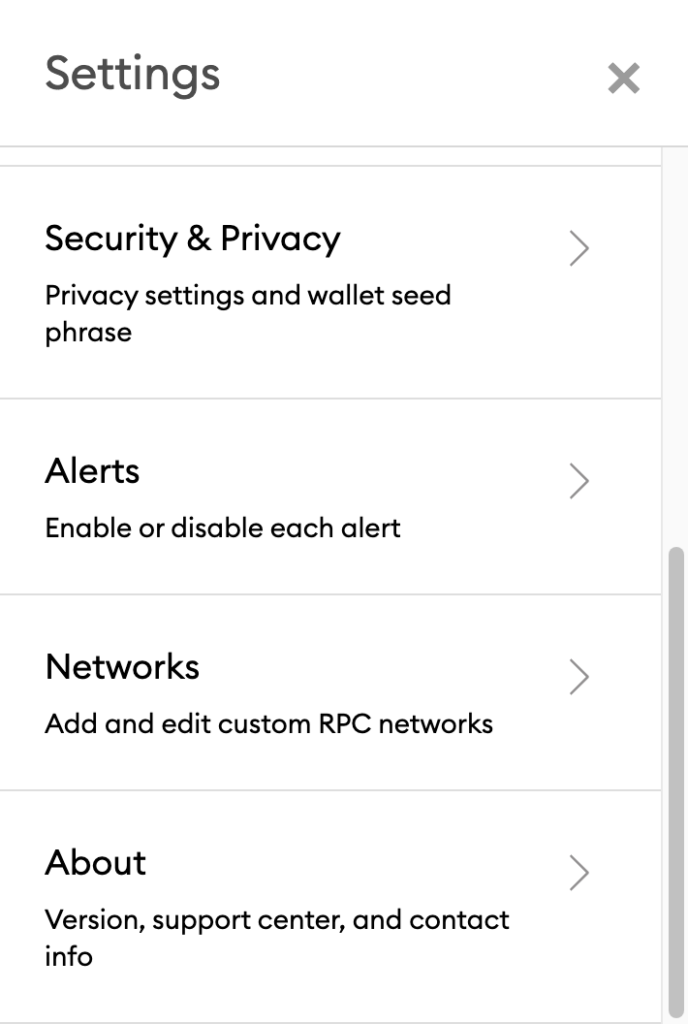
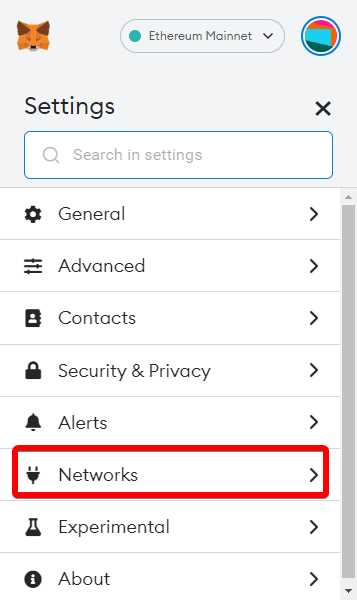
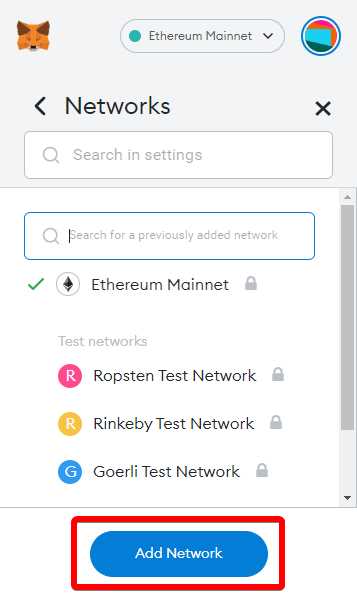
- Open Metamask and click on the network dropdown in the top right corner.
- Scroll down and click on “Custom RPC”.
- Enter the following details for the Polygon Mainnet:
- Network Name: Polygon Mainnet
- New RPC URL: https://rpc-mainnet.matic.network
- Chain ID: 137
- Symbol: MATIC
- Block Explorer URL: https://explorer.matic.network
- Click on “Save”.
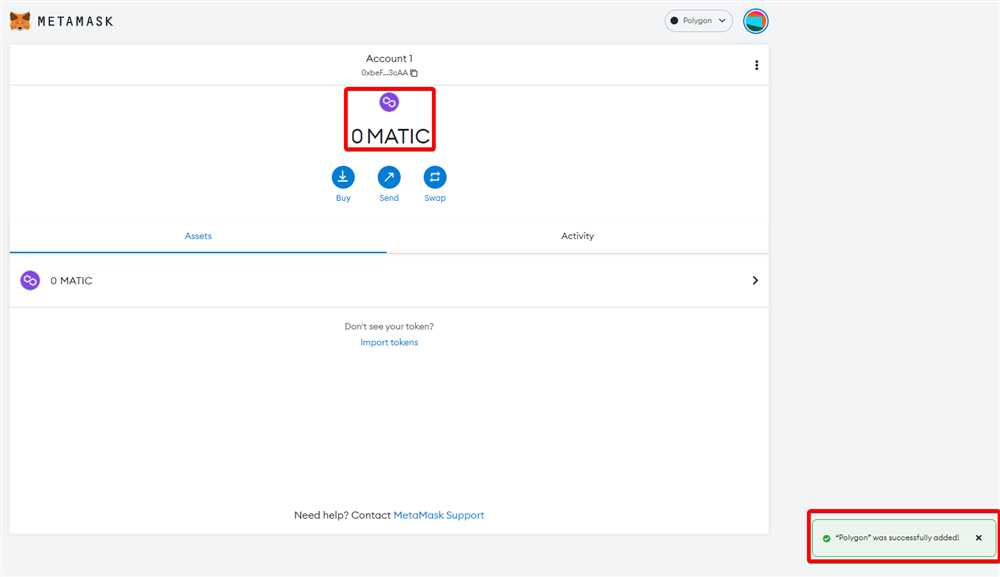
- Now you should see the Polygon Mainnet network option in the network dropdown.
By following these steps, you have successfully added the Polygon Network to Metamask. Make sure to select the Polygon Mainnet network whenever you want to interact with the Polygon ecosystem.
Transferring Funds and Interacting with Polygon Network Applications
Once you have successfully connected your Metamask wallet to the Polygon Network, you can start transferring funds and interacting with various Polygon Network applications. In this guide, we will walk you through the steps for transferring funds and interacting with these applications.
Transferring Funds
To transfer funds on the Polygon Network, follow these steps:
- Open your Metamask wallet, and ensure that it is connected to the Polygon Network.
- Click on the “Send” button in the wallet interface.
- Enter the recipient’s address in the “Recipient” field.
- Specify the amount of funds you want to transfer in the “Amount” field.
- Choose the desired token from the “Token” dropdown menu.
- Review the transaction details and click on the “Next” button.
- Confirm the transaction by clicking on the “Confirm” button.
- Wait for the transaction to be processed on the Polygon Network.
Once the transaction is confirmed, the recipient will receive the transferred funds on the Polygon Network.
Interacting with Polygon Network Applications
There are various applications available on the Polygon Network that you can interact with. These applications include decentralized exchanges, lending platforms, yield farming protocols, and more. To interact with these applications, follow these steps:
- Choose the desired application you want to interact with.
- Connect your Metamask wallet to the application by clicking on the “Connect Wallet” or similar button.
- Grant necessary permissions requested by the application to access your wallet.
- Once your wallet is connected, you can start using the application as per its functionality.
When interacting with these applications, be cautious and conduct your own research to ensure that they are trustworthy and secure.
| Application | Description |
|---|---|
| Decentralized Exchange | A platform for trading cryptocurrencies directly from your wallet. |
| Lending Platform | A platform that allows you to lend and borrow cryptocurrencies. |
| Yield Farming Protocol | A protocol that enables you to earn rewards by providing liquidity to liquidity pools. |
Remember to exercise caution and do thorough research when using these applications to ensure the security of your funds.
+ There are no comments
Add yours