


Welcome to our step-by-step guide on how to send BTC (Bitcoin) to your Metamask wallet! Metamask is a popular web extension wallet that allows users to interact with decentralized applications (DApps) on the Ethereum blockchain. While primarily designed for Ethereum and ERC-20 tokens, Metamask also supports other cryptocurrencies, including Bitcoin.
Before you can send BTC to your Metamask wallet, you will need to add the Bitcoin network to your wallet. To do this, open the Metamask extension in your web browser and click on the account icon at the top right corner. From the drop-down menu, select “Settings.” In the settings menu, click on “Networks” and then “Add Network.” Enter the following details:
- Network Name: Bitcoin
- New RPC URL: https://rpc.bitcoin.com/
- Chain ID: 1
- Symbol: BTC
- Block Explorer URL: https://www.blockchain.com/btc/
Once you have added the Bitcoin network to your Metamask wallet, you can now proceed with sending BTC to your wallet. Here are the steps:
- Open your Bitcoin wallet or exchange account from where you want to send BTC.
- Locate the option to withdraw or send BTC. This may vary depending on the platform you are using.
- Enter your Metamask wallet address as the recipient. To find your Metamask wallet address, open the extension, click on the account icon, and copy the address.
- Double-check the recipient address to ensure it is correct. Sending BTC to the wrong address can result in permanent loss of funds.
- Specify the amount of BTC you want to send.
- Review the transaction details, including the network fee and estimated arrival time.
- Complete the transaction by confirming the withdrawal or send request.
- Wait for the Bitcoin network to process the transaction. This may take some time, especially if the network is congested.
- Once the transaction is confirmed, you will be able to see the BTC balance in your Metamask wallet.
That’s it! Now you know how to send BTC to your Metamask wallet. Remember to always double-check the recipient address and review the transaction details before confirming the transaction. Happy HODLing!
Creating a BTC Wallet in Metamask
Metamask is a popular Ethereum wallet that allows users to manage their Ethereum assets and interact with Ethereum-based Decentralized Applications (dApps). Although Metamask is primarily designed for Ethereum, it is also possible to create and manage a BTC wallet using this wallet. Follow the step-by-step guide below to create a BTC wallet in Metamask:
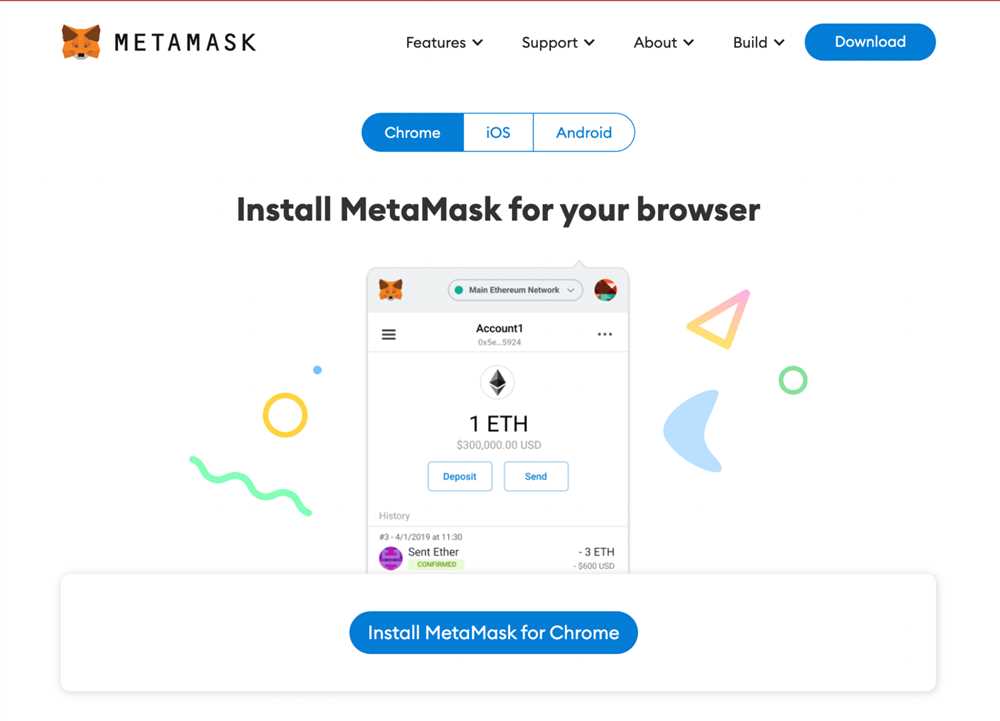
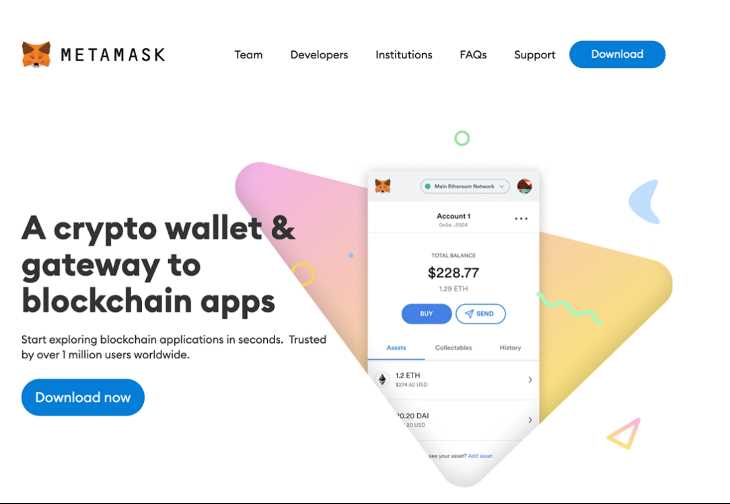
Step 1: Install Metamask
If you haven’t already, start by installing the Metamask extension on your web browser. Metamask is available for Chrome, Firefox, and Brave browsers. Once installed, set up your Metamask wallet by following the on-screen instructions.
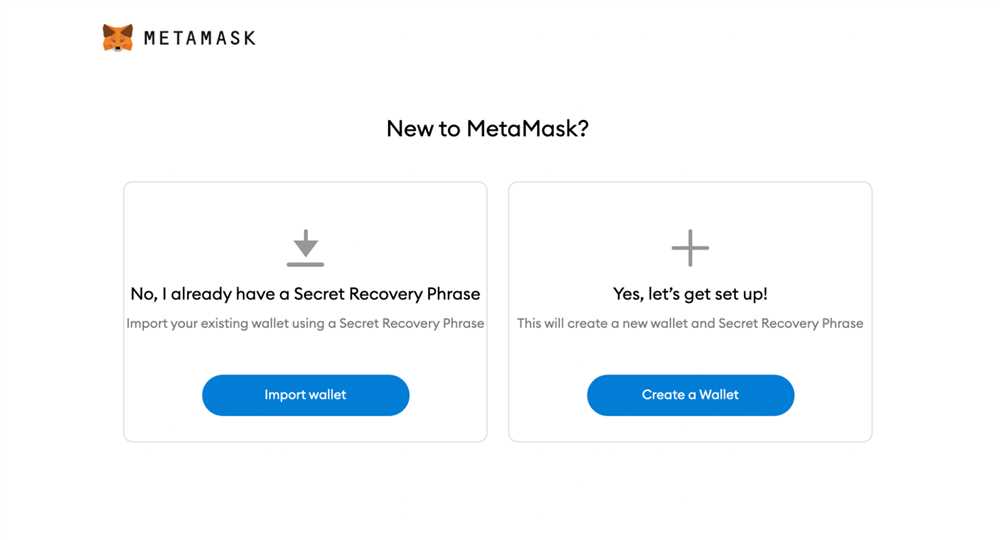
Step 2: Import or Create a Wallet
If you already have a Metamask wallet, you can skip this step. Otherwise, click on the Metamask icon in your browser and select “Create a Wallet” to generate a new wallet. Make sure to securely store your wallet’s backup phrase, as it is the key to accessing your wallet in case you lose your device.
Step 3: Add Custom Network for Bitcoin
By default, Metamask only supports Ethereum networks. To add support for Bitcoin, you need to add a custom network. Click on the network dropdown in Metamask and select “Custom RPC”. Enter the following details for the BTC network:
| Network Name | New RPC URL | Chain ID | Symbol |
|---|---|---|---|
| Bitcoin | https://mainnet.infura.io/v3/YOUR_INFURA_PROJECT_ID | 1 | BTC |
Replace “YOUR_INFURA_PROJECT_ID” with your own Infura project ID. If you don’t have one, sign up on the Infura website to obtain a project ID.
Step 4: Import BTC Wallet
To import your BTC wallet into Metamask, click on the Metamask icon in your browser and select “Import Account”. Choose the “Private Key” option and enter the private key or mnemonic phrase of your BTC wallet. Metamask will import your BTC wallet and display the corresponding BTC balance in your Metamask wallet.
Now you have successfully created a BTC wallet in Metamask and can use it to send, receive, and manage your Bitcoin assets. Keep in mind that although Metamask allows you to interact with Bitcoin, it is primarily designed for Ethereum, so some features may not be available for Bitcoin.
Obtaining the Receiving Address
In order to send BTC to your Metamask wallet, you will need to obtain the receiving address. The receiving address is a unique identifier for your wallet and is used to receive funds. Here are the steps to obtain the receiving address:
Step 1: Open Metamask
First, open your Metamask wallet. You can do this by clicking on the Metamask extension in your browser toolbar and entering your password, if required.
Step 2: Locate the Receiving Address
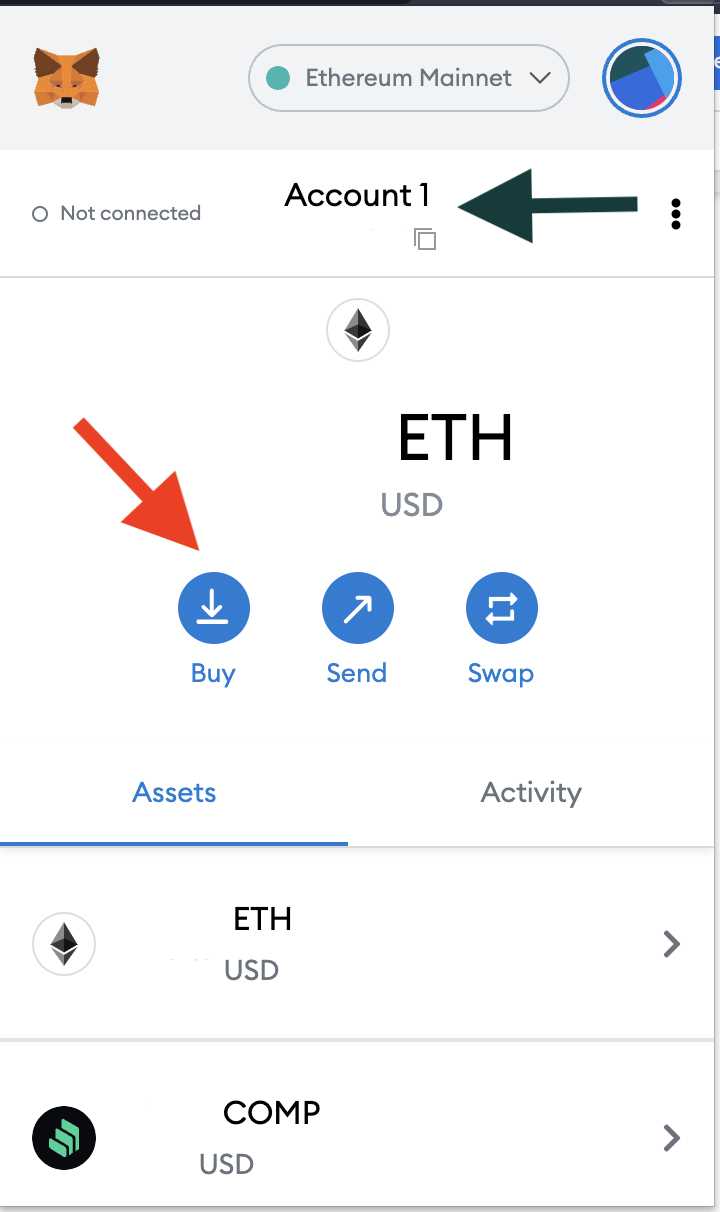
Once you have your wallet open, you will need to locate the receiving address. To do this, click on the account icon in the top right corner of the Metamask window. This will open a dropdown menu with your wallet’s accounts.
There may be multiple accounts listed in the dropdown menu. Ensure that you have selected the correct account for which you want to obtain the receiving address.
Step 3: Copy the Receiving Address
Once you have selected the correct account, you will see the receiving address displayed below the account name. The receiving address is a long string of alphanumeric characters.
To copy the receiving address, simply click on the address and it will be automatically copied to your clipboard. You can also click on the copy icon next to the address to copy it.
Make sure to double-check that you have copied the correct receiving address before proceeding with the transaction.
Once you have obtained the receiving address, you can proceed with sending BTC to your Metamask wallet using this address. Make sure to double-check all the information before initiating the transaction to ensure that the funds are sent to the correct address.
Sending BTC to the Metamask Wallet
If you want to store your Bitcoin (BTC) in your Metamask wallet, you’ll need to follow a few simple steps. Here’s a step-by-step guide on how to send BTC to your Metamask wallet:
Step 1: Obtain Your Metamask Wallet Address
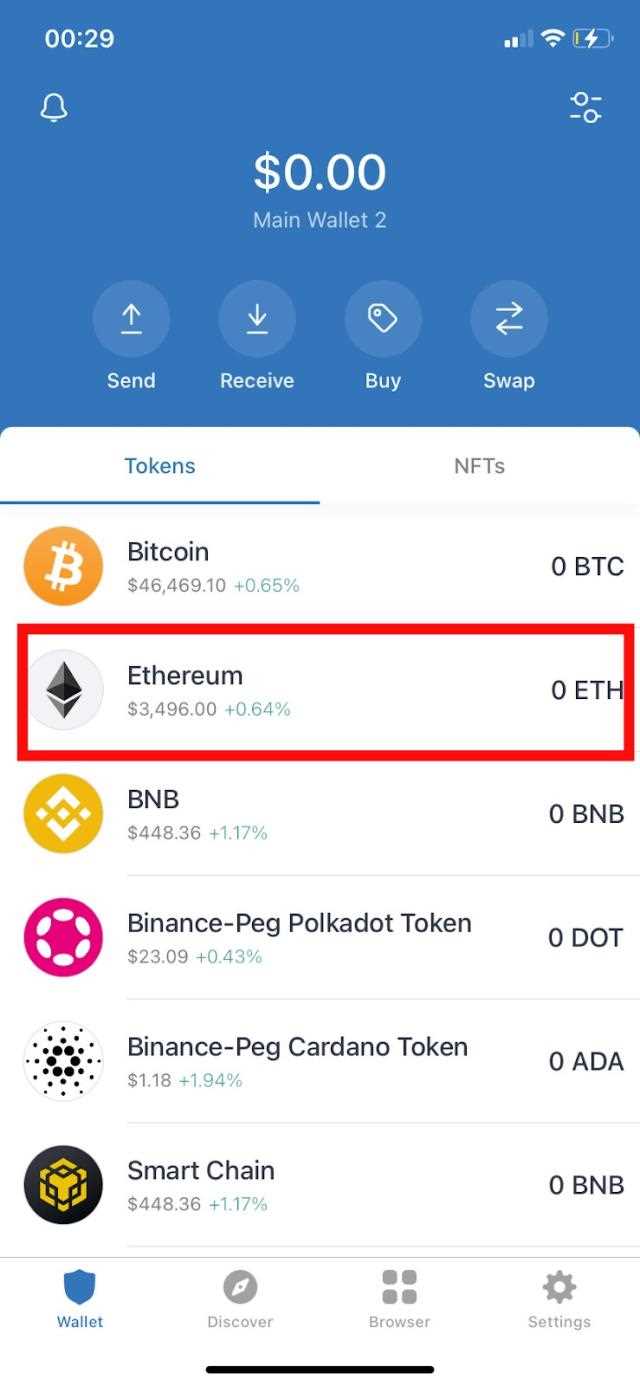
To receive BTC in your Metamask wallet, you’ll first need to make sure you have a Bitcoin wallet address generated by your Metamask wallet. Open your Metamask wallet and navigate to the “Assets” tab. Select “Bitcoin” from the list of available assets. Then, click on “Receive” to find your BTC wallet address. Copy this address to your clipboard.
Step 2: Choose Your BTC Wallet
Next, you need to choose the Bitcoin wallet that you want to send BTC from. This can be any compatible BTC wallet, such as an exchange wallet or another software wallet. Open your BTC wallet and locate the “Send” or “Withdraw” option.
Step 3: Enter the Metamask Wallet Address
In your BTC wallet’s “Send” or “Withdraw” section, you’ll be prompted to enter the recipient’s wallet address. Paste the Metamask wallet address that you copied earlier into the appropriate field.
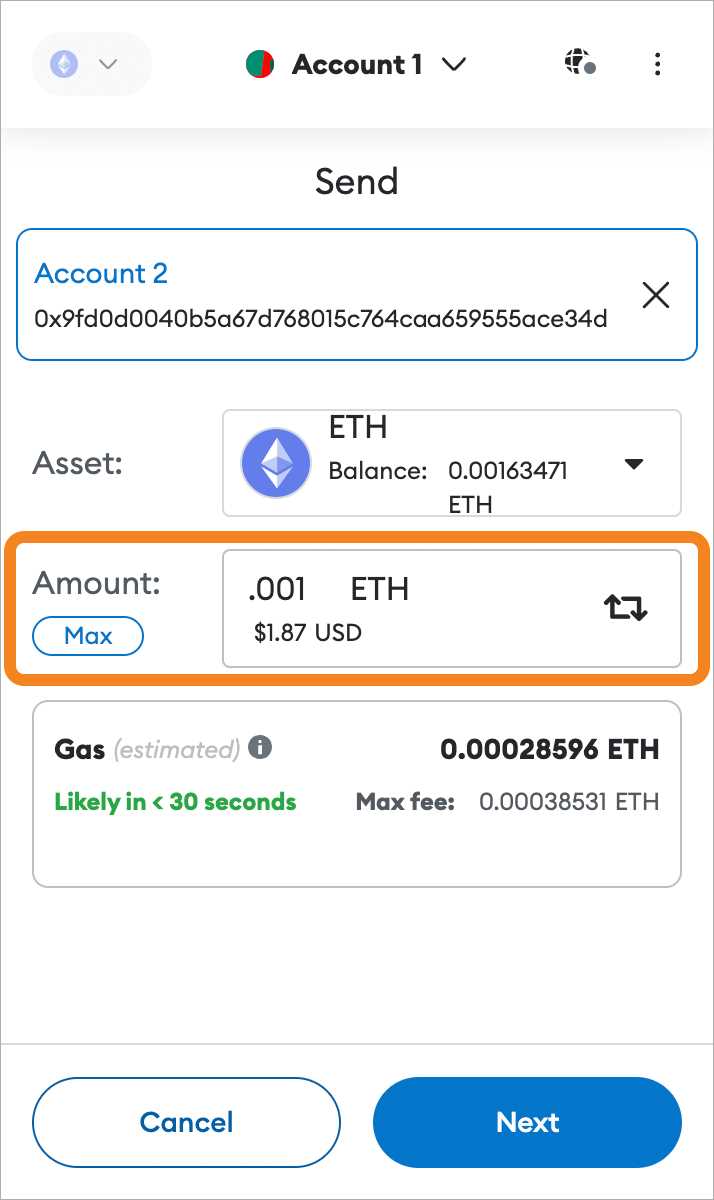
Step 4: Specify the Send Amount
Enter the amount of BTC that you want to send to your Metamask wallet. Make sure to double-check that the amount is accurate before proceeding.
Step 5: Confirm the Transaction
Review all the details of the transaction, including the destination address and the send amount. Once you are certain everything is correct, click on the “Send” or “Confirm” button to initiate the transfer.
Please note that the transaction may take some time to be confirmed on the Bitcoin network. You can track the progress of the transaction by using a blockchain explorer.
Once the transaction is confirmed, you will be able to see the BTC in your Metamask wallet’s “Assets” tab. Congratulations! You have successfully sent BTC to your Metamask wallet.
Remember to always double-check the wallet addresses and amounts to prevent any mistakes or losses. Additionally, make sure to keep your Metamask wallet’s seed phrase and private key secure, as they are essential for accessing and controlling your BTC funds.
Frequently Asked Questions:
What is a Metamask wallet?
A Metamask wallet is a digital wallet that allows users to manage and interact with Ethereum-based decentralized applications (DApps) directly from their web browser.
Can I send Bitcoin to my Metamask wallet?
No, Metamask primarily supports Ethereum and Ethereum-based tokens. It does not directly support Bitcoin. However, there are ways to convert Bitcoin into a compatible token and then send it to your Metamask wallet.
Are there any fees associated with sending BTC to Metamask wallet?
Yes, there are usually fees associated with converting Bitcoin to a compatible token, as well as fees for sending the converted tokens to your Metamask wallet. The fees can vary depending on the cryptocurrency exchange and the network congestion.
Is it safe to send BTC to a Metamask wallet?
While Metamask is generally considered secure, it’s important to note that sending BTC to a Metamask wallet requires additional steps and potentially using third-party services to convert the BTC to a compatible token. It’s crucial to use reputable exchanges and services and to double-check all addresses before making any transactions.

+ There are no comments
Add yours