


If you’re a Mac user looking to dive into the world of decentralized finance (DeFi), Metamask is an essential tool to have in your arsenal. Metamask is a cryptocurrency wallet and browser extension that allows you to securely manage your Ethereum-based assets and interact with decentralized applications (dApps) seamlessly.
In this comprehensive guide, we will walk you through the process of installing and setting up Metamask on your Mac, as well as provide you with a step-by-step tutorial on how to use its key features. Whether you’re a beginner or an experienced crypto enthusiast, this guide will equip you with all the knowledge you need to navigate the Metamask ecosystem with confidence.
Before we dive into the installation process, let’s take a closer look at what Metamask offers. With Metamask, you can store, send, and receive Ethereum and ERC-20 tokens securely. It acts as a bridge between your Mac and the Ethereum network, allowing you to interact with blockchain-based applications directly from your web browser.
Metamask also provides you with a unique Ethereum address, which you can use to receive funds from others or to send funds to other Ethereum addresses. Additionally, it allows you to manage multiple Ethereum accounts, giving you the flexibility to store different assets separately and navigate between them effortlessly.
Why should you use Metamask?
There are several reasons why Metamask has become the go-to wallet for many Mac users. Firstly, it offers a user-friendly interface that makes it easy for beginners to get started with cryptocurrency and DeFi. Its intuitive design and straightforward steps make it accessible to users of all experience levels.
Secondly, Metamask provides enhanced security features to keep your funds and personal information safe. With its encrypted data storage and secure login process, you can rest assured that your assets are protected from unauthorized access.
Lastly, Metamask integrates seamlessly with a wide range of dApps, opening up endless possibilities for you to explore the world of decentralized finance. Whether you want to trade, invest, or participate in token sales, Metamask provides you with a gateway to the thriving ecosystem of decentralized applications.
What is Metamask for Mac?
Metamask for Mac is a cryptocurrency wallet and browser extension that allows you to interact with the Ethereum blockchain. It provides a user-friendly interface for managing your Ethereum accounts, sending and receiving ETH (Ethereum), and interacting with decentralized applications (dApps).
With Metamask, you can securely store your cryptocurrencies, manage multiple accounts, and easily transfer funds between them. It also provides a seamless browsing experience by allowing you to access dApps directly from your browser without the need for separate wallets or plugins.
Metamask is compatible with popular web browsers like Google Chrome and Mozilla Firefox, making it a convenient choice for Mac users. It provides a simplified and intuitive way to interact with the blockchain, even for those who are new to cryptocurrencies.
Key Features of Metamask for Mac:
- Secure Wallet: Metamask uses a password-protected vault to securely store your private keys, ensuring the safety of your funds.
- Multiple Accounts: You can create and manage multiple Ethereum accounts within Metamask, allowing you to separate different types of transactions.
- Transaction History: Metamask keeps a record of all your transactions, making it easy for you to track your activity and stay in control of your funds.
- dApp Browser: Metamask acts as a bridge between your browser and dApps, allowing you to seamlessly interact with decentralized applications.
- Customizable Network Settings: You can easily switch between different Ethereum networks, such as the mainnet, testnets, and private networks, depending on your needs.
- Import and Export: Metamask allows you to import and export your accounts, making it easy to recover your wallet or use it on different devices.
In summary, Metamask for Mac is a powerful tool that enables Mac users to securely manage their Ethereum accounts, interact with dApps, and explore the world of decentralized finance.
A comprehensive guide to Metamask for Mac
Metamask is a popular cryptocurrency wallet and browser extension that allows users to securely manage their Ethereum and ERC20 tokens. If you are using a Mac, this guide will walk you through the process of setting up and using Metamask on your device.
Step 1: Download and install Metamask
To get started, you need to download and install the Metamask application on your Mac. Visit the official Metamask website and download the Mac version of the application. Once the download is complete, open the installer and follow the instructions to install the application on your device.
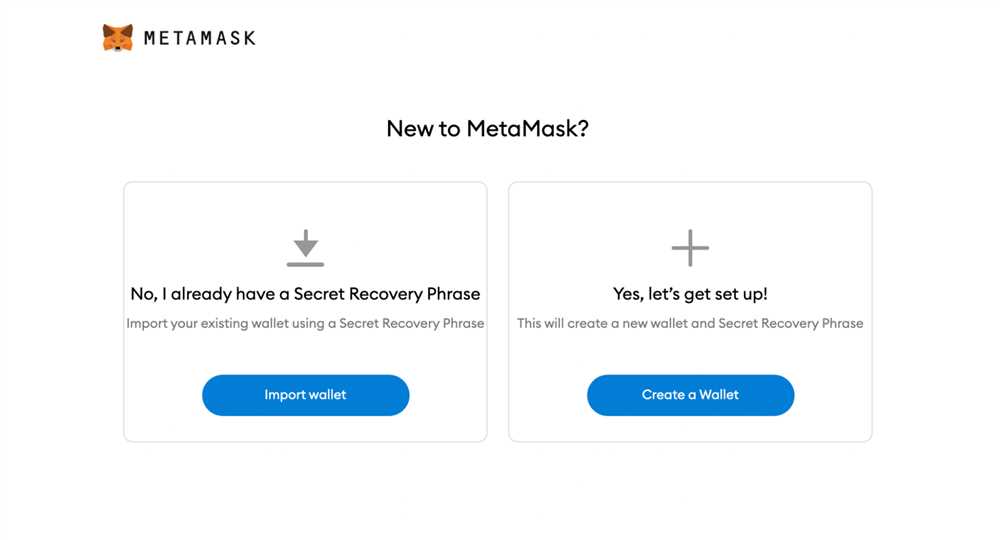
Step 2: Create a new wallet
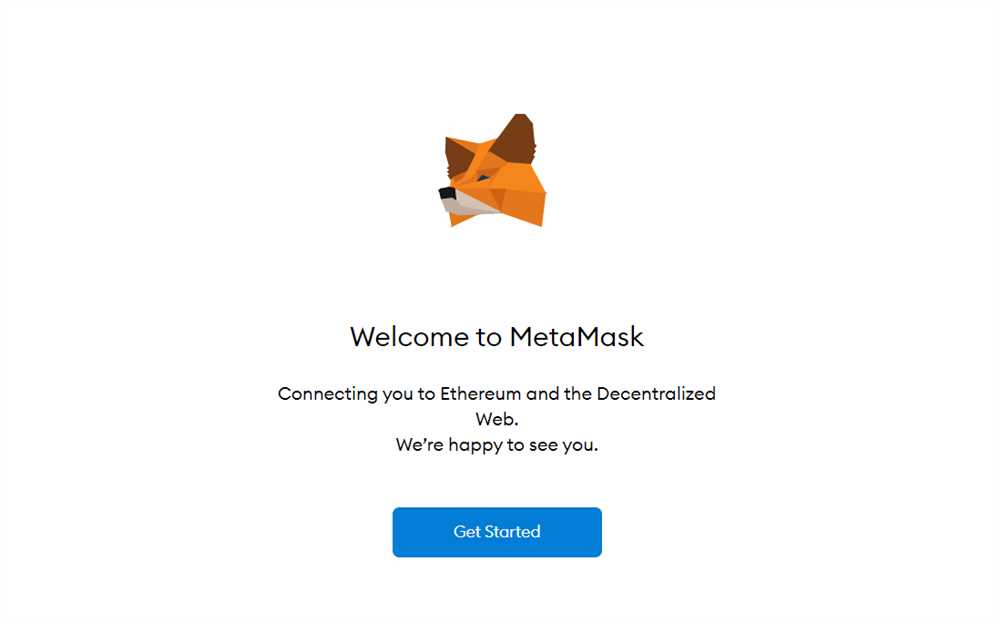
After installing Metamask, open the application and click on the “Get Started” button. You will be prompted to create a new wallet. Choose a strong password and click on “Create” to generate your new wallet. Remember to store your password in a safe place, as it cannot be recovered if lost.
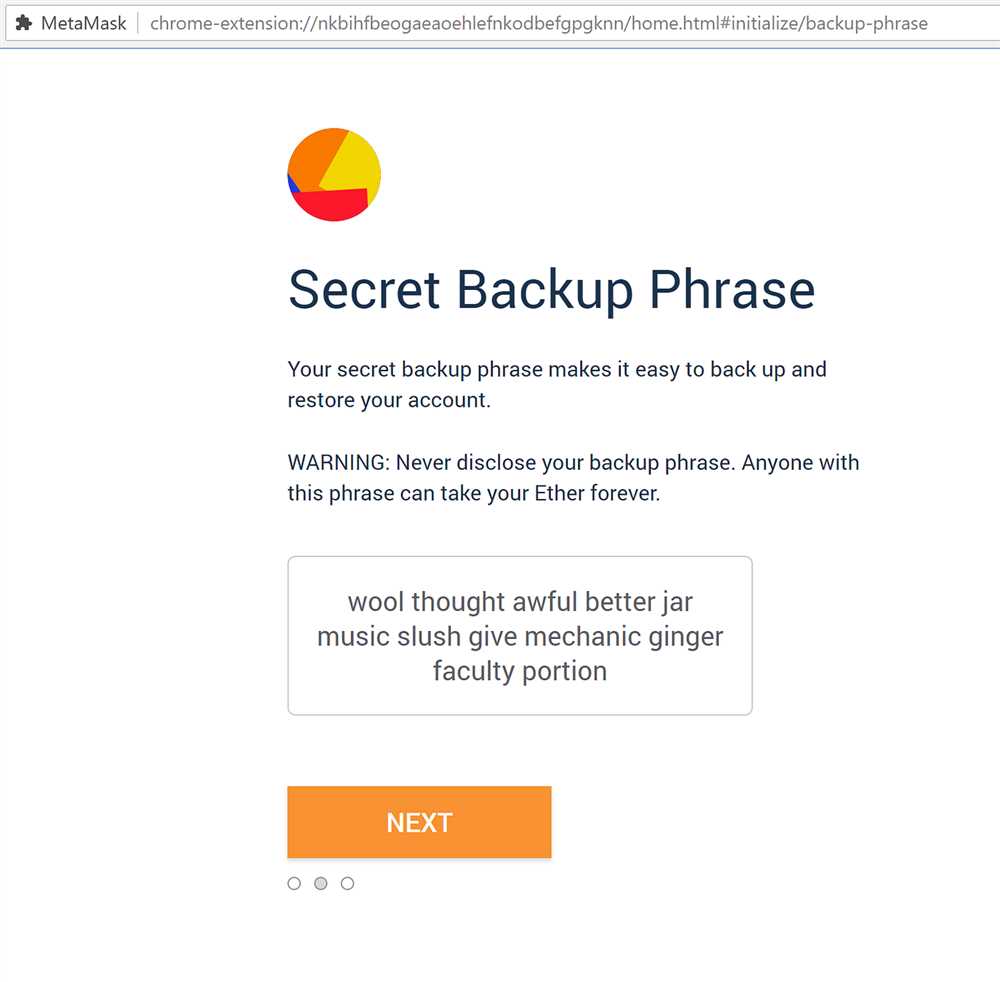
Metamask will then display a set of secret backup phrases. Write down these phrases on a piece of paper and keep them in a secure location. These phrases are used to recover access to your wallet in case you forget your password.
Step 3: Import an existing wallet (optional)
If you already have an existing wallet, you can import it into Metamask. To do this, click on the “Import Wallet” button on the Metamask homepage. Enter your wallet’s private key or JSON file, and Metamask will import your wallet and display your account balance.
Step 4: Connect Metamask to a network
Metamask allows you to connect to different Ethereum networks. By default, it is set to the Ethereum Mainnet. If you want to connect to a different network, such as the Ropsten Testnet, click on the network name at the top of the Metamask window and select the desired network from the dropdown menu.
Step 5: Use Metamask with dApps
Metamask is primarily used to interact with decentralized applications (dApps) on the Ethereum network. When you visit a dApp website, Metamask will automatically detect it and prompt you to connect your wallet. You can then authorize transactions, sign messages, and interact with the dApp using your Metamask wallet.
Remember to always double-check the website’s URL and ensure that you are on a legitimate dApp before interacting with it using Metamask.
With this comprehensive guide, you should now have a better understanding of how to use Metamask on your Mac. Enjoy exploring the decentralized world of Ethereum and managing your digital assets securely with Metamask!
Setting up Metamask on Mac
Metamask is a popular Ethereum wallet and browser extension that allows users to store, manage, and interact with their Ethereum assets. Setting up Metamask on your Mac is a simple process that can be done in just a few steps.
- First, open the Safari browser on your Mac and navigate to the Metamask website.
- Once on the website, click on the “Get Metamask for Safari” button to download the extension.
- After the download is complete, click on the downloaded file to install Metamask on your Mac.
- Follow the installation prompts and agree to the terms and conditions to proceed with the installation.
- Once the installation is complete, you will see the Metamask icon in your browser toolbar.
- Click on the Metamask icon to open the extension. You will be prompted to create a new wallet.
- Enter a strong password for your wallet and click “Create” to generate a new Ethereum wallet.
- Make sure to carefully write down and store your secret backup phrase. This phrase will be your only way to recover your wallet if you forget your password.
- After saving your backup phrase, you will be taken to the Metamask main screen, where you can view your wallet balance and manage your Ethereum assets.
That’s it! You have successfully set up Metamask on your Mac. You can now use Metamask to send and receive Ethereum, interact with decentralized applications, and explore the exciting world of blockchain technology.
A step-by-step tutorial to install and configure Metamask on your Mac
Metamask is a popular browser extension that allows users to interact with the Ethereum blockchain. With Metamask, you can securely store and manage your digital assets, as well as access decentralized applications (dApps) directly from your browser. In this tutorial, we will guide you through the process of installing and configuring Metamask on your Mac.
Step 1: Install Metamask
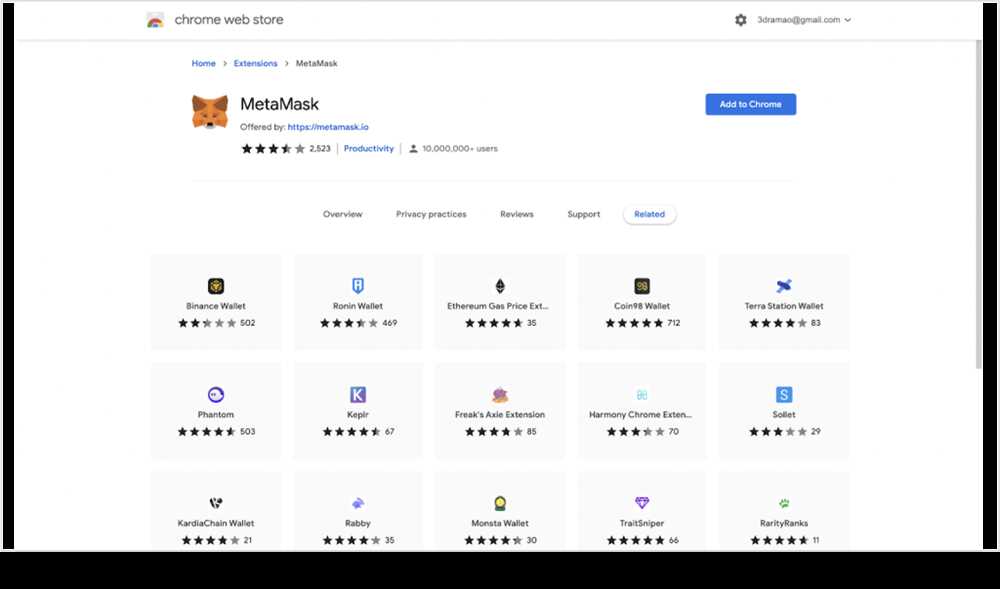
To begin, open your favorite web browser and go to the official Metamask website at https://metamask.io/. On the website, click on the “Get Chrome Extension” button to download the Metamask extension for your browser. Metamask is currently available for Chrome, Firefox, and Brave browsers. Once the extension is downloaded, it will automatically be added to your browser.
Step 2: Create a new Metamask wallet
After installing the extension, you will see the Metamask icon in the top right corner of your browser. Click on the icon to launch Metamask. On the welcome screen, click on the “Create a Wallet” button to create a new wallet. Follow the instructions carefully and make sure to write down your secret backup phrase. This backup phrase is crucial for accessing your wallet in case you forget your password or lose access to your device.
Step 3: Set up a password
Once you have created your wallet, you will be prompted to set up a password. Choose a strong password that you can remember, but make sure it is not easily guessed by others. Confirm your password and proceed to the next step.
Step 4: Backup your secret backup phrase
After setting up your password, you will be shown your secret backup phrase. This phrase consists of 12 random words, which you should write down and keep in a safe place. Do not share this phrase with anyone, as it is the key to accessing your wallet and funds.
Step 5: Connect to the Ethereum network
Once you have backed up your secret backup phrase, you will be prompted to select a network. Choose the “Main Ethereum Network” to connect to the Ethereum blockchain. You can also choose other test networks for development purposes.
Step 6: Start using Metamask
Congratulations! You have successfully installed and configured Metamask on your Mac. You can now use Metamask to manage your digital assets and interact with decentralized applications. To access Metamask at any time, simply click on the icon in the top right corner of your browser. Make sure to keep your password and secret backup phrase safe to prevent unauthorized access to your wallet.
Note: It is important to be cautious while using Metamask and interacting with the blockchain. Make sure to double-check the addresses and transactions before confirming them, and be aware of potential phishing attacks.
Using Metamask for Mac
Metamask for Mac is a powerful tool that allows you to interact with decentralized applications (DApps) running on the Ethereum blockchain. In this guide, we will walk you through the steps to install and use Metamask on your Mac.
Step 1: Installing Metamask

- Open your web browser and navigate to the Metamask website.
- Click on the “Download” button to start the download.
- Once the download is complete, double-click on the downloaded file (.dmg) to open the installer.
- Drag the Metamask icon to the Applications folder to install it.
- Open the Applications folder and double-click on the Metamask icon to launch the app.
Step 2: Creating a New Wallet
- When you open Metamask for the first time, you will be prompted to create a new wallet.
- Click on the “Create a Wallet” button to begin.
- Set up a strong password for your wallet and click on the “Create” button.
- Read and accept the terms of use.
- Click on the “Reveal seed phrase” button to access your backup seed phrase.
- Write down and securely store your seed phrase in a safe place.
- Confirm your seed phrase to complete the wallet creation process.
Step 3: Connecting to the Ethereum Network

- After creating your wallet, Metamask will prompt you to select a network.
- Choose “Main Ethereum Network” or any other network you wish to connect to.
- If you want to connect to a custom network, click on “Custom RPC” and enter the network details.
Step 4: Managing Your Wallet
- To view your wallet balance, click on the account icon in the top right corner and select “Account details”.
- To send Ethereum or ERC-20 tokens, click on the “Send” button and enter the recipient’s address and the amount you want to send.
- To receive Ethereum or ERC-20 tokens, click on the “Receive” button and copy your wallet address.
- To access your transaction history, click on the “Activity” tab.
- To manage your tokens and add custom tokens, click on the “Assets” tab.
With Metamask for Mac, you can easily navigate and interact with DApps on the Ethereum blockchain. Remember to keep your seed phrase safe and take necessary precautions to secure your wallet.
Frequently Asked Questions:
What is Metamask and how does it work?
Metamask is a cryptocurrency wallet and dApp browser that allows users to securely store and manage their Ethereum assets. It works as a browser extension for Google Chrome, Firefox, and Brave, providing a user-friendly interface for interacting with decentralized applications (dApps) on the Ethereum blockchain.

+ There are no comments
Add yours