


Are you ready to start cashing out your cryptocurrencies? Look no further than the Metamask Wallet! With its user-friendly interface and secure features, it’s the perfect tool for managing your digital assets.
Follow these simple steps to cash out using your Metamask Wallet:
- Step 1: Open your Metamask Wallet and ensure that you have a sufficient balance of the cryptocurrency you want to cash out.
- Step 2: Connect your wallet to a trusted exchange platform that supports the cryptocurrency you wish to cash out. This will allow you to transfer your funds securely.
- Step 3: Select the specific cryptocurrency you want to cash out from your wallet.
- Step 4: Choose the amount you wish to cash out and confirm the transaction details.
- Step 5: Review the transaction fee and ensure it is acceptable to you.
- Step 6: Click on the “Cash Out” button to initiate the transaction.
- Step 7: Wait for the transaction to be processed. This may take some time depending on network congestion.
- Step 8: Once the transaction is complete, you will see the funds credited to your connected bank account or the designated payment method.
- Step 9: Double-check your bank account or payment method to confirm the cash out.
- Step 10: Celebrate your successful cash out using Metamask Wallet!
With the step-by-step instructions and the security offered by the Metamask Wallet, cashing out your cryptocurrencies has never been easier. Take control of your digital assets and enjoy the fruits of your investment!
Step 1: Download and Install Metamask Wallet
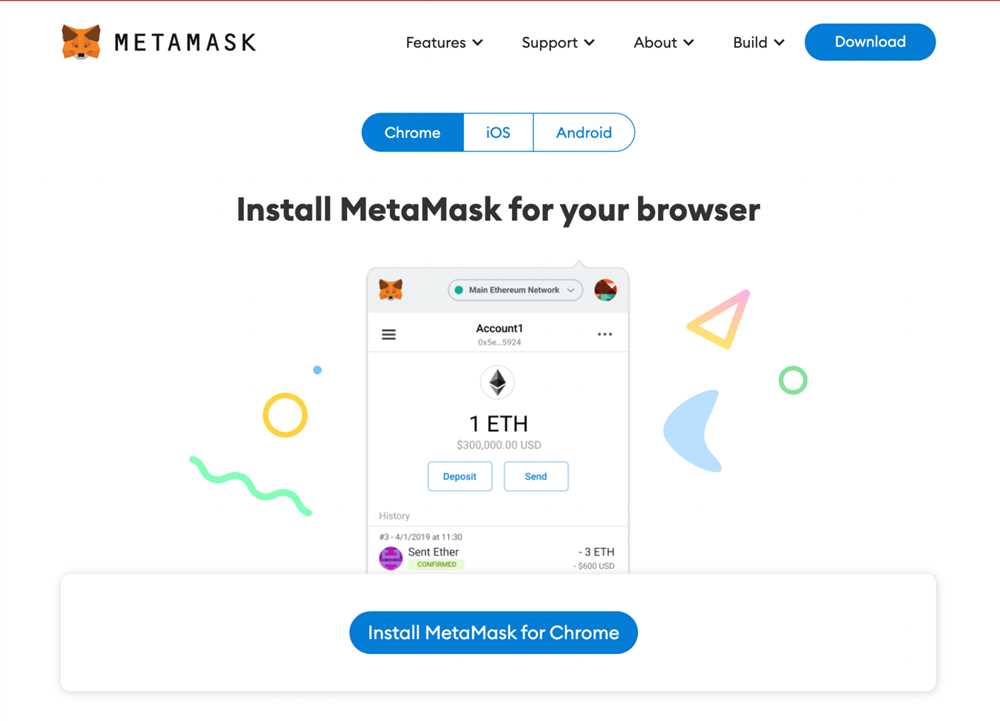
To start cashing out using Metamask Wallet, you first need to download and install the wallet extension on your preferred web browser. Follow the steps below:
Step 1.1: Choose your preferred web browser
Before you can download and install Metamask Wallet, you need to decide which web browser you want to use. Metamask Wallet is compatible with popular web browsers such as Google Chrome, Mozilla Firefox, and Brave. Choose the web browser you are most comfortable with and proceed to the next step.
Step 1.2: Visit the browser’s extension store
Once you have chosen your preferred web browser, open a new tab and visit the extension store for that browser. For Google Chrome, go to the Chrome Web Store. For Mozilla Firefox, visit the Firefox Add-ons store. For Brave, go to the Brave Web Store.
Step 1.3: Search for Metamask Wallet

In the extension store, use the search bar to search for “Metamask Wallet”. The official Metamask Wallet extension should appear in the search results. Click on it to proceed.
Step 1.4: Install the Metamask Wallet extension
Click on the “Add to [Browser Name]” or “Install” button to install the Metamask Wallet extension to your web browser. Follow any additional prompts or instructions that may appear during the installation process.
Step 1.5: Create a new Metamask Wallet
Once the installation is complete, you can now create a new Metamask Wallet. Click on the Metamask Wallet icon that should have appeared in your browser’s toolbar. Follow the on-screen instructions to set up a new wallet, including creating a secure password and carefully saving your recovery phrase.
By following these steps, you will have successfully downloaded and installed Metamask Wallet on your web browser. You are now ready to proceed with the next steps to start cashing out using Metamask Wallet.
Step 2: Create a New Wallet
To cash out using the Metamask wallet, you first need to create a new wallet. Follow the step-by-step instructions below:
1. Install the Metamask Extension
Go to the Google Chrome Web Store and search for the Metamask wallet extension. Click on the “Add to Chrome” button and follow the prompts to install it.
2. Set Up Your Account
Once the extension is installed, click on the Metamask logo in your browser toolbar, then click on “Get Started” and “Create a Wallet”.
3. Create a Strong Password
Choose a strong password for your wallet. It should include a combination of uppercase and lowercase letters, numbers, and special characters.
4. Backup Your Seed Phrase
Metamask will provide you with a unique seed phrase consisting of 12 or 24 words. Write down this seed phrase and store it in a safe place. This will be the only way to recover your wallet if you forget your password.
5. Confirm Your Seed Phrase
Metamask will ask you to confirm your seed phrase by selecting the correct words in the correct order. This is to ensure that you have properly backed up your wallet.
6. Add a Wallet Name and Icon
Choose a name and icon for your wallet to make it easily recognizable. This step is optional, but can be helpful if you have multiple wallets.
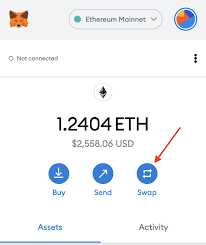
7. Connect to the Ethereum Network
After creating your wallet, Metamask will automatically connect you to the Ethereum network. Make sure that the network is set to “Main Ethereum Network” before proceeding.
Once you have followed these steps, you will have successfully created a new wallet using the Metamask extension. You can now proceed to cash out using your wallet.
Step 3: Connect Metamask to Your Account
Once you have successfully installed Metamask Wallet on your browser, it’s time to connect it to your account. Follow the steps below to get started:
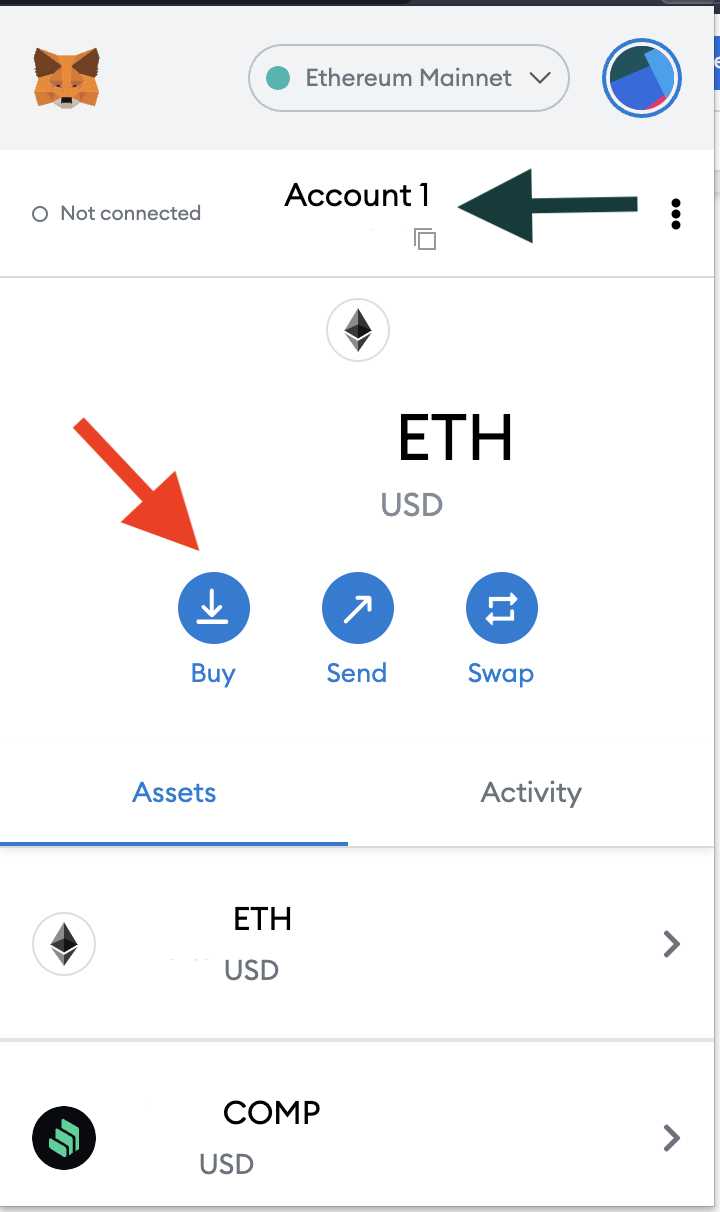
Step 1: Open Metamask
Click on the Metamask extension icon in your browser’s toolbar to open the wallet.
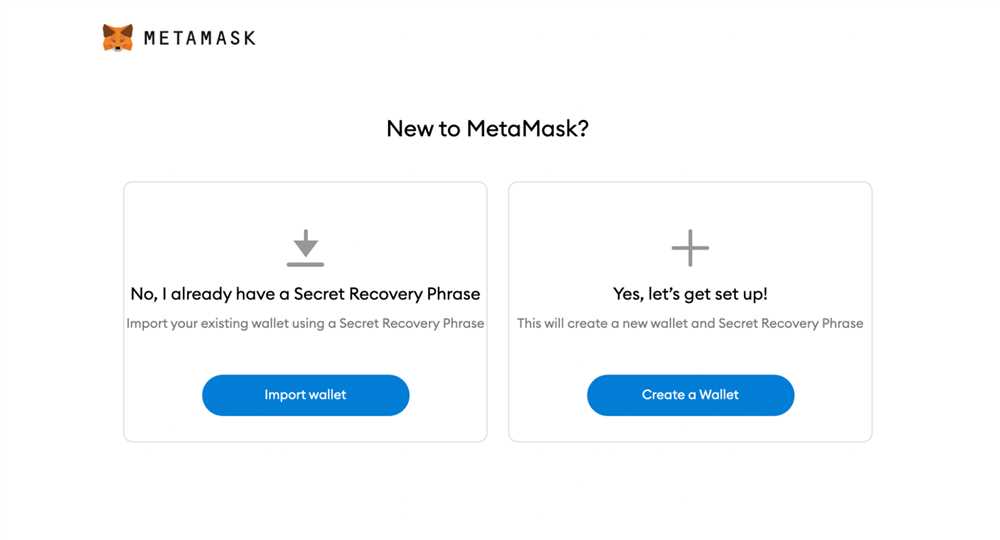
Step 2: Import or Create a Wallet

If you already have a Metamask wallet, click on “Import Wallet” and enter your seed phrase or private key. If you don’t have a wallet yet, click on “Create a Wallet” and follow the prompts to create a new one.
Note: Make sure to store your seed phrase and private key in a secure place. Losing them can result in permanent loss of access to your funds.
Step 3: Connect to Your Account
After setting up or importing your wallet, you need to connect it to your account on our platform. Follow the steps below:
Step 3.1: Log in to your account on our platform using your credentials.
Step 3.2: Go to the account settings or profile section.
Step 3.3: Look for the option to connect your wallet and click on it.
Step 3.4: A pop-up window will appear asking for permission to connect your wallet. Click on “Connect” to proceed.
Note: Make sure your Metamask wallet is open and unlocked while performing these steps.
Once you have successfully connected your Metamask wallet to your account, you will be able to easily cash out your funds using our platform. Enjoy the benefits of secure and convenient transactions with Metamask Wallet!
Frequently Asked Questions:
What is Metamask Wallet?
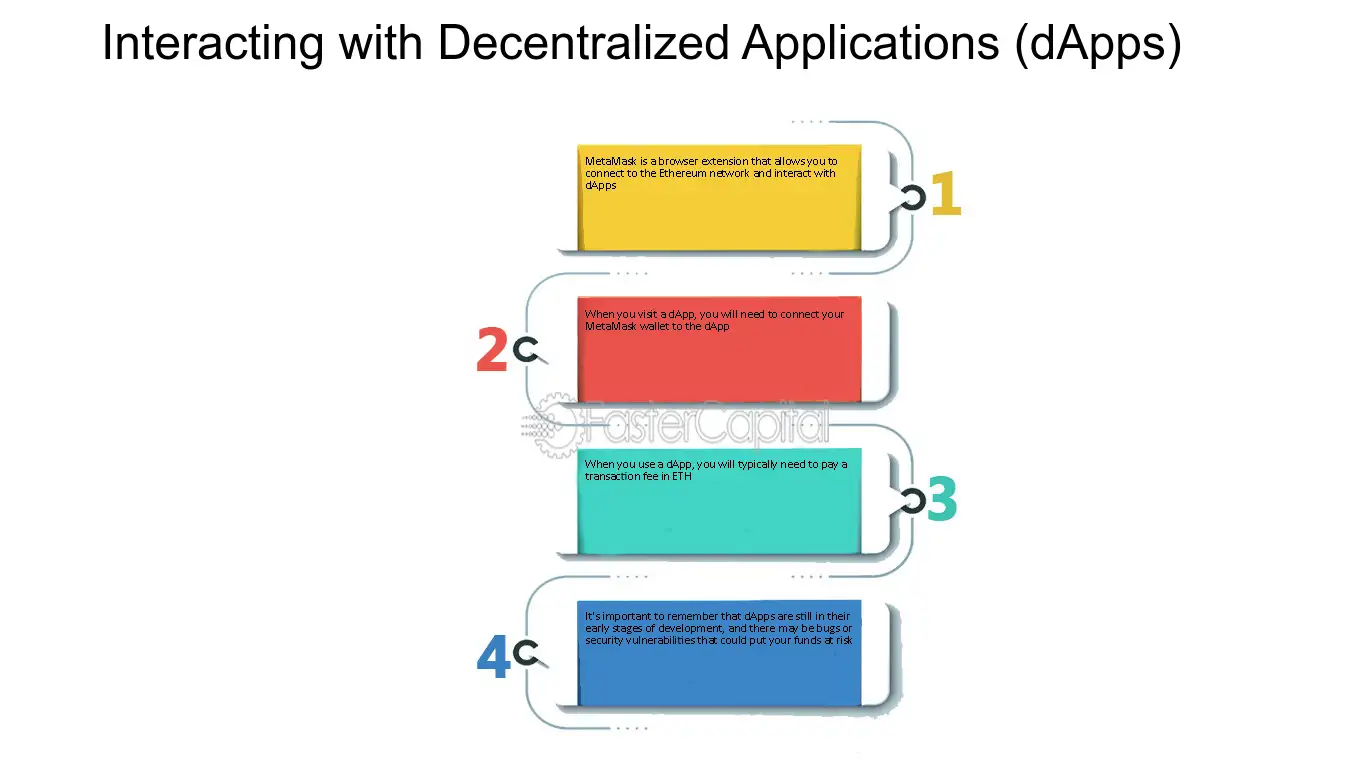
Metamask Wallet is a digital wallet used for storing and managing cryptocurrencies. It is a popular choice among Ethereum users and provides a user-friendly interface for accessing decentralized applications (dApps).
How do I cash out using Metamask Wallet?
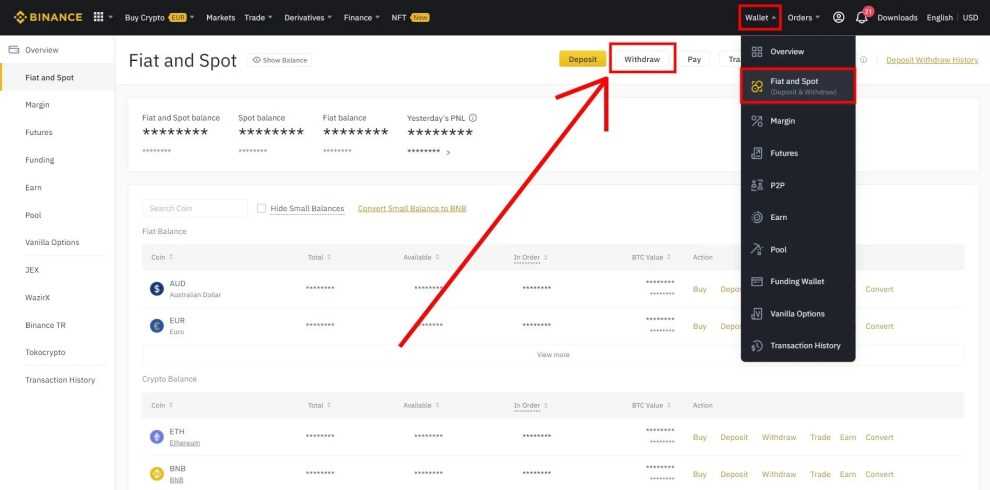
To cash out using Metamask Wallet, you will first need to connect your wallet to a cryptocurrency exchange or a platform that allows withdrawals. Once connected, you can initiate a withdrawal and specify the amount and destination address. Confirm the transaction in Metamask and wait for the funds to be transferred to your desired account.
Is Metamask Wallet safe for cashing out?
Metamask Wallet is generally considered safe for cashing out, as long as you practice proper security measures. It is important to keep your wallet and seed phrase secure, enable two-factor authentication, and only interact with reputable and secure platforms. Metamask Wallet itself uses encryption and does not store your private keys on its servers.
+ There are no comments
Add yours