


Metamask is a popular browser extension that allows users to interact with decentralized applications (dApps) on the Ethereum network. However, with the rise of alternative blockchain networks like Avalanche (Avax), it’s important for users to know how to connect their Metamask wallet to these networks. In this step-by-step guide, we’ll walk you through the process of connecting your Metamask wallet to the Avax C-Chain.
Step 1: Install and Set Up Metamask
Before you can connect your Metamask wallet to the Avax C-Chain, you’ll need to have Metamask installed and set up on your browser. If you don’t have Metamask installed, simply search for “Metamask” in the extension store of your browser and follow the installation instructions. Once installed, click on the Metamask icon in your browser toolbar to open the extension and set up your wallet.
Step 2: Add Avax C-Chain Network
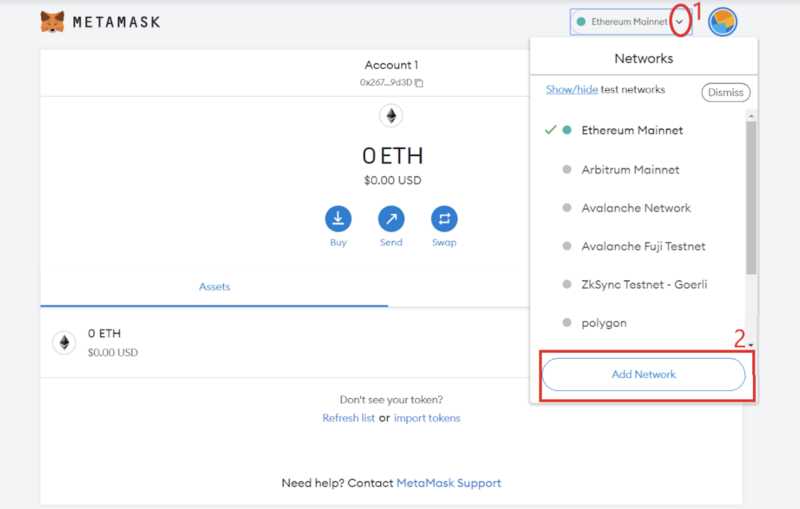
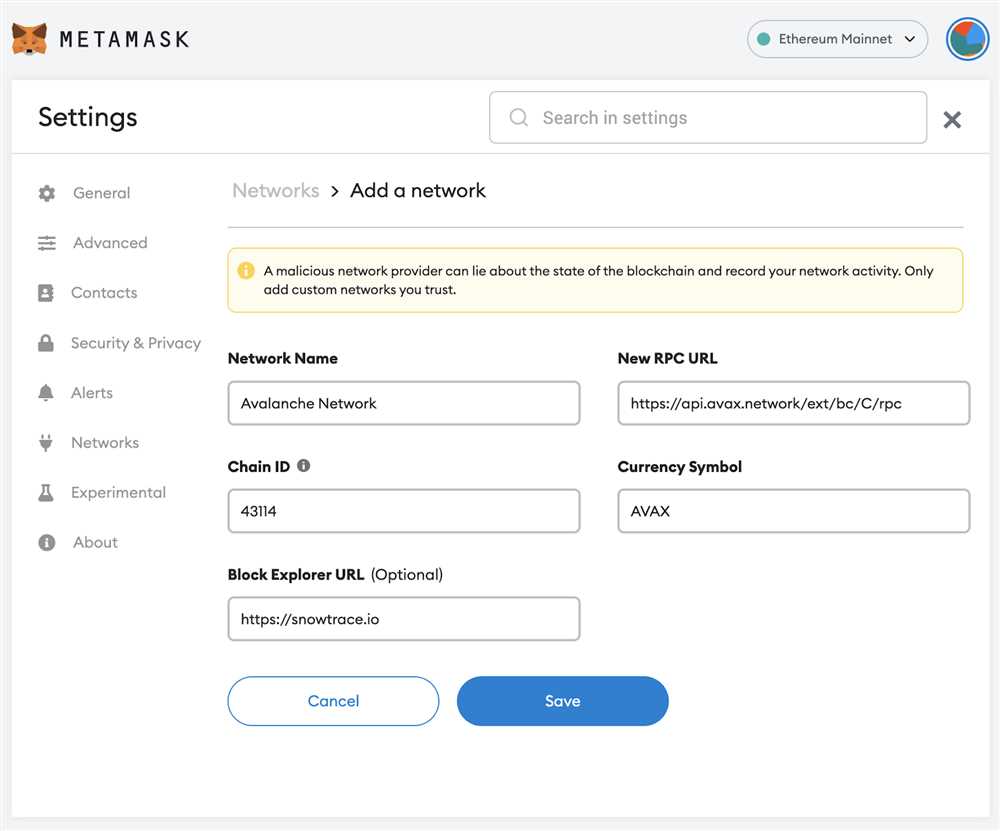
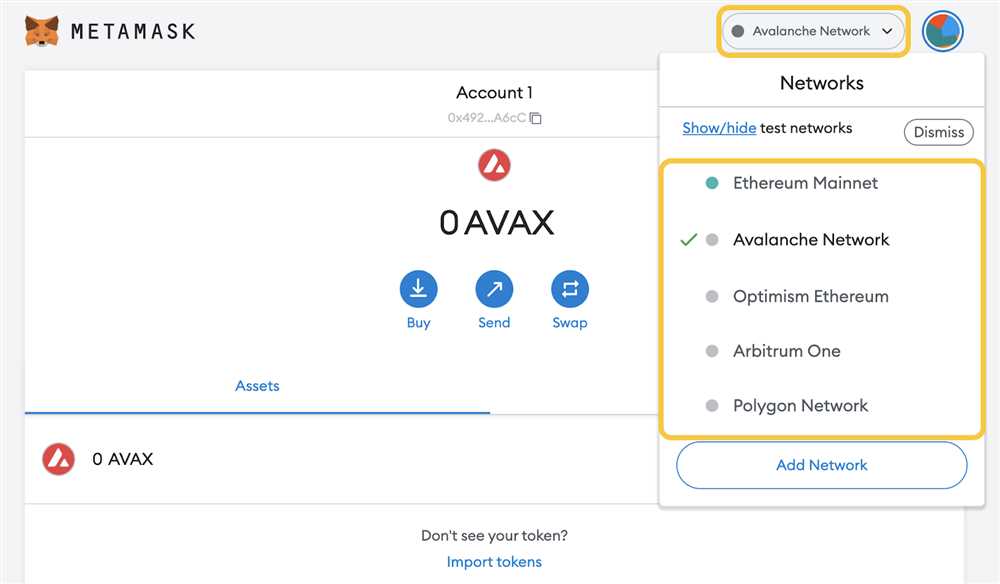
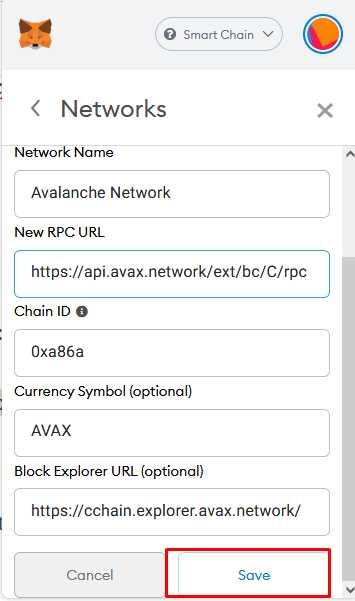
Now that you have Metamask set up, the next step is to add the Avax C-Chain network to your Metamask wallet. To do this, click on the network selection dropdown in the top right corner of the Metamask extension and select “Custom RPC” from the dropdown menu. In the “New Network” window that appears, enter the following details:
Network Name: Avax C-Chain
RPC URL: https://api.avax.network/ext/bc/C/rpc
ChainID: 43114
Symbol: AVAX
Once you’ve entered the details, click on “Save” to add the Avax C-Chain network to your Metamask wallet.
Step 3: Connect Metamask to Avax C-Chain
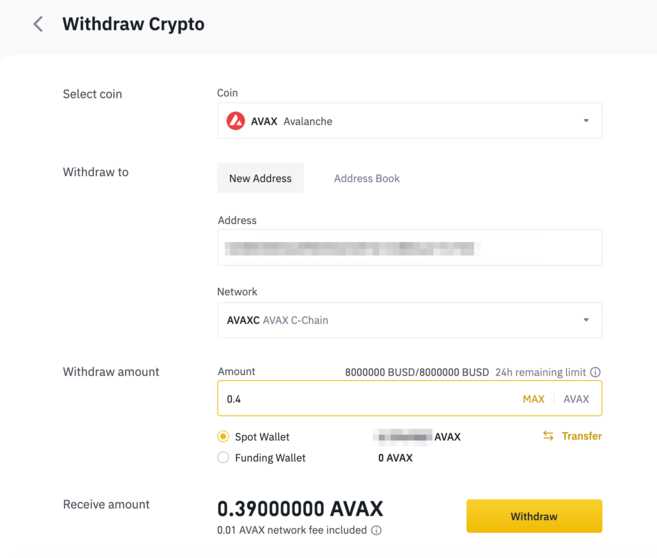
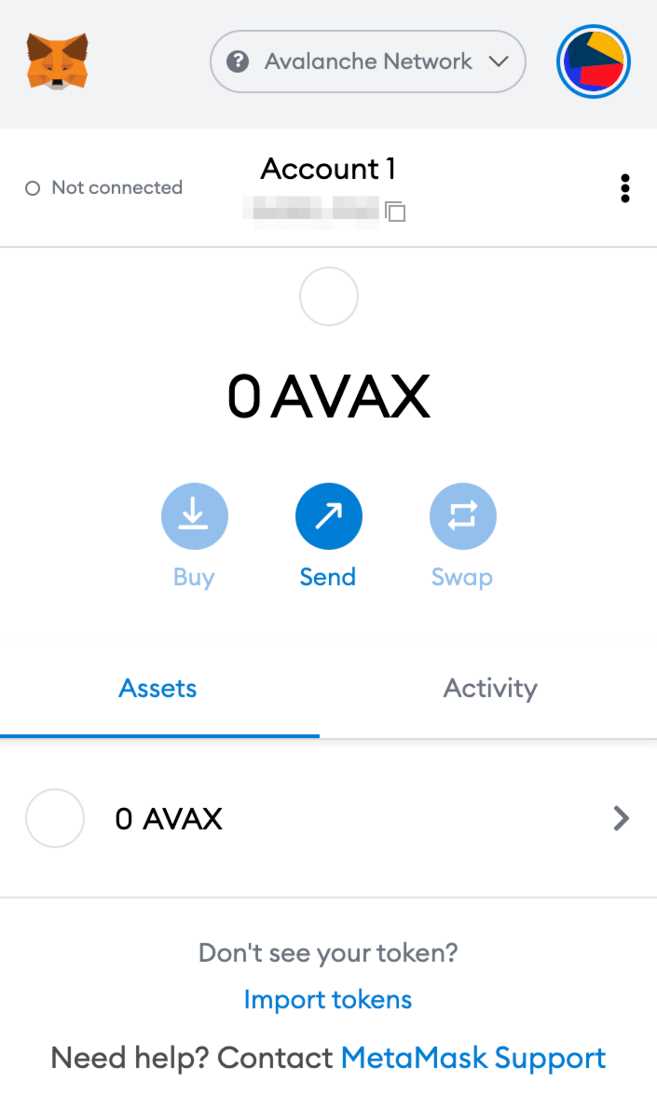
With the Avax C-Chain network added to your Metamask wallet, you’re now ready to connect to this network. To do this, simply select “Avax C-Chain” from the network selection dropdown in the top right corner of the Metamask extension. Metamask will connect to the Avax C-Chain network, and you’ll be able to view your Avax C-Chain wallet balance and interact with Avax dApps.
Congratulations! You’ve successfully connected your Metamask wallet to the Avax C-Chain network. Now you can take advantage of the growing ecosystem of dApps and decentralized finance (DeFi) applications on the Avax network using your trusted Metamask wallet.
Step 1: Install Metamask Browser Extension
To connect Avax C-Chain to Metamask, you need to have the Metamask browser extension installed on your computer. Metamask is a digital wallet that allows you to store and manage your Avax tokens and interact with the Avax blockchain.
To install the Metamask browser extension, follow these steps:
1. Open your web browser
Open your preferred web browser on your computer. Metamask is compatible with popular browsers like Google Chrome, Firefox, and Brave.
2. Go to the Metamask website
Go to the official Metamask website by typing “metamask.io” in the address bar and pressing Enter.
3. Download the extension
On the Metamask website, you will find a “Download” button. Click on it to start the download process. The browser extension will be downloaded and added to your browser’s extensions or addons.
4. Install the extension
Once the download is complete, locate the downloaded file and double-click on it to install the Metamask browser extension. Follow the on-screen instructions to complete the installation.
5. Create a Metamask account
After the installation is complete, you will see the Metamask icon in your browser’s toolbar. Click on the icon to launch the extension.
Follow the prompts to create a new Metamask account. This will involve setting up a password and agreeing to the terms and conditions.
Once you have set up your account, you are ready to connect Avax C-Chain to Metamask and start using Avax tokens on the Avax blockchain.
Step 2: Create or Import a Wallet in Metamask
Now that you have installed Metamask, the next step is to create or import a wallet. Follow the steps below:
Create a New Wallet
- Open Metamask extension in your browser.
- Click on the “Get Started” button.
- Read and accept the terms of use.
- Create a strong password and confirm it.
- Click on the “Create” button.
- You will be presented with a secret backup phrase. Write it down and keep it in a safe place. This phrase is crucial for recovering your wallet in case you lose access to it.
- Confirm your backup phrase by selecting the correct words in the right order.
- Click on the “All Done” button.
Import an Existing Wallet
- Open Metamask extension in your browser.
- Click on the “Import Wallet” button.
- Enter your wallet’s private key or seed phrase.
- Click on the “Import” button.
- Follow the instructions to complete the wallet import process.
Once you have created or imported a wallet in Metamask, you will be ready to connect it to the Avax C-Chain. Proceed to the next step to learn how.
Step 3: Connect Metamask to Avax C-Chain Network
After successfully creating and setting up your Avax C-Chain wallet, the next step is to connect it to the Metamask extension in your browser. This will allow you to access and manage your Avax C-Chain assets directly from your Metamask wallet.
Here’s how you can connect Metamask to Avax C-Chain network:
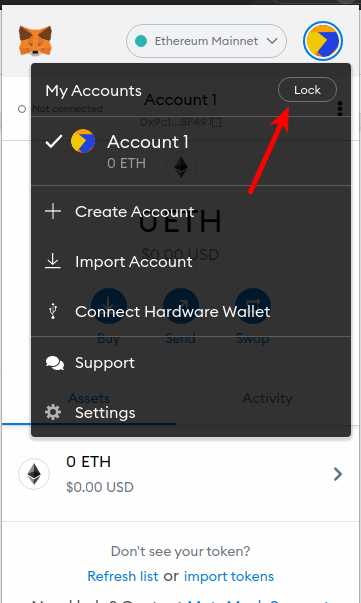
- Open the Metamask extension in your browser by clicking on the Metamask icon located in the toolbar.
- If you already have a Metamask wallet, click on the account dropdown menu and select “Create Account” if you want to add a new account or select an existing account.
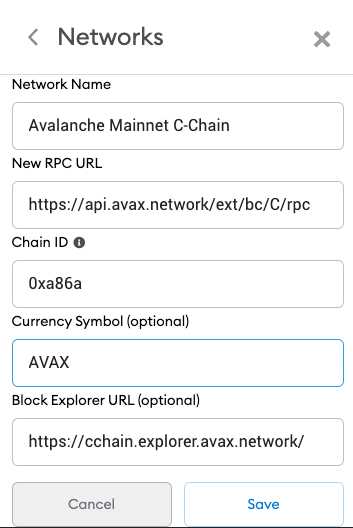
- Once you have selected the desired account, click on the network dropdown menu and select “Custom RPC”.
- In the “New RPC URL” field, enter the URL for the Avax C-Chain network. The URL should be “https://api.avax.network/ext/bc/C/rpc”.
- Enter a name for the network, such as “Avax C-Chain”.
- Click on “Save” to save the network configuration.
- Metamask will now be connected to the Avax C-Chain network. You can verify this by checking the network displayed in the Metamask interface.
Congratulations! You have successfully connected Metamask to the Avax C-Chain network. Now you can start using your Metamask wallet to interact with Avax C-Chain dApps and manage your Avax C-Chain assets.
Frequently Asked Questions:
What is Avax C-Chain?
Avax C-Chain, or Avalanche C-Chain, is a chain in the Avalanche network that allows users to transfer and interact with assets. It is designed to be fast, secure, and scalable, offering low transaction fees and high throughput.
Why would I want to connect Avax C-Chain to Metamask?
By connecting Avax C-Chain to Metamask, you can easily interact with the Avax ecosystem and access various decentralized applications (dApps) built on Avalanche. This integration allows you to manage your Avax assets, participate in token sales, and perform other operations directly from your Metamask wallet.
How do I connect Avax C-Chain to Metamask?
To connect Avax C-Chain to Metamask, you need to follow a few simple steps. First, open Metamask and click on the network selection dropdown. Then, select “Custom RPC” and enter the Avax C-Chain details such as the RPC URL and Chain ID. Once you have saved these settings, you will be connected to Avax C-Chain.
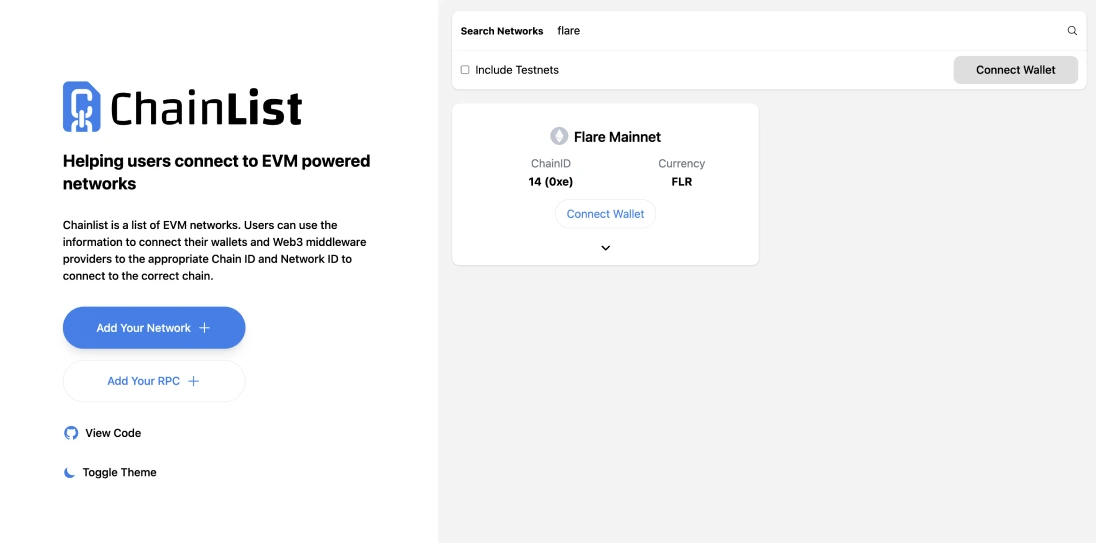
Where can I find the RPC URL and Chain ID for Avax C-Chain?
The RPC URL and Chain ID for Avax C-Chain can be found on the Avalanche documentation or on reputable sources such as the official Avalanche website or community forums. It is important to ensure that you have the correct RPC URL and Chain ID to connect to Avax C-Chain successfully.
Are there any risks involved in connecting Avax C-Chain to Metamask?
While connecting Avax C-Chain to Metamask is generally safe, there are some risks to be aware of. Make sure that you are obtaining the RPC URL and Chain ID from a trusted source to avoid any potential scams or malicious activities. Additionally, be cautious of the dApps you interact with on Avax C-Chain, as they can have their own risks and vulnerabilities.
+ There are no comments
Add yours