


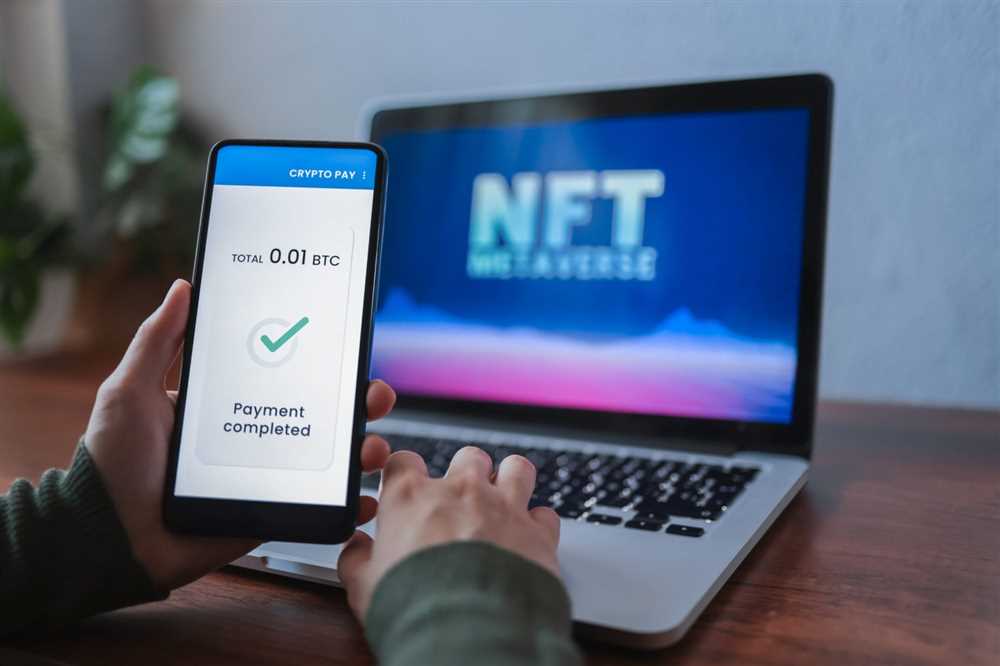
If you’re new to the world of non-fungible tokens (NFTs), you’ve probably heard of Metamask. Metamask is a cryptocurrency wallet that allows users to securely store and manage their digital assets, including NFTs. It’s an essential tool for anyone looking to buy, sell, or trade NFTs on popular marketplaces like OpenSea and Rarible.
With its user-friendly interface and robust security features, Metamask has quickly become the go-to wallet for NFT enthusiasts. In this ultimate guide, we’ll walk you through the process of setting up Metamask, connecting it to your favorite NFT marketplace, and making your first NFT purchase.
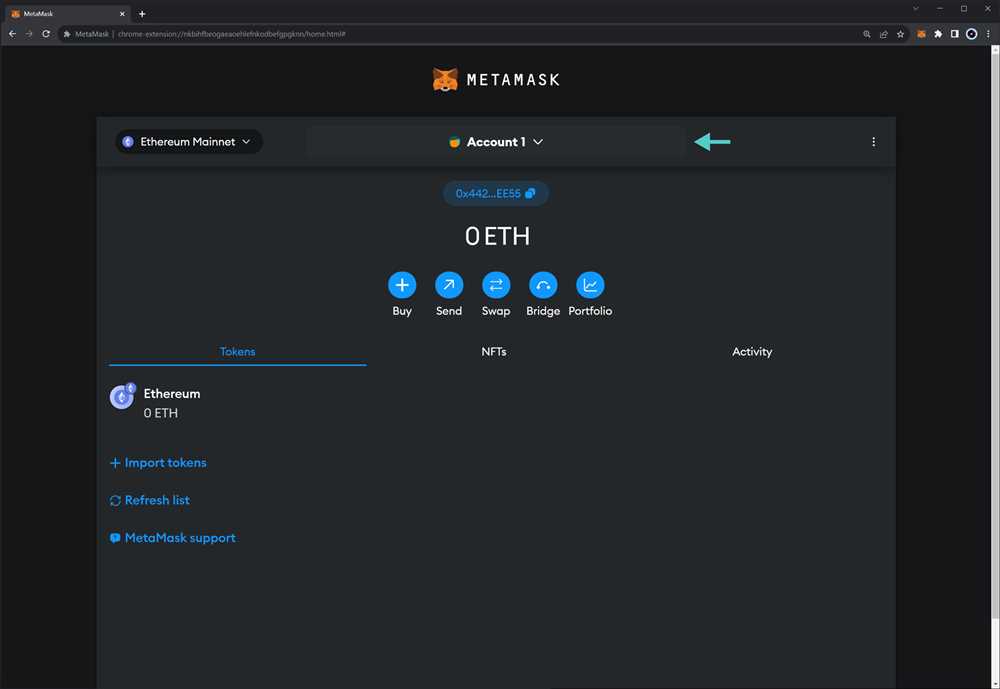
Setting up Metamask is a breeze. Simply visit the Metamask website and download the wallet extension for your preferred browser. Once installed, you’ll be guided through the setup process, which includes creating a new wallet and securely storing your recovery phrase. It’s important to keep your recovery phrase safe, as it acts as a backup for accessing your wallet if you ever forget your password.
Once you’ve set up Metamask, you’ll need to fund your wallet with some cryptocurrency. You can do this by purchasing cryptocurrency from a reputable exchange, such as Coinbase or Binance, and then transferring it to your Metamask wallet address. Make sure to only send compatible cryptocurrencies, such as Ethereum (ETH) or Binance Smart Chain (BSC), as these are the most commonly used for NFT transactions.
Now that your Metamask wallet is funded, it’s time to explore the world of NFTs. Head over to your favorite NFT marketplace and connect your Metamask wallet. This will allow you to view your wallet balance, browse available NFTs, and make purchases directly from your wallet. Keep in mind that some NFT marketplaces may require you to approve certain transactions before they can be completed, so be sure to familiarize yourself with the platform’s user interface.
Once you’ve found the perfect NFT to add to your collection, simply click the “Buy” button and follow the on-screen instructions. Metamask will automatically populate the necessary transaction details, such as the seller’s address and the amount to be sent. Confirm the transaction, and within moments, the NFT will be added to your Metamask wallet.
Using Metamask for NFTs is a seamless and secure experience. By following this ultimate guide, you’ll be well-equipped to navigate the world of NFTs and make your mark in the digital art and collectibles space. So go ahead, explore, and let your imagination run wild!
Setting Up Metamask: Step-By-Step Guide for Beginners

If you’re new to the world of NFTs and want to start buying and selling digital assets, one of the first things you’ll need is a digital wallet. Metamask is one of the most popular choices for managing NFTs, and setting it up is relatively simple. This step-by-step guide will walk you through the process.
- First, make sure you have a supported web browser installed on your computer, such as Google Chrome or Firefox. Metamask is an extension that works within your browser, so having a compatible browser is essential.
- Once you have a compatible browser, go to the official Metamask website or search for the Metamask extension in your browser’s extension store.
- Click on the “Get Chrome Extension” (or “Get Firefox Extension”) button and follow the prompts to install it.
- Once the extension is installed, you’ll see the Metamask icon in your browser’s toolbar. Click on it to open the extension.
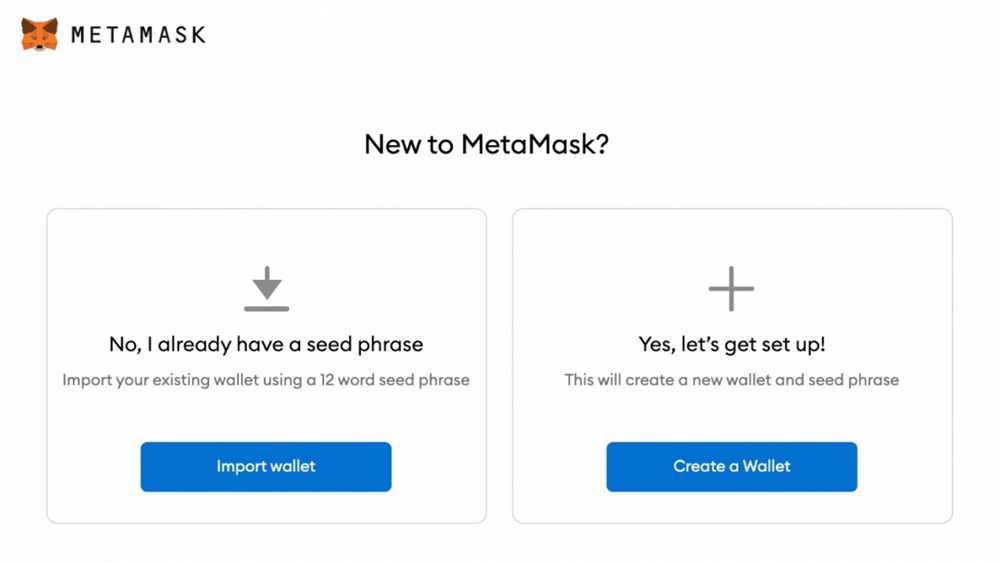
- When you open Metamask for the first time, you’ll be greeted with a welcome screen. Click on the “Create a Wallet” button to proceed.
- You’ll be prompted to create a strong password for your wallet. Make sure to choose a password that is unique and difficult to guess. Click “Create” when you’re done.
- Next, Metamask will generate a seed phrase for your wallet. This phrase is extremely important, as it can be used to restore your wallet if you ever lose access to it. Write down the seed phrase and keep it in a secure place. Do not share it with anyone.
- After noting down the seed phrase, you’ll be asked to confirm it by selecting the words in the correct order. This is to ensure that you have properly recorded the phrase. Once confirmed, click “I’ve copied it somewhere safe”.
- Congratulations! You’ve successfully set up your Metamask wallet. You can now use it to store, buy, and sell NFTs. Make sure to keep your password and seed phrase safe and do not share them with anyone.
Remember, Metamask is just one of many wallets available for managing NFTs. You can explore other options and see which one suits your needs the best. With your wallet set up, you’re ready to dive into the exciting world of NFTs!
Buying and Selling NFTs with Metamask: A Comprehensive Tutorial
Metamask is a popular cryptocurrency wallet that allows users to interact with decentralized applications (dApps) on the Ethereum blockchain. In recent years, the rise of non-fungible tokens (NFTs) has gained significant attention, as they represent unique digital assets that can be bought, sold, and traded. In this comprehensive tutorial, we will guide you through the process of buying and selling NFTs using Metamask.
Setting Up Metamask
Before you can start buying and selling NFTs, you will need to have Metamask installed and set up on your browser. If you haven’t done so already, follow these steps:
- Visit the Metamask website and download the extension for your preferred browser.
- Launch Metamask and create a new wallet. Make sure to securely store your seed phrase, as it is required to restore your wallet.
- Set up a password for your wallet and proceed with the initial setup process.
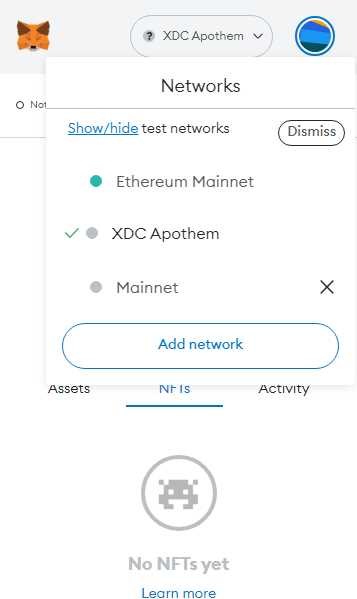
- Connect Metamask to the Ethereum mainnet or any testnets you prefer.
Connecting Metamask to NFT Marketplaces
Once you have Metamask set up, the next step is to connect it to NFT marketplaces. There are several popular NFT marketplaces where you can buy and sell NFTs, such as OpenSea, Rarible, and SuperRare. To connect Metamask to a marketplace, follow these steps:
- Visit the desired NFT marketplace website.
- Click on the “Connect Wallet” or similar button on the website.
- Metamask will prompt you to give permission for the marketplace to access your wallet. Confirm the connection.
Buying NFTs with Metamask
Now that your wallet is connected to a marketplace, you can start buying NFTs. Here’s how:
- Browse the marketplace for NFTs you are interested in and click on the desired listing.
- Review the details of the NFT, including its price and any additional information provided by the creator.
- If you are satisfied with the listing, click on the “Buy” or similar button.
- Metamask will prompt you to review the transaction details and confirm the purchase.
- Once the transaction is confirmed, the NFT will be transferred to your wallet.
Selling NFTs with Metamask
If you own NFTs and wish to sell them, Metamask makes the process easy. Follow these steps:
- Visit the NFT marketplace where you want to list your NFT for sale.
- Click on the “Create” or similar button to start the listing process.
- Select the NFT you want to sell from your wallet and provide any necessary details about it.
- Set a price for the NFT and choose whether to list it as an auction or at a fixed price.
- Click on the “List” or similar button to create the listing.
- Metamask will prompt you to confirm the transaction and pay any associated fees.
- Your NFT will now be listed for sale on the marketplace.
Buying and selling NFTs with Metamask opens up a world of possibilities and allows you to participate in the growing NFT ecosystem. Follow this comprehensive tutorial to get started with buying and selling NFTs using Metamask today!
Advanced Tips and Tricks for Optimizing Your Metamask Experience
Metamask is a powerful tool for interacting with the world of non-fungible tokens (NFTs), but there are several advanced tips and tricks that can help optimize your experience and make it even more seamless. Here are some tips to consider:
- Enable hardware wallet support: If you own a hardware wallet like Ledger or Trezor, you can connect it to Metamask for enhanced security. This ensures that your private keys never leave the hardware device, providing an extra layer of protection.
- Backup your seed phrase: It is crucial to backup your seed phrase, as it is the only way to restore your account if you lose access to your device. Store it in a safe place offline, preferably on a hardware wallet or a piece of paper stored securely.
- Use custom gas settings: By default, Metamask sets gas fees based on current network conditions. However, you can manually adjust the gas price and limit to ensure faster transaction confirmation or reduce costs during times of high network congestion.
- Add custom networks: Metamask supports various networks, including Ethereum mainnet, testnets, and custom networks. If you need to interact with NFTs on a specific network, you can add it to Metamask by importing its RPC endpoint.
- Utilize network explorers: Network explorers like Etherscan or Ethplorer are invaluable tools for tracking your transactions, viewing contract details, and exploring the NFT ecosystem. Keep them bookmarked for easy access.
- Add token addresses manually: If a specific NFT contract is not automatically recognized by Metamask, you can manually add its token address to view and interact with your NFTs within the wallet.
- Clear cache and restart: If you encounter any issues with Metamask, such as slow loading or errors, clearing the cache and restarting the browser can often resolve the problem. This helps refresh the wallet’s data and connections.
- Stay informed: The world of NFTs is rapidly evolving, with new projects and developments emerging daily. Stay informed about the latest news, trends, and security best practices to make the most out of your Metamask experience.
By implementing these advanced tips and tricks, you can optimize your Metamask experience, enhance security, and navigate the NFT ecosystem with ease.
Frequently Asked Questions:
What is Metamask?
Metamask is a cryptocurrency wallet and browser extension that allows users to interact with decentralized applications (dApps) and securely manage their digital assets.
How do I install Metamask?
To install Metamask, you need to visit the Metamask website and click on the “Get Chrome Extension” or “Get Firefox Extension” button. Follow the instructions to add the extension to your browser and set up a new wallet.
Can I use Metamask for NFTs?
Yes, you can use Metamask for NFTs. Metamask supports the Ethereum blockchain, which is commonly used for NFT transactions. You can connect your Metamask wallet to NFT marketplaces and platforms to buy, sell, and manage your NFT collections.
+ There are no comments
Add yours