


If you’re new to the world of cryptocurrency, you may have heard of Metamask – a popular browser extension that allows you to interact with the Ethereum blockchain. One of the most important tasks you’ll need to master is transferring Ether to your Metamask wallet. This straightforward process is essential for buying, selling, or trading digital assets on the Ethereum network.
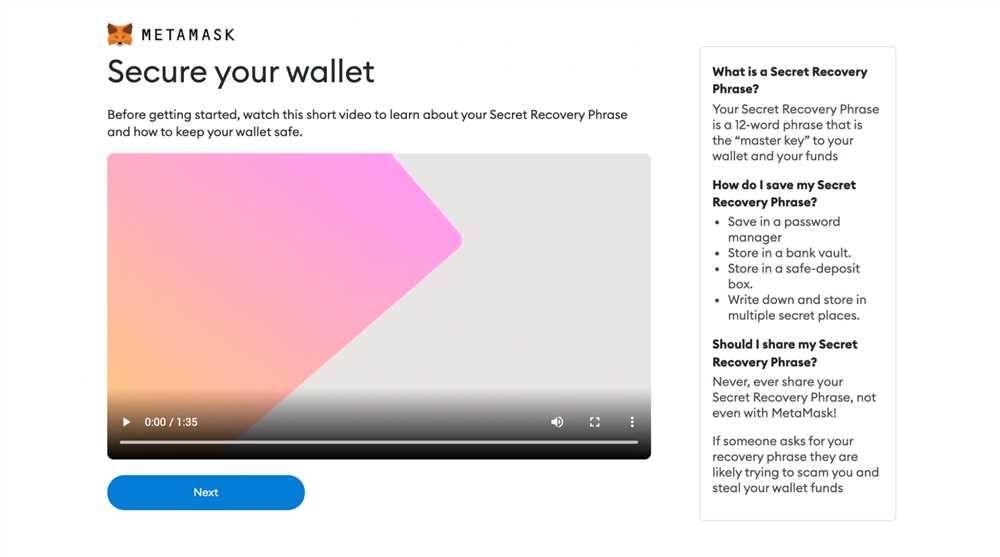
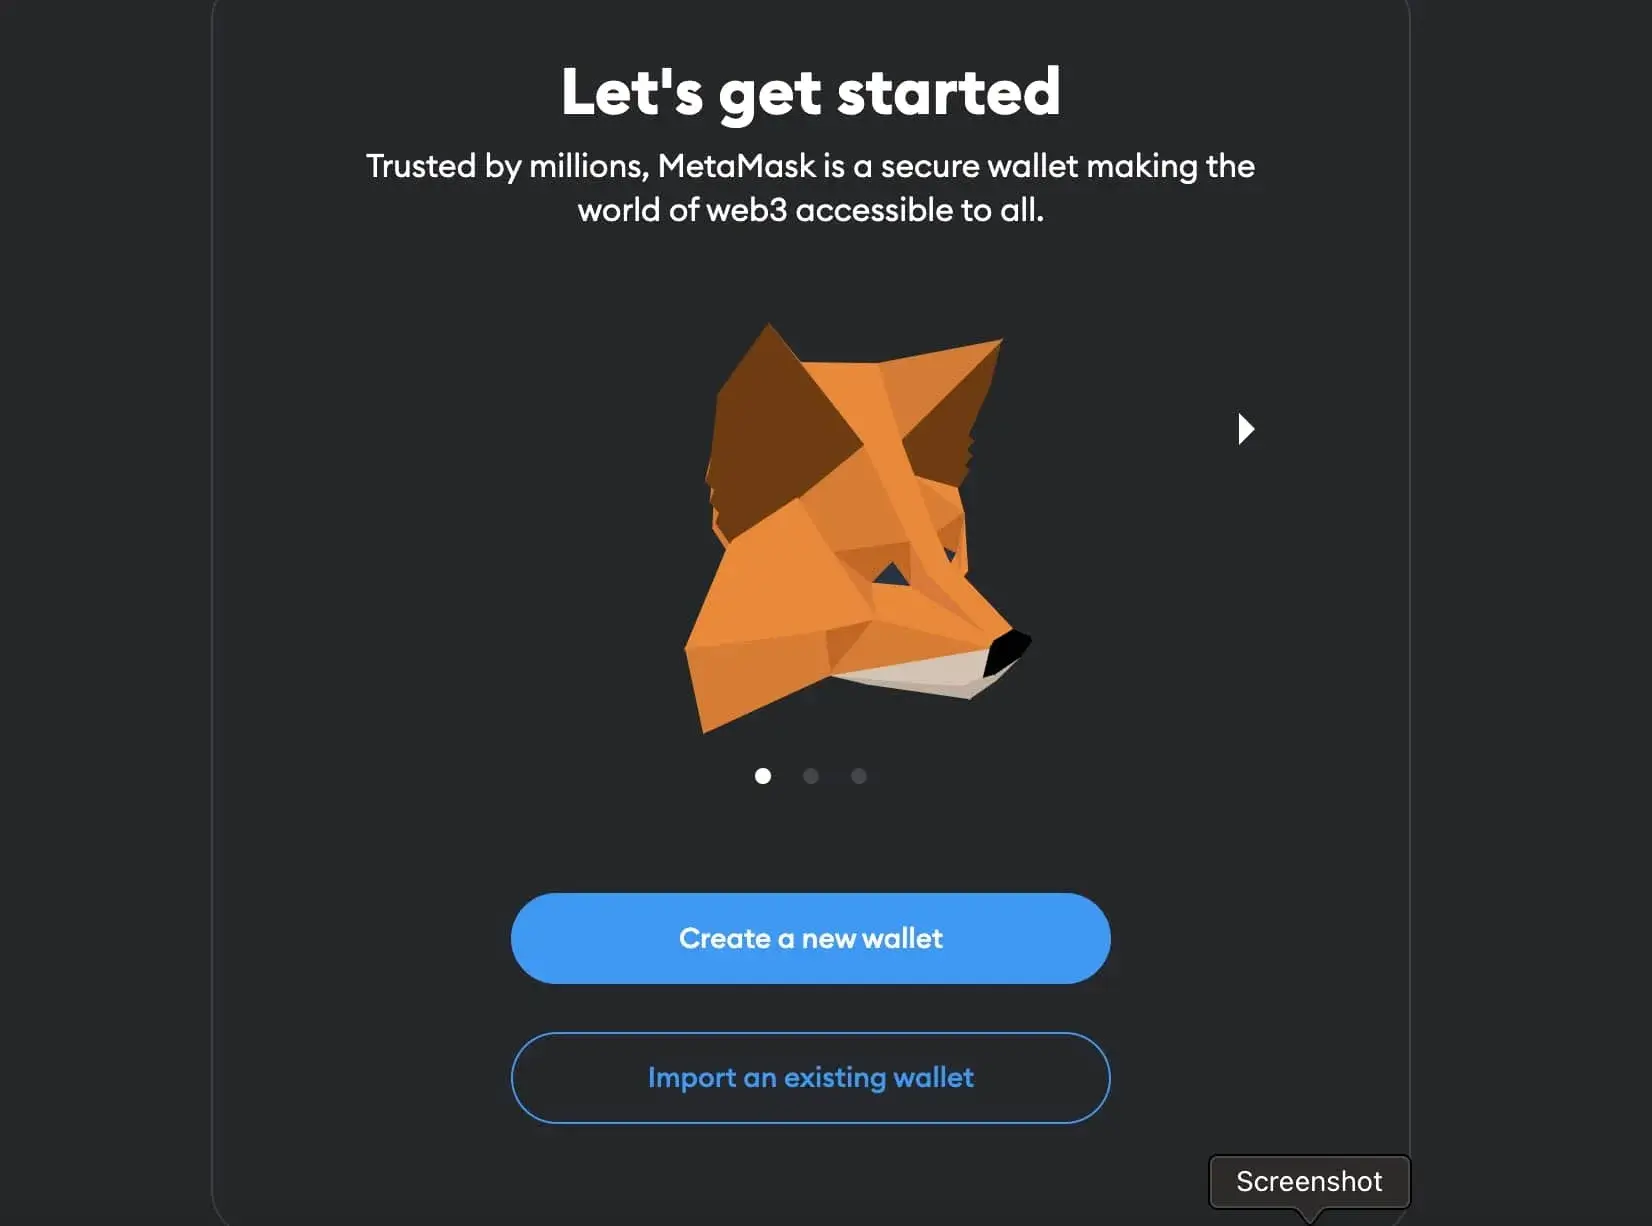
Before you can start transferring Ether, the first step is to set up a Metamask wallet. This involves installing the Metamask extension on your preferred browser and creating a new wallet. Remember to securely store your seed phrase and password, as they provide access to your wallet and are crucial for recovering lost accounts.
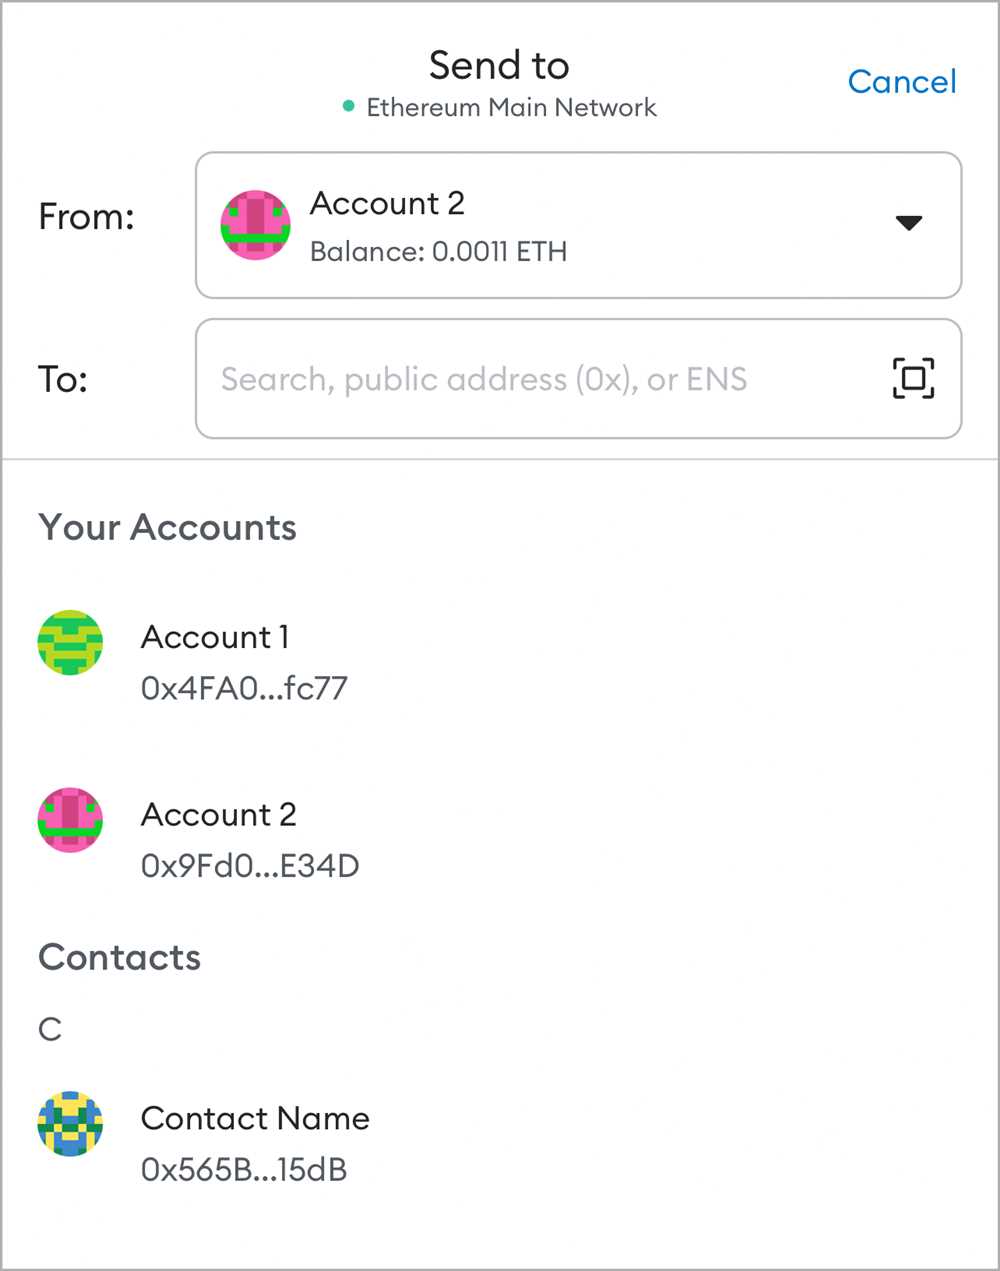
Once you have your wallet set up, you can easily transfer Ether to it. Start by obtaining the wallet address from your Metamask account. This address is a unique identifier that allows others to send Ether to your wallet. It’s important to double-check the address before initiating a transfer, as sending Ether to the wrong address can result in permanent loss.
Now that you have your wallet address, you can receive Ether from another account or cryptocurrency exchange. To initiate the transfer, you’ll need to provide the sender with your wallet address. They can then use this address to send Ether directly to your Metamask wallet. It’s worth noting that transferring Ether from one wallet to another typically incurs a small transaction fee, which goes to the miners who validate and record the transaction on the Ethereum blockchain.
After the transfer is initiated, you can monitor its progress on the Ethereum blockchain. This decentralized ledger records all transactions and ensures their validity. Depending on network congestion, the transfer may take a few minutes to complete. Once the transfer is confirmed, the Ether will be available in your Metamask wallet, ready for you to use for various purposes, such as participating in Decentralized Finance (DeFi) protocols or purchasing non-fungible tokens (NFTs).
Mastering the basics of transferring Ether to your Metamask wallet is an essential skill for anyone looking to navigate the world of cryptocurrencies. By following these simple steps, you can securely move your Ether and take advantage of the numerous opportunities that the Ethereum network offers.
Beginner’s Guide to Transferring Ether to Your Metamask Wallet
Metamask is a popular Ethereum wallet that allows users to manage their Ether and interact with decentralized applications (dapps) on the Ethereum network. If you’re new to cryptocurrency and want to start using Metamask, this guide will walk you through the process of transferring Ether to your Metamask wallet.
Before you begin, make sure you have already installed the Metamask extension on your browser. Once you have Metamask set up, follow these steps:
- Open your Metamask wallet by clicking on the extension icon in your browser toolbar.
- Click on the “Deposit” button to reveal your wallet’s address and QR code.
- Copy the wallet address or scan the QR code with a mobile wallet app.
- Go to your existing wallet or exchange where you have Ether.
- Initiate a transfer of Ether to the address you copied from Metamask.
- Double-check the recipient address to ensure it matches the one in your Metamask wallet.
- Confirm the transaction and wait for it to be processed.
Once the transfer is complete, you should see the Ether in your Metamask wallet. Keep in mind that it may take some time for the transaction to be confirmed on the Ethereum network, so be patient and check back later if you don’t see the funds immediately.
It’s important to note that Metamask is a non-custodial wallet, which means you have full control over your funds. However, with great power comes great responsibility. Make sure to backup your wallet’s seed phrase and store it in a secure location. Losing access to your seed phrase can result in a permanent loss of your funds.
Now that you have successfully transferred Ether to your Metamask wallet, you can start exploring the world of decentralized finance (DeFi), NFTs, and other Ethereum-based dapps. Remember to do your own research and be cautious when interacting with unknown smart contracts or sending your Ether to unfamiliar addresses.
Congratulations on completing this beginner’s guide to transferring Ether to your Metamask wallet. Happy exploring!
Understanding the Fundamentals
Before you can start transferring ether to your Metamask wallet, it’s important to understand the fundamentals of the Ethereum network and how it works.
Ethereum is a decentralized blockchain platform that enables the execution of smart contracts. Ether is the native cryptocurrency of the Ethereum network and is used to facilitate transactions and power decentralized applications (dApps) on the platform.
A wallet, such as Metamask, is a software interface that allows you to securely store and manage your Ethereum assets, including ether. It is important to note that a wallet does not actually store any cryptocurrency, but rather stores the private keys that grant access to your assets on the blockchain.
Public and Private Keys
When you create a wallet on Metamask, it generates a unique pair of cryptographic keys: a public key and a private key. The public key is the address that you share with others to receive ether, while the private key is a secret code that allows you to access and transfer your ether. It is crucial to keep your private key secure and never share it with anyone.
Gas Fees
In order to execute transactions on the Ethereum network, you need to pay a fee known as gas. Gas is the fuel that powers the network and is paid in ether. Each transaction on the network requires a certain amount of gas, which is determined by the complexity of the transaction and the congestion on the network. Gas fees can vary greatly, so it’s important to be aware of the current gas prices before making a transaction.
By understanding these fundamentals, you will be well-equipped to transfer ether to your Metamask wallet and navigate the Ethereum network with confidence.
Step-by-Step Process for Transferring Ether
To successfully transfer Ether to your Metamask wallet, follow the steps below:
| Step 1: | Launch the Metamask application on your device. |
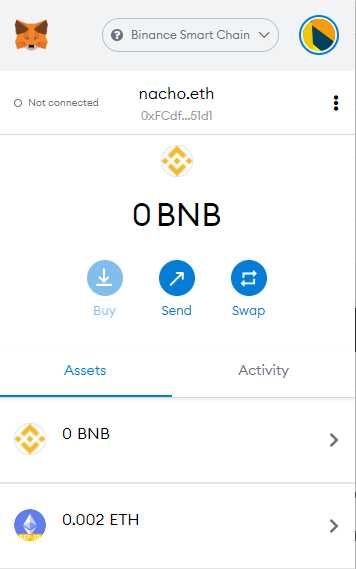
| Step 2: | Ensure that your Metamask wallet is connected to the Ethereum mainnet or the network of your choice. |
| Step 3: | Copy your Metamask wallet address from the application. |
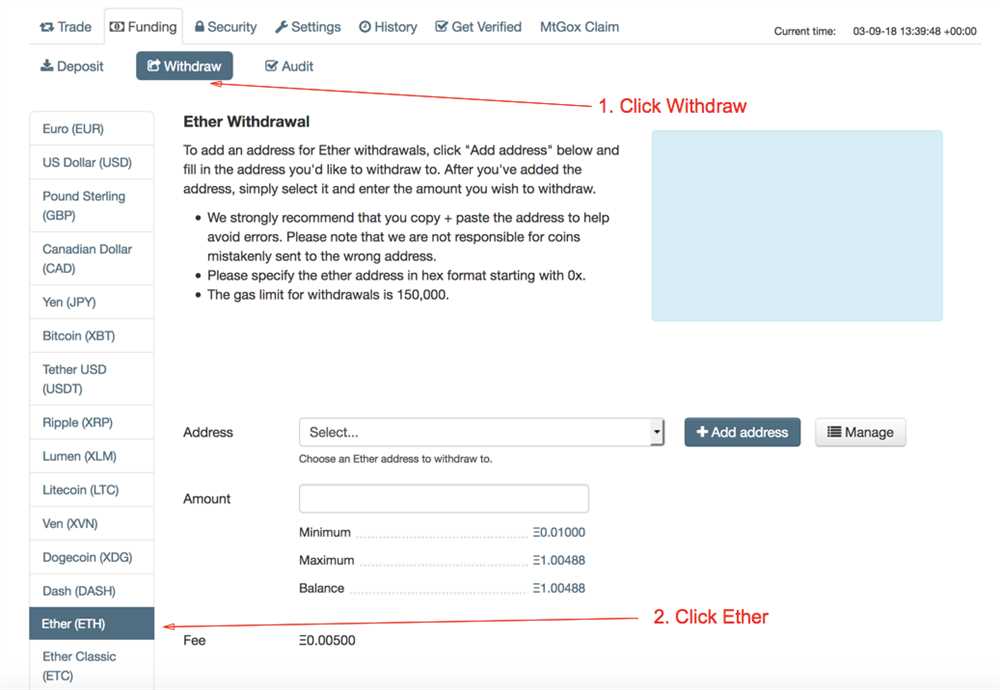
| Step 4: | Visit the platform or exchange from which you want to transfer Ether. Ensure that you have sufficient Ether in your account. |
| Step 5: | Look for the “Send” or “Withdraw” option on the platform. Click on it to initiate the transfer process. |
| Step 6: | Paste your Metamask wallet address into the recipient’s address field. |
| Step 7: | Specify the amount of Ether you wish to transfer. Double-check the amount to ensure accuracy. |
| Step 8: | Review the transaction details and fees associated with the transfer. |
| Step 9: | Once you are satisfied with the details, confirm the transaction and wait for it to be processed. |
| Step 10: | Check your Metamask wallet to ensure that the transferred Ether has been successfully added to your balance. |
Following these steps properly will ensure a smooth transfer process and help you securely store your Ether in your Metamask wallet.
Frequently Asked Questions:
Is it necessary to have a Metamask wallet to transfer Ether?
Yes, you need to have a Metamask wallet in order to transfer Ether. Metamask is a popular Ethereum wallet that allows users to store, send, and receive Ether and other ERC-20 tokens.
Can I transfer other cryptocurrencies to my Metamask wallet?
Yes, you can transfer other cryptocurrencies to your Metamask wallet, but you will need to convert them to Ether first. Metamask primarily supports Ethereum and ERC-20 tokens, so if you have cryptocurrencies from other blockchains, you will need to use a cryptocurrency exchange to convert them to Ether and then transfer them to your Metamask wallet.
Are there any transaction fees when transferring Ether to a Metamask wallet?
Yes, there are transaction fees associated with transferring Ether to a Metamask wallet. These fees are paid to the miners who process and validate transactions on the Ethereum network. The fee amount varies depending on the network congestion and the gas price you set for the transaction.
+ There are no comments
Add yours