


Are you excited about the Solana Network and want to seamlessly integrate it into your Metamask wallet? Look no further! In this step-by-step guide, we will walk you through the process of integrating Solana Network into your Metamask wallet with ease.
Metamask is a popular Ethereum wallet that allows users to interact with decentralized applications (dapps) on the Ethereum blockchain. With the increasing popularity of Solana Network, many users are looking to expand their capabilities and explore the endless possibilities it offers. By integrating Solana Network into your Metamask wallet, you can seamlessly switch between Ethereum and Solana, opening up a world of decentralized finance (DeFi) opportunities.
Before we get started, make sure you have the latest version of Metamask installed on your device. If you haven’t installed Metamask yet, you can easily download and set it up from the official Metamask website. Once you have it installed, follow these easy steps to integrate Solana Network:
Step 1: Accessing the Metamask Settings
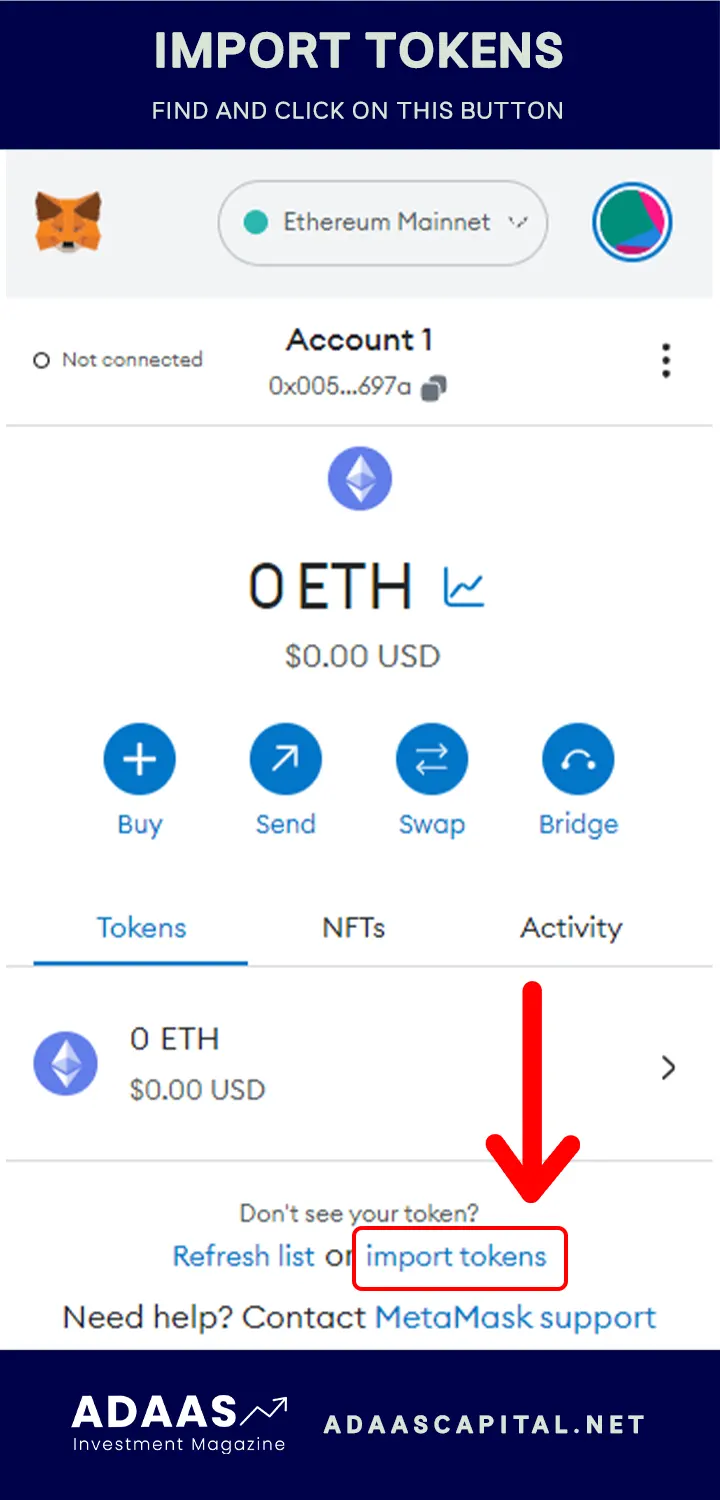
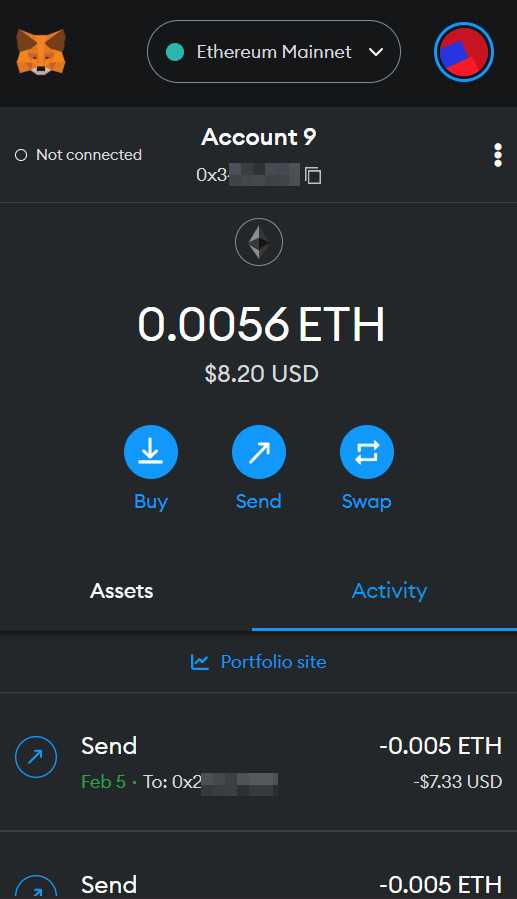
To get started, open your Metamask wallet and click on the menu icon in the top right corner. From the dropdown menu, select “Settings”. This will open the Settings page where you can manage different networks and configurations.
Step 2: Adding a Custom Network
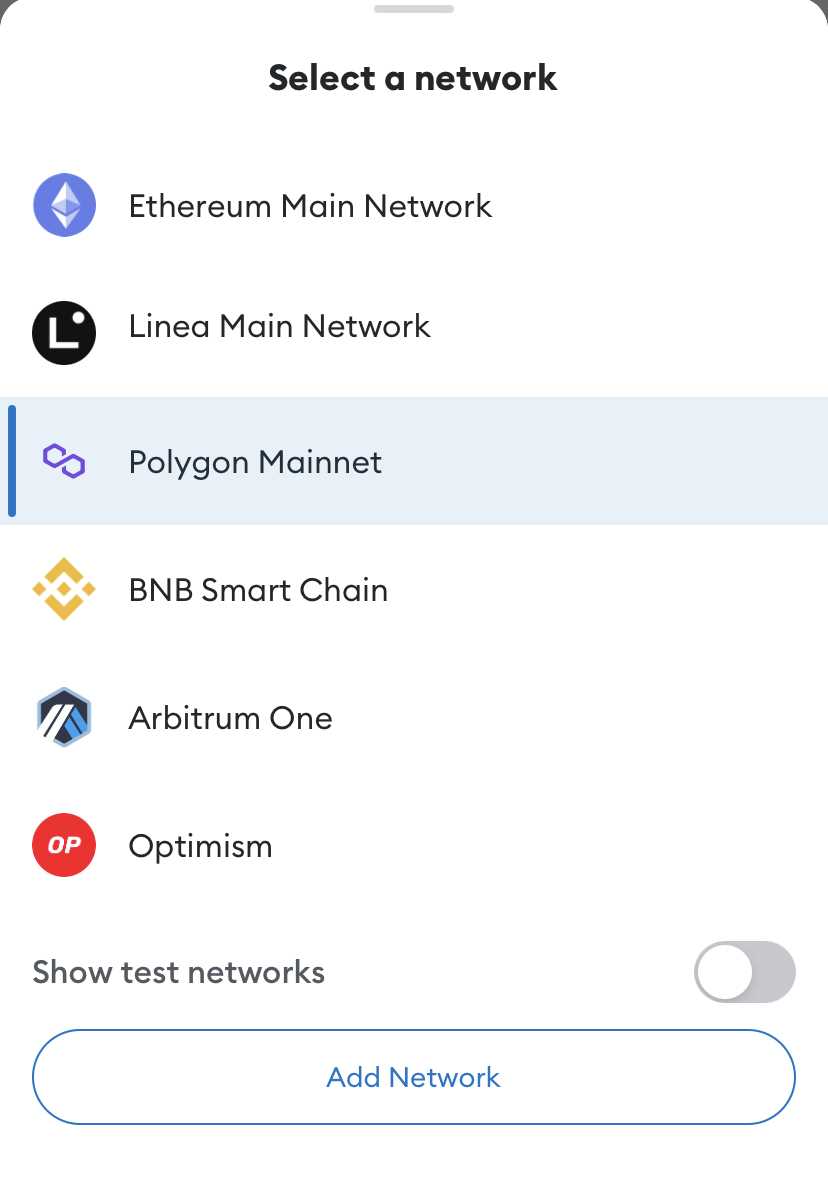
In the Settings page, click on the “Networks” tab. Scroll down and click on the “Add Network” button. This will prompt a form where you can enter the details of the Solana Network.
Step 3: Filling in the Network Details
In the form, enter the following details:
- Network Name: Solana
- New RPC URL: https://api.mainnet-beta.solana.com
- Chain ID: 101
- Currency Symbol: SOL
- Block Explorer URL: https://explorer.solana.com
Once you have entered all the details, click on the “Save” button to add Solana Network to your Metamask wallet.
Step 4: Switching to Solana Network
Congratulations! You have successfully integrated Solana Network into your Metamask wallet. To switch to the Solana Network, simply click on the network dropdown menu in the top center of your Metamask wallet and select “Solana”. You are now ready to explore Solana’s vibrant ecosystem of dapps and DeFi platforms.
That’s it! You have now seamlessly integrated Solana Network into your Metamask wallet. Enjoy the benefits of decentralized finance on the Solana blockchain while still having the convenience of accessing your Ethereum assets. Happy exploring!
Step-by-step Guide: Seamlessly Integrate Solana Network
Integrating the Solana network into your Metamask wallet can provide you with access to a fast, secure, and scalable blockchain ecosystem. In this step-by-step guide, we will walk you through the process of seamlessly integrating the Solana network into your Metamask wallet.
Step 1: Install Metamask

If you haven’t already, start by installing the Metamask wallet as a browser extension on your preferred web browser. Metamask is compatible with popular browsers like Chrome, Firefox, and Brave.
Step 2: Create or Import Wallet
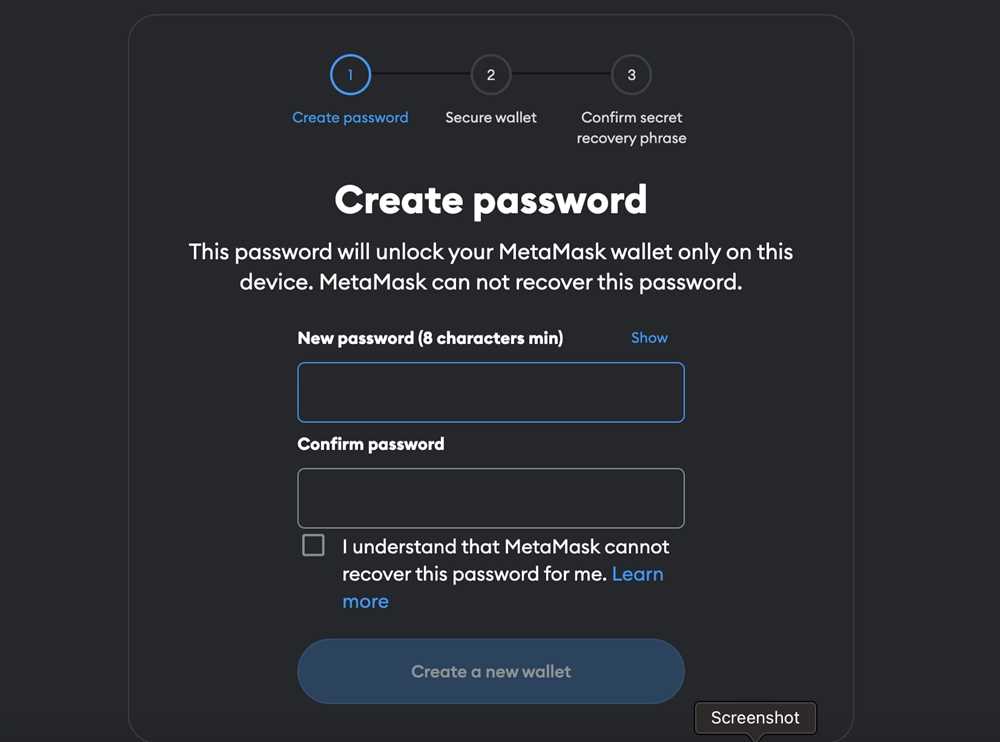
After installing Metamask, create a new wallet if you don’t have one. You can also import an existing wallet using its recovery phrase or private key. Ensure that you properly secure your wallet following best practices.
Step 3: Switch to Solana Network
Open the Metamask wallet extension and click on the network dropdown menu. Scroll down and select the “Custom RPC” option. In the RPC URL field, enter the Solana network endpoint: “https://api.mainnet-beta.solana.com”.
Step 4: Add Solana Token
To seamlessly integrate the Solana network, you’ll need to add the SOL token to your Metamask wallet. Click on the token dropdown menu in the Metamask extension, then click on “Add Token”. In the token contract address field, enter the SOL token contract address: “0x…” (or the appropriate address based on the SOL token specifications).
Step 5: Confirm and Connect
Review the details of the Solana network integration and token addition, then click on “Confirm” to proceed. Metamask will prompt you to confirm the network and token addition. Once confirmed, you will be seamlessly integrated with the Solana network.
Congratulations! You have successfully followed the step-by-step guide to seamlessly integrate the Solana network into your Metamask wallet. You can now enjoy the benefits of the fast and scalable network for your transactions and interactions within the Solana ecosystem.
Prepare Your Metamask Wallet
Before you can seamlessly integrate Solana Network into your Metamask wallet, you need to complete a few preparatory steps.
Step 1: Install Metamask
If you don’t already have Metamask installed, you’ll need to download and set it up. Visit the Metamask website (https://metamask.io/) and download the extension for your preferred web browser. Follow the installation instructions and create a new wallet or import an existing one if you have it.
Step 2: Add the Solana Network to Metamask
- Open the Metamask extension in your web browser and click on the network selection dropdown (usually located near the top of the window).
- Scroll to the bottom and click on “Custom RPC”.
- In the “New Network” form, enter the following information:
- Network Name: Solana
- New RPC URL: https://api.mainnet-beta.solana.com
- Chain ID: 101
- Currency Symbol: SOL
- Click on “Save” to add the Solana Network to your Metamask wallet.
Step 3: Connect Metamask to the Solana Network
- Ensure that you have selected the Solana Network by clicking on the network selection dropdown and choosing “Solana”.
- You can now use your Metamask wallet to seamlessly interact with the Solana Network and its decentralized applications (dApps).
By completing these steps, you have successfully prepared your Metamask wallet for the seamless integration of the Solana Network. Proceed to the next step to learn how to import Solana tokens into your wallet and start transacting on the network.
Install Solana Network Extension
In order to seamlessly integrate the Solana network into your Metamask wallet, you will need to install the Solana network extension. Here are the step-by-step instructions:
Step 1: Open the Chrome Web Store
First, open the Chrome Web Store by clicking the three dots in the upper right-hand corner of your Google Chrome browser and selecting “More Tools” and then “Extensions.”
Step 2: Search for Solana Network
In the Chrome Web Store search bar, type “Solana Network” and press enter. Look for the official Solana network extension developed by the Solana Foundation.
Step 3: Install the Extension
Click on the “Add to Chrome” button to start the installation process. A pop-up window will appear with information about the extension. Review the permissions and click “Add extension” to proceed.
Step 4: Configure the Extension
Once the extension is installed, you will see the Solana logo added to your browser toolbar. Click on the logo to access the extension settings. Here, you can configure the network parameters and add custom networks.
That’s it! You have successfully installed the Solana network extension on your Metamask wallet. Now you can seamlessly integrate the Solana network and start exploring and transacting on the Solana blockchain!
Connect Metamask Wallet to Solana Network
In order to seamlessly integrate your Metamask wallet with the Solana network, you need to follow the steps below:
Step 1: Download Solana Extension
The first thing you need to do is add the Solana extension to your browser. To do this, go to the Solana website and download the Solana extension for your respective browser (Chrome, Firefox, or Brave).
Step 2: Add the Solana Network to Metamask
- Once you have the Solana extension installed, open your Metamask wallet.
- Click on the network selection dropdown on the top right corner of the Metamask popup.
- Select “Custom RPC” from the list.
- In the “New RPC URL” field, enter the Solana network RPC URL which is “https://api.mainnet-beta.solana.com”.
- In the “Chain ID” field, enter “101” as the chain ID for the Solana network.
- Click “Save” to add the Solana network to your Metamask wallet.
Step 3: Connect Metamask to Solana Extension
- After adding the Solana network to Metamask, click on the metamask extension icon in your browser toolbar.
- At the bottom of the popup, you will see the Solana extension icon. Click on it.
- A new window will open with Solana wallet options.
- Click on the “Connect” button to connect your Metamask wallet to the Solana extension.
- Follow the prompts and authorize the connection.
Once you have completed these steps, your Metamask wallet will be seamlessly integrated with the Solana network. You can now use your Metamask wallet to interact with Solana dApps and perform transactions on the Solana network.
Test and Verify Integration
Once you have successfully integrated the Solana network into your Metamask wallet, it’s important to test and verify that the integration is working correctly. This will ensure that you can seamlessly use your Metamask wallet with the Solana network for various decentralized applications (dApps).
1. Connect to the Solana Network
To test the integration, open your Metamask wallet and ensure that you are connected to the Solana network. You can do this by clicking on the network dropdown menu in the top right corner of the Metamask extension and selecting the Solana network.
2. Test a Solana dApp
Find a Solana decentralized application (dApp) that you want to test with your Metamask wallet. This could be a decentralized exchange, a decentralized finance (DeFi) platform, a gaming dApp, or any other dApp that is built on the Solana network.
Once you have selected a dApp, navigate to its website and follow the instructions for connecting your wallet. Typically, you will need to click on a “Connect Wallet” or “Connect Metamask” button. This will prompt Metamask to pop up and ask for your permission to connect.
3. Perform Transactions
After successfully connecting your wallet to the Solana dApp, you can now perform transactions on the dApp. This may include buying or selling tokens, providing liquidity, staking, or any other action supported by the dApp.
Make sure to carefully review the transaction details before confirming, as transactions on the blockchain are irreversible. Double-check the token addresses, the amounts you are transacting, and any other relevant information to ensure accuracy.
By testing and verifying the integration in this way, you can ensure that your Metamask wallet is seamlessly integrated with the Solana network and ready for use with various Solana dApps.
Frequently Asked Questions:
What is Solana Network?
Solana Network is a high-performance blockchain platform that aims to provide fast and scalable solutions for decentralized applications.
Why should I integrate Solana Network into my Metamask Wallet?
Integrating Solana Network into your Metamask Wallet allows you to access and interact with decentralized applications (dApps) built on the Solana blockchain.
How can I integrate Solana Network into my Metamask Wallet?
To integrate Solana Network into your Metamask Wallet, you need to first add the Solana network to your network list and configure it with the correct RPC endpoint and chain ID.
Can I use my Metamask Wallet to interact with dApps on the Solana Network?
Yes, once you have integrated Solana Network into your Metamask Wallet, you can use your wallet to interact with any dApps built on the Solana blockchain.
+ There are no comments
Add yours