


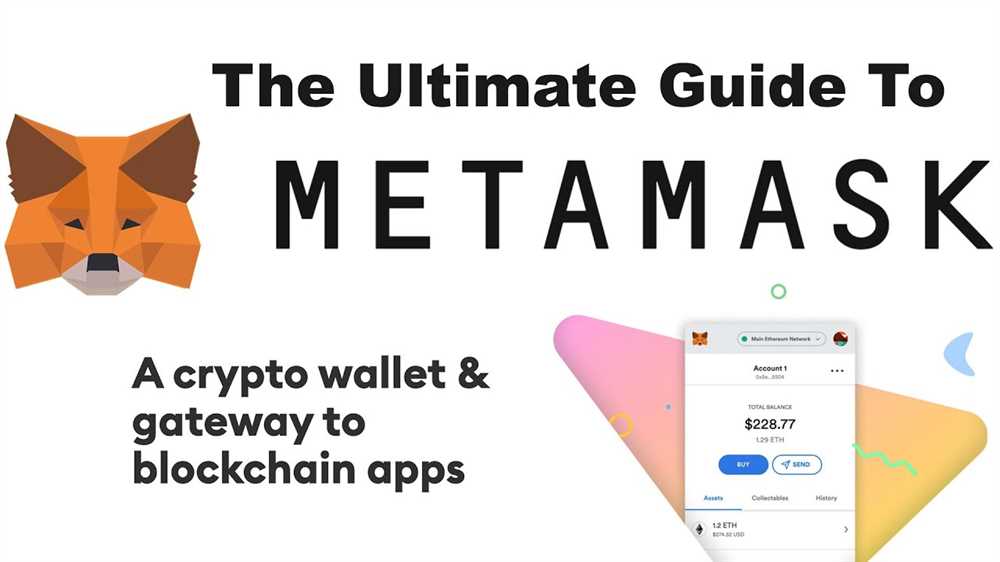
Welcome to the world of decentralized finance! As blockchain technology continues to revolutionize the way we transact and interact with digital assets, it is essential to have a secure and user-friendly wallet to manage your cryptocurrencies. One of the most popular wallets in the Ethereum ecosystem is Metamask. Whether you’re a beginner or an experienced user, this step-by-step guide will walk you through the process of setting up and utilizing your new Metamask wallet.
What is Metamask?
Metamask is a browser extension that allows users to interact with the Ethereum blockchain and seamlessly manage their digital assets. It serves as a bridge between your web browser and the decentralized web, providing a user-friendly interface for accessing decentralized applications (DApps) and securely storing your cryptocurrencies. With Metamask, you can send and receive Ether (ETH), tokens, and even participate in decentralized finance (DeFi) activities like lending, borrowing, and staking.
Setting Up Your Metamask Wallet
Getting started with Metamask is quick and easy. Follow these step-by-step instructions to set up your new wallet:
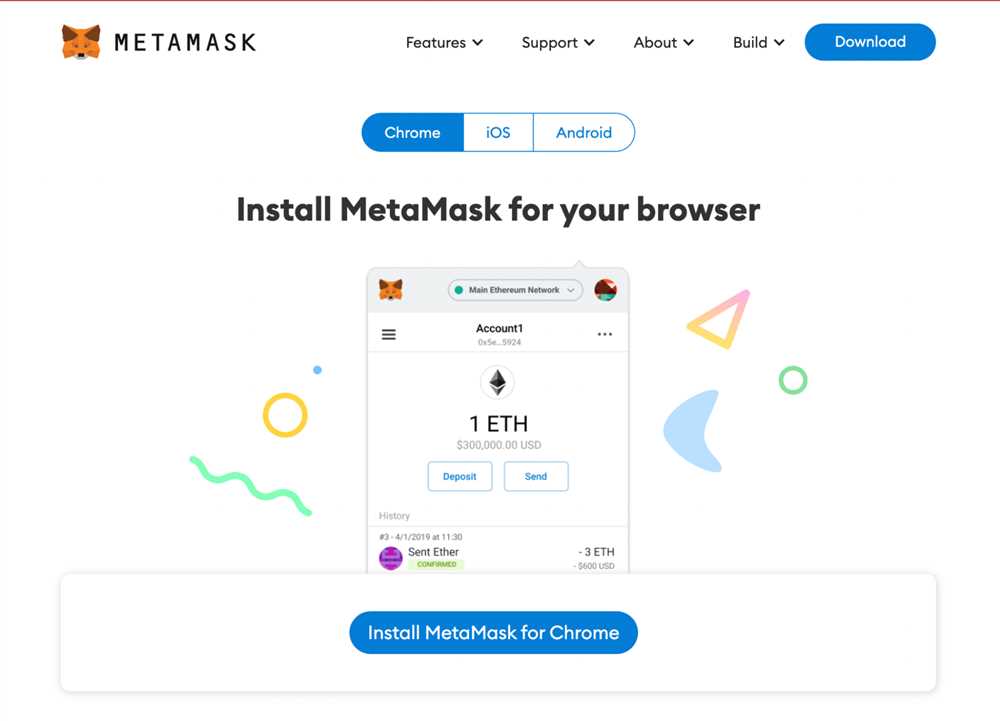
Step 1: Download and Install Metamask
To begin, go to the Metamask website (add hyperlink) and download the extension for your preferred browser. Once downloaded, follow the installation instructions to add Metamask to your browser.
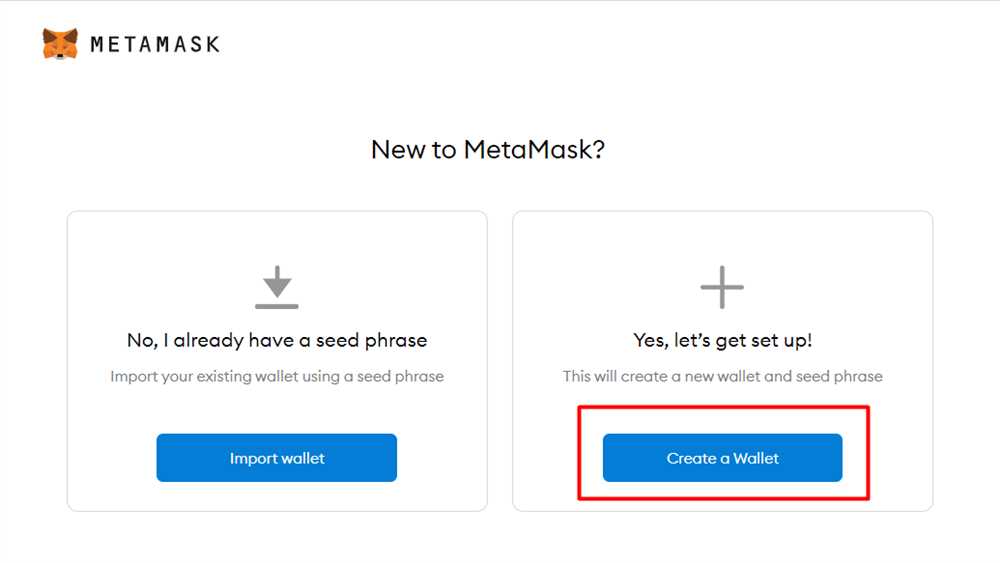
Step 2: Create a New Wallet
After installing Metamask, click on the extension icon in your browser and select “Create a Wallet.” You will be asked to set a strong password for your wallet. Make sure to choose a password that is unique and secure, as it will be used to encrypt your private keys.
Step 3: Backup Your Seed Phrase
Once you’ve set a password, Metamask will generate a unique seed phrase consisting of 12 or 24 words. This seed phrase is crucial for recovering your wallet in case you lose access to your device. Write down the seed phrase in the correct order and store it somewhere safe and offline. Do not share it with anyone.
Step 4: Confirm Your Seed Phrase
To ensure that you have correctly noted down your seed phrase, Metamask will ask you to select the words from your seed phrase in the correct order. This step acts as an additional security measure and confirms that you have securely backed up your wallet.
Step 5: Ready to Go!
Congratulations! You have successfully set up your Metamask wallet. Now, you can start exploring the world of decentralized finance, accessing decentralized applications, and securely managing your digital assets. Remember to keep your password and seed phrase safe and never share them with anyone.
With this step-by-step guide, you can confidently navigate the ins and outs of Metamask and take control of your financial sovereignty in the decentralized era. Happy HODLing and may your blockchain journey be secure and prosperous!
Getting Started with Metamask: Installation and Setup
Metamask is a popular cryptocurrency wallet that allows you to store, send, and receive Ethereum and other ERC-20 tokens. In this guide, we will walk you through the process of installing and setting up Metamask on your device.
Step 1: Installation
To begin, open your preferred web browser and navigate to the official Metamask website. You can find the website by searching for “Metamask” or by visiting metamask.io.
Once you are on the Metamask website, look for the “Download” button. Click on it to start the installation process.
Metamask is available as a browser extension for Google Chrome, Mozilla Firefox, and Brave. Choose the extension for your preferred browser and click “Install” to begin downloading the extension.
After the download is complete, the extension will appear in your browser’s toolbar. Click on it to open the Metamask login page.
Step 2: Creating a New Wallet
When you open Metamask for the first time, you will see a welcome screen. Click on the “Get Started” button to begin creating a new wallet.
Next, you will be asked to read and accept the terms of service. Take a moment to review the terms, then click on the checkbox to confirm your agreement. Click “Create” to continue.
Now, you will be prompted to create a password for your wallet. Choose a strong password that you can remember, but that is also hard for others to guess. Click “Create” when you have entered your password.
In the next step, Metamask will generate a unique twelve-word seed phrase. This phrase is used to recover your wallet in case you forget your password or lose access to your device. Write down the seed phrase and keep it in a safe place. Do not share it with anyone.
Once you have written down the seed phrase, you will be asked to confirm it. Select the words in the correct order to verify that you have written them down correctly. Click “Confirm” to proceed.
Step 3: Setting up Metamask
After confirming the seed phrase, you will be prompted to create a new account name and select an avatar for your wallet. Choose a name and avatar that you like, then click “Next” to continue.
In the next step, you have the option to enable or disable the “Privacy Mode” feature. Privacy Mode prevents websites from automatically detecting that you have installed Metamask. If you want to enable Privacy Mode, toggle the switch to the “On” position. Otherwise, leave it toggled “Off”. Click “Next” to proceed.
Congratulations! You have successfully installed and set up Metamask on your device. Now you can start using it to manage your Ethereum and ERC-20 tokens. To fund your wallet, you can either connect to a decentralized exchange or ask someone to send you tokens directly to your wallet address.
Note: It is important to keep your wallet and seed phrase secure. Be cautious of phishing attempts and never share your seed phrase or private key with anyone. Only use trusted sources to download Metamask or any other cryptocurrency wallet.
That’s it! You are now ready to explore the world of decentralized finance with Metamask.
Adding Funds to Your Metamask Wallet: A Comprehensive Guide
Once you have set up your Metamask wallet and are ready to start using it, the next step is to add funds to your wallet. Adding funds to your Metamask wallet is a simple process that allows you to easily manage and store your cryptocurrency assets.
Step 1: Open Your Metamask Wallet
To add funds to your Metamask wallet, you first need to open your wallet by clicking on the Metamask extension in your browser toolbar. Enter your password and click “Unlock” to access your wallet.
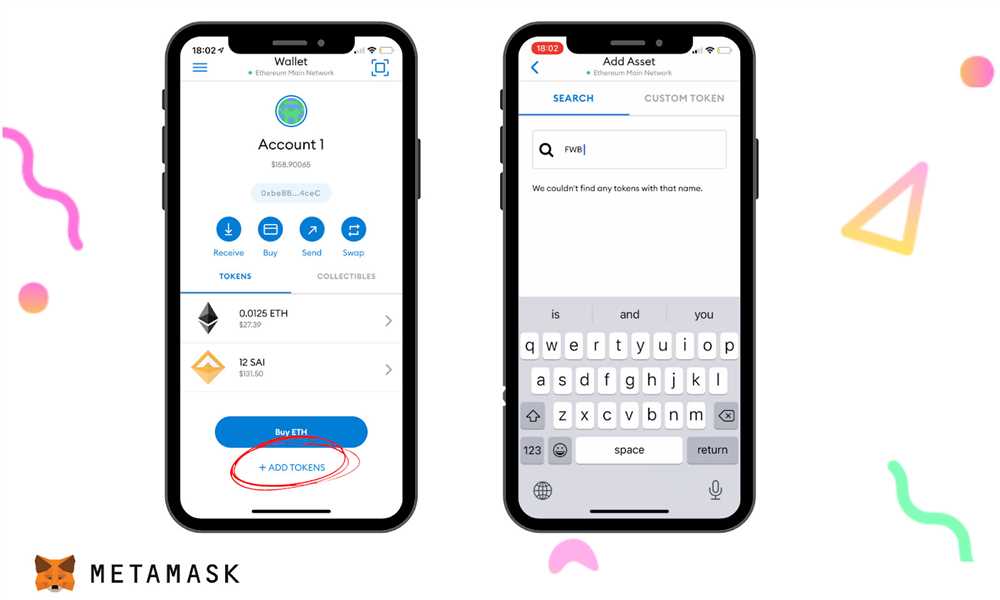
Step 2: Navigate to the “Assets” Tab
Once you have opened your wallet, navigate to the “Assets” tab. This tab displays all of the cryptocurrencies that you have added to your Metamask wallet.
Step 3: Click on “Add Token”
In the “Assets” tab, you will see a button that says “Add Token”. Click on this button to begin the process of adding funds to your wallet.
Step 4: Select the Token to Add
When you click on “Add Token”, a new window will open. In this window, you will see a search bar where you can search for the token that you want to add. Select the desired token from the list.
Step 5: Enter the Token Details
After selecting the token, you will be prompted to enter the token details, such as the contract address and the number of decimals. These details can usually be found on the website or documentation of the token you are adding. Enter the required information and click “Next”.
Step 6: Confirm and Add the Token
Review the token details you have entered and click “Add Token” to confirm and add the token to your wallet. Once the token has been added, you will see the balance reflected in your wallet.
Step 7: Repeat for Additional Tokens
If you want to add more tokens to your Metamask wallet, repeat steps 3-6 for each token you want to add. You can add multiple tokens to your wallet and easily manage them from the “Assets” tab.
Adding funds to your Metamask wallet is a crucial step in using your wallet to its full potential. By following these steps, you can easily add and manage your cryptocurrency assets all in one place.
Exploring Metamask Features: Navigating the Dashboard and Basic Functions
Metamask is a popular web-based wallet that provides users with a convenient way to interact with decentralized applications (dApps) on the Ethereum blockchain. In this section, we will explore the various features and functions available in the Metamask dashboard.
1. Installing and Accessing Metamask
Before diving into the dashboard, you must first install the Metamask extension on your web browser. Once installed, you can access the wallet by clicking on the Metamask icon in your browser’s toolbar. This will open a pop-up window where you can either import an existing wallet or create a new one.
2. Wallet Overview

Upon accessing the dashboard, you will be greeted with an overview of your wallet. This includes information such as your account balance, transaction history, and network status. You can easily switch between different Ethereum networks, such as the mainnet or testnets, using the network dropdown menu.
Additionally, Metamask provides a handy QR code feature that allows you to quickly share your wallet address with others. This can be especially useful when receiving cryptocurrency payments or participating in token sales.
3. Sending and Receiving Funds

One of the core functions of any wallet is the ability to send and receive funds. With Metamask, you can easily transfer Ether (ETH) and ERC-20 tokens to other wallet addresses. Simply click on the “Send” button, enter the recipient’s address, specify the desired amount, and confirm the transaction.
Conversely, if someone wants to send you funds, you can provide them with your wallet address or QR code. Once the transaction is initiated, you will receive a notification in Metamask, allowing you to review and approve the incoming funds.
4. Managing Assets

In addition to sending and receiving funds, Metamask allows you to manage and interact with various Ethereum-based assets. You can add custom tokens to your wallet by providing their contract address, symbol, and decimals. This enables you to view and transfer tokens directly within Metamask, as well as track their value and transaction history.
Furthermore, Metamask supports decentralized exchanges (DEX) such as Uniswap, allowing you to trade tokens directly from your wallet. This eliminates the need for third-party exchanges and offers a seamless trading experience within the Metamask dashboard.
5. Security and Privacy
Metamask takes the security and privacy of your funds seriously. You can set up a password or use biometric authentication to protect your wallet from unauthorized access. Additionally, Metamask offers a backup and restore feature, allowing you to securely store your wallet’s seed phrase or private key.
It is crucial to keep your seed phrase or private key in a safe place, as losing it may result in permanent loss of access to your funds. Metamask also provides an option to create multiple accounts within your wallet, making it easy to organize and manage different addresses.
These are just a few of the many features and functions available in the Metamask dashboard. By familiarizing yourself with these basic operations, you will be well-equipped to navigate the world of decentralized finance and take full advantage of the benefits that Metamask has to offer.
Advanced Metamask Techniques: Customizing Security Settings and Managing Tokens
Once you have successfully set up your Metamask wallet, there are advanced techniques you can use to enhance the security of your assets and customize your experience. This guide will walk you through some of these techniques, including:
- Enabling Two-Factor Authentication (2FA): Two-Factor Authentication adds an extra layer of security to your wallet by requiring a second form of verification, such as a code sent to your mobile device, in addition to your password. To enable 2FA, go to the settings menu in your Metamask wallet and follow the prompts to set up this additional security feature.
- Creating Custom Networks: Metamask allows you to connect to different networks, such as test networks or private networks. To create a custom network, navigate to the settings menu and select “Networks”. From here, you can add a new network by specifying the network name, URL, and other details.
- Importing and Managing Tokens: Metamask supports a wide range of tokens beyond just the default Ethereum token. To import a new token, click on the “Assets” tab and select “Add Token”. Enter the token contract address, and Metamask will automatically display your balance. You can also manage your tokens by clicking on the “Assets” tab, where you can view, send, or receive tokens.
By customizing your security settings and managing your tokens in Metamask, you can ensure a safer and more personalized experience while using your wallet. Remember to always double-check the addresses and contracts of tokens and websites to prevent scams or phishing attempts.
Frequently Asked Questions:
How do I set up Metamask for the first time?
To set up Metamask for the first time, you need to download and install the extension from the official Metamask website. Once it’s installed, you’ll be prompted to create a new wallet by setting a password and agreeing to the terms of service. After that, you’ll be provided with a secret backup phrase, which you should write down and keep in a safe place. Finally, you’ll need to choose a network to connect to, such as the Ethereum mainnet or a test network.
Can I use Metamask with any cryptocurrency?
Metamask primarily supports Ethereum and Ethereum-based tokens. However, you can also use Metamask with some other networks like Binance Smart Chain or Polygon. If you want to use Metamask with a cryptocurrency that is not supported by default, you may need to add a custom network or use a different wallet that supports the specific cryptocurrency.
What is the purpose of the secret backup phrase?
The secret backup phrase, also known as the mnemonic phrase, is a crucial part of securing your Metamask wallet. It consists of 12 or more randomly generated words. In case you lose access to your wallet or it gets compromised, the backup phrase allows you to restore your wallet on any compatible device. It’s important to keep the backup phrase safe and private, as anyone who has access to it can gain control of your wallet.
How can I send and receive cryptocurrency using Metamask?
To send cryptocurrency using Metamask, you need to click on the “Send” button in the wallet interface and enter the recipient’s address, the amount you want to send, and any additional optional information. Then, confirm the transaction and wait for it to be processed on the blockchain. To receive cryptocurrency, you need to share your wallet address with the sender, who can then initiate a transaction to your address.
Is it safe to use Metamask?
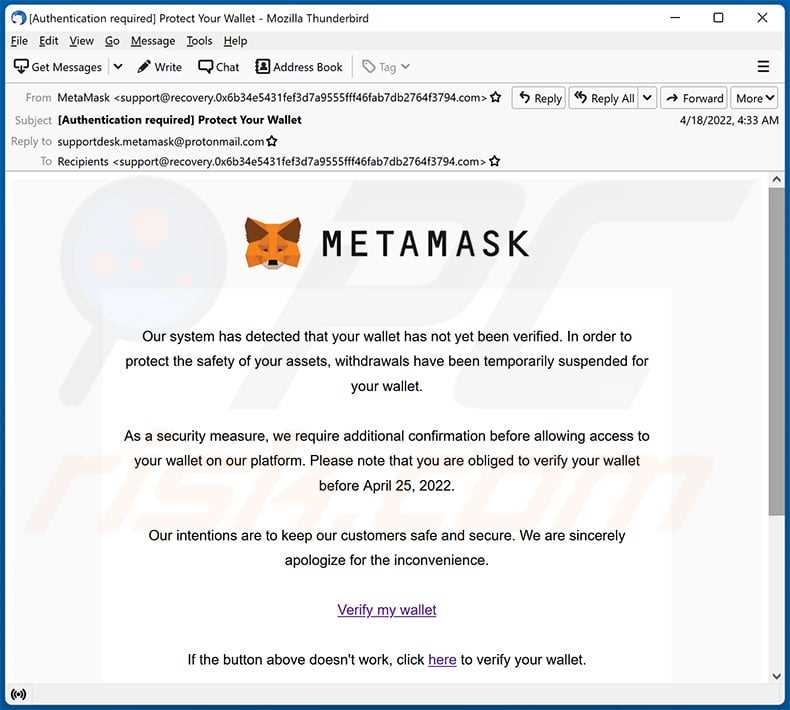
Metamask is generally considered safe to use, but it’s important to take proper security measures to protect your funds. Make sure to set a strong password for your wallet and enable two-factor authentication if available. Keep your secret backup phrase offline and secure, and be cautious of phishing attempts and malicious websites. It’s also recommended to regularly check for updates and only download Metamask from official sources.
+ There are no comments
Add yours