


If you’re a cryptocurrency enthusiast, chances are you’ve heard of Terra Network. Terra is an open-source blockchain platform that aims to create a more accessible and efficient global payment system. With its stablecoin, TerraUSD, and fast transaction speeds, Terra has gained significant popularity in the crypto community.
If you’re already using the Metamask wallet, you might be wondering how to take advantage of Terra’s features. Luckily, adding Terra Network to your Metamask wallet is a straightforward process that only takes a few minutes. In this step-by-step guide, we’ll walk you through the process of adding Terra Network to your Metamask wallet.
Step 1: Install the Metamask Extension
The first step is to install the Metamask browser extension if you haven’t already. Metamask is available for popular web browsers like Chrome, Firefox, and Brave. Simply search for “Metamask” in your browser’s extension store and follow the installation instructions. Once installed, you’ll see the Metamask icon in your browser’s toolbar.
Step 2: Create or Import a Metamask Wallet
If you don’t have a Metamask wallet yet, you’ll need to create one. Click on the Metamask icon in your browser’s toolbar and select “Create a Wallet” to create a new wallet. Follow the instructions to set up a secure password and save your seed phrase. If you already have a Metamask wallet, you can import it by clicking on the Metamask icon and selecting “Import Wallet.” Enter your seed phrase or private key to import your wallet.
Step 3: Add Terra Network
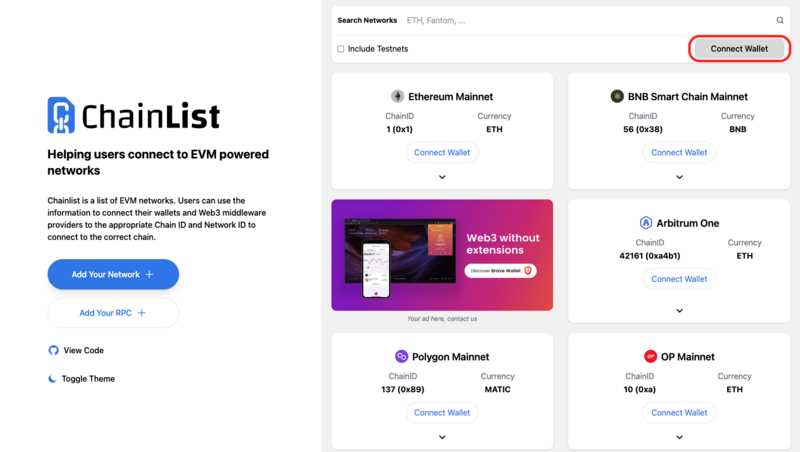
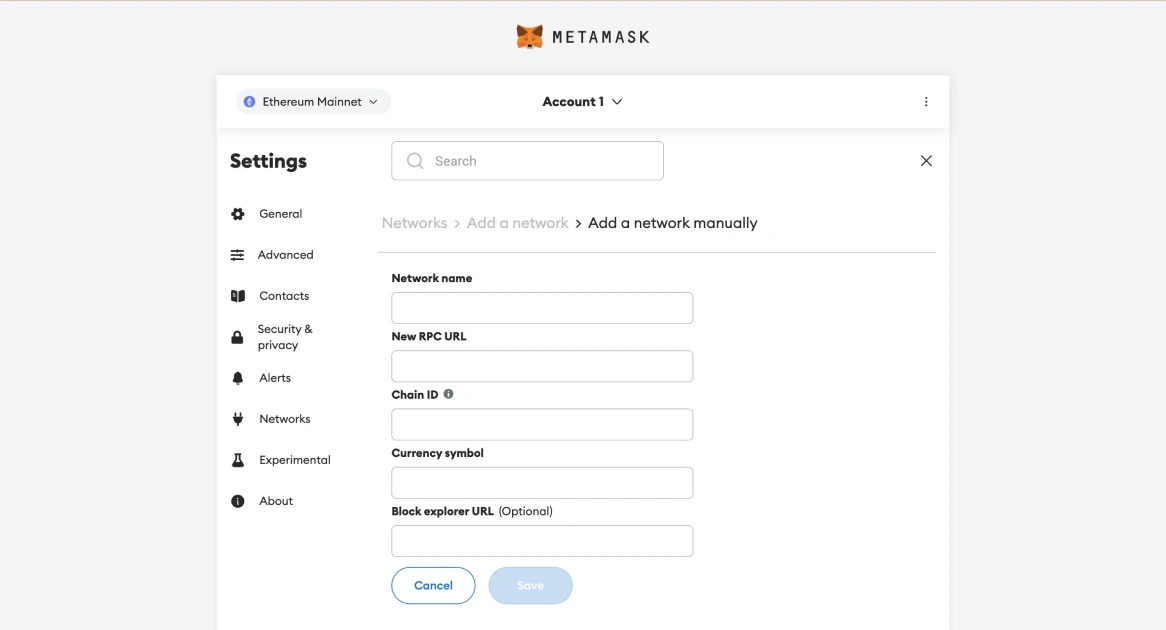
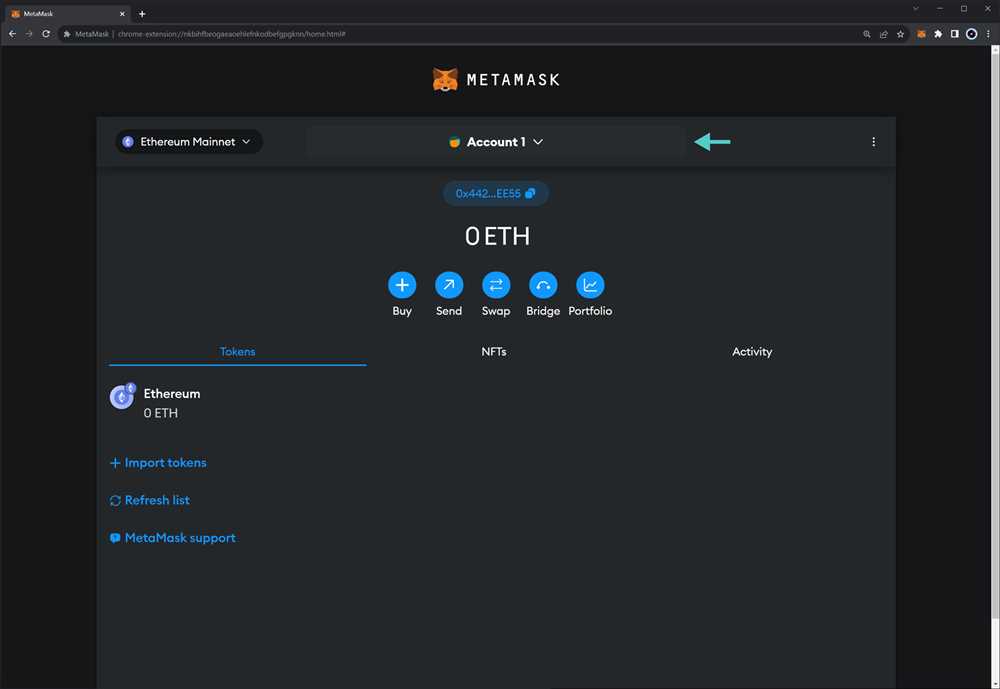
Now that you have a Metamask wallet, it’s time to add Terra Network. Click on the Metamask icon and select “Settings.” In the settings menu, click on “Networks” and then “Add Network.” Fill in the following information:
Network Name: Terra
New RPC URL: https://lcd.terra.dev
Chain ID: 0x507
Currency Symbol: Luna
Block Explorer URL: https://finder.terra.money
Once you’ve filled in the details, click “Save” to add Terra Network to your Metamask wallet.
Note: Make sure you’re adding the correct RPC URL and Chain ID for Terra Network. Double-check the information or consult the Terra documentation if necessary.
Step 4: Switch to Terra Network
With Terra Network added to your Metamask wallet, you can now switch to it. Click on the Metamask icon and select the network dropdown. Choose “Terra” from the list of available networks. Your Metamask wallet is now connected to Terra Network, and you can start using Terra’s features and applications.
Congratulations! You’ve successfully added Terra Network to your Metamask wallet. Now you can take advantage of Terra’s stablecoin and high-speed transactions right from your Metamask wallet. Happy Terra Network exploring!
Install the Metamask Extension
To begin, you will need to install the Metamask extension on your web browser. Metamask is a popular crypto wallet that allows you to securely store and manage your cryptocurrencies.
Step 1: Open the Extension Store
First, open your web browser and navigate to the extension store. The extension store can typically be found by clicking on the menu button in the top right corner of your browser and selecting “Extensions” or “Add-ons”.
Step 2: Search for Metamask
In the extension store, search for “Metamask” using the search bar or browse the available extensions until you find Metamask.
Step 3: Add to Browser
Click on the “Add to Chrome” or “Add to Firefox” button to install the Metamask extension. You may need to confirm the installation by clicking “Add” or “Install” when prompted.
Note: Metamask is available for various browsers, including Google Chrome, Firefox, and Brave. Make sure to install the extension compatible with your web browser.
Once the installation is complete, you will see the Metamask icon added to your browser’s toolbar. Click on the icon to launch Metamask and continue with the setup process.
Now that you have installed Metamask, you can proceed with adding the Terra Network to your wallet.
Create a Wallet

To add Terra Network to your Metamask wallet, you first need to create a wallet if you don’t have one already. Follow these steps to create a new wallet:
Step 1: Go to the Metamask website and download the wallet extension for your preferred browser.
Step 2: Install the extension and open Metamask.
Step 3: Click on the “Create a Wallet” button to start the wallet creation process.
Step 4: Read and accept the terms of use and privacy policy.
Step 5: Create a strong and unique password for your wallet.
Step 6: Set up a secure backup phrase (also known as a seed phrase). This phrase will be used to recover your wallet in case you forget your password.
Step 7: Write down the backup phrase and store it in a safe and secure location. Do not share it with anyone!
Step 8: Confirm your backup phrase by selecting the words in the correct order.
Step 9: Congratulations! You have successfully created a new Metamask wallet.
Note: It is recommended to use a hardware wallet or a reputable wallet service with a strong security track record to store your cryptocurrencies.
Connect to the Terra Network
To add the Terra Network to your Metamask wallet, follow these steps:
- Open your Metamask wallet extension in your browser.
- Click on the menu icon in the top right corner, and select “Settings” from the dropdown menu.
- In the left-hand menu, click on “Networks”.
- Scroll down to the “Custom RPC” section and click on “Add Network”.
- Fill in the following details:
- Network Name: Terra
- New RPC URL: https://tequila-lcd.terra.dev
- Chain ID: 0
- Currency Symbol: Luna
- Block Explorer URL: https://finder.terra.money/tequila
- Click on “Save” to save the new network.
Once you have added the Terra Network to your Metamask wallet, you will be able to interact with Terra dApps and use Terra-based tokens on the network.
Note: The above steps are specifically for the Tequila Testnet. If you want to connect to the mainnet or another Terra network, make sure to use the correct RPC URL and Chain ID for that network.
Add Terra Assets to your Wallet

In order to access and manage Terra assets in your Metamask wallet, you will need to add Terra Network as a custom network.
Step 1: Open Metamask
First, open your Metamask wallet by clicking on the extension icon located in the top right corner of your browser.
Step 2: Access Network Settings
Once the Metamask wallet interface is open, click on the network selection dropdown, which is denoted by a network name located at the top of the interface. From the dropdown menu, select “Custom RPC” to access network settings.
Step 3: Add Terra Network Details
In the network settings, you will need to enter the following details to add Terra Network:
- Network Name: Terra
- New RPC URL: https://lcd.terra.dev
- Chain ID: 0c
- Symbol: LUNA
- Block Explorer URL: https://finder.terra.money/
Ensure that all the details are entered correctly. Once filled, click on the “Save” button to save the changes.
Note: It is essential to double-check the Network Name, RPC URL, Chain ID, Symbol, and Block Explorer URL. Mistakes in these details can lead to loss of funds.
Step 4: Switch to Terra Network
After saving the changes, you can switch to the Terra Network by clicking on the network selection dropdown and selecting “Terra” from the list of available networks.
Once you have successfully added Terra Network to your Metamask wallet, you will be able to view and interact with Terra assets such as LUNA and other tokens that are built on the Terra blockchain.
Remember to exercise caution when interacting with any blockchain assets and ensure that you are transacting with legitimate projects and contracts.
Frequently Asked Questions:
What is Terra Network?
Terra Network is a blockchain-based platform that aims to provide a stable and scalable infrastructure for decentralized applications and stablecoins.
Why would I want to add Terra Network to my Metamask Wallet?
Adding Terra Network to your Metamask Wallet allows you to interact with Terra-based decentralized applications (dApps) and use Terra stablecoins within the wallet.
How can I add Terra Network to my Metamask Wallet?
You can add Terra Network to your Metamask Wallet by following these steps: 1. Open your Metamask Wallet extension in your browser. 2. Click on the network dropdown and select “Custom RPC”. 3. Enter the following details: Network Name: Terra RPC URL: https://lcd.terra.dev Chain ID: 0 Currency Symbol: Luna Block Explorer URL: https://finder.terra.money 4. Click “Save”. 5. Terra Network should now be added to your Metamask Wallet.
Is it safe to add Terra Network to my Metamask Wallet?
Yes, it is safe to add Terra Network to your Metamask Wallet as long as you follow the official instructions provided by Terra Network. Make sure to double-check the details you enter during the network setup to avoid any potential phishing attempts.
Can I use Terra stablecoins after adding Terra Network to my Metamask Wallet?
Yes, after adding Terra Network to your Metamask Wallet, you can use Terra stablecoins, such as UST, directly within the wallet. This allows you to make payments, participate in decentralized finance (DeFi) protocols, and more.
+ There are no comments
Add yours