


MetaMask is a popular browser extension that allows users to interact with Ethereum decentralized applications (dApps) and manage their digital assets securely. If you have some Ethereum (ETH) stored in your MetaMask wallet and would like to transfer it to your Coinbase account, here is a step-by-step guide to help you through the process.
Note: Before proceeding with the steps below, make sure you have both MetaMask and Coinbase accounts set up and connected to your browser.
Step 1: Open MetaMask on your browser
Click on the MetaMask extension icon in your browser’s toolbar to open the MetaMask wallet. Enter your password or unlock it if necessary.
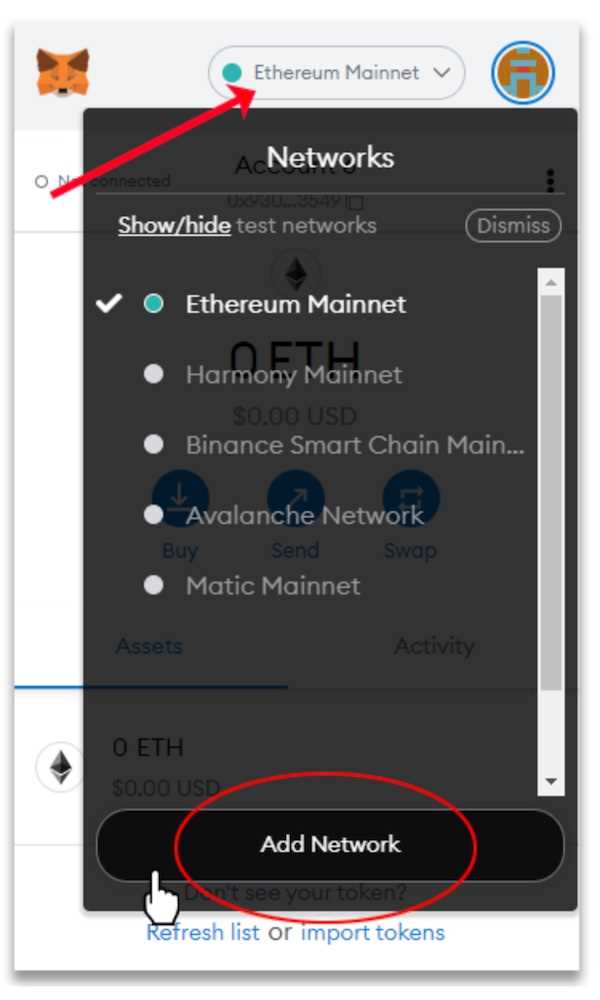
Step 2: Choose the correct network
Make sure you are on the correct Ethereum network. Click on the network dropdown menu at the top of the MetaMask window and select “Ethereum Mainnet” if it’s not already selected.
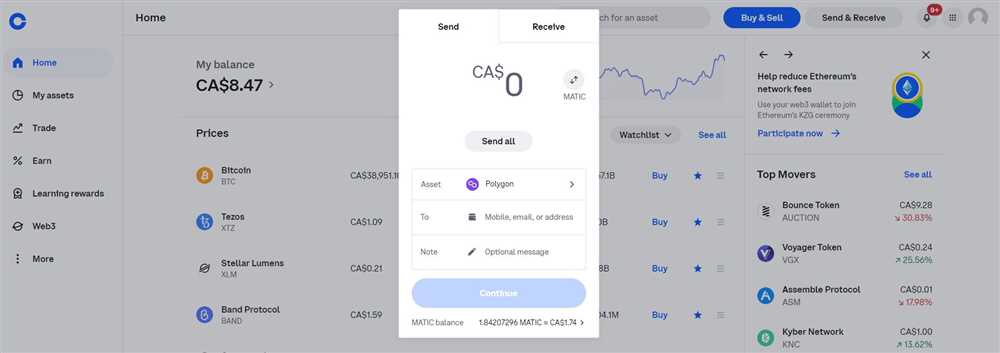
Step 3: Go to the “Send” tab
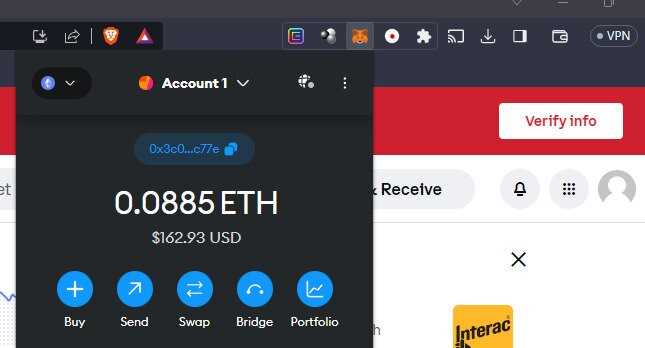
In the MetaMask wallet, click on the “Send” tab located at the top of the window.
Step 4: Enter the recipient address
In the “Recipient Address” field, enter the Ethereum address of your Coinbase account where you want to send the ETH.
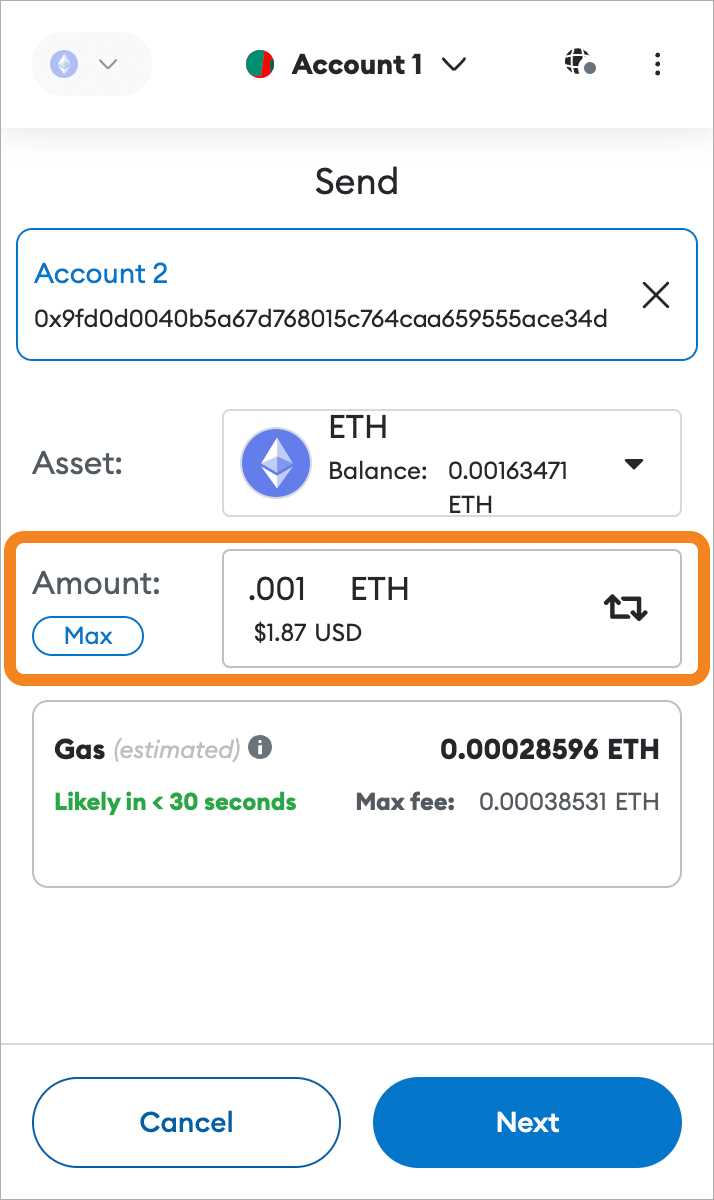
Step 5: Specify the amount to send
In the “Amount” field, enter the amount of ETH you wish to transfer from your MetaMask wallet to Coinbase.
Step 6: Set the gas fee
Set the appropriate gas fee for your transaction. You can either use the recommended gas fee or adjust it manually.
Step 7: Review and confirm the transaction
Double-check all the details of the transaction, including the recipient address and the amount to send. Once you are sure everything is correct, click on the “Next” button.
Step 8: Confirm the transaction in MetaMask
A MetaMask pop-up window will appear, displaying the transaction details. Review the details once again and click on the “Confirm” button to proceed with the transaction.
Step 9: Wait for the transaction to be processed
After confirming the transaction, you will see a confirmation screen in MetaMask. Now, you’ll need to wait for the Ethereum network to process the transaction. The time it takes for the transaction to be completed may vary depending on the network congestion.
Step 10: Check your Coinbase account
Once the transaction is successfully processed, check your Coinbase account to ensure that the ETH has been transferred. You should see the new balance reflected in your account.
That’s it! You have successfully sent ETH from your MetaMask wallet to your Coinbase account. Now you can use your ETH on Coinbase or exchange it for other cryptocurrencies.
Connect MetaMask to Coinbase
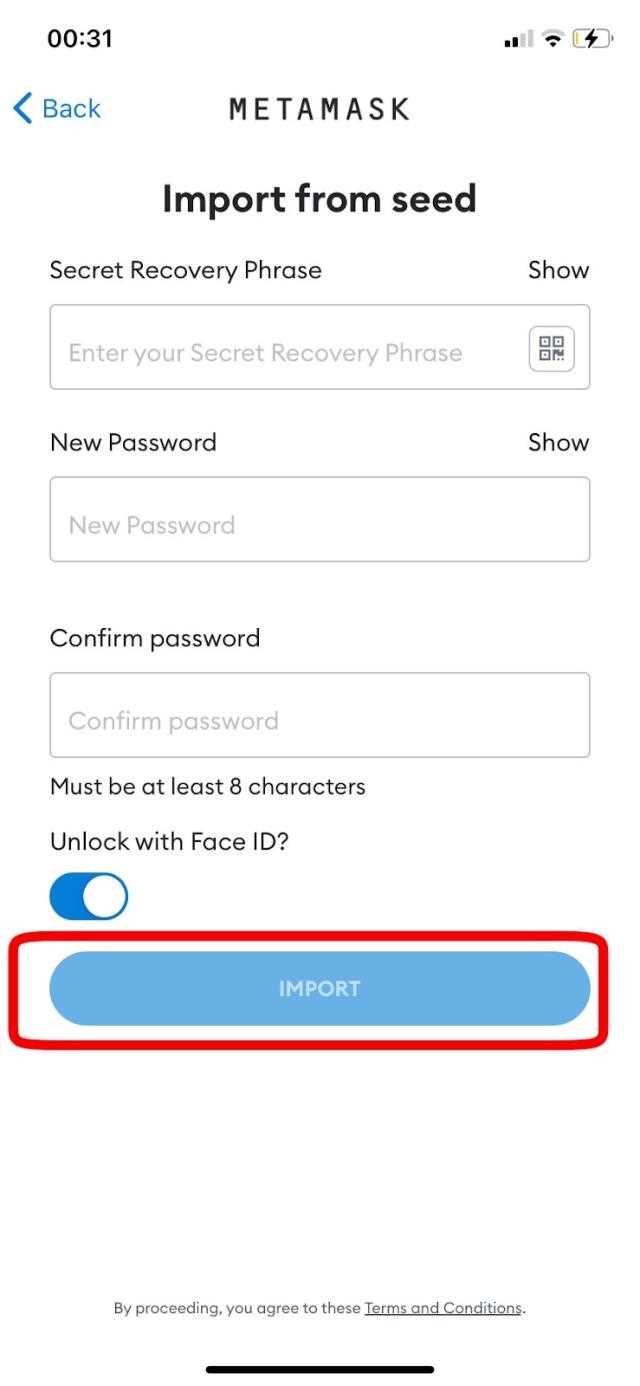
To send ETH from MetaMask to Coinbase, you’ll need to connect your MetaMask wallet to your Coinbase account. Follow these steps:
- Open MetaMask: Ensure that you have the MetaMask extension installed in your web browser. Open MetaMask by clicking the extension icon.
- Sign in to MetaMask: If you haven’t already signed in, enter your MetaMask password and click “Unlock” to access your wallet.
- Switch the network to Ethereum Mainnet: Make sure you’re connected to the Ethereum Mainnet in MetaMask. You can do this by clicking on the network dropdown and selecting “Ethereum Mainnet”.
- Copy your MetaMask address: Click on the account icon in MetaMask to copy your wallet address to the clipboard.
- Login to Coinbase: Navigate to the Coinbase website and sign in to your account.
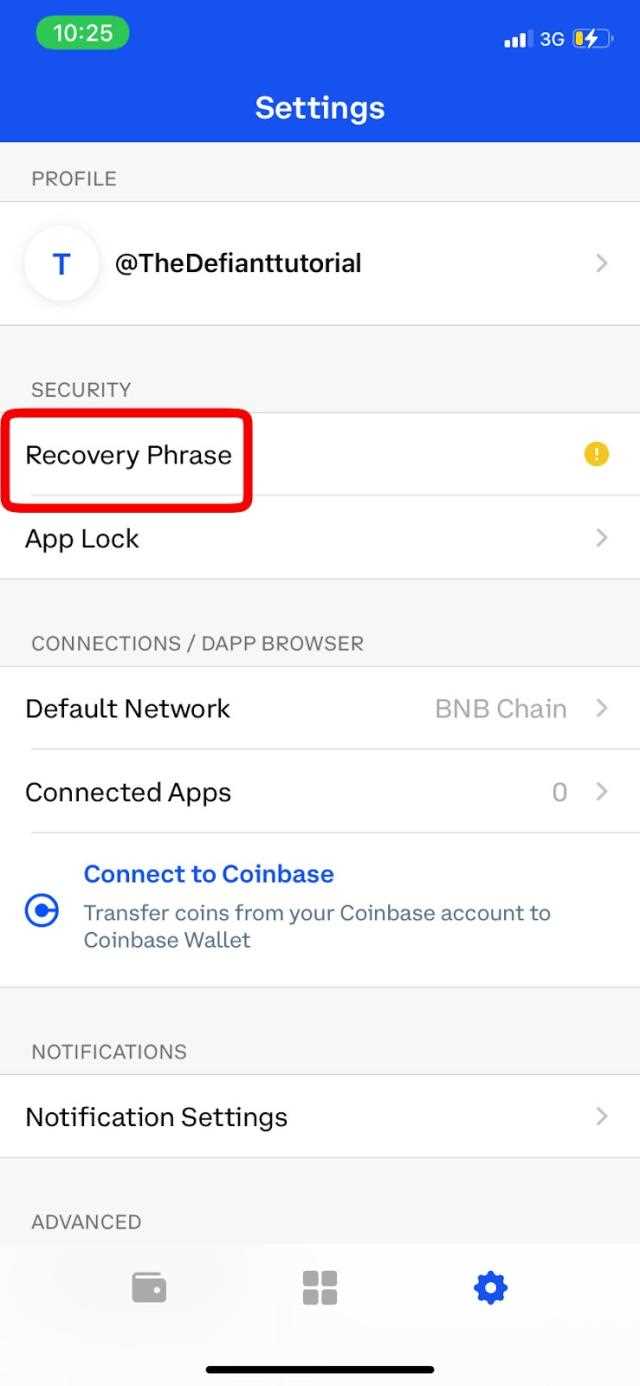
- Navigate to “Settings” in Coinbase: Once logged in, click on the user icon in the top right corner and select “Settings” from the dropdown menu.
- Add a new “Crypto Address” in Coinbase: Under the “Linked Accounts” section, click on “Add New Address” next to “Crypto Addresses.”
- Paste your MetaMask address: In the popup window, select “Ethereum” as the cryptocurrency and paste your MetaMask address in the input field. Click “Add Address” to save your MetaMask wallet address in Coinbase.
- Verify the added address: Coinbase may ask you to verify the address by sending a small amount of ETH to your MetaMask wallet and confirming the transaction.
- Connect MetaMask to Coinbase: Once your address is verified, you have successfully connected your MetaMask wallet to your Coinbase account.
Now you’re ready to send ETH from MetaMask to Coinbase! You can proceed with following the steps outlined in the step-by-step guide for sending ETH from MetaMask to Coinbase.
Transfer ETH from MetaMask to Coinbase Wallet
If you want to transfer your Ethereum (ETH) from your MetaMask wallet to your Coinbase wallet, follow these step-by-step instructions:
Step 1: Log in to MetaMask
- Open the MetaMask browser extension.
- Enter your password and click on “Unlock” to access your MetaMask wallet.
Step 2: Copy Your Coinbase Wallet Address
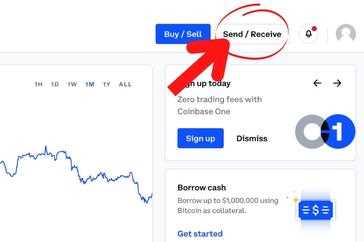
- Log in to your Coinbase account.
- In your Coinbase wallet, find and copy your Ethereum wallet address.
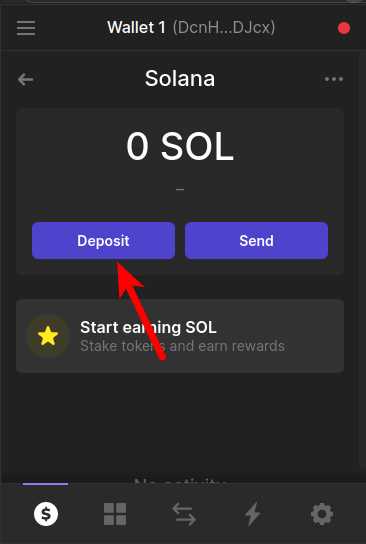
Step 3: Send ETH from MetaMask

- In your MetaMask wallet, click on the “Send” button.
- Paste your Coinbase wallet address in the “Recipient Address” field.
- Enter the amount of ETH you want to send.
- Review the transaction details and fees.
- Click on “Next” and confirm the transaction.
- Wait for the transaction to be confirmed on the Ethereum network.
That’s it! You have successfully transferred your ETH from MetaMask to your Coinbase wallet. Please note that the transaction may take some time to be processed, depending on the network congestion.
Confirm the Transaction
Once you have double-checked all the details of your transaction, you can proceed to confirm the transaction.
To confirm the transaction in MetaMask:
- Make sure you have your MetaMask extension open and unlocked.
- Review the transaction details on MetaMask, including the recipient address and the amount of ETH you are sending.
- Confirm that you have enough ETH in your account to cover the transaction fees.
- Click on the “Confirm” button to proceed with the transaction.
After confirming the transaction, MetaMask will start processing the transaction and sending your ETH to the recipient address. This process may take a few minutes, depending on network congestion.
Transaction Confirmation on Coinbase
Once the transaction is processed and confirmed on MetaMask, you should see the transaction reflected in your Coinbase account.
To confirm the transaction on Coinbase:
- Login to your Coinbase account.
- Navigate to the “Accounts” section.
- Find the Ethereum wallet associated with the recipient address.
- Click on the wallet to view the transaction history.
- Locate the transaction in the history and verify that the transaction amount and recipient address match.
Once you have confirmed the transaction on Coinbase, you can be assured that your ETH has been successfully sent from MetaMask to Coinbase.
Transaction Confirmation Time
Keep in mind that transaction confirmation times can vary depending on network congestion and the transaction fee you have set. Higher transaction fees generally result in faster confirmation times.
| Transaction Confirmation Time | Transaction Fee |
|---|---|
| Fast | Higher fee |
| Medium | Average fee |
| Slow | Lower fee |
It is recommended to check the transaction status on both MetaMask and Coinbase to ensure the transaction has been successfully completed.
Frequently Asked Questions:
What is MetaMask and Coinbase?
MetaMask is a cryptocurrency wallet and browser extension that allows users to interact with the Ethereum network. Coinbase, on the other hand, is a popular cryptocurrency exchange where users can buy, sell, and store various digital assets.
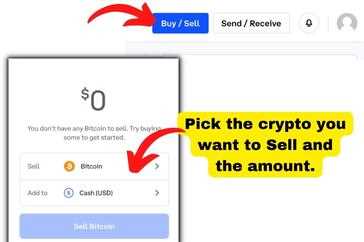
How do I send ETH from MetaMask to Coinbase?
To send ETH from MetaMask to Coinbase, you need to open your MetaMask wallet, click on the “Send” button, enter your Coinbase ETH address as the recipient, specify the amount of ETH you want to send, and then confirm the transaction.
Are there any fees involved in sending ETH from MetaMask to Coinbase?
Yes, there are fees associated with sending ETH from MetaMask to Coinbase. These fees are known as “gas fees” and they are required to process and validate transactions on the Ethereum network. The amount of gas fees depends on the current network congestion and the complexity of the transaction.
Can I send other cryptocurrencies from MetaMask to Coinbase?
No, you can only send ETH from MetaMask to Coinbase. MetaMask only supports the Ethereum network, so you can only send Ethereum-based assets like ETH and ERC-20 tokens.
What happens if I input the wrong address when sending ETH from MetaMask to Coinbase?
If you input the wrong address when sending ETH from MetaMask to Coinbase, the transaction will be sent to the wrong recipient and you will not be able to recover the funds. It is extremely important to double-check the recipient’s address before confirming the transaction to avoid any mistakes.
+ There are no comments
Add yours