


Are you looking to take full control of your non-fungible tokens (NFTs)? If you’ve been using Coinbase Wallet to store your NFTs, you may have realized that it has limitations when it comes to accessing the full functionality of your assets. One solution to this problem is to transfer your NFTs from Coinbase Wallet to MetaMask, a popular Ethereum wallet. In this article, we will guide you through the process of moving your NFTs and unlocking their full potential.
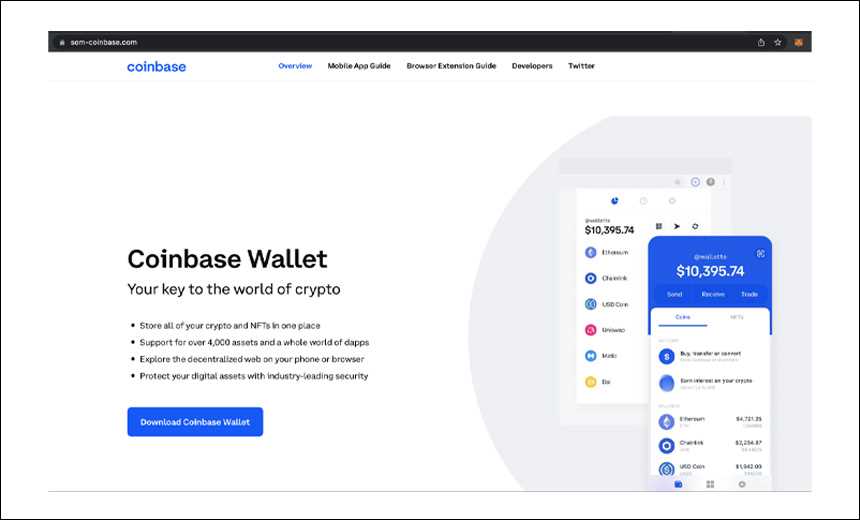
MetaMask is a browser extension wallet that allows you to interact directly with decentralized applications (dApps) on the Ethereum blockchain. By transferring your NFTs to MetaMask, you gain access to a wider range of dApps and services that can help you manage, trade, and showcase your digital assets. Whether you’re a collector, artist, or investor, MetaMask provides the tools you need to fully utilize the power of your NFTs.
The first step in moving your NFTs from Coinbase Wallet to MetaMask is to ensure that you have both wallets installed and set up on your device. If you haven’t already done so, you can download MetaMask from the official website and create a new wallet. Once you have MetaMask installed, you’re ready to begin the transfer process.
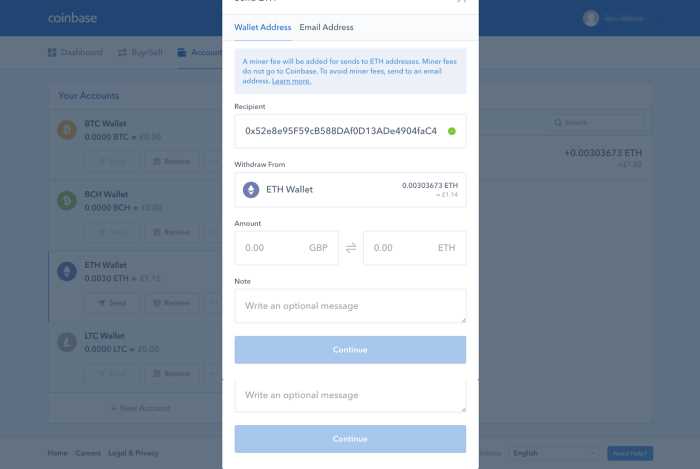
To transfer your NFTs, you’ll need to follow a few simple steps. First, open both Coinbase Wallet and MetaMask on your device. In Coinbase Wallet, navigate to the NFT you wish to transfer and select the option to “Send” or “Transfer.” You will be prompted to enter the recipient’s address.
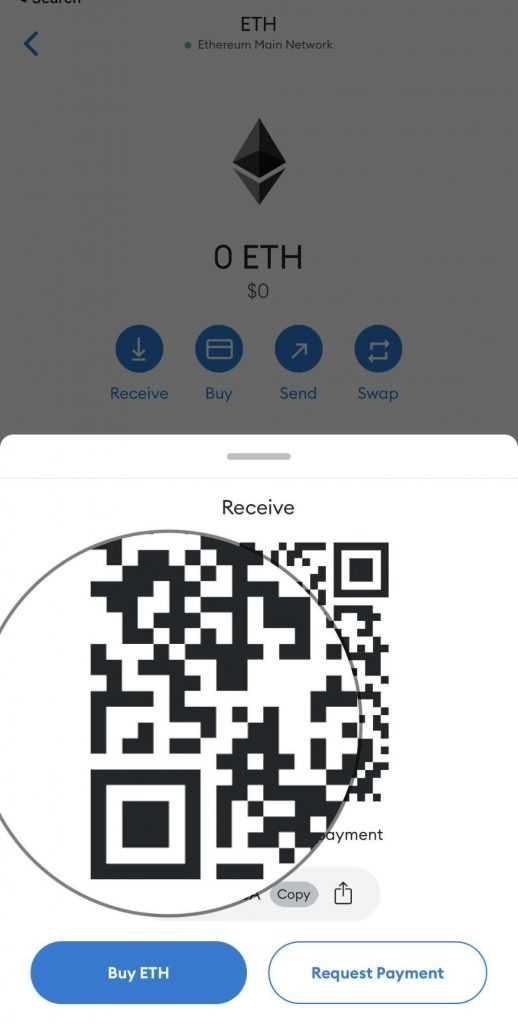
Switch to MetaMask and copy your Ethereum address. Paste this address into the recipient field in Coinbase Wallet. Double-check that the address is correct, as any mistakes could result in permanent loss of your NFT. Finally, confirm the transfer and wait for the transaction to be processed. Once the transfer is complete, your NFT will appear in your MetaMask wallet, ready to be used in various dApps and platforms.
By moving your NFTs from Coinbase Wallet to MetaMask, you gain the flexibility to explore new possibilities and take advantage of advanced features offered by Ethereum’s vibrant ecosystem. Don’t let your NFTs remain locked in a limited-access wallet – unlock their potential today!
Why Transfer Your NFTs?
Transferring your NFTs from Coinbase Wallet to MetaMask can provide you with several benefits. Here are a few key reasons why you might consider making the move:
|
Increased Security: MetaMask is known for its strong security measures, including password protection, encryption, and key management. By transferring your NFTs to MetaMask, you can have greater peace of mind knowing that your assets are well-protected. |
|
More Features and Flexibility: MetaMask offers a wide range of features and functionalities that can enhance your NFT experience. You can access various decentralized applications (dApps), participate in auctions, trade assets on different marketplaces, and connect with other Ethereum-based projects and communities. |
|
Interoperability: By moving your NFTs to MetaMask, you gain the ability to interact seamlessly with other platforms and wallets that support the Ethereum blockchain. This interoperability can open up new opportunities for trading, selling, or using your NFTs in different ecosystems. |
|
Community and Support: MetaMask has a large and active community of users who can provide support and guidance on NFT-related matters. By joining this community, you gain access to valuable resources, discussions, and potential collaborations. |
Overall, transferring your NFTs to MetaMask can offer you enhanced security, access to more features and flexibility, interoperability with other platforms, and the opportunity to connect with a thriving community. Consider making the move to unlock the full potential of your NFT assets!
Benefits of Moving NFTs from Coinbase Wallet to MetaMask
Moving your NFTs from Coinbase Wallet to MetaMask can provide you with several key benefits:
- Enhanced Security: MetaMask is a specialized wallet for managing blockchain assets, including NFTs. It offers advanced security features and protocols to protect your digital assets.
- Greater Control: With MetaMask, you have complete control over your NFTs. You can easily transfer, trade, or sell your assets without relying on a centralized platform.
- Access to More Platforms: Many decentralized applications (dApps) and NFT marketplaces are designed to be compatible with MetaMask. By moving your NFTs to MetaMask, you can access a wider range of platforms and opportunities.
- Improved Usability: MetaMask provides a user-friendly interface and intuitive navigation, making it easier for you to manage your NFTs. It offers a seamless and streamlined experience for interacting with the blockchain.
- Community and Support: MetaMask has a large and active community of users, developers, and enthusiasts. By moving your NFTs to MetaMask, you can connect with like-minded individuals, seek assistance, and stay up to date on the latest trends in the NFT space.
Considering these benefits, it is worth exploring the option of transferring your NFTs from Coinbase Wallet to MetaMask to unlock the full potential of your digital assets.
How to Transfer NFTs?
Transferring NFTs from one wallet to another is a straightforward process that can be accomplished in just a few simple steps.
Step 1: Setup MetaMask
Before you can transfer your NFTs, you’ll need to have MetaMask installed and set up on your device. If you haven’t done so already, you can download and install MetaMask from the official website, and then create a new wallet or import an existing one.
Step 2: Connect Coinbase Wallet to MetaMask
To transfer your NFTs from Coinbase Wallet to MetaMask, you’ll first need to connect the two wallets. Open MetaMask, click on the account name in the top-right corner, and select “Connect Wallet” from the dropdown menu. Choose “Coinbase Wallet” as the option and follow the prompts to complete the connection.
Step 3: Find Your NFTs
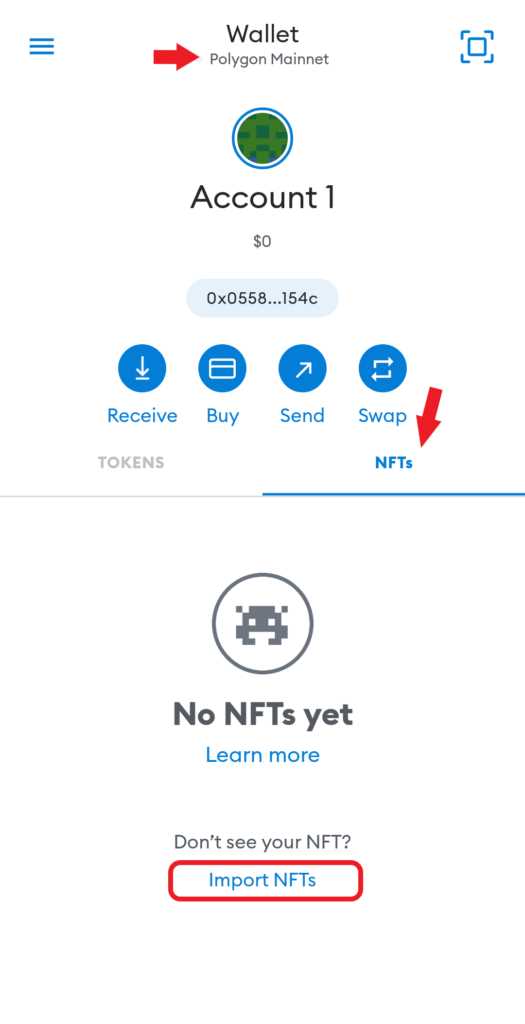
Once your wallets are connected, you can navigate to the NFT section of your Coinbase Wallet. Locate the NFTs that you want to transfer and make a note of their names or token IDs.
Step 4: Transfer NFTs
Now, go back to MetaMask and click on the account name again. From the dropdown menu, select “Assets” and choose the NFT option. Click on “Send” and enter the recipient’s MetaMask address, along with the appropriate amount of gas fees. Fill in the required fields, such as the NFT name or token ID, and click “Next” to confirm the transfer. After the transfer is complete, you’ll be able to see your NFTs in MetaMask.
Remember to double-check all the details before confirming the transfer, as NFT transfers are generally irreversible. Once you’re confident that everything is correct, you can proceed with the transfer and enjoy your NFTs in MetaMask!
By following these simple steps, you can easily transfer your NFTs from Coinbase Wallet to MetaMask and unlock your assets for a seamless and secure NFT experience.
Step-by-Step Guide to Moving NFTs
Here is a step-by-step guide on how to move your NFTs from Coinbase Wallet to MetaMask and unlock your assets:
Step 1: Install MetaMask
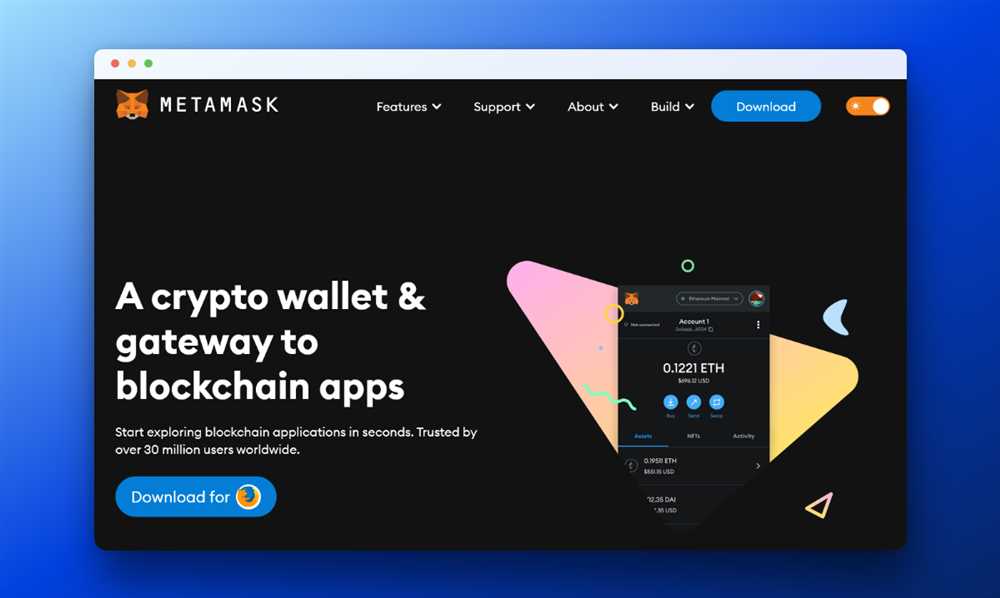
- Open your internet browser and go to the MetaMask website.
- Click on the “Get Chrome Extension” button and follow the installation instructions.
- Once MetaMask is installed, create a new wallet or import an existing one.
Step 2: Export NFTs from Coinbase Wallet
- Open the Coinbase Wallet app on your mobile device.
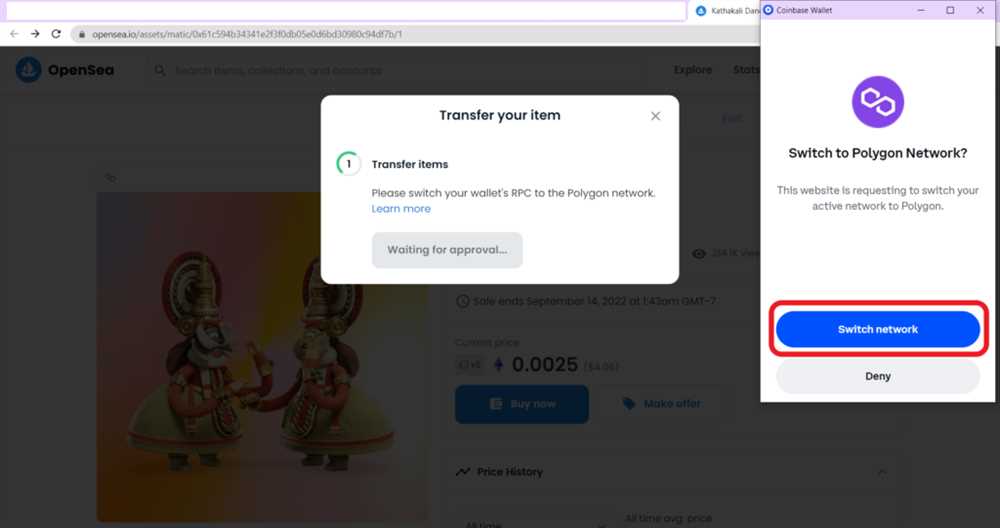
- Tap on the “Settings” icon and select “Wallet Connect”.
- Choose the wallet you want to export your NFTs from.
- Tap on the MetaMask logo and authorize the connection.
- Confirm the export of your NFTs from Coinbase Wallet to MetaMask.
Step 3: Import NFTs to MetaMask
- Switch back to the MetaMask browser extension.
- Click on the MetaMask icon and select “Import” from the dropdown menu.
- Enter the recovery phrase or private key from your Coinbase Wallet.
- Follow the instructions to complete the import process.
Step 4: Unlock Your NFTs
- Once your NFTs are imported to MetaMask, click on the “Assets” tab.
- Find the NFT you want to unlock and click on it.
- Click on the “Unlock” button to access and manage your NFT.
That’s it! You have successfully moved your NFTs from Coinbase Wallet to MetaMask and unlocked your assets. Now you can easily trade, sell, or transfer your NFTs using MetaMask.
Unlock Your Assets
Once you have successfully transferred your NFTs from Coinbase Wallet to MetaMask, you will need to unlock your assets in order to access and interact with them.
Unlocking your assets is a straightforward process and can be done within your MetaMask wallet. Simply follow the steps below:
Step 1: Open MetaMask
Open the MetaMask extension in your web browser or launch the MetaMask mobile app on your smartphone.
Step 2: Access your NFTs
Click on the “Assets” tab in MetaMask to access your NFT collection. Here, you will see all the NFTs that you have transferred from Coinbase Wallet.
Step 3: Unlock your NFTs
In order to unlock your NFTs, click on the specific NFT that you want to unlock. This will open the details of the NFT.
Within the NFT details, you will find an “Unlock” or “Access” button. Click on this button to unlock the NFT.
Note: Some NFTs may require additional steps or authorization to unlock, such as entering a password or completing a transaction.
Once the NFT is unlocked, you will have full access to its features, including the ability to transfer, sell, or display it in compatible platforms or marketplaces.
Remember to always keep your MetaMask wallet secure and backup your wallet recovery phrase in a safe place. This will ensure that you always have access to your NFTs and can unlock them whenever needed.
Now that you know how to unlock your assets in MetaMask, you can fully enjoy the benefits of owning and interacting with your NFTs.
Accessing Additional Features and Benefits
Moving your NFTs from Coinbase Wallet to MetaMask not only allows you to transfer ownership of your assets, but it also opens up a world of additional features and benefits. Here are some of the advantages you can enjoy:
- Greater control: MetaMask gives you more control over your NFTs, allowing you to manage and interact with them in a way that suits your preferences.
- Expanded marketplace access: By using MetaMask, you can explore a wider range of NFT marketplaces and discover new opportunities to buy, sell, and trade your digital assets.
- Improved security: MetaMask offers enhanced security features to protect your NFTs and keep them safe from potential threats.
- Seamless integration with decentralized apps: MetaMask seamlessly integrates with various decentralized applications, enabling you to unlock additional functionalities and participate in different decentralized finance (DeFi) protocols.
- Customization options: With MetaMask, you can customize your wallet interface and personalize it to suit your style and preferences.
- Compatibility: MetaMask is compatible with multiple blockchains, allowing you to access and manage NFTs from different networks.
By moving your NFTs to MetaMask, you can fully leverage these additional features and benefits, enhancing your NFT ownership experience and maximizing the potential of your digital assets.
Frequently Asked Questions:
Can I transfer multiple NFTs at once from Coinbase Wallet to MetaMask?
No, unfortunately, Coinbase Wallet currently supports transferring only one NFT at a time. You will need to repeat the process for each NFT you want to transfer from Coinbase Wallet to MetaMask.
+ There are no comments
Add yours