


If you are a developer or a user of blockchain applications, you are probably familiar with Metamask. It’s a popular wallet that allows you to interact with Ethereum and other blockchain networks. One of the key features of Metamask is the ability to switch between different networks, such as the Ethereum mainnet, testnets, and other custom networks. In this tutorial, we will focus on adding the Mumbai Testnet to your Metamask wallet.
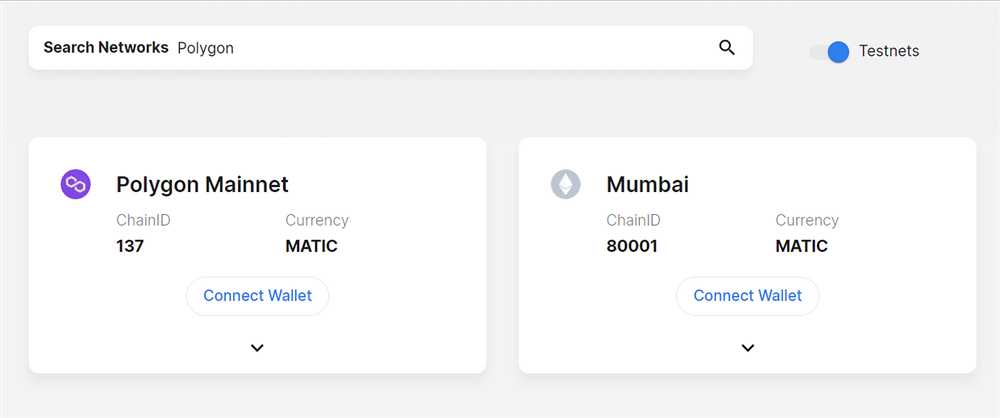
The Mumbai Testnet is a test network specifically designed for the Polygon (previously Matic) blockchain. It allows developers to test their applications and smart contracts without using real funds. Adding the Mumbai Testnet to your Metamask wallet will give you access to a wide range of testing tools and resources.
To add the Mumbai Testnet to your Metamask wallet, you first need to open your wallet and make sure you are on the Ethereum mainnet. Then, click on the network selection dropdown and choose “Custom RPC”. This will open the network settings page.
In the network settings page, you need to enter the following details:
- Network Name: Mumbai Testnet
- New RPC URL: https://rpc-mumbai.maticvigil.com/
- Chain ID: 80001
- Symbol: MATIC
- Block Explorer URL: https://explorer-mumbai.maticvigil.com/
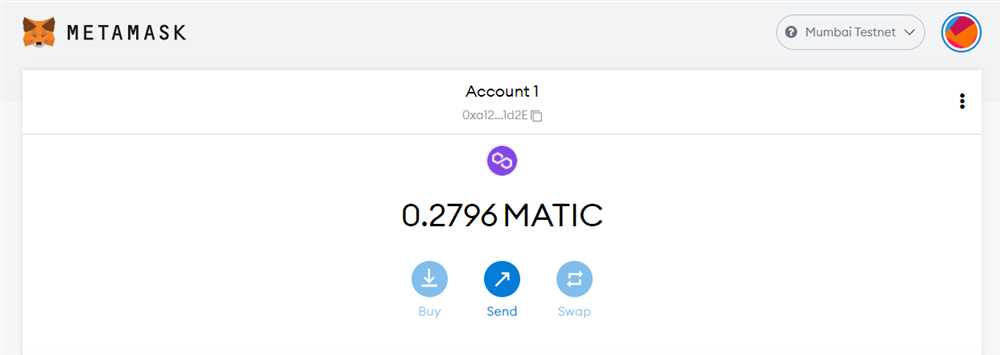
Once you have entered these details, click on “Save” to add the Mumbai Testnet to your Metamask wallet. You should now see the Mumbai Testnet in the network selection dropdown. You can switch to the Mumbai Testnet by selecting it from the dropdown.
Now that you have successfully added the Mumbai Testnet to your Metamask wallet, you can start testing your applications and smart contracts on the Polygon blockchain. Remember, the Mumbai Testnet uses test tokens, so you don’t need to worry about using real funds. Happy testing!
Step-by-step Guide on Adding Mumbai Testnet to your Metamask Wallet
If you’re looking to explore the Mumbai Testnet on the Ethereum network, this step-by-step guide will walk you through the process of adding it to your Metamask wallet. With Mumbai Testnet, you can experiment with smart contracts, test your dApps, and ensure everything is working smoothly before deploying to the mainnet.
Prerequisites
Before you begin, make sure you have the following:
- A working internet connection
- A computer/laptop with the Metamask extension installed
- An existing Ethereum wallet connected to the Metamask extension
Adding Mumbai Testnet to Metamask
- Open your Metamask extension by clicking on the Metamask icon in your browser toolbar.
- If you already have an existing Ethereum wallet, click on the account avatar in the top right corner and select “Add Network”. If you don’t have an existing wallet, skip to step 4.
- In the “Add Network” popup, fill in the following details:
- Click on “Save” to add the Mumbai Testnet to your Metamask wallet.
- If you don’t have an existing Ethereum wallet connected to the Metamask extension, follow these steps:
- Click on “Create a Wallet” and follow the instructions to set up a new wallet in Metamask.
- Once your wallet is set up, click on the account avatar in the top right corner and select “Add Network”.
- Follow step 3 to fill in the details for Mumbai Testnet.
- Click on “Save” to add the Mumbai Testnet to your newly created Metamask wallet.
- You are now ready to use the Mumbai Testnet in your Metamask wallet! You can switch between networks by clicking on the network name in the top left corner of the Metamask extension.
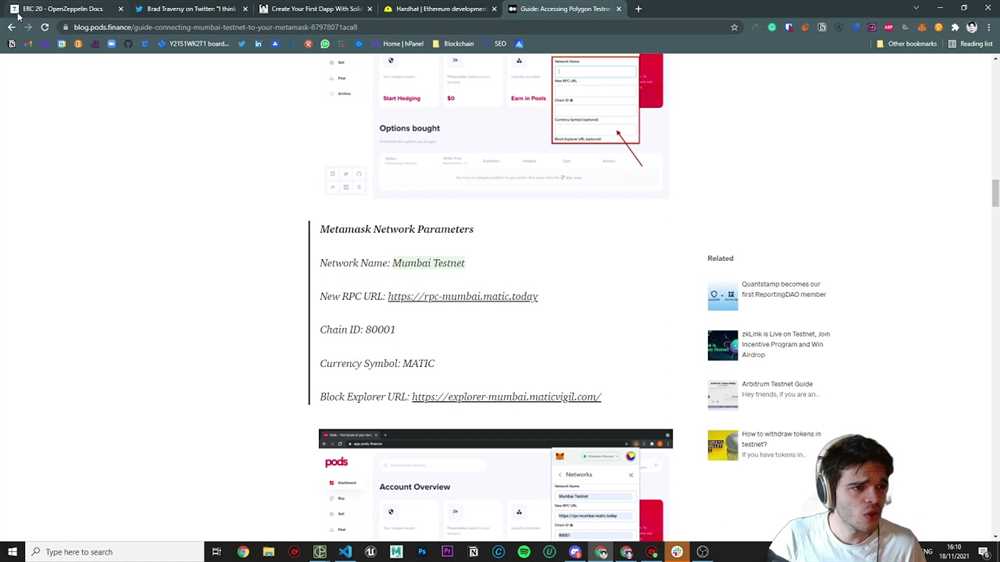
| Network Name | Mumbai Testnet |
|---|---|
| New RPC URL | https://rpc-mumbai.matic.today |
| ChainID | 80001 |
| Symbol | MATIC |
| Block Explorer URL | https://explorer-mumbai.maticvigil.com |
By following these simple steps, you have successfully added the Mumbai Testnet to your Metamask wallet. Now you can explore and experiment with the Mumbai Testnet without risking any real funds on the Ethereum mainnet.
Setting up Metamask Wallet
To add Mumbai Testnet to your Metamask Wallet, follow the steps below:
Step 1: Install Metamask
If you haven’t already, install the Metamask extension on your preferred browser.
Step 2: Create a New Wallet
After installing Metamask, click on the extension icon and follow the prompts to create a new wallet. Make sure to securely store your seed phrase.
Step 3: Connect to Mumbai Testnet
Once you have created your wallet, click on the Metamask extension icon again, and this time click on the network dropdown, then select “Custom RPC”.
In the “New RPC URL” field, enter the following URL for the Mumbai Testnet:
https://rpc-mumbai.maticvigil.com/
After entering the URL, click on the “Save” button, and you should now be connected to the Mumbai Testnet.
Step 4: Add Mumbai Testnet Tokens
To add Mumbai Testnet tokens to your Metamask Wallet, click on the Metamask extension icon, then click on the “Add Token” button.
In the “Token Contract Address” field, enter the following token address for the Mumbai Testnet:
0x7D1AF6D276b8a0De28477B972d6fC70e9FdB5C95
After entering the token address, click on the “Next” button, and Metamask should display the token symbol and decimal places. Click on the “Add Tokens” button to complete the process.
That’s it! You have successfully set up your Metamask Wallet to connect to the Mumbai Testnet and added Mumbai Testnet tokens to your wallet.
Adding Mumbai Testnet
To add Mumbai Testnet to your Metamask wallet, follow these steps:
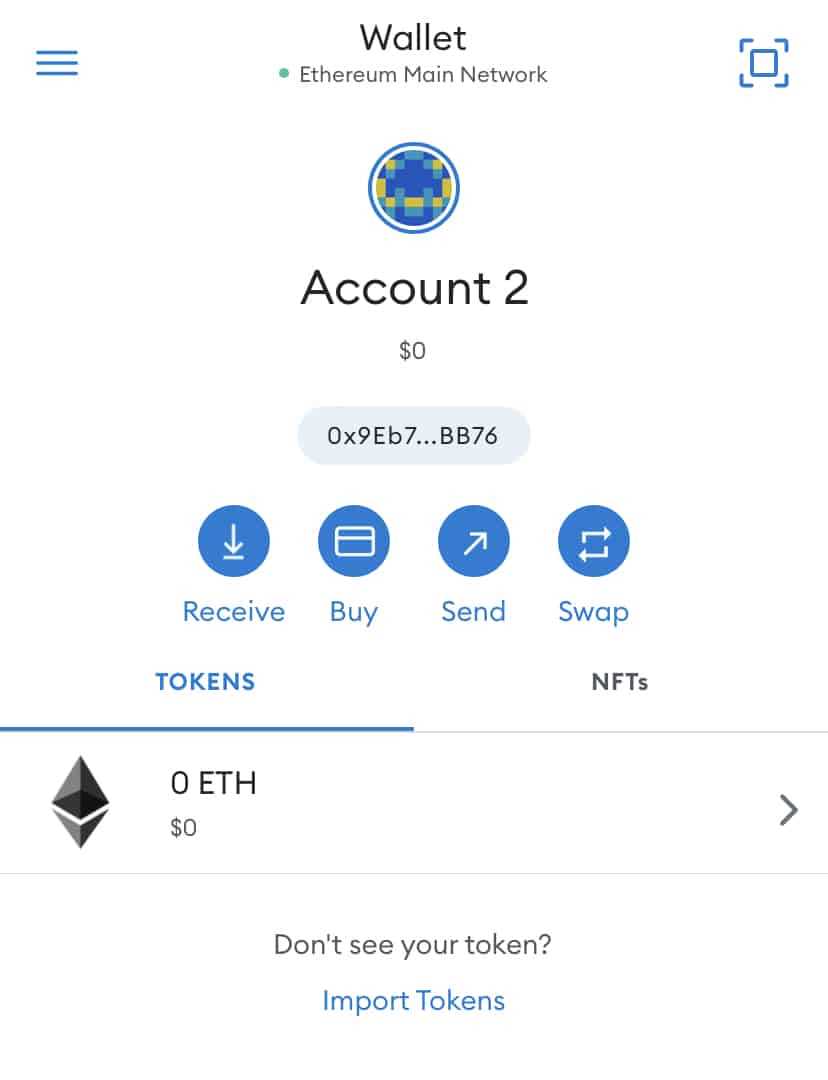
- Open your Metamask wallet extension in your browser.
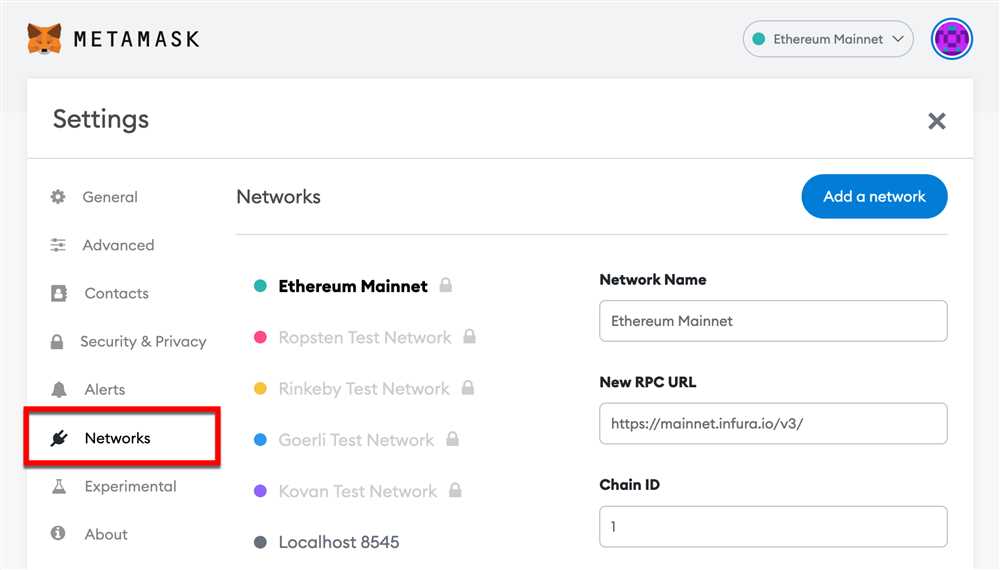
- Click on the account icon in the top right corner and select “Settings”.
- In the settings menu, scroll down and click on “Networks”.
- Click on “Add Network” to add a new network.
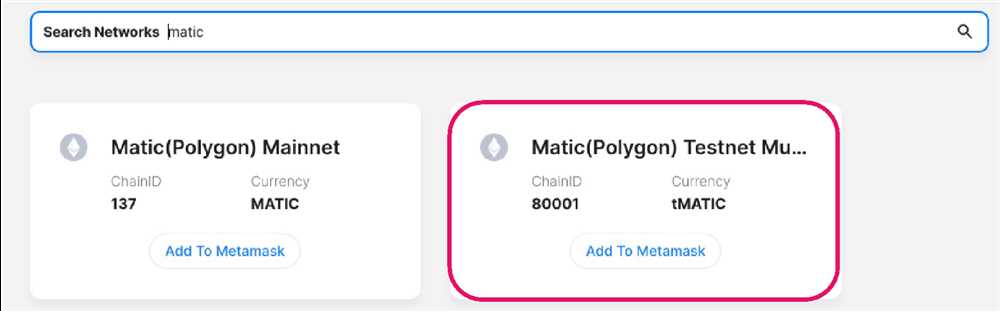
- Enter the following details for the Mumbai Testnet:
- Network Name: Mumbai Testnet
- New RPC URL: https://rpc-mumbai.matic.today
- Chain ID: 80001
- Symbol: MATIC
- Block Explorer URL: https://explorer-mumbai.maticvigil.com/
- Click on “Save” to add the Mumbai Testnet to your wallet.
- You should now see Mumbai Testnet listed as a network option in your Metamask wallet.
- Click on the network dropdown and select Mumbai Testnet to switch to the Mumbai Testnet.
Now you are ready to use the Mumbai Testnet with your Metamask wallet.
Frequently Asked Questions:
What is Mumbai Testnet?
Mumbai Testnet is a test network for Ethereum that allows developers to test their applications and smart contracts before deploying them on the main network. It is specifically designed for testing and development purposes.
+ There are no comments
Add yours