


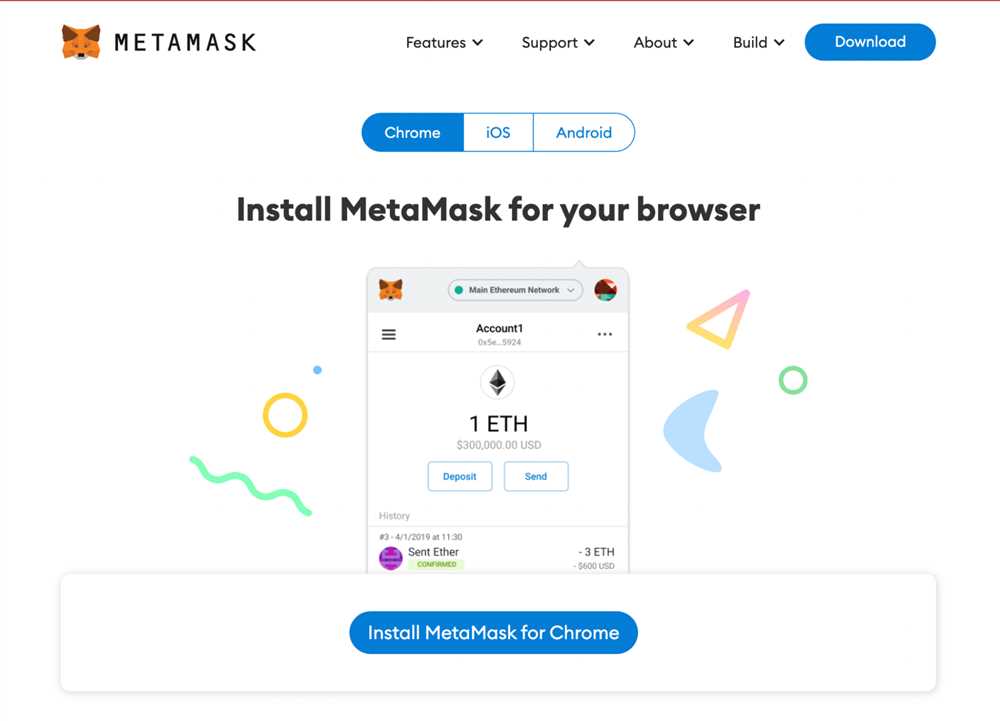
Metamask is a popular web extension that allows users to interact with decentralized applications (dApps) on the Ethereum blockchain. One common task while using Metamask is capturing a screenshot of the user interface, which can be useful for documentation, troubleshooting, or sharing with others.
Fortunately, taking a screenshot with Metamask is a straightforward process. In this step-by-step guide, we will show you how to capture a screenshot of the Metamask window on your computer.
Step 1: Open the Metamask Extension:
To begin, ensure that the Metamask extension is installed and activated in your web browser. Click on the Metamask icon located in the browser toolbar to open the extension. If you haven’t installed Metamask yet, you can download it from the official Metamask website.
Step 2: Navigate to the Desired Page:
Once Metamask is open, navigate to the page or dApp interface that you want to capture in the screenshot. Make sure that everything you want to include in the screenshot is visible on the screen.
Step 3: Press the Screenshot Shortcut:
To take a screenshot with Metamask, press the following keyboard shortcut:
– Windows: Press the “Print Screen” or “PrtScn” key on your keyboard.
– Mac: Press the “Command + Shift + 3” keys simultaneously.
When you press the shortcut, the screenshot is automatically saved to your computer’s clipboard or in the default screenshot folder, depending on your device settings.
Step 4: Paste and Save the Screenshot:
Finally, open an image editing software, such as Paint or Photoshop, and paste the screenshot by using the “Paste” option in the software or pressing “Ctrl + V” on your keyboard. You can then save the screenshot in your desired format (e.g., JPEG, PNG) and choose a location on your computer to save it.
That’s it! You have successfully taken a screenshot with Metamask. You can now use the screenshot for documentation purposes, share it with others, or keep it for future reference.
Note: Remember to respect the privacy and security of others when taking and sharing screenshots. Avoid capturing sensitive information and always obtain permission before sharing screenshots that may contain personal or confidential data.
How to Take a Screenshot with Metamask
Taking a screenshot with Metamask is a straightforward process that allows you to capture important information or share your transactions with others. Here is a step-by-step guide on how to take a screenshot with Metamask:
Step 1: Launch Metamask
Open the Metamask extension by clicking on the Metamask icon in your browser’s toolbar. Make sure you are logged in to your account.
Step 2: Navigate to the desired screen
Once Metamask is open, navigate to the screen you want to take a screenshot of. This can be the dashboard, transaction history, or any other relevant screen.
Step 3: Adjust the screen if needed
If you want to capture a specific part of the screen, adjust the size and position of the Metamask window accordingly. This can be done by resizing the window or moving it to the desired location. Ensure that all the necessary information is visible and nothing important is cropped out.
Step 4: Take the screenshot
Once everything is set up, use the screenshot feature provided by your operating system or browser to capture the desired screen. On Windows, you can press the “Print Screen” (PrtScn) button on your keyboard and then paste the screenshot into an image editing program. On Mac, you can press Command + Shift + 5 to bring up the screenshot toolbar, select the appropriate capture option, and save the screenshot.
Step 5: Save and share
After taking the screenshot, save it to your preferred location on your computer or device. You can then share the screenshot with others by attaching it to an email, uploading it to a cloud storage service, or sending it through other communication channels such as messaging apps or social media.
Note: When taking a screenshot, make sure you are not capturing any sensitive or personal information that should not be shared or made public.
By following these steps, you can easily take a screenshot with Metamask and save or share important information with others. Remember to be mindful of privacy and security considerations while taking and sharing screenshots.
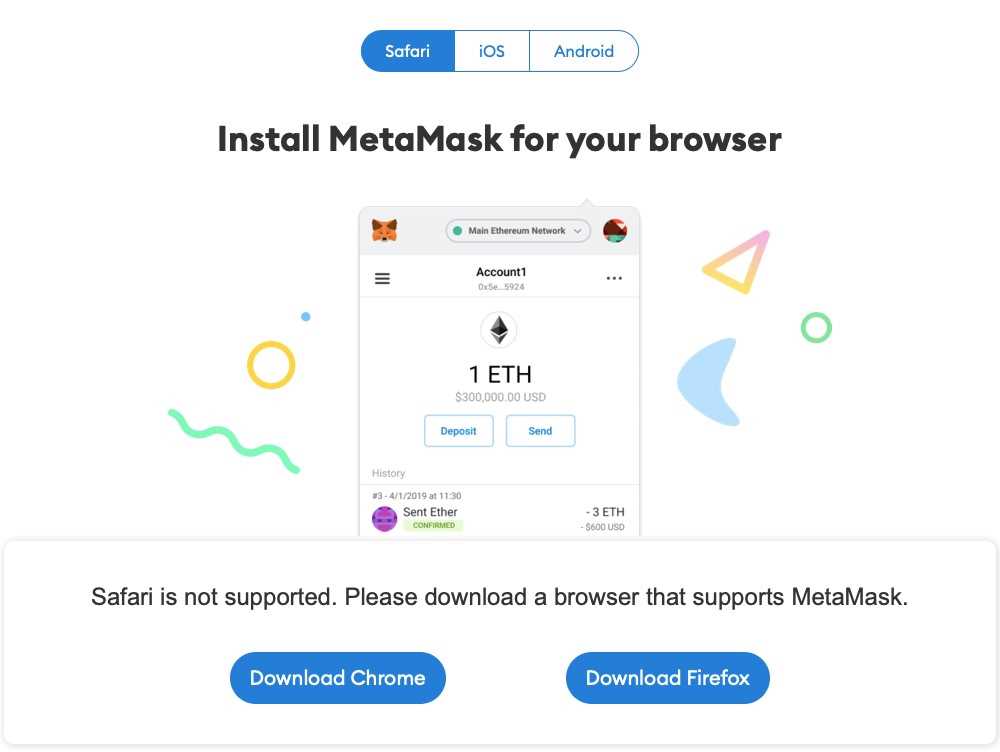
Step 1: Install and Set Up Metamask
To take a screenshot with Metamask, you first need to install and set up the Metamask extension in your web browser. Follow the steps below to get started:
- Open your preferred web browser (such as Google Chrome or Firefox) and go to the Metamask website.
- Click on the “Get Chrome Extension” or “Get Firefox Extension” button, depending on which browser you are using.
- A new tab will open, taking you to the Chrome Web Store or Firefox Add-ons page. Click on the “Add to Chrome” or “Add to Firefox” button to start the installation process.
- After the extension is installed, you will see the Metamask icon (a fox head) in the top-right corner of your browser.
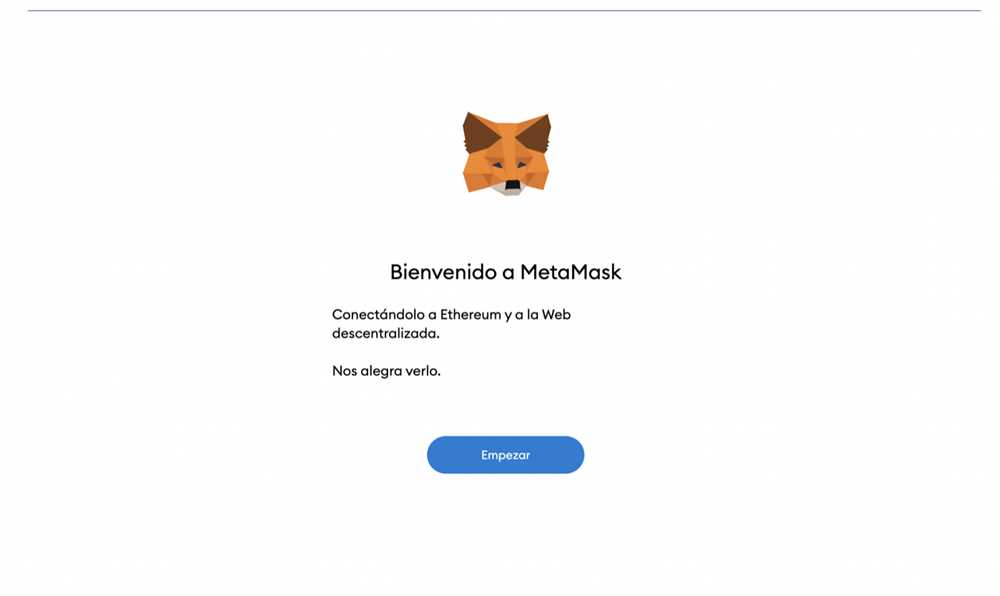
- Click on the Metamask icon to open the extension. A pop-up window will appear, displaying the terms of service. Read and accept the terms to continue.
- Create a new Metamask account by clicking on the “Create a Wallet” button. Follow the prompts to set up a password and write down the secret backup phrase provided. Make sure to keep your backup phrase secure, as it is needed to restore your wallet.
- Once your account is created, you can customize your account name, avatar, and other settings if desired.
- Connect Metamask to the Ethereum network by clicking on the network dropdown (default is “Main Ethereum Network”) and selecting the desired network (such as “Ropsten Test Network” for testing purposes).
- Now you are ready to use Metamask to interact with Ethereum dapps and take screenshots of your transactions or activities.
By following these steps, you will have successfully installed and set up Metamask, allowing you to take screenshots of your Metamask experience. Remember to always verify the authenticity of any website or dapp you interact with using Metamask to protect your funds and personal information.
Step 2: Open the Webpage or App You Want to Screenshot

Before you can take a screenshot with Metamask, you need to open the webpage or app that you want to capture. Metamask is a browser extension, so it operates within the context of a web browser.
Webpage
If you want to take a screenshot of a webpage, open your preferred web browser and navigate to the URL of the webpage you want to capture. Once the page has finished loading, proceed to the next step.
Mobile App
If you want to take a screenshot of a mobile app, you’ll need to have the app installed on your device. Open the app on your phone or tablet and ensure that it is in the desired state for the screenshot. This may involve navigating to a specific screen or performing certain actions within the app.
It’s important to note that Metamask specifically works with web-based Ethereum applications (dApps) and not with traditional mobile apps. Therefore, if you’re trying to take a screenshot of a mobile app that doesn’t have a web-based version, you won’t be able to use Metamask for that purpose.
Once you have the webpage or app open and ready for capture, you can proceed to the next step to learn how to actually take the screenshot using Metamask.
Step 3: Open the Metamask Extension
Once you have successfully installed the Metamask extension on your web browser, you can now proceed to open it. Here’s how you can do it:
- Look for the Metamask icon in the toolbar of your web browser. It usually appears as a fox.
- Click on the Metamask icon to open the extension. A small window will pop up.
- If you have used Metamask before, enter your password or unlock it using your preferred authentication method. If you are using Metamask for the first time, you will need to create a new account and set up your password.
- Once you have successfully unlocked Metamask, you will see your account balance and a list of available accounts. You are now ready to take a screenshot of your Metamask extension.
Note: Ensure that you have a sufficient amount of Ether (ETH) in your account to cover any gas fees that may be incurred during the transaction. Gas fees are required to process transactions on the Ethereum blockchain.
By following these steps, you can easily open the Metamask extension and prepare to take a screenshot of your Metamask account.
Step 4: Take a Screenshot
Taking a screenshot of your Metamask is an easy way to capture important information, such as your wallet address or transaction details. Here is a step-by-step guide on how to take a screenshot on different devices:
On Windows:
- Open the Metamask application on your computer.
- Press the “Print Screen” button on your keyboard. This will capture the entire screen.
- Open an image editing software, such as Paint, and choose “Paste” to import the screenshot.
- Save the screenshot with a descriptive name and in a location you can easily find.
On Mac:

- Launch the Metamask application on your Mac.
- Press the “Command + Shift + 3” buttons on your keyboard. This will capture the entire screen.
- Look for the screenshot on your desktop. It will be automatically saved as a file named “Screen Shot [date] at [time].png”.
After taking the screenshot, you can use it for reference or share it with others when needed. It is a handy way to keep track of important information and transactions on Metamask.
Questions and answers (Вопрос-ответ)
What is Metamask?
Metamask is a cryptocurrency wallet and browser extension that allows you to interact with decentralized applications (dApps) on the Ethereum blockchain. It provides a secure way to store and manage your Ethereum assets, as well as a user-friendly interface for accessing dApps and interacting with the Ethereum network.
Can I take a screenshot with Metamask on mobile?
No, you cannot take a screenshot with Metamask on mobile devices. Metamask is primarily designed for desktop and laptop computers. However, you can still capture screenshots on your mobile device by using the built-in screenshot functionality of your device. The specific method for taking a screenshot may vary depending on the make and model of your device.

+ There are no comments
Add yours