


Are you a cryptocurrency enthusiast looking to add wETH to your Metamask wallet? Well, you’re in luck! This step-by-step guide will walk you through the process and have you enjoying the benefits of wETH in no time.
Step 1: Install Metamask
If you haven’t already, the first step is to install Metamask. Metamask is a browser extension wallet that allows you to interact with decentralized applications on the Ethereum network. Simply visit the Metamask website, download the extension, and follow the installation instructions.
Step 2: Create or Import a Wallet
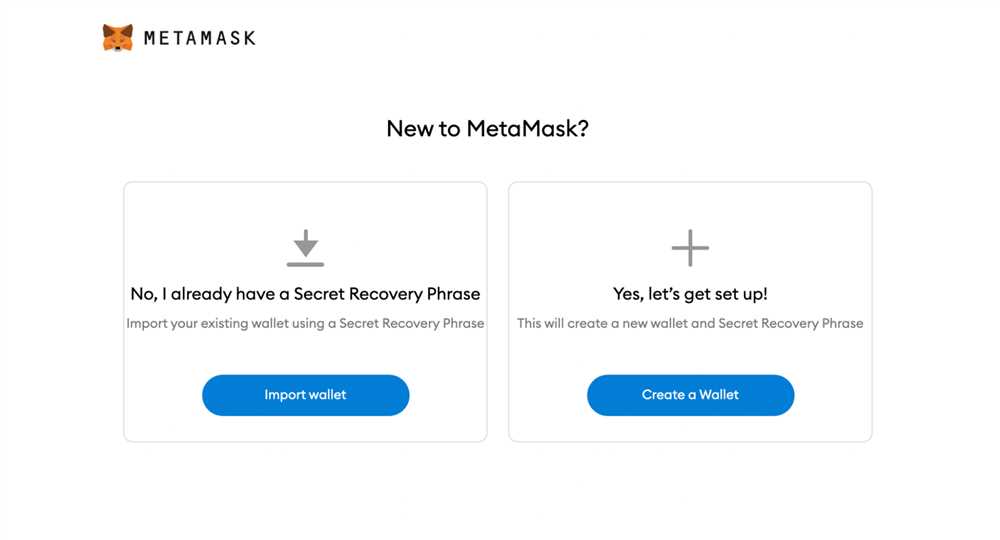
Once you have Metamask installed, you’ll need to create a new wallet or import an existing one. If you’re creating a new wallet, make sure to securely store your seed phrase as it will be needed to restore your wallet if necessary. If you’re importing a wallet, you’ll need to enter your private key or wallet file.
Step 3: Connect to the Mainnet
After setting up your wallet, open Metamask and connect to the Ethereum Mainnet. You can do this by clicking on the network dropdown menu and selecting “Main Ethereum Network”. You’ll need to have some ETH in your wallet in order to proceed with the next steps.
Step 4: Add the wETH Token
Now that you’re connected to the Mainnet, it’s time to add the wETH token to your wallet. Click on the “Assets” tab in Metamask, then click on the “Add Token” button. In the token contract address field, enter the wETH contract address: 0xc02aaa39b223fe8d0a0e5c4f27ead9083c756cc2. Metamask should automatically fill in the rest of the details. Click “Next” and then “Add Tokens” to complete the process.
Step 5: Confirm and Verify
After adding the wETH token to your wallet, you’ll need to confirm and verify the transaction. Metamask will prompt you to confirm the transaction details, including gas fees. Once you’re satisfied, click “Confirm” to proceed. Your wETH balance will now be visible in the Assets tab of your Metamask wallet.
Congratulations! You have successfully added wETH to your Metamask wallet. Now you can take advantage of the exciting possibilities and opportunities that wETH offers in the world of decentralized finance (DeFi). Happy trading!
Step-by-step guide: Adding wETH to Metamask wallet
Adding wETH (wrapped Ethereum) to your Metamask wallet allows you to access Ethereum-based decentralized applications (dApps) and trade tokens on decentralized exchanges (DEXs). Follow the steps below to add wETH to your Metamask wallet:
Step 1: Install Metamask and Create a Wallet
If you haven’t already, download and install the Metamask browser extension or mobile app. Create a wallet by following the instructions provided.
Step 2: Access your Metamask Wallet
Click on the Metamask extension icon in your browser toolbar or open the Metamask app on your mobile device. Enter your password or use biometric authentication to access your wallet.
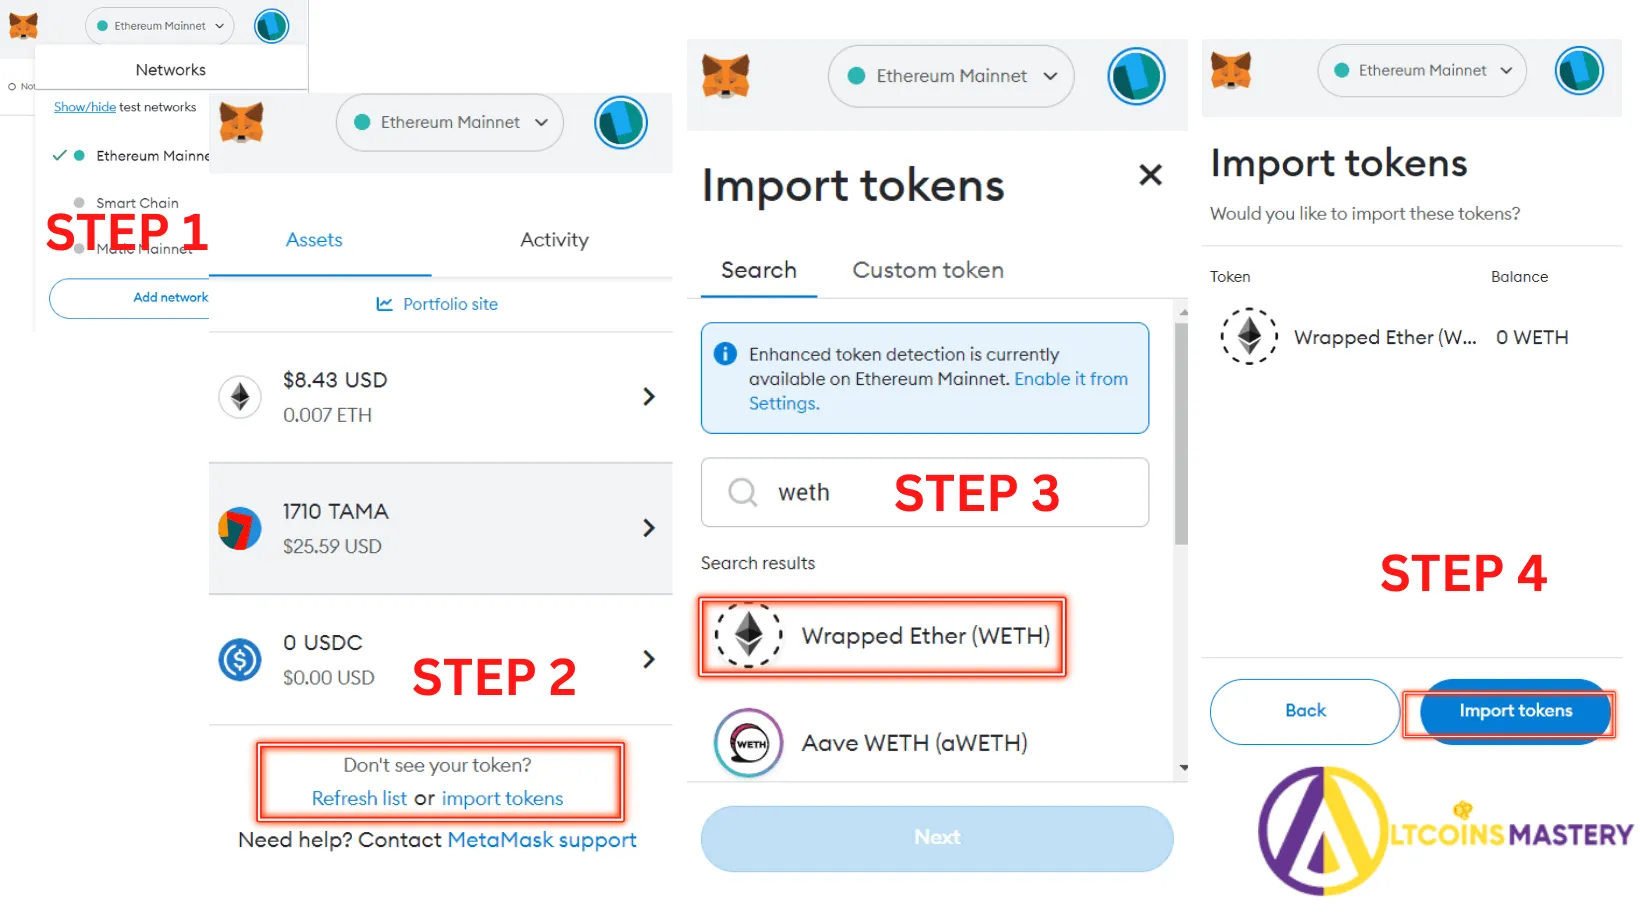
Step 3: Add the wETH Token
- Click on the “Assets” tab in your Metamask wallet.
- Scroll down and click on the “Add Token” button.
- Choose the “Custom Token” tab.
- In the “Token Contract Address” field, enter the wETH token contract address: 0xC02aaA39b223FE8D0A0e5C4F27eAD9083C756Cc2.
- Metamask should automatically populate the “Token Symbol” and “Decimals of Precision” fields. Verify that the symbol is “wETH” and the decimal precision is “18”.
- Click on the “Next” button.
- Review the details and click on the “Add Tokens” button.
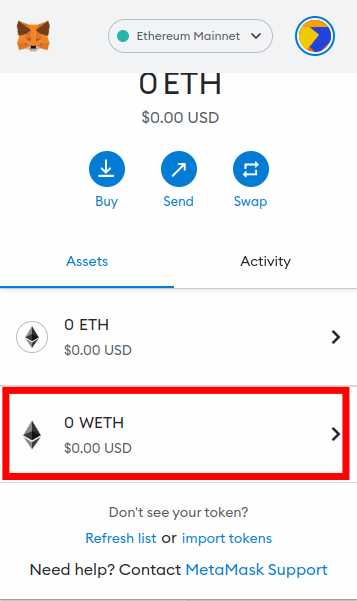
Step 4: View your wETH Balance
After adding the wETH token, you should see your wETH balance in the “Assets” tab of your Metamask wallet. You can now use wETH to interact with Ethereum-based dApps and trade on DEXs.
Note: Make sure you have some Ethereum (ETH) in your wallet to cover gas fees when interacting with dApps or trading with wETH.
Install and open Metamask wallet
To add wETH to your Metamask wallet, you first need to install and open the Metamask wallet on your browser. Follow the steps below:
Step 1: Install Metamask wallet
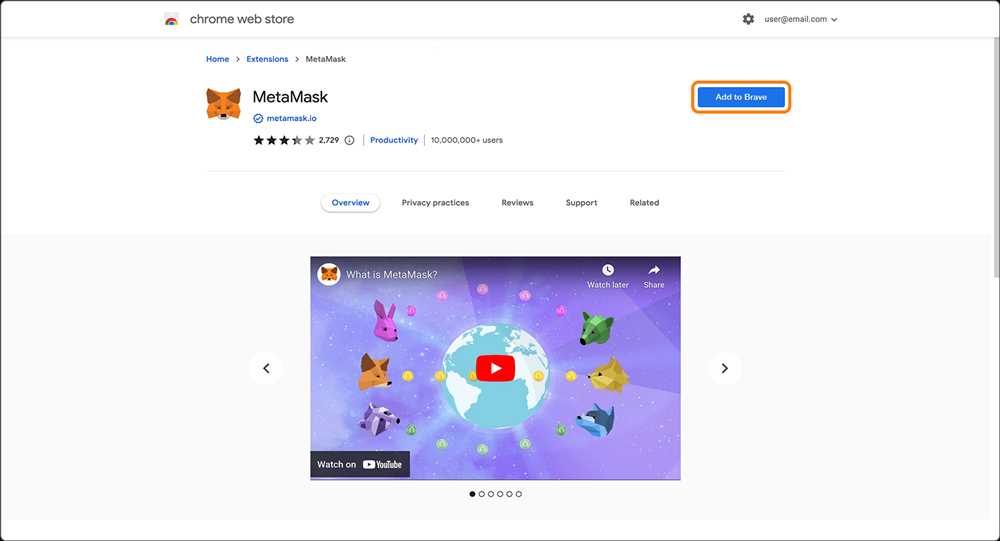
- Open your web browser and go to the official Metamask website.
- Click on the “Get Chrome Extension” button if you are using Google Chrome, or select the appropriate option for your browser.
- Follow the instructions to install the Metamask wallet extension.
Step 2: Open Metamask wallet

- Once the installation is complete, you will see the Metamask icon added to your browser toolbar.
- Click on the Metamask icon to open the wallet.
- If this is your first time opening Metamask, you will be prompted to create a new wallet or import an existing one. Follow the instructions to set up your wallet.
- After setting up your wallet, you will see the Metamask wallet interface. Make sure you are connected to the Ethereum network.
Now that you have installed and opened the Metamask wallet, you can proceed to add wETH to your wallet.
Access your wallet’s account settings
To add wETH to your Metamask wallet, you’ll first need to access your wallet’s account settings. Here’s how to do it:
- Open your Metamask wallet by clicking the orange fox icon in the top right corner of your browser.
- Click on the account icon at the top right corner of the Metamask wallet window. It usually looks like a circle or a silhouette.
- In the account dropdown menu, click on “Settings”.
By following these steps, you will be able to access the necessary account settings in your Metamask wallet to add wETH.
Add wETH to your Metamask wallet

Before you can add wETH (Wrapped Ether) to your Metamask wallet, make sure you have already installed and set up your Metamask extension in your browser. Once you have that done, follow the steps below:
- Go to the Metamask website and click on the “Get the Extension” button to install the Metamask extension in your browser.
- Once the extension is installed, click on the Metamask icon in your browser’s toolbar to open the wallet.
- Create a new wallet or import an existing wallet using your seed phrase or private key.
- Once your wallet is set up, click on the “Assets” tab on the top navigation bar.
- Click on the “Add Token” button.
- In the “Token Contract Address” field, enter the wETH contract address: 0xC02aaA39b223FE8D0A0e5C4F27eAD9083C756Cc2
- The token symbol and decimals should automatically populate. Confirm the token information and click on the “Next” button.
- Review the token details and click on the “Add Tokens” button.
- Now you should see the wETH token added to your Metamask wallet under the “Assets” tab.
Congratulations! You have successfully added wETH to your Metamask wallet. Now you can easily manage and transact with wETH directly from your wallet.
Frequently Asked Questions:
What is wETH?
wETH stands for wrapped Ether. It is an ERC-20 token that represents Ether on the Ethereum blockchain. It is designed to enable Ether to be used in decentralized applications (dApps) and smart contracts.
Why would I want to add wETH to my Metamask wallet?
Adding wETH to your Metamask wallet can be useful if you want to participate in decentralized finance (DeFi) protocols or use dApps that require wETH. It allows you to have a tokenized version of Ether that can be easily managed and used within the Ethereum ecosystem.

+ There are no comments
Add yours