


If you are a developer or a cryptocurrency enthusiast, you are probably familiar with Metamask, the popular Ethereum wallet and browser extension. Metamask allows users to interact with decentralized applications (dapps) and make transactions on the Ethereum network. However, did you know that you can also use Metamask with other testnets, such as the Mumbai testnet?
The Mumbai testnet is a sandbox environment that operates similarly to the Ethereum mainnet but with test tokens. It provides developers and users with a platform to test their applications and transactions without risking real funds. By adding the Mumbai testnet to Metamask, you can explore the world of decentralized finance (DeFi) and experiment with various dapps without any financial consequences.
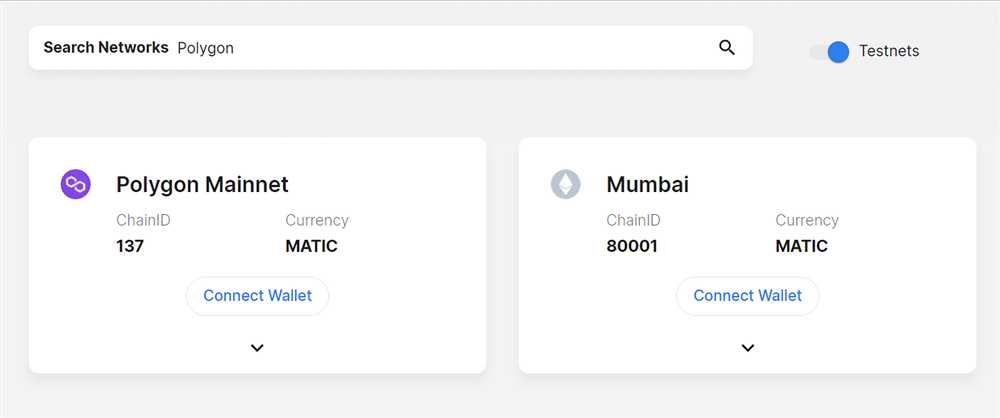
Adding the Mumbai testnet to Metamask is a straightforward process. First, open your Metamask extension and click on the network dropdown menu. Then, click on “Custom RPC” to add a custom network. In the network settings, enter the following details:
Network Name: Mumbai Testnet
New RPC URL: https://rpc-mumbai.maticvigil.com/
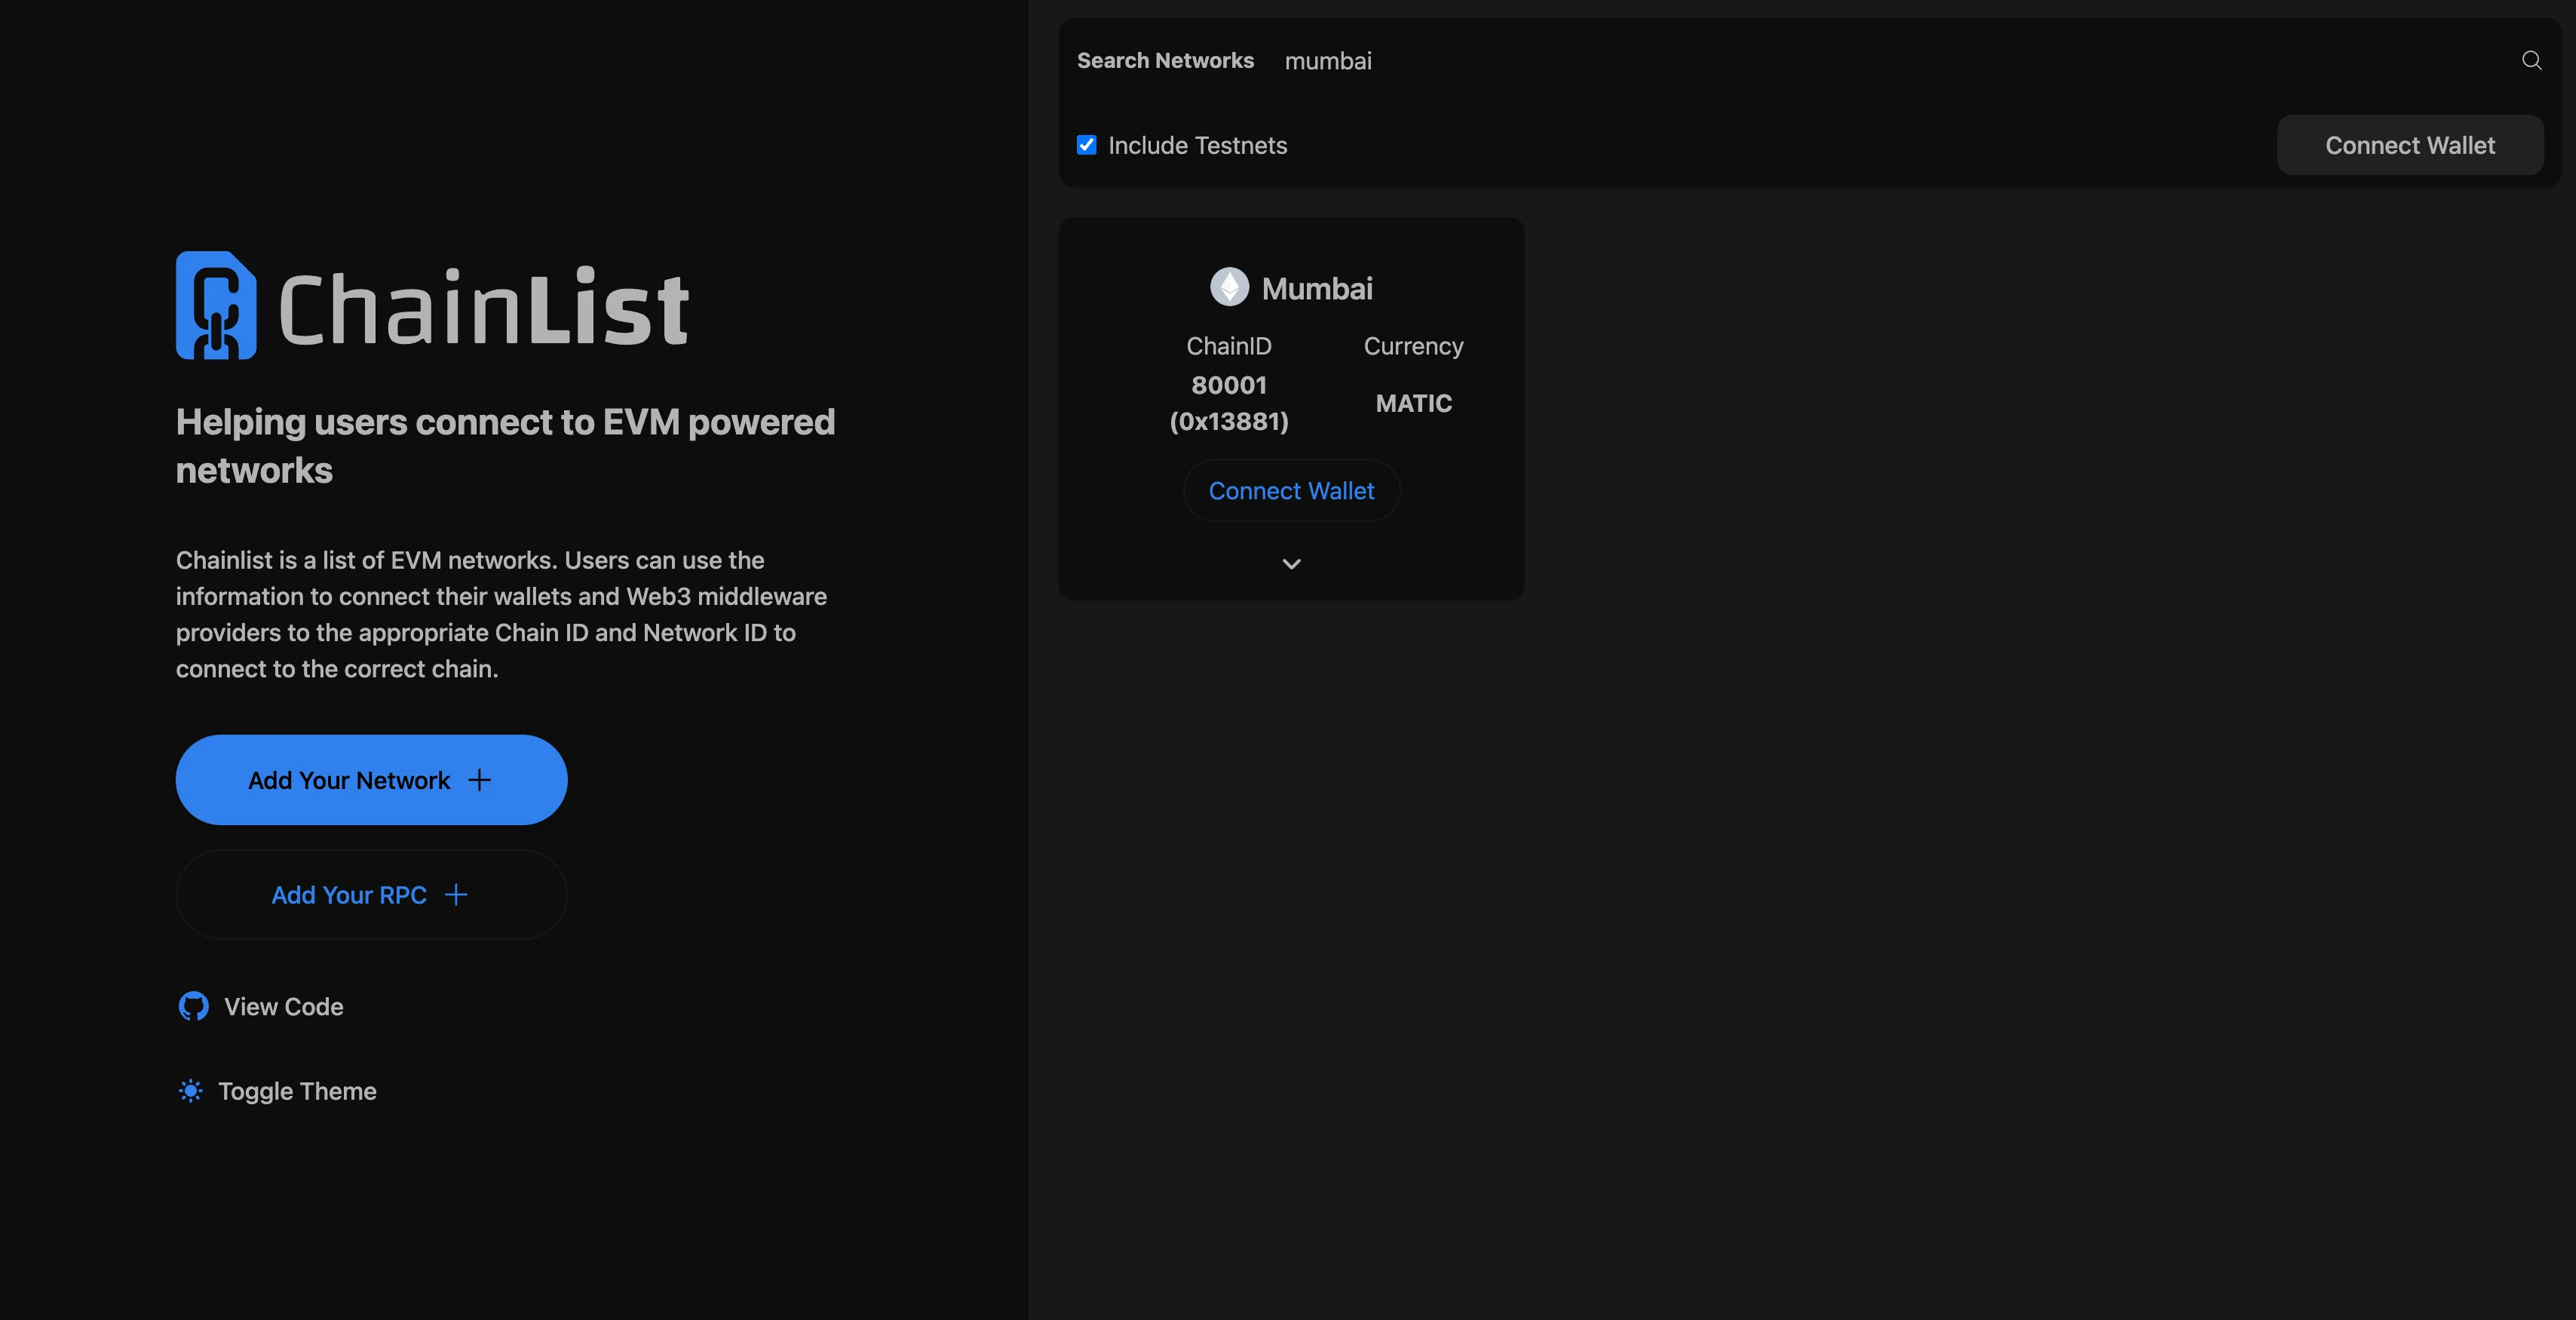
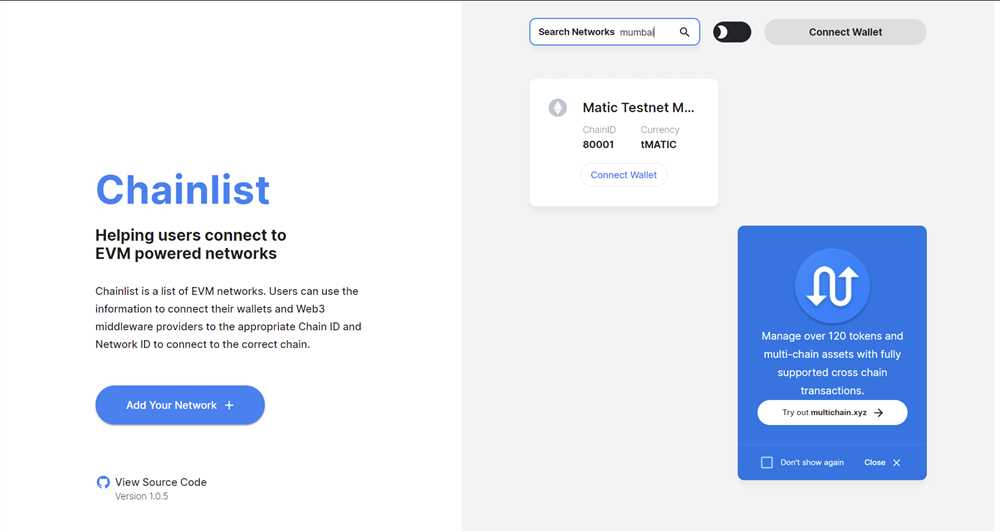
Chain ID: 80001
Currency Symbol: Matic
After entering the details, click on “Save” to add the Mumbai testnet to your Metamask wallet. Once added, you can switch between the Ethereum mainnet and the Mumbai testnet by selecting the desired network from the network dropdown menu.
Now that you have added the Mumbai testnet to Metamask, you can start making smooth transactions on the testnet. Explore various dapps, participate in decentralized exchanges (DEXs), lend and borrow tokens on lending platforms, and much more. Just remember that the Mumbai testnet operates with test tokens, so there are no actual financial consequences.
Adding the Mumbai testnet to Metamask opens up a world of possibilities for developers and cryptocurrency enthusiasts. With the ability to test your applications and transactions on a testnet, you can ensure that everything works smoothly before deploying to the Ethereum mainnet. So go ahead, add the Mumbai testnet to Metamask, and start exploring the exciting world of decentralized finance!
Getting Started with Mumbai Testnet
If you are interested in testing your Ethereum-based DApps or smart contracts without spending real Ether on the mainnet, you can use the Mumbai Testnet. This testnet is an Ethereum test network that is specifically designed for developers and users to experiment and deploy their applications.
To get started with the Mumbai Testnet, you will first need to have Metamask installed on your browser. Metamask is a popular cryptocurrency wallet and browser extension that allows you to interact with Ethereum-based applications. If you don’t have Metamask installed, you can easily find and add it to your browser extensions.
Once you have Metamask installed, open the extension and click on the network selection dropdown at the top of the window. From the list of available networks, click on “Custom RPC” at the bottom.
In the custom RPC settings, you will need to enter the following information:
- Network Name: Mumbai Testnet
- New RPC URL: https://rpc-mumbai.matic.today
- Chain ID: 80001
- Currency Symbol: MUMBAI
- Block Explorer URL: https://explorer-mumbai.maticvigil.com
After entering the necessary information, click on “Save” to save the custom network. Metamask will now be connected to the Mumbai Testnet.
To obtain test Ether for transactions on the Mumbai Testnet, you can use a faucet. A faucet is a service that provides free Ether for testing purposes. You can easily find a Mumbai Testnet faucet by searching online.
With Metamask connected to the Mumbai Testnet and test Ether in your account, you can now start testing and deploying your Ethereum-based applications without any risk to real funds.
How to Add Mumbai Testnet to Metamask
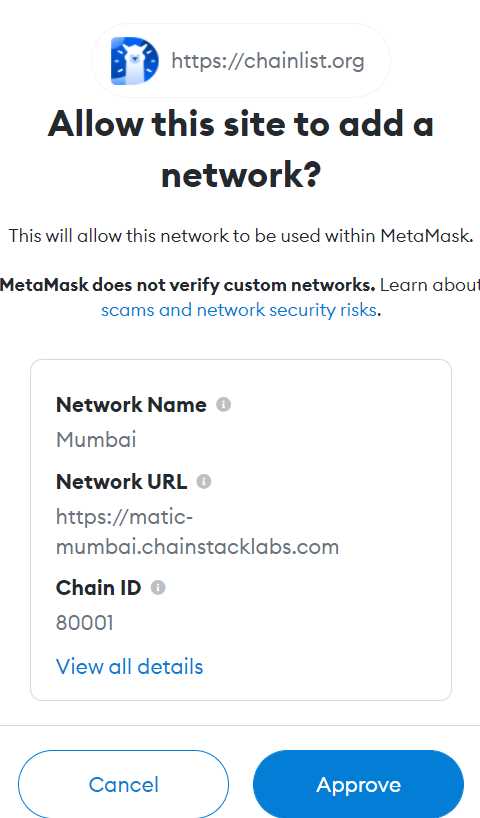
Metamask is a popular cryptocurrency wallet and browser extension that allows users to interact with the Ethereum blockchain. By default, it is set up to connect to the Ethereum Mainnet, but it is also possible to add other testnets such as the Mumbai Testnet. Adding the Mumbai Testnet to Metamask can be useful for testing and deploying smart contracts without using real funds. Here’s how you can add the Mumbai Testnet to Metamask:
Step 1: Install Metamask
If you haven’t already, you need to install Metamask. Visit the Metamask website and follow the instructions to install the extension for your web browser.
Step 2: Create a New Wallet or Import an Existing One
Once Metamask is installed, open the extension and either create a new wallet or import an existing one using your seed phrase or private key. Make sure to secure your wallet with a strong password and backup your seed phrase or private key.
Step 3: Switch to the Custom RPC Network

- Click on the network dropdown on the top of the Metamask extension, next to the account name.
- Select “Custom RPC” from the list of networks.
- In the “New RPC URL” field, enter “https://rpc-mumbai.matic.today” as the RPC URL. Enter “Mumbai Testnet” as the network name.
- Click on “Save” to add the Mumbai Testnet to Metamask.
Step 4: Switch to the Mumbai Testnet
After saving the Mumbai Testnet, you should see it listed in the network dropdown. Select “Mumbai Testnet” to switch to the Mumbai Testnet. You can now use Metamask to interact with the Mumbai Testnet, such as sending transactions and deploying smart contracts.
Adding the Mumbai Testnet to Metamask is a straightforward process that allows you to explore and experiment with Ethereum development without the risk of using real funds. It’s a valuable tool for developers and enthusiasts alike.
Making Smooth Transactions on Mumbai Testnet
Once you have successfully added the Mumbai Testnet to your Metamask wallet, you can start making smooth transactions on the network. Here are some steps to ensure a seamless transaction experience:
1. Connect to the Mumbai Testnet:
Make sure you have selected the Mumbai Testnet as your active network in Metamask. To do this, click on the network dropdown in the top right corner of the Metamask extension and select “Mumbai Testnet”.
2. Obtain Mumbai Testnet ETH:
In order to make transactions on the Mumbai Testnet, you will need some ETH on this network. You can obtain Mumbai Testnet ETH for free by visiting a Mumbai Testnet faucet. Simply search for “Mumbai Testnet faucet” on your preferred search engine and follow the instructions to receive Mumbai Testnet ETH.
3. Check Gas Fees:
Before making a transaction, it’s important to check the current gas fees on the Mumbai Testnet. High gas fees can result in your transaction being delayed or stuck, so it’s best to choose a time when gas fees are relatively low. You can check the current gas fees on Mumbai Testnet by visiting a gas fee tracking website.
4. Set Appropriate Gas Limit:
Set an appropriate gas limit for your transaction to ensure that it gets processed successfully. If the gas limit is set too low, your transaction may fail. Conversely, if the gas limit is set too high, you may end up paying more in gas fees than necessary. It’s recommended to set the gas limit slightly higher than the estimated gas usage to avoid any issues.
5. Confirm Transaction Details:
Before confirming your transaction, double-check all the details such as the recipient address, the amount to be sent, and any additional data required. Once a transaction is initiated on the Mumbai Testnet, it cannot be reversed, so it’s important to ensure the accuracy of the details.
6. Wait for Confirmation:
After submitting your transaction, wait for it to be confirmed by the Mumbai Testnet network. The confirmation time may vary depending on the network congestion and gas fees. Once the transaction is confirmed, you can view it on the Mumbai Testnet explorer, which will provide you with the transaction hash and other details.
7. Troubleshooting:
If you encounter any issues during the transaction process, such as failed transactions or delays, you can seek help from the Mumbai Testnet community or forums. There are often experienced developers and users who can assist you in resolving the issue.
By following these steps and best practices, you can ensure a smooth transaction experience on the Mumbai Testnet using Metamask. Happy testing!
Understanding the Mumbai Testnet Interface
The Mumbai Testnet is a simulated test network that allows developers to experiment and interact with decentralized applications in a safe and controlled environment. It is a pre-release network for the Ethereum Layer 2 scaling solution called Polygon.
Setting Up the Mumbai Testnet on Metamask
To access the Mumbai Testnet, you need to add it as a custom network to your Metamask wallet. Here are the steps to set up the Mumbai Testnet on Metamask:
- Open the Metamask extension in your browser and click on the network dropdown menu.
- Select “Custom RPC” from the options.
- In the “New RPC URL” field, enter the Mumbai Testnet’s endpoint: https://rpc-mumbai.matic.today.
- Choose a suitable name for the network, such as “Mumbai Testnet”.
- In the “Chain ID” field, enter the Chain ID for the Mumbai Testnet, which is 80001.
- Leave the other fields blank and click on the “Save” button.
Testing Transactions on the Mumbai Testnet
Once you have set up the Mumbai Testnet on Metamask, you can start testing transactions on the network. Here are some important things to understand about the Mumbai Testnet interface:
- Gas Fees: Unlike the Ethereum mainnet, the Mumbai Testnet has minimal or no gas fees. This makes it ideal for developers to test their smart contracts and dApps without incurring high transaction costs.
- Wallet Balance: The Mumbai Testnet provides you with a wallet address and a starting balance of test tokens. You can use these tokens to make transactions and interact with the network.
- Transaction Speed: The Mumbai Testnet offers fast and responsive transaction speeds, allowing developers to quickly deploy and test their applications.
- Network Monitoring: You can monitor the Mumbai Testnet’s status and overall network health through various blockchain explorers and monitoring tools. This helps you stay updated on the network’s performance and any potential issues.
By understanding the Mumbai Testnet interface and its features, developers can confidently test and deploy their decentralized applications on the Polygon network, which offers scalable and low-cost solutions for Ethereum-based projects.
Sending Transactions on Mumbai Testnet
Once you have successfully added the Mumbai Testnet to your MetaMask wallet, you can start sending transactions on the test network. This is a great way to test your smart contracts and ensure everything is working as expected before deploying them on the Ethereum mainnet.
To send transactions on the Mumbai Testnet, follow these steps:
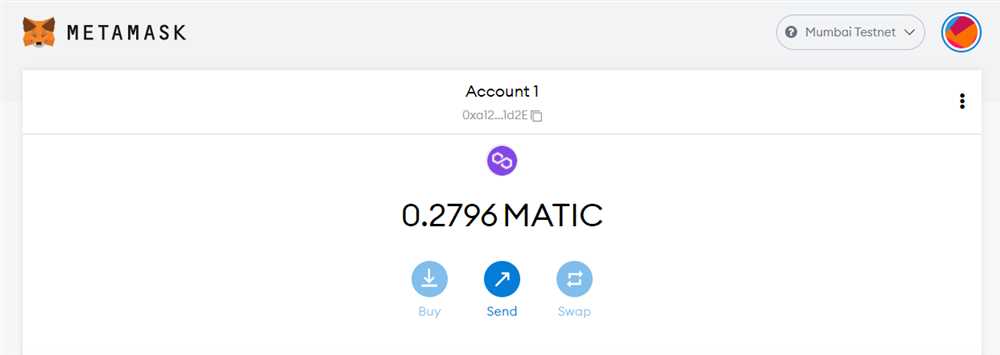
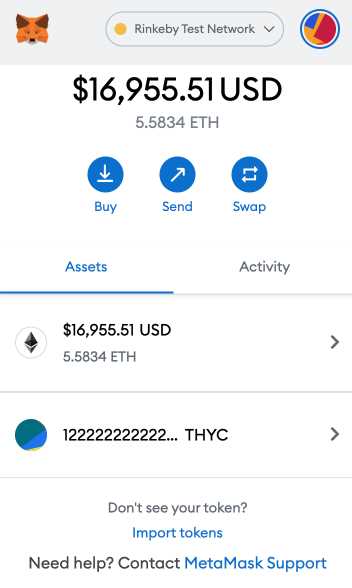
- Open your MetaMask wallet and make sure you have selected the Mumbai Testnet as your active network.
- Click on the “Send” button to initiate a new transaction.
- In the “Recipient” field, enter the Ethereum address of the recipient.
- Specify the amount of Ether you want to send in the “Amount” field.
- Review the transaction details and click on the “Next” button.
- Adjust the gas fee according to your preference and click on the “Next” button.
- Confirm the transaction by clicking on the “Confirm” button.
- Wait for the transaction to be processed on the Mumbai Testnet. You can track the progress of your transaction by clicking on the transaction hash or viewing it in a blockchain explorer like PolygonScan.
Sending transactions on the Mumbai Testnet allows you to test the functionality and performance of your smart contracts in a safe and cost-effective environment. It is important to remember that transactions on the testnet are not real and do not involve real Ether. The Mumbai Testnet is solely for testing purposes and should not be used for real-world transactions.
By familiarizing yourself with the process of sending transactions on the Mumbai Testnet, you can gain confidence in your smart contract deployments and ensure a smooth transition to the Ethereum mainnet.
Frequently Asked Questions:
What is Metamask?
Metamask is a cryptocurrency wallet browser extension that allows users to interact with decentralized applications (dapps) and the Ethereum blockchain. It also serves as a secure store for digital assets such as cryptocurrencies.
Why would I want to add the Mumbai Testnet to Metamask?
Adding the Mumbai Testnet to Metamask allows you to interact with decentralized applications (dapps) and test transactions on the Mumbai Testnet without using real funds on the Ethereum mainnet. It provides a sandbox environment for developers and users to experiment and ensure smooth functionality before deploying or using applications on the mainnet.
What are the advantages of making smooth transactions on the Mumbai Testnet?
Making smooth transactions on the Mumbai Testnet allows you to identify and resolve any potential issues or bugs before deploying your application or using it on the Ethereum mainnet. It helps ensure that your transactions are processed correctly, without any disruptions or delays. This can save time and prevent any financial losses when interacting with decentralized applications.

+ There are no comments
Add yours