


If you’re interested in cryptocurrencies and the world of blockchain, chances are you’ve heard of MetaMask. MetaMask is a browser extension that allows users to access decentralized applications (dApps) on the Ethereum network. But did you know that you can also use MetaMask with Bitcoin?
In this step-by-step tutorial, we will guide you through the process of setting up MetaMask to work with Bitcoin. Whether you’re new to cryptocurrencies or an experienced user, this guide will help you understand how MetaMask can enhance your Bitcoin experience.
What is MetaMask?
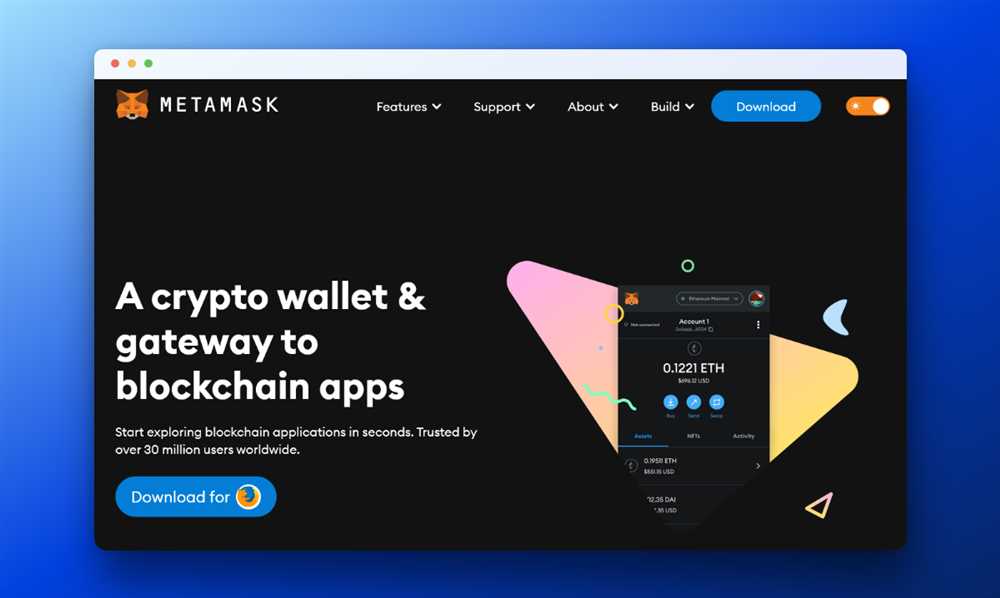
MetaMask is a digital wallet that allows users to store, manage, and interact with their cryptocurrencies. It acts as a bridge between your browser and the Ethereum blockchain, providing a seamless and user-friendly interface for accessing dApps. With MetaMask, you have full control over your private keys and can securely manage your digital assets.
Why use MetaMask with Bitcoin?
While MetaMask was initially designed for the Ethereum network, it has evolved to support other blockchains as well. This means that you can now use MetaMask to manage your Bitcoin, alongside your Ethereum and other ERC-20 tokens. By using MetaMask, you can consolidate all your digital assets in one place and enjoy the convenience of accessing multiple blockchains with a single wallet.
Getting started: Installing MetaMask
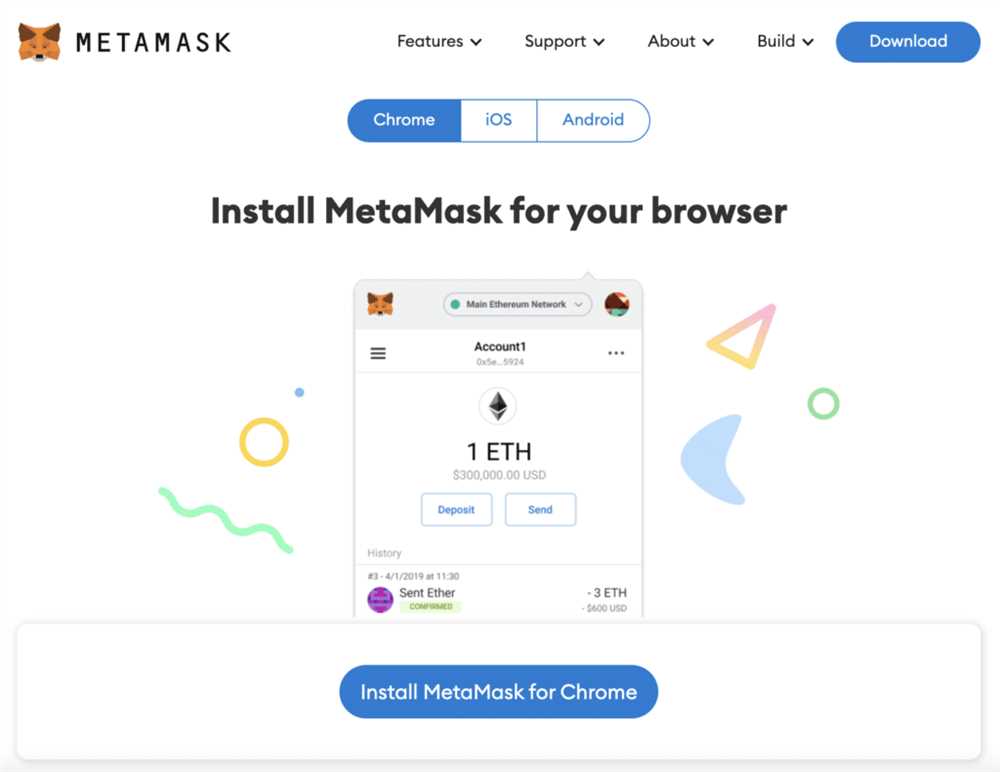
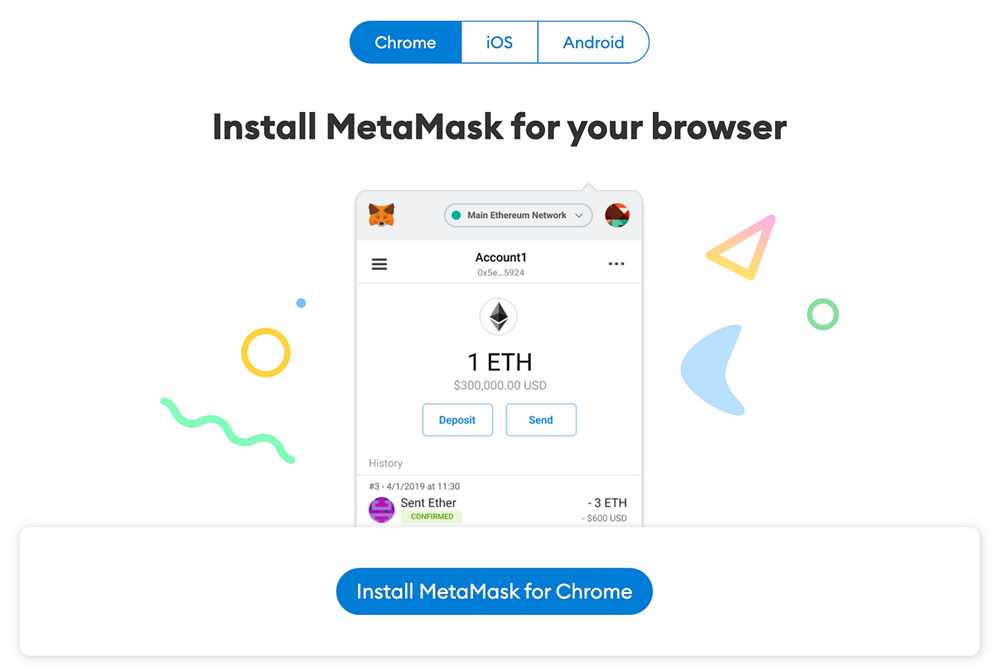
Before we dive into using MetaMask with Bitcoin, you’ll need to install the MetaMask browser extension. MetaMask is available as an extension for popular browsers like Chrome, Firefox, and Brave. Simply head to the extension store for your preferred browser and search for “MetaMask”. Once you find the extension, click “Install” to add it to your browser.
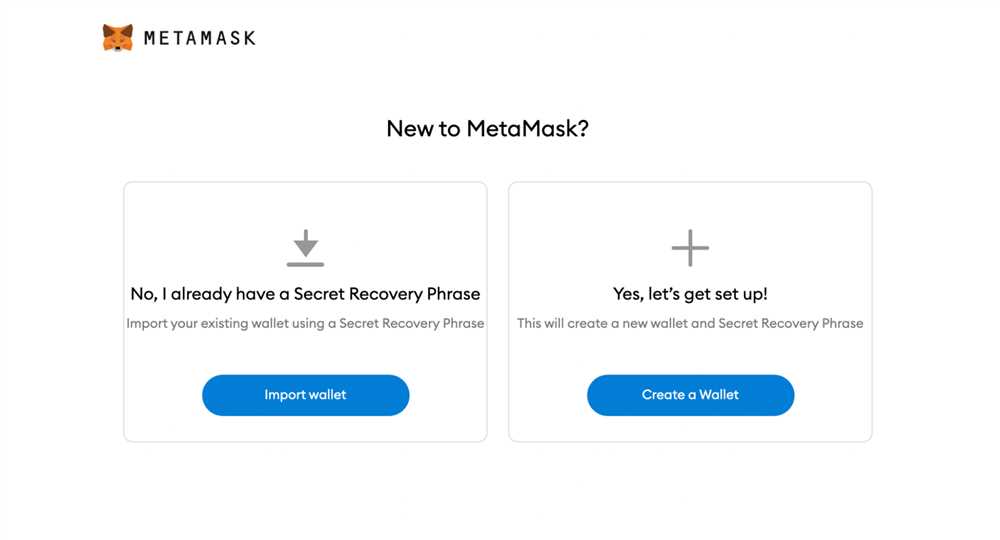
Once the installation is complete, you can find the MetaMask icon in the top-right corner of your browser. Click on the icon to open MetaMask. If this is your first time using MetaMask, you’ll need to agree to the terms and conditions and set up a new wallet. Follow the on-screen instructions to complete the setup process. If you already have a MetaMask wallet, you can import it by clicking on the “Import Wallet” option.
Now that you have MetaMask installed and set up, it’s time to connect it to the Bitcoin network. In the next steps of this tutorial, we will walk you through the process of adding Bitcoin to your MetaMask wallet and using it to interact with the Bitcoin blockchain.
The Complete Guide to Metamask for Bitcoin Transactions: Step-by-Step Tutorial
Welcome to the ultimate guide on how to use Metamask to perform Bitcoin transactions. In this step-by-step tutorial, we will walk you through the process, ensuring you have a seamless experience. Whether you are new to cryptocurrency or an experienced user, this guide will help you navigate the world of Bitcoin transactions using Metamask.
Step 1: Install Metamask
The first step is to install the Metamask wallet extension on your browser. Visit the official Metamask website and download the extension that corresponds to your browser (e.g., Chrome, Firefox, Brave). Once installed, create a new wallet and securely store your seed phrase.
Step 2: Add Bitcoin as a Custom Token
Since Metamask is primarily an Ethereum wallet, we need to add Bitcoin as a custom token. Open Metamask and navigate to the wallet overview. Click on the “Assets” tab and select the “Add Token” button. Fill in the contract address, symbol, and decimals for Bitcoin. Once added, you will be able to see your Bitcoin balance in Metamask.
Step 3: Connect Metamask to a Bitcoin Wallet
To send and receive Bitcoin using Metamask, you need to connect it to a Bitcoin wallet. There are different options available, depending on your preferences. One popular choice is to use a hardware wallet like Ledger or Trezor. Connect your hardware wallet to your computer and follow the instructions to enable Bitcoin support in Metamask.
Step 4: Send Bitcoin using Metamask
Now that your Metamask wallet is connected to a Bitcoin wallet, you can start sending Bitcoin. Open Metamask and click on the “Send” button. Enter the recipient’s Bitcoin address and the amount you want to send. Review the transaction details and confirm the transaction. Wait for the confirmation on the Bitcoin network, and you’re done!
Step 5: Receive Bitcoin using Metamask
Receiving Bitcoin using Metamask is equally easy. Share your Bitcoin address with the sender, and they can initiate the transaction from their Bitcoin wallet. Once the transaction is confirmed on the Bitcoin network, your Metamask wallet will reflect the new balance.
Step 6: Security Considerations
Remember to always prioritize security when using Metamask for Bitcoin transactions. Keep your seed phrase and private keys secure, enable two-factor authentication, and beware of phishing attempts. Only use trusted sources for wallet installations and ensure your computer is protected from malware.
By following this step-by-step tutorial, you now have a comprehensive understanding of how to use Metamask for Bitcoin transactions. Enjoy seamless and secure Bitcoin transactions using Metamask, and explore the world of decentralized finance.
Setting up Metamask for Bitcoin Transactions
If you’re interested in using Metamask for Bitcoin transactions, you’ll need to follow these steps to set it up:
Step 1: Install the Metamask Wallet
The first thing you’ll need to do is install the Metamask wallet as a browser extension. Metamask is currently compatible with major browsers, including Chrome, Firefox, and Brave. Simply visit the extension store for your browser and search for Metamask. Once you find it, click the “Add to [browser]” button and follow the instructions to install it.
Step 2: Create a New Wallet
After installing the Metamask wallet, you’ll need to create a new wallet. Click on the extension icon in your browser toolbar and select “Create a Wallet” from the dropdown menu. Follow the prompts to set up your password and backup phrase. Make sure to write down your backup phrase and store it in a safe location, as it will be the only way to restore your wallet in case you forget your password.
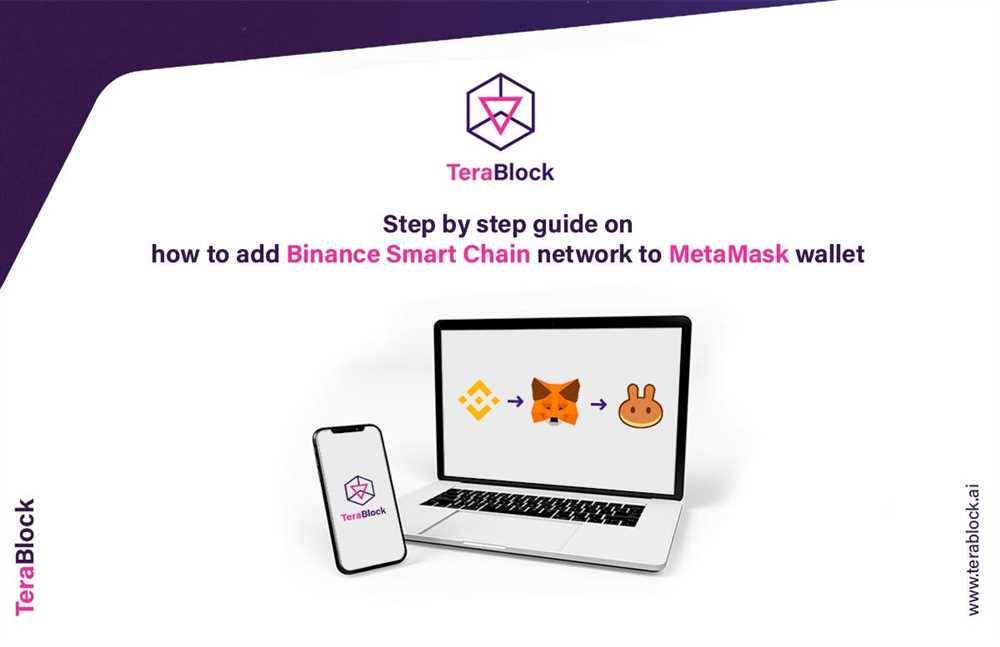
Step 3: Connect Metamask to Bitcoin
Once your wallet is created, you’ll need to connect it to the Bitcoin network. Click on the extension icon again and select “Networks” from the dropdown menu. Click the “Add Network” button and enter the following details:
-
Network Name: Bitcoin
-
New RPC URL: https://bitcoin-rpc-endpoint.com
-
Chain ID: 1
-
Symbol: BTC
-
Explorer: https://btc-explorer.com
Step 4: Import or Generate Bitcoin Wallet Address
Next, you’ll need to import or generate a Bitcoin wallet address within Metamask. If you already have a Bitcoin wallet, you can import it by clicking on the extension icon, selecting “Import Account” from the dropdown menu, and entering the relevant information. If you don’t have a Bitcoin wallet yet, you can generate a new one by clicking on the extension icon, selecting “Create Account” from the dropdown menu, and following the prompts.
Note: Metamask functions as a multi-chain wallet, so you can use the same wallet to manage multiple cryptocurrencies, including Bitcoin.
Once you’ve completed these steps, you’ll be ready to use Metamask for Bitcoin transactions. Remember to always double-check the transaction details, such as the recipient address and the amount, before confirming any transactions. Keep in mind that Metamask is primarily designed for Ethereum-based tokens, so using it with Bitcoin may have some limitations in terms of functionality and compatibility.
Sending Bitcoin with Metamask: Step-by-Step Guide
Metamask is a popular browser extension wallet that allows users to send and receive Bitcoin easily. In this step-by-step guide, we will walk you through the process of sending Bitcoin using Metamask.
- Open your Metamask wallet by clicking on the extension icon in your browser toolbar.
- If you have multiple wallets, ensure that you have selected the correct wallet from the dropdown menu.
- Click on the “Send” button to initiate a Bitcoin transaction.
- In the recipient address field, enter the Bitcoin address of the person or entity you want to send Bitcoin to.
- Double-check the recipient address to ensure its accuracy. Bitcoin transactions are irreversible, so any mistakes can result in permanent loss of funds.
- In the “Amount” field, enter the amount of Bitcoin you want to send. Make sure to have enough funds in your wallet to cover the transaction, including any network fees.
- Review the transaction details, including the recipient address and the amount, to confirm everything is correct.
- Click on the “Next” or “Continue” button to proceed with the transaction. Metamask will prompt you to confirm the transaction.
- Review the transaction details once again and ensure that you are sending Bitcoin to the correct address.
- Enter your wallet password or provide any other required authentication method to authorize the transaction.
- Once you have confirmed the transaction, Metamask will broadcast it to the Bitcoin network. You can track the progress of the transaction using a blockchain explorer.
- Wait for the transaction to be confirmed by the Bitcoin network. The time it takes for a transaction to be confirmed can vary depending on network congestion and the transaction fees you have set.
- Once the transaction is confirmed, the recipient will receive the Bitcoin you sent.
- You can view the transaction details in your Metamask wallet or by searching for the transaction on a blockchain explorer.
Remember to always exercise caution when sending Bitcoin and ensure that you are sending it to the correct address. Double-checking the recipient address and transaction details can prevent costly mistakes. Always keep your wallet and recovery phrase secure to protect your funds.
Receiving Bitcoin with Metamask: Step-by-Step Guide
Metamask is a popular browser extension that allows users to interact with blockchain networks, including Bitcoin. In this step-by-step guide, we will walk you through the process of receiving Bitcoin using Metamask.
Step 1: Install and Set up Metamask
If you haven’t already, install the Metamask extension in your browser. Once installed, create a new wallet or import an existing one by following the on-screen prompts. Make sure to securely backup your wallet’s seed phrase.
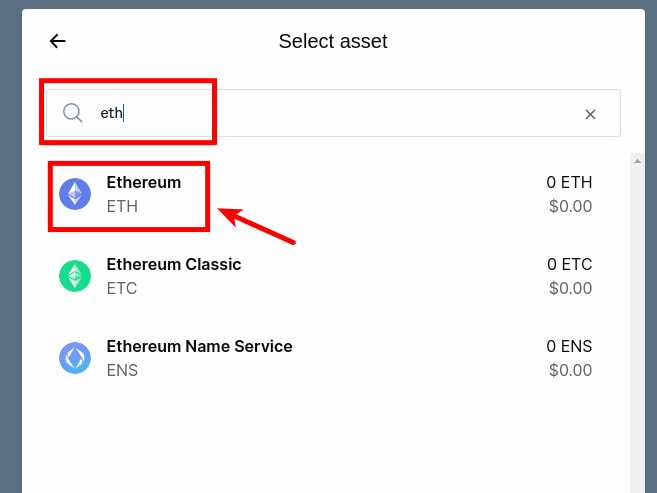
Step 2: Add Bitcoin to Metamask
To add Bitcoin to your Metamask wallet, click on the Metamask extension icon in your browser. In the Metamask interface, select the Ethereum network and click on the account icon. From the dropdown menu, click on “Add Token”.
Enter the contract address for the Bitcoin token: [Contract Address]. The token symbol and decimals should automatically populate. Click on “Next” and then “Add Tokens” to add Bitcoin to your Metamask wallet.
Step 3: Share Your Bitcoin Address
Once you have added Bitcoin to your Metamask wallet, you need to share your Bitcoin address with the sender. To find your Bitcoin address, click on the Metamask extension icon and select the account you want to receive Bitcoin in. Click on the account icon and then “Account Details”. Your Bitcoin address will be displayed under the “Address” section.
Note: Only share your Bitcoin address with trusted individuals or entities. Sharing your Bitcoin address publicly can compromise the privacy and security of your funds.
Step 4: Receive Bitcoin
When someone wants to send you Bitcoin, they need your Bitcoin address. Once they have your Bitcoin address, they can initiate a transfer from their Bitcoin wallet to your Metamask wallet.
After the transaction is initiated, you can monitor its status on the Bitcoin blockchain by using a blockchain explorer. Once the transaction is confirmed on the blockchain, the Bitcoin will be successfully received in your Metamask wallet.
Note: Bitcoin transactions can take some time to confirm depending on network congestion. Be patient and wait for the transaction to be confirmed on the blockchain.
Congratulations! You have now successfully received Bitcoin using Metamask. You can securely store, manage, and send your Bitcoin using the Metamask extension in your browser. Remember to always practice good security measures and keep your wallet’s seed phrase safe.
Frequently Asked Questions:
What is Metamask?
Metamask is a web3 wallet that allows users to interact with the Ethereum blockchain. It is a browser extension that can be installed on Chrome, Firefox, or Brave.
Can I use Metamask with Bitcoin?
No, Metamask is primarily designed to work with the Ethereum blockchain. However, there are ways to use Metamask with Bitcoin through various bridges and protocols.
How do I install Metamask?
To install Metamask, you need to first add the extension to your browser. You can find the Metamask extension on the Chrome, Firefox, or Brave web stores. Simply search for “Metamask” and click on the “Add to Chrome/Firefox/Brave” button to install it.
Can I use Metamask with mobile devices?
Yes, Metamask is available as a mobile app for both iOS and Android devices. You can download it from the App Store or Google Play Store and use it on your mobile device.
+ There are no comments
Add yours